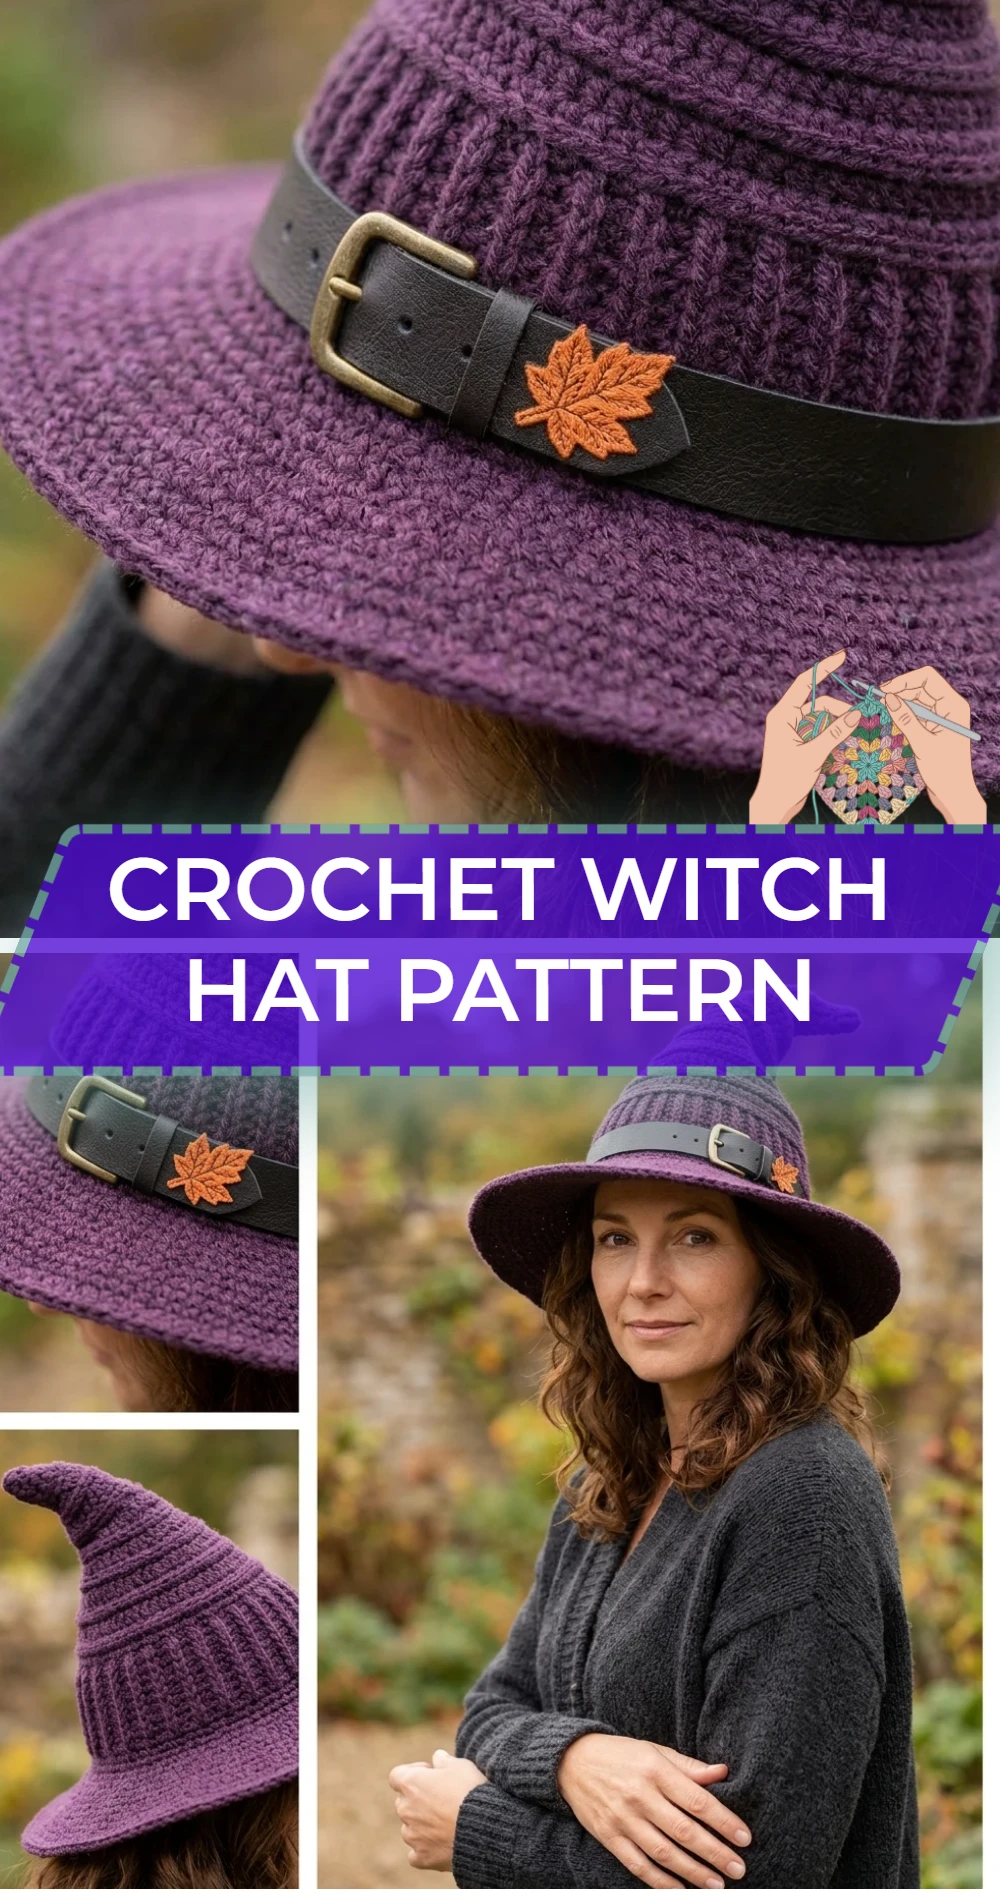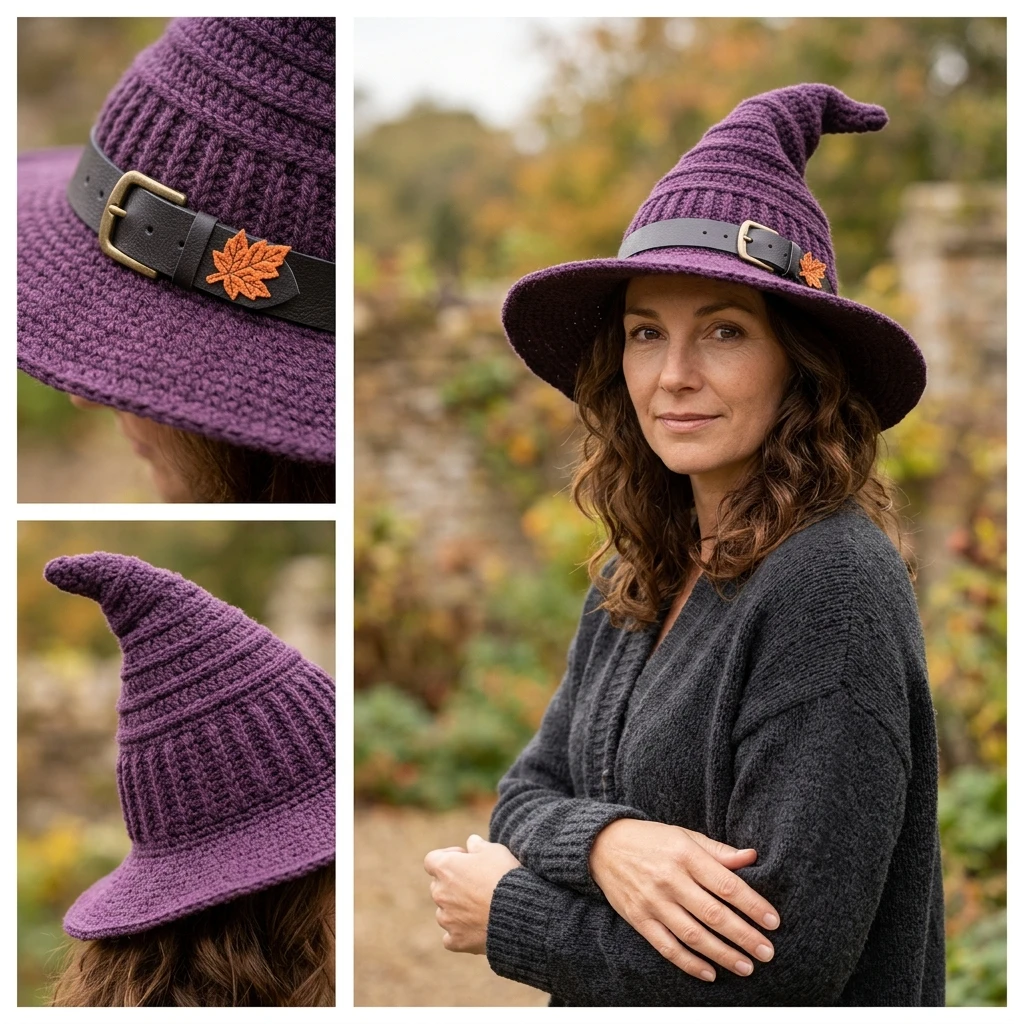
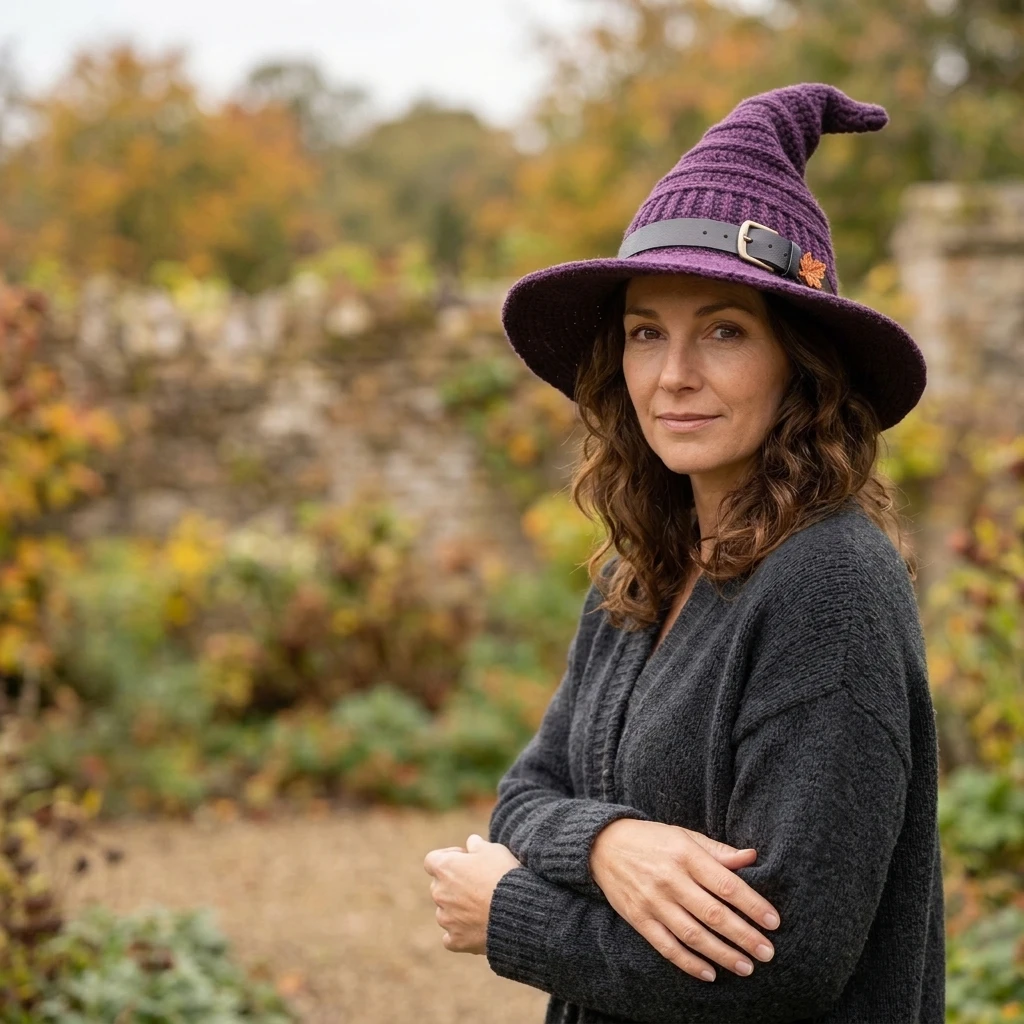
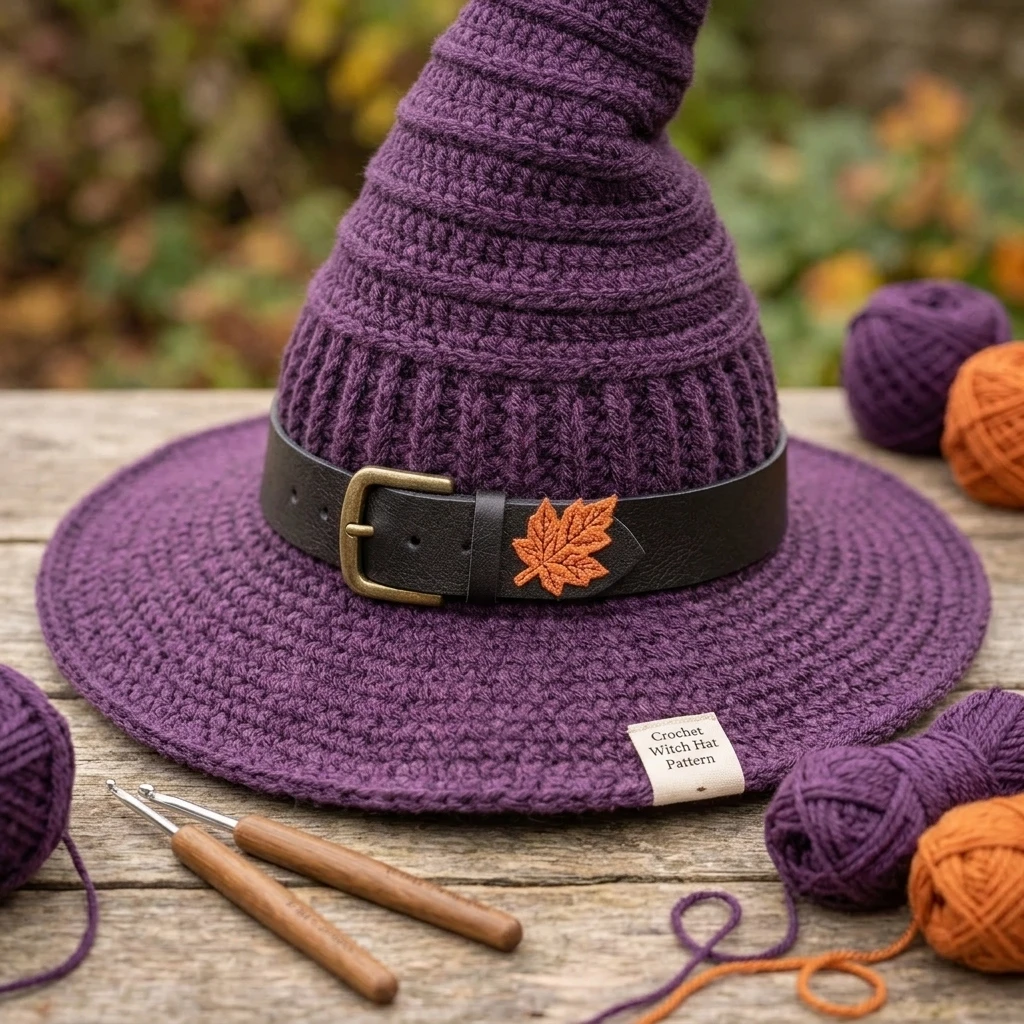
Nothing says classic enchantment like a tall, structured crochet witch hat. This project transforms simple yarn into a dramatic accessory featuring a sharp, iconic point and a wide, sweeping brim that holds its shape. Designed for a modern aesthetic, this hat is perfect for costume parties, Halloween festivities, or as a whimsical addition to a handmade wardrobe. The construction focuses on building a seamless cone from the top down, allowing the maker to customize the height and flare before transitioning into the architectural drama of the brim. When worn by an adult model, the silhouette strikes a balance between gothic elegance and handcrafted charm.
The Design: What Makes This Pattern Different
The secret to a successful witch hat lies in its structural integrity. Unlike floppy beanies, this design utilizes a dense stitch pattern and strategic increases to ensure the tip remains upright and the brim extends outward without collapsing. A common mistake many makers encounter is using a hook that is too large, resulting in a fabric that is too supple to support the hat’s weight. By working with a slightly smaller hook than recommended for your yarn weight, you create a stiff, durable fabric that maintains its iconic silhouette even after hours of wear. The transition between the crown and the brim is worked into the front loops only to create a sharp “ledge,” giving the hat a professional, store-bought finish.
Project Info at a Glance
| Skill Level | Intermediate |
|---|---|
| Estimated Time | 5–8 Hours |
| Finished Size | Adult (22″ circumference, 14″ height) |
| Hook Size | 5.0 mm (H/8) |
| Yarn Weight | Worsted (Weight 4) |
| Gauge | 15 sts x 16 rows = 4″ in sc (suggested) |
| Best For | Costumes, Halloween, Themed Events |
Materials and Tools
Yarn
For this project, a sturdy acrylic or wool blend is recommended to help the hat maintain its shape. You will need approximately 350–400 yards of worsted weight yarn. While black is the traditional choice, deep purples, emerald greens, or even a variegated “midnight” blend work beautifully for this design.
Tools
- 5.0 mm crochet hook (or size needed to obtain a stiff gauge)
- Stitch markers (essential for working in continuous rounds)
- Yarn needle for weaving in ends
- Optional: 16-gauge galvanized wire or millinery wire for brim reinforcement
- Scissors
Abbreviations
- ch: chain
- sc: single crochet
- inc: increase (2 sc in the same stitch)
- st(s): stitch(es)
- sl st: slip stitch
- FLO: front loop only
- BLO: back loop only
Pattern — Step by Step
Part 1: The Pointed Crown
The crown is worked in continuous spiral rounds from the top down. Do not join at the end of each round; instead, use a stitch marker to track the first stitch of every round.
- Round 1: Start with a magic ring. Place 4 sc into the ring. (4 sts)
- Round 2: Sc in each st around. (4 sts)
- Round 3: [Sc, inc] twice. (6 sts)
- Round 4: Sc in each st around. (6 sts)
- Round 5: [Sc 2, inc] twice. (8 sts)
- Round 6: Sc in each st around. (8 sts)
- Round 7: [Sc 3, inc] twice. (10 sts)
- Rounds 8–40: Continue increasing by 2 stitches every other round until you reach approximately 50 stitches. (Note: To make the hat taller, increase every 3rd or 4th round instead).
- Rounds 41–55: Sc in each st around until the crown reaches the top of the ears or your desired hat depth. Final stitch count should be a multiple of 6 for the brim transition (adjust as needed).
Part 2: The Wide Brim
The brim is where the hat gets its personality. To create a crisp horizontal flare, we change the direction of the stitches.
- Round 56: In FLO, [sc 5, inc] around. This creates the “ledge” of the brim.
- Round 57: Working in both loops, [sc 6, inc] around.
- Round 58: Sc in each st around.
- Round 59: [Sc 7, inc] around.
- Rounds 60–75: Continue the increase pattern (adding one more sc between increases each round) until the brim reaches your desired width. For a flat brim, alternate increase rounds with “even” rounds (sc in each st).
- Round 76: Sl st in each st around loosely to create a sturdy, decorative edge. Fasten off.
Assembly
Because this hat is worked in one continuous piece, assembly is minimal. However, adding structural or decorative elements is the final step to achieving a high-end look.
- Weave in the starting tail at the tip of the hat and the final tail at the edge of the brim using a yarn needle.
- If the brim feels too floppy, sew a length of millinery wire to the underside of the final round using a whip stitch with matching yarn.
- Block the hat by steaming it lightly or using a fabric stiffener spray while it is resting on a hat form or a bowl.
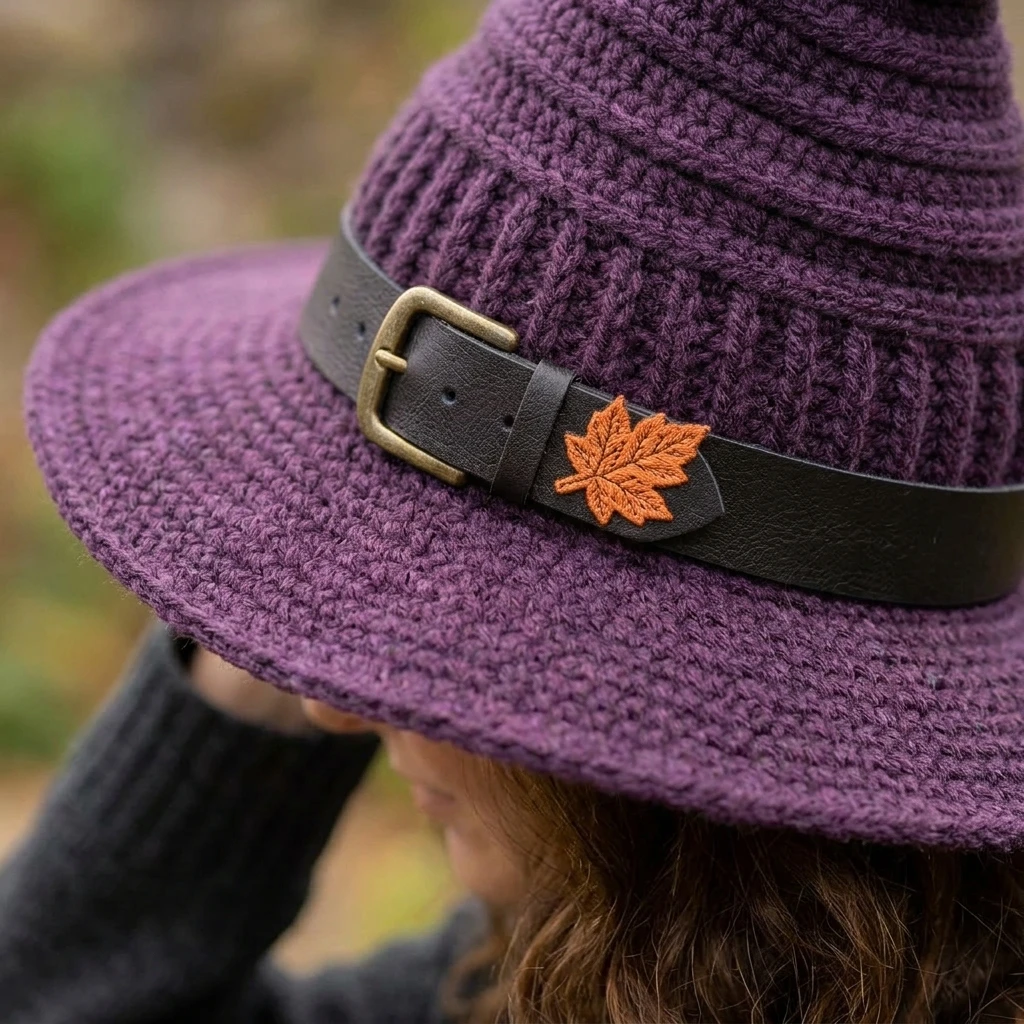
- Optional: Crochet a simple band in a contrasting color (like orange or purple) and sew it around the base of the crown. Attach a felt or crocheted buckle to the front.
7 Technical Tips for a Better Crochet Witch Hat Pattern
- Use a Tight Tension: If your stitches are loose, the cone will lean. Aim for a fabric that can stand up on its own.
- Invisible Increases: To avoid “seam lines” in your cone, vary the placement of your increases so they don’t stack directly on top of each other.
- The Magic of Steam: Use a handheld steamer to shape the brim perfectly flat once you are finished.
- Wire is Your Friend: For very wide brims, a plastic or metal hoop inserted into the last round is the only way to prevent “the wave.”
- Color Transitions: If adding a band, use the “jogless join” technique for a cleaner look at the back of the hat.
- Stitch Markers are Non-Negotiable: In a spiral of 100+ stitches, it is incredibly easy to lose your place. Mark the first stitch of every round.
- Weight Matters: If using a heavy wool, the tip may tip over. You can lightly stuff the very top 2 inches of the point with fiberfill to keep it upright.
Frequently Asked Questions
What is the best yarn for a witch hat?
Cotton or stiff acrylics are best. Avoid luxury fibers like alpaca or silk, as they have too much “drape” and will cause the hat to sag.
How do I make the hat fit a child?
Stop the crown increases when the circumference matches the child’s head (usually around 18–20 inches) and begin the brim immediately.
My brim is rippling too much. What happened?
Rippling occurs when there are too many increases for the circumference. Try working two rounds of “sc in each stitch” for every one increase round to flatten it out.
Can I wash my crochet witch hat?
Hand wash only and lay flat to dry. If you used wire or fabric stiffener, avoid submerging it in water; spot clean instead.
How do I make the point curvier?
To create a “crooked” witch hat, work several rounds without increases on one side and multiple increases on the opposite side to force the cone to lean.
Conclusion
Creating your own crochet witch hat is a rewarding project that combines basic stitches with sculptural techniques. By focusing on tight tension and strategic increases, you can craft a piece that is as durable as it is enchanting. Whether you choose a classic matte black or a sparkly festive yarn, your finished hat is sure to be the highlight of your costume. Don’t forget to save this pattern to your Halloween Crochet board on Pinterest! What color will you choose for your magical hat?
Save This Crochet Pattern