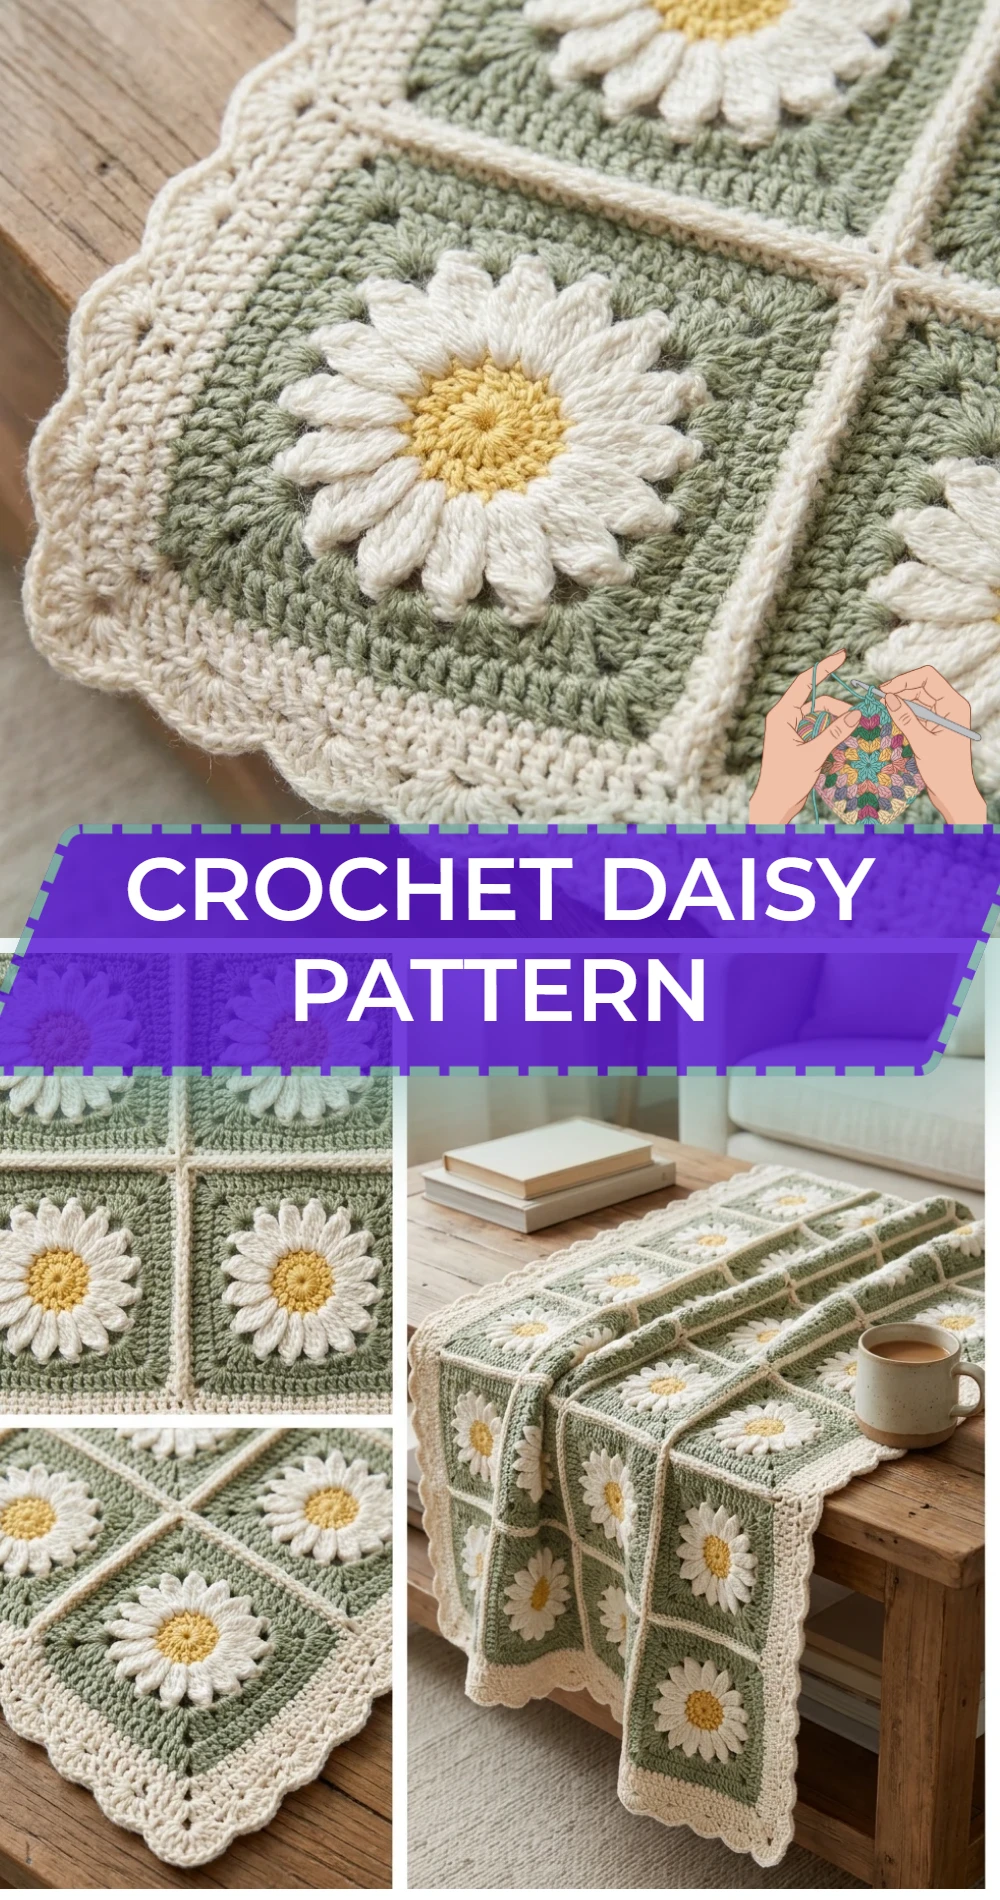
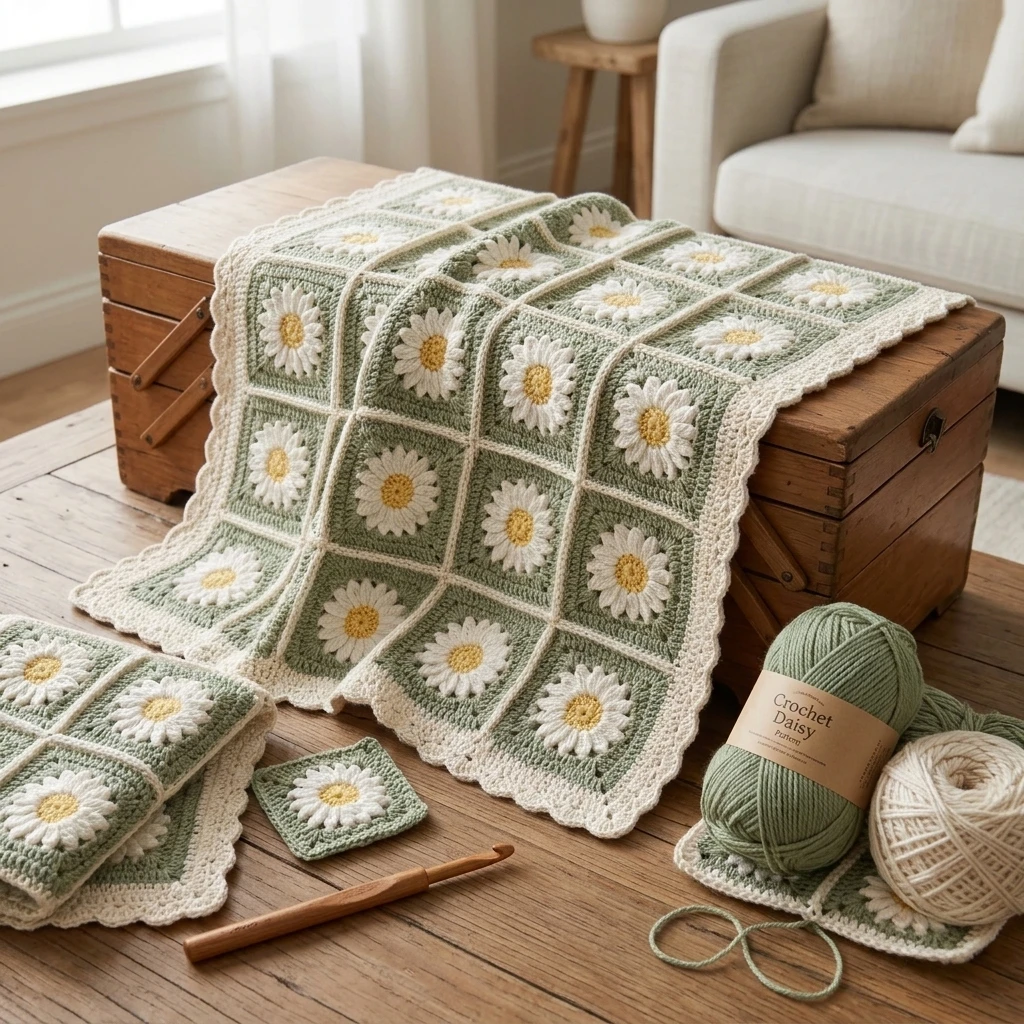
Brighten up your accessories and home decor with a timeless floral classic. The Crochet Daisy Pattern captures the cheerful essence of spring with its iconic sunny yellow center and crisp white petals. This project is perfect for beginners looking to practice working in the round and mastering decorative stitch heights. The finished daisy is lightweight and flat, making it an ideal embellishment for hats, blankets, tote bags, or even strung together to create a whimsical floral bunting. Constructed by creating a sturdy circular core and radiating petals outward, this design is as satisfying to make as it is beautiful to display.
The Design: What Makes This Pattern Different
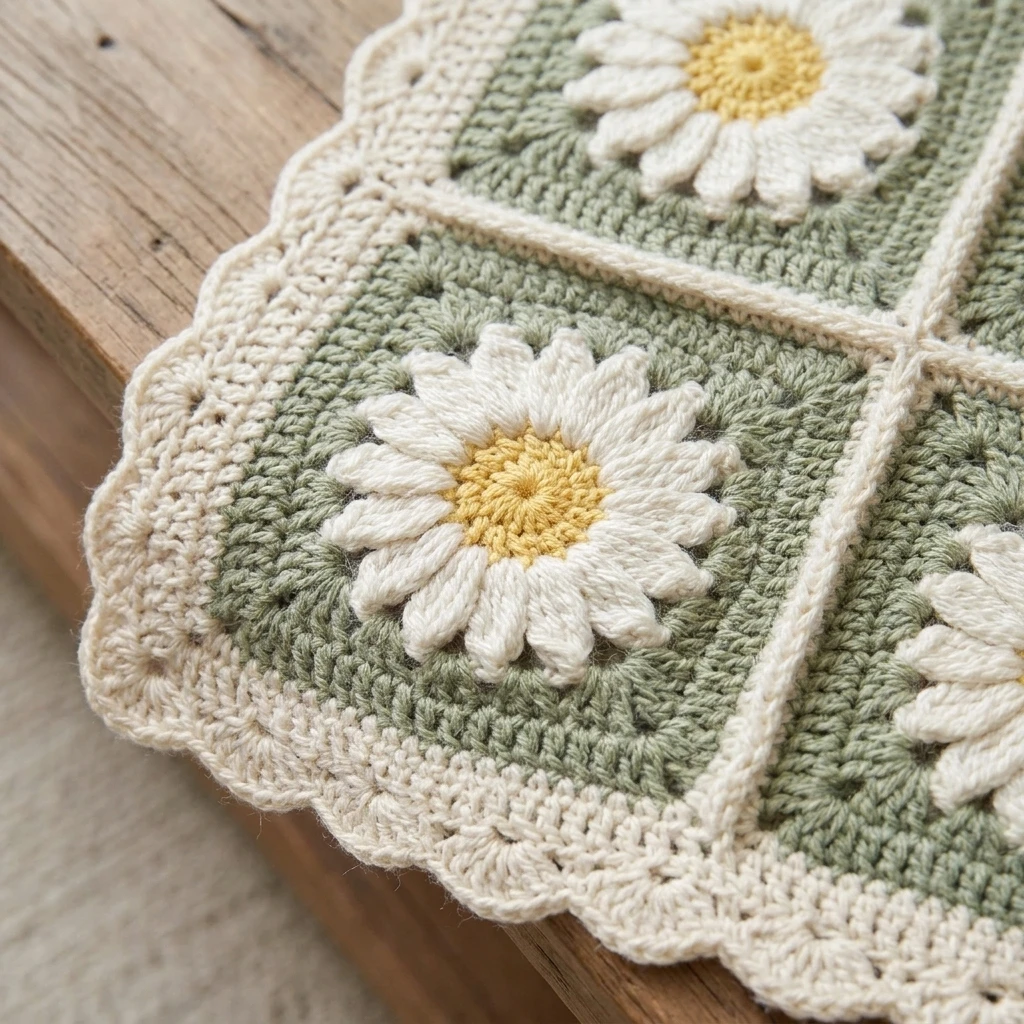
This design prioritizes a structured, flat-laying finish that mimics a real Shasta daisy. Many floral patterns suffer from “petal curl,” where the petals roll inward or refuse to stay flat. To combat this, our pattern uses a specific stitch-to-foundation ratio that ensures each petal has enough room to breathe without overlapping excessively. We focus on using triple crochet stitches (trebles) to provide height and elegance, while a foundation of single crochets keeps the center dense and vibrant. One common mistake to avoid is working too tightly in the center ring; if the center is too constricted, the petals will bunch up and create a “cup” shape rather than a flat flower.
Project Info at a Glance
| Feature | Details |
|---|---|
| Skill Level | Advanced Beginner |
| Estimated Time | 15–20 minutes per flower |
| Finished Size | Approximately 3 to 4 inches (photo-inspired) |
| Hook Size | 3.5mm (E) or 4.0mm (G) suggested |
| Yarn Weight | Worsted weight or DK weight cotton |
| Gauge | Not critical; maintain consistent tension for flat petals |
| Best For | Appliqués, hair clips, and garland decor |
Materials and Tools
Yarn
To achieve the classic look, we suggest using a high-quality mercerized cotton yarn. Cotton provides the stitch definition necessary for petals to hold their shape. You will need approximately 5–10 yards of bright yellow for the center and 15–20 yards of white for the petals. These are estimated quantities based on a standard 3.5-inch daisy.
Tools
Standard crochet tools are required, including a crochet hook (size 3.5mm or 4.0mm depending on your yarn choice), a sharp pair of embroidery scissors, and a darning needle for weaving in the yarn tails. If you plan on using these as pins or hair accessories, have your hardware ready for the assembly phase.
Abbreviations
- ch: Chain
- sc: Single crochet
- dc: Double crochet
- tr: Treble crochet
- sl st: Slip stitch
- st(s): Stitch(es)
- MR: Magic Ring
Pattern — Step by Step
The daisy is worked in two distinct stages. First, you will create a circular yellow center (the disc florets), and then you will join the white yarn to create the outer petals. We use a high petal count to ensure the flower looks lush and full.
Part 1: The Yellow Center
- Round 1: Start with a Magic Ring (MR). Work 12 sc into the ring. Join with a sl st to the first sc. (12 sts)
- Round 2: Ch 1, sc in each st around. Join with a sl st to the first sc. (12 sts)
- Fasten off the yellow yarn, leaving a short tail to weave in.
Part 2: The White Petals
- Join white yarn with a sl st in any sc from Round 2.
- Petal 1: Ch 3 (counts as first part of petal). In the same stitch, work 2 tr. Ch 3, then sl st back into the same stitch. (First petal complete).
- Next Petals: Sl st into the next stitch. *Ch 3, 2 tr in the same stitch, ch 3, sl st into the same stitch. Sl st into the next stitch.*
- Repeat from * to * until you have worked into every stitch around the center.
- You should have a total of 12 petals.
Finishing
Once the last sl st is placed, fasten off the white yarn. Leave a 6-inch tail if you intend to sew the daisy onto another project, or a short tail if you plan to weave it in immediately.
Assembly
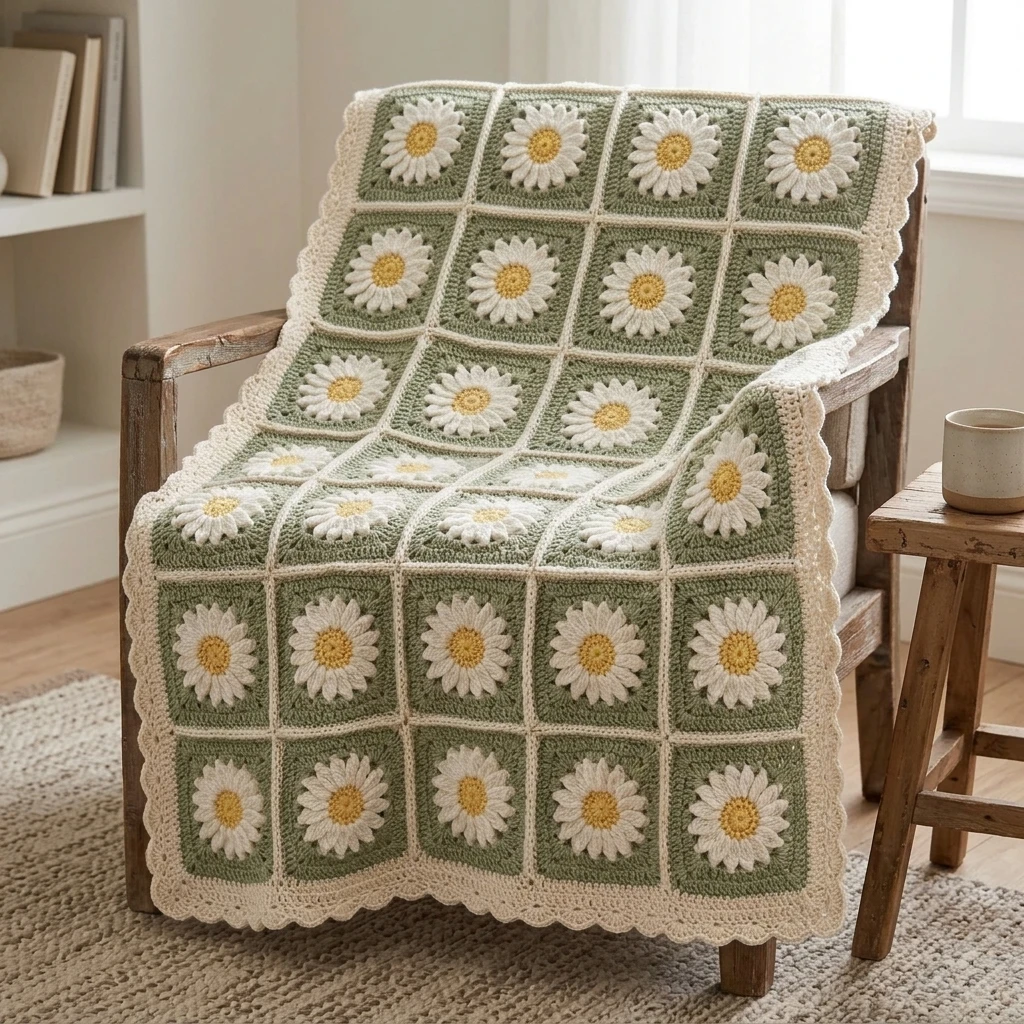
Proper assembly ensures that your crochet daisy looks professional and lasts through wear and tear. If you are making multiple daisies for a garland, ensure they are all blocked to the same diameter before connecting them.
- Secure the Center: Tighten the Magic Ring tail firmly so no yellow yarn shows through the center hole, then weave it in securely on the back.
- Weave in Petal Tails: Using your darning needle, weave the white yarn tails along the base of the petals where the white meets the yellow. This keeps the edges clean.
- Steam Blocking: Lay the daisy flat on a blocking mat. Gently steam with an iron (do not touch the yarn with the iron) to help the petals relax and lie perfectly flat.
- Attachment: If using as an appliqué, sew the yellow center onto your garment or accessory using a whip stitch, leaving the petals free for a 3D effect.
7 Technical Tips for a Better Crochet Daisy Pattern
- Magic Ring Mastery: Ensure your Magic Ring is pulled tight. A loose center can make the flower look unfinished and allow the stuffing (if used) or backing to show through.
- Consistent Tension: Keep your treble crochet tension consistent. If your trebles are too loose, the petals will floppy; if too tight, they will curl inward.
- Color Transitions: When joining the white yarn, use a standing slip stitch for a cleaner look that minimizes the “bump” at the start of the petal round.
- The Power of Cotton: Use cotton or bamboo yarn for better stitch definition. Acrylic can sometimes look fuzzy, which detracts from the sharp lines of the daisy petals.
- Petal Count Check: If your flower is ruffling (wavy edges), you may have too many stitches in your center. Ensure you have exactly 12 sc to support the 12 petals.
- Hidden Tails: Always weave tails into the color-matched section. Never weave white tails into the yellow center or they will be visible from the front.
- Blocking is Key: Don’t skip blocking. A quick steam block transforms a slightly “rumpled” flower into a boutique-quality floral embellishment.
Frequently Asked Questions
Can I make this daisy larger or smaller?
Yes! To change the size, simply adjust your yarn weight and hook size. Use embroidery floss and a 1.5mm hook for tiny earrings, or chunky yarn and a 6.0mm hook for a large pillow appliqué.
Why are my petals curling?
Petal curling is usually caused by tight tension or using a hook that is too small for your yarn weight. Try going up half a millimeter in hook size to allow the stitches more room to lay flat.
How do I join these daisies together for a blanket?
The best way is to use a “join-as-you-go” method in the final petal round, or sew the tips of the petals together using a needle and matching white thread after they are finished.
Can I wash the crochet daisies?
If you use cotton yarn, they are generally machine washable on a delicate cycle. However, it is best to lay them flat to dry and give them a quick steam once dry to regain their shape.
How do I make the center more “puffy”?
To create a 3D textured center, replace the single crochets in Round 1 with popcorn stitches or puff stitches. This will give the daisy a more realistic, raised middle.
Conclusion
The Crochet Daisy Pattern is a versatile and joyful project that adds a touch of handmade charm to any item. By following these steps and paying attention to your tension and blocking, you can create professional-looking blooms in no time. Whether you use them for gifts, home decor, or personal accessories, these daisies are sure to stay in bloom all year round. Save this pattern to your Pinterest crochet board so you can always find it for your next spring project! What will you adorn with your finished daisies—a cozy blanket or a summer sun hat?
Save This Crochet Pattern