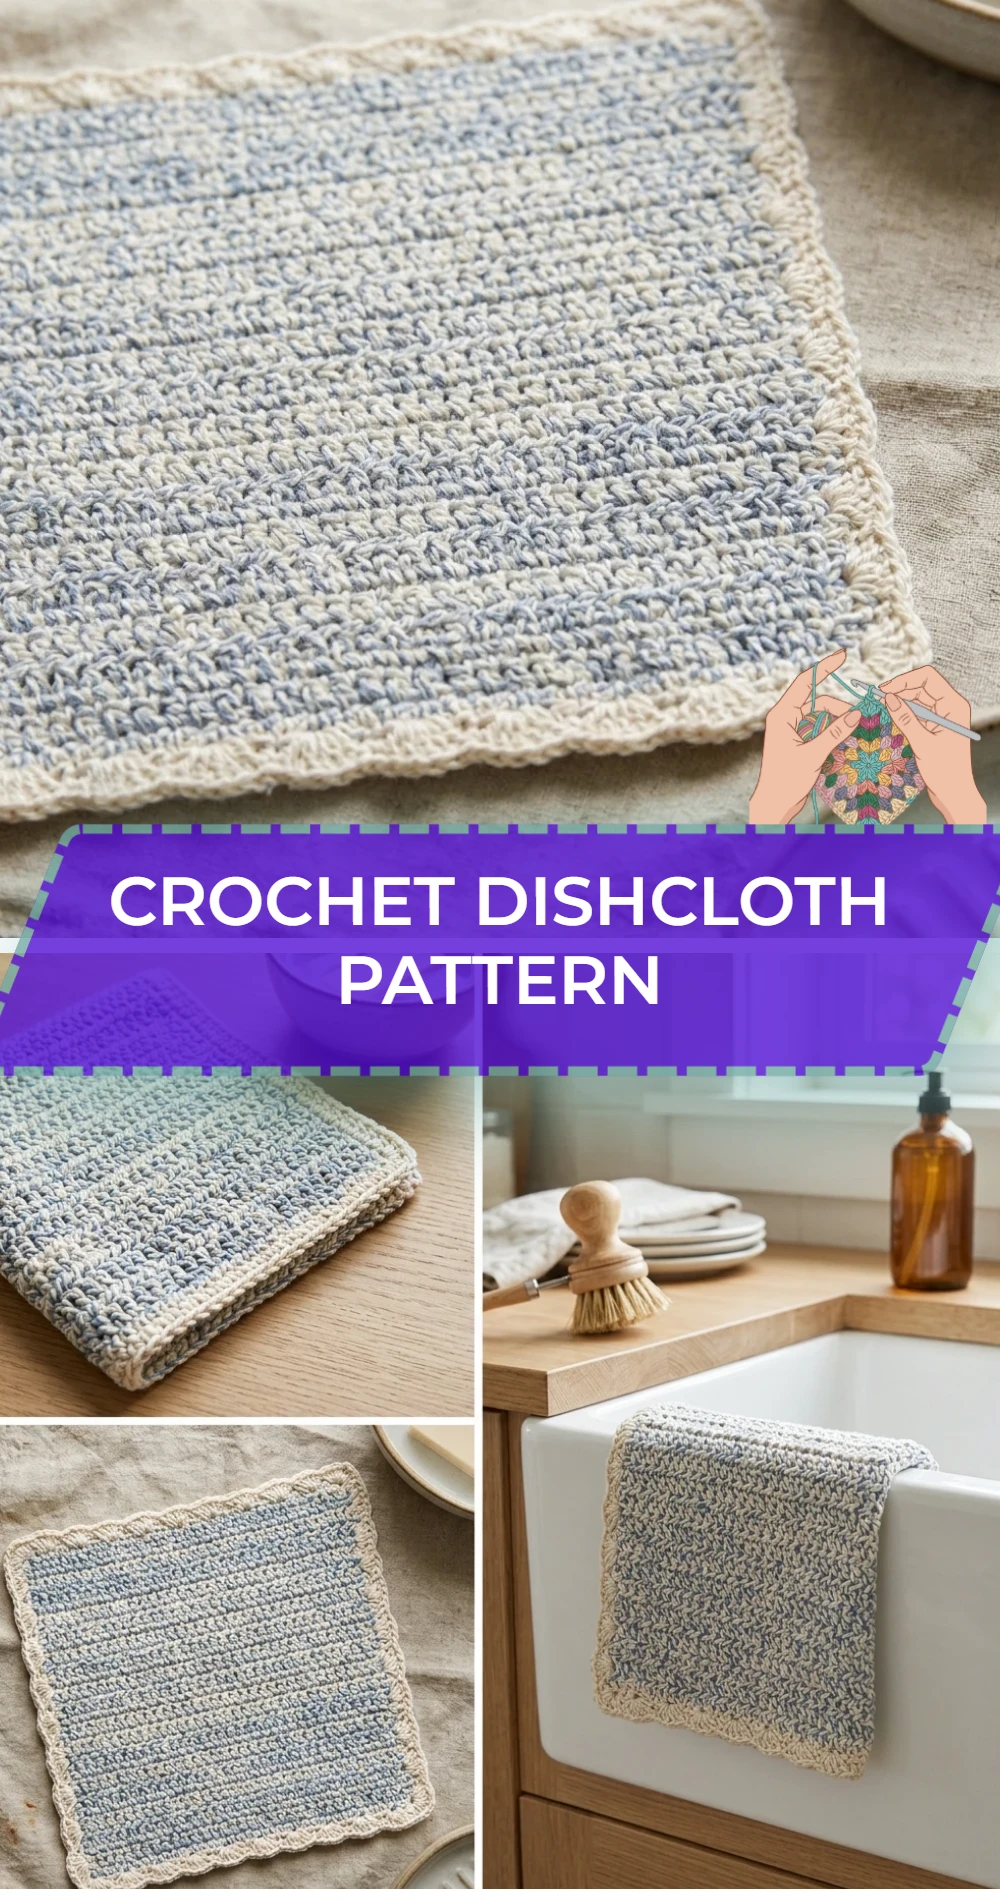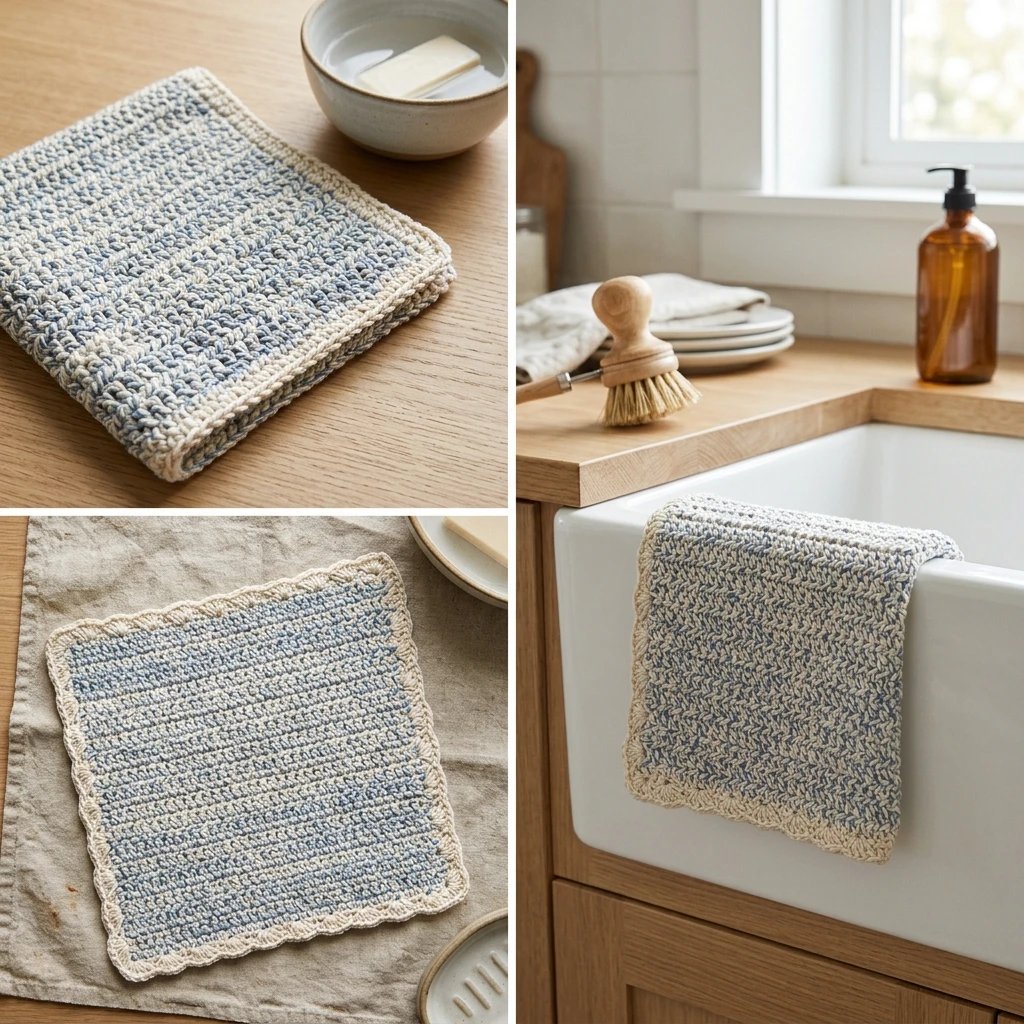
A handmade crochet dishcloth is the ultimate intersection of utility and charm, offering a sustainable alternative to disposable sponges while adding a pop of artisanal texture to your sink-side decor. This specific pattern focuses on a dense, exfoliating stitch profile that provides enough “scrub” for tough cleaning without scratching delicate surfaces. It is an ideal project for beginners looking to master tension and stitch placement, yet remains a satisfyingly quick “pallet cleanser” for seasoned makers. Whether you are building a housewarming gift set or refreshing your own utility drawer, this dishcloth is designed for maximum absorbency and longevity.
The Design: What Makes This Pattern Different
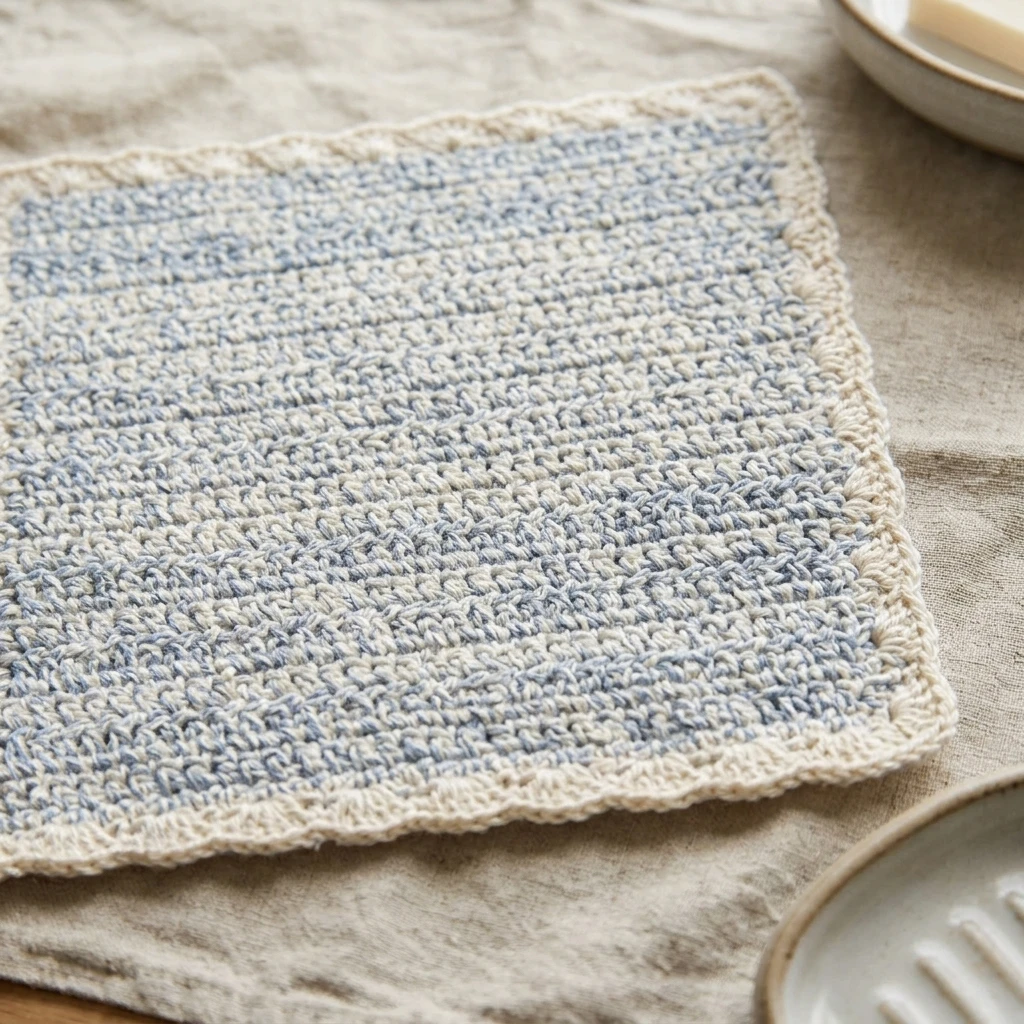
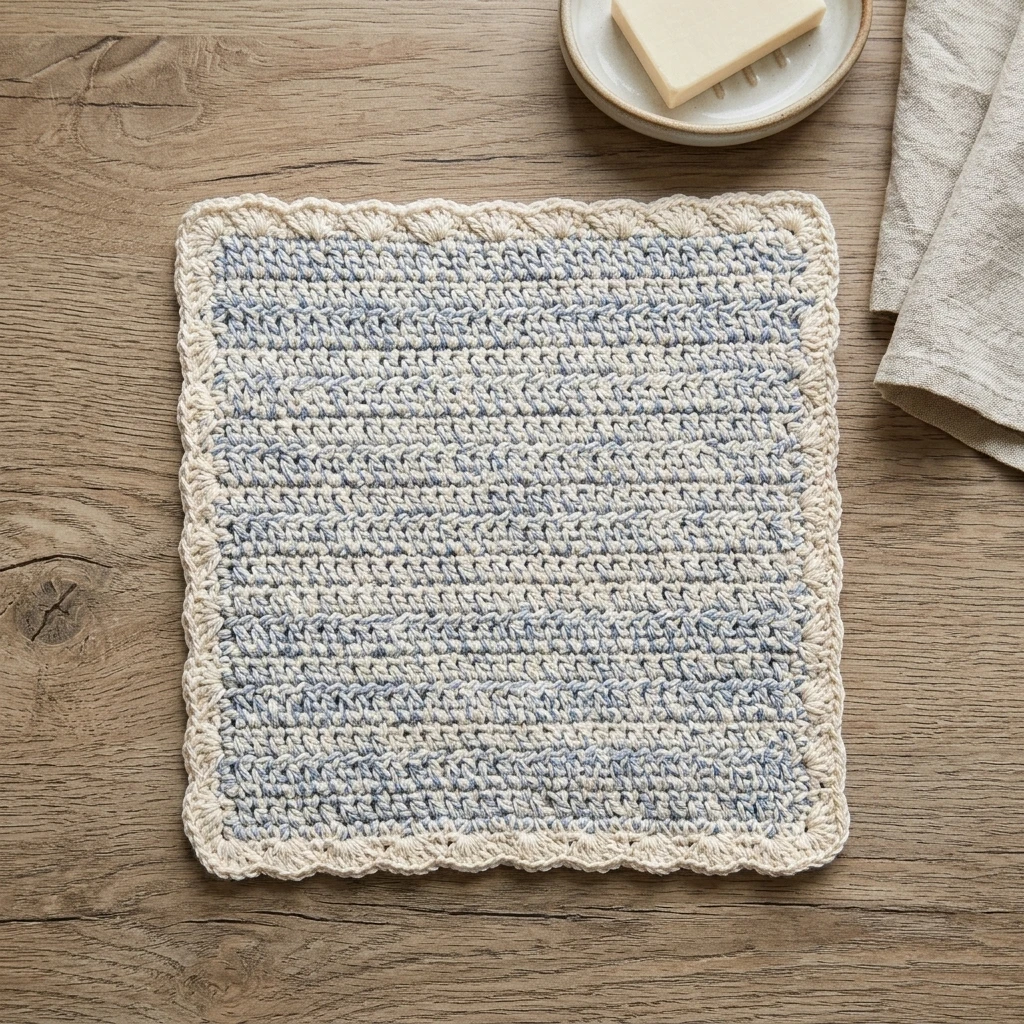
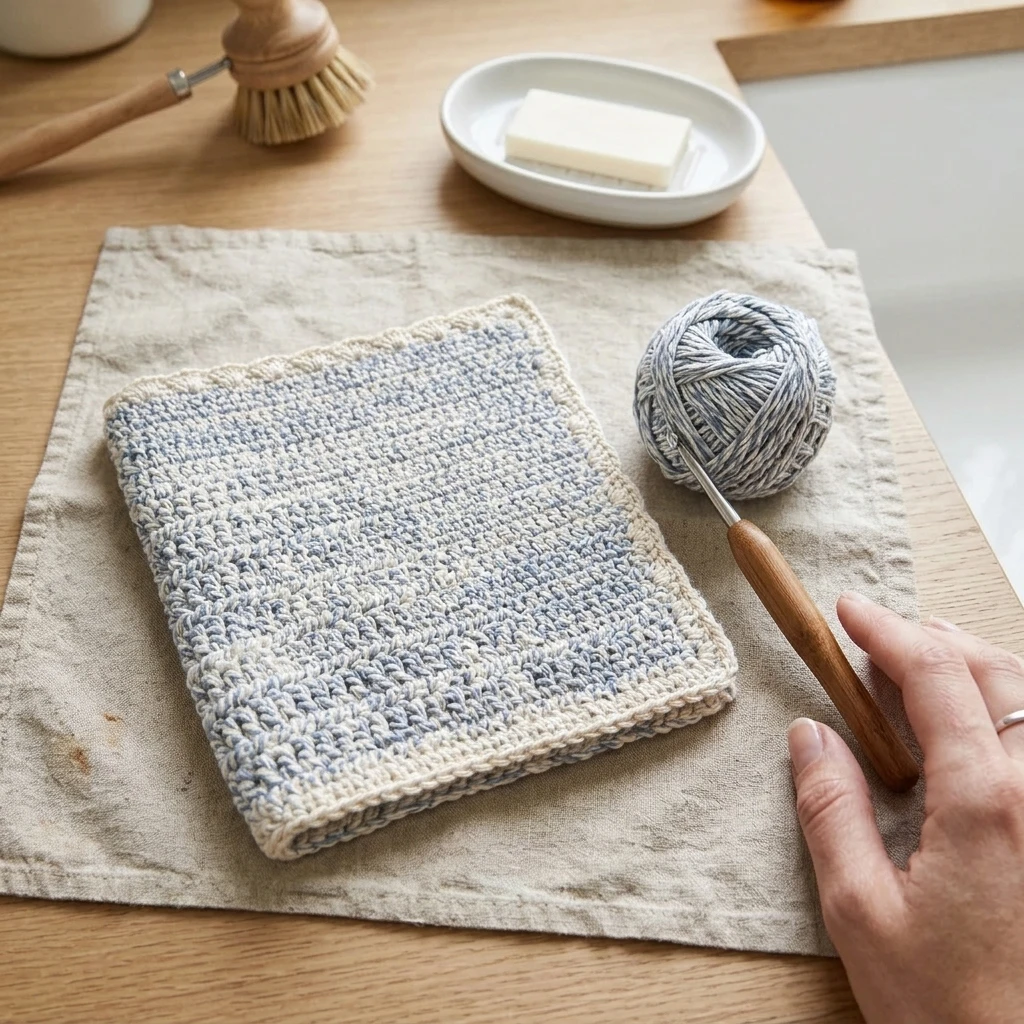
The visual identity of this dishcloth relies on the “Lemon Peel” stitch, a rhythmic alternation of single and double crochet stitches. Unlike a basic solid single crochet fabric, which can be too stiff, or a double crochet fabric, which is often too gappy, this combination creates a “knobbly” texture that is perfect for trapping soap suds. Structurally, the edges are kept crisp by working into the very first stitch of every row, ensuring the cloth remains a perfect square rather than a trapezoid.
One common mistake to avoid with this design is substituting 100% cotton yarn with an acrylic blend. Acrylic yarn is essentially plastic; it will not absorb water and will likely melt or pill when exposed to high temperatures. Stick to plant-based fibers to ensure the dishcloth performs its primary function effectively.
Project Info at a Glance
| Feature | Details |
|---|---|
| Skill Level | Beginner / Easy |
| Estimated Time | 45 – 60 Minutes |
| Finished Size | Approx. 8″ x 8″ (Photo-inspired) |
| Hook Size | 5.0mm (H-8) |
| Yarn Weight | Worsted (Weight 4) |
| Gauge | 14 sts x 12 rows in pattern = 4″ (Estimated) |
| Best For | Kitchen Cleaning, Spa Gifts, Eco-friendly Living |
Materials and Tools
Yarn
For this project, you will need approximately 70–90 yards of 100% cotton yarn. Cotton is preferred for its durability, heat resistance, and superior absorbency. Suggested brands include Lily Sugar ‘n Cream, 24/7 Cotton, or Dishie.
Tools
- 5.0mm (H-8) Crochet Hook
- Tapestry needle for weaving in ends
- Large-eye embroidery scissors
- Optional: Stitch markers to track the first stitch of the row
Abbreviations
- CH: Chain
- ST(S): Stitch(es)
- SC: Single Crochet
- DC: Double Crochet
- SL ST: Slip Stitch
Pattern — Step by Step
Foundation and Base
The dishcloth is constructed in flat rows, turning at the end of each. The stitch count remains consistent throughout the body of the project. To adjust the width, ensure your starting chain is an odd number.
- Foundation Row: CH 31 (or until you reach your desired width).
- Row 1: SC in the 2nd CH from hook. DC in the next CH. *SC in next CH, DC in next CH; repeat from * across to the end. The final stitch should be a DC. (30 STS).
- Row 2: CH 1, turn. SC in the first DC (the last stitch of the previous row). DC in the next SC. *SC in next DC, DC in next SC; repeat from * across the row. (30 STS).
- Rows 3-24: Repeat Row 2 until the project is a perfect square (usually around row 24, depending on your individual tension).
Optional Border
If you prefer a more finished look, do not fasten off after the last row. CH 1 and work a round of SC evenly around all four sides of the cloth, placing 3 SC in each corner stitch to prevent curling. Join with a SL ST to the first SC of the border.
Assembly
Since this project is worked in one continuous piece, assembly is minimal and focuses on securing the yarn to prevent unravelling during heavy use.
- Fasten off your yarn, leaving a tail of at least 6 inches.
- Thread the tail through a tapestry needle.
- Weave the tail horizontally through the tops of the last row of stitches.
- Change direction and weave back through the same stitches one row below to “lock” the yarn in place.
- Repeat the weaving process for the starting tail at the foundation chain.
- Trim any excess yarn close to the fabric.
7 Technical Tips for a Better Crochet Dishcloth Pattern
- Check Your Fiber: Always use 100% cotton or a cotton/linen blend. Cotton shrinks slightly upon first washing, which actually tightens the stitches and makes for a better scrubbing surface.
- Mind the Turning Chain: In this pattern, the CH 1 at the start of the row does not count as a stitch. Make sure you place your first SC directly into the last DC of the previous row.
- Keep Tension Consistent: If your dishcloth is wider at the top than the bottom, you are likely loosening your tension as you go. Try to maintain a firm, even pull throughout.
- Identify the “V”: The Lemon Peel stitch works best when you place an SC into a DC from the row below, and a DC into an SC. If you find yourself placing an SC into an SC, your count is off.
- Use a Smaller Hook: If you tend to have loose stitches, drop down to a 4.5mm hook. A tighter fabric is more durable for heavy-duty kitchen tasks.
- Wet Blocking: After finishing, soak your dishcloth in cool water and lay it flat to dry in a perfect square. This sets the stitches and prevents the edges from rolling.
- Double the Life: Weave your ends in three different directions (the “rule of three”) to ensure that machine washing and drying don’t cause the tails to pop out.
Frequently Asked Questions
Can I use a different yarn weight?
Yes, but it will change the size. If using a DK weight (Weight 3), you will need to increase your starting chain to reach the 8-inch width and use a smaller hook (3.75mm or 4.0mm).
Why is my dishcloth curling at the corners?
Curling usually happens if your foundation chain is too tight or if your turning chains are too short. Try using a hook one size larger just for the foundation chain to give the edge more flexibility.
How do I clean my handmade dishcloths?
Cotton dishcloths can be tossed in the washing machine and dryer with your regular towels. Avoid fabric softener, as it can coat the fibers and reduce absorbency.
Is the Lemon Peel stitch the same as the Griddle stitch?
Yes, these names are often used interchangeably in US terminology to describe the alternating SC and DC pattern.
My dishcloth isn’t square. What happened?
You likely missed the final stitch of the row or added an extra one at the beginning. Use stitch markers in the first and last stitch of every row until you are comfortable identifying them.
Conclusion
This crochet dishcloth pattern is a fantastic way to practice essential stitches while creating something genuinely useful for the home. By utilizing 100% cotton and the textured Lemon Peel stitch, you’ve created a durable, absorbent tool that looks as good as it performs. If you enjoyed this tutorial, be sure to pin it to your “Quick Crochet Projects” board on Pinterest for later. What color of cotton yarn are you planning to use for your first set?
Save This Crochet Pattern