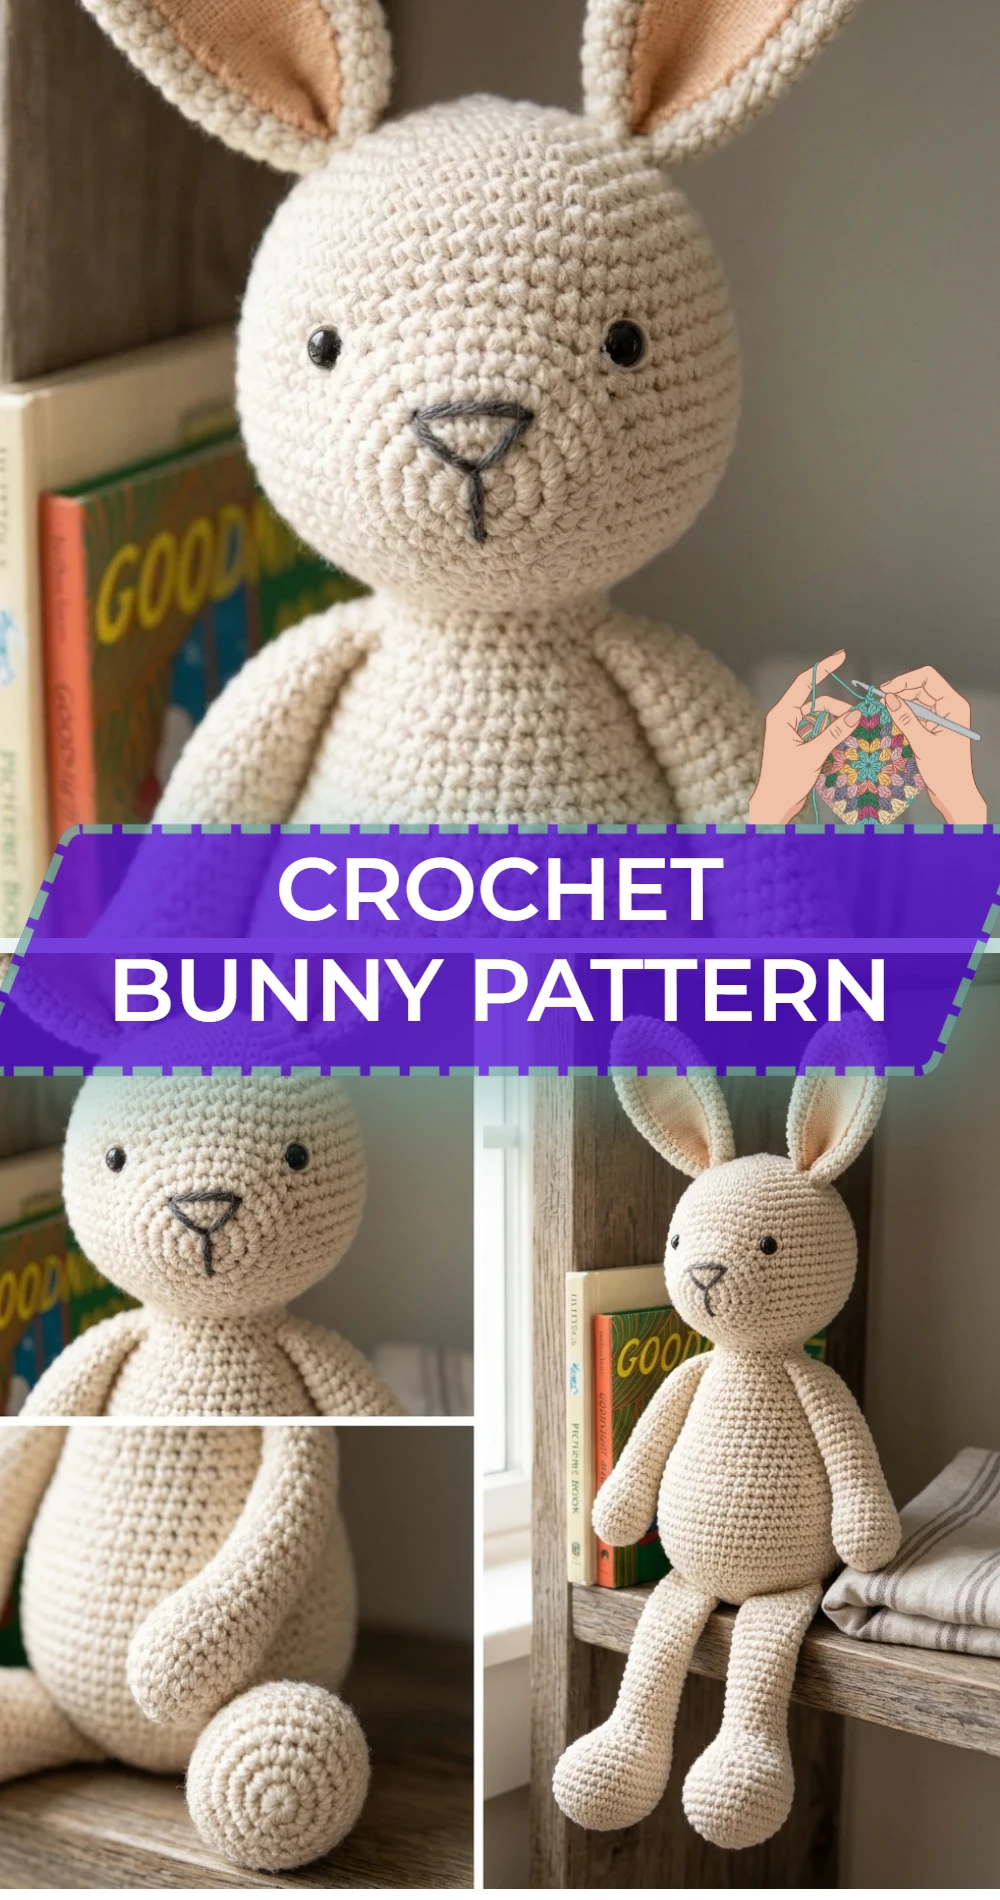
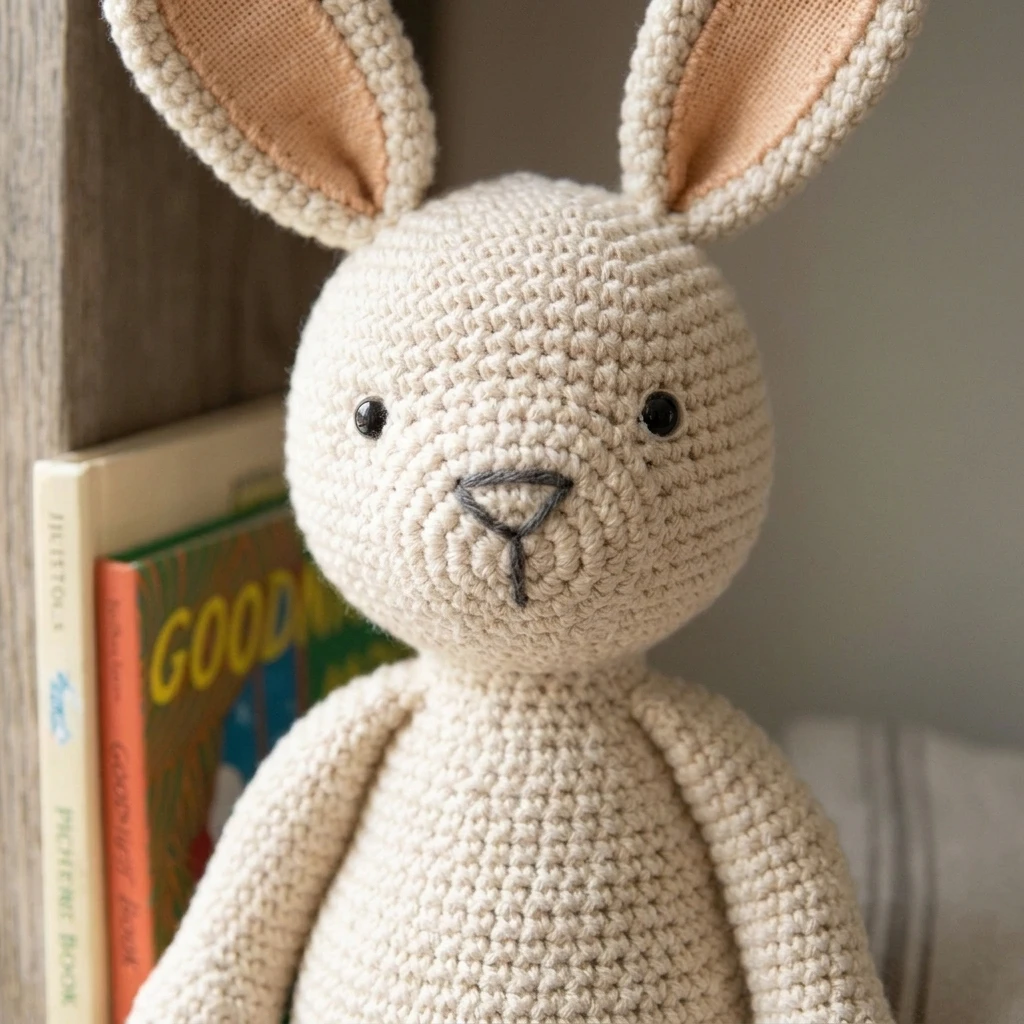
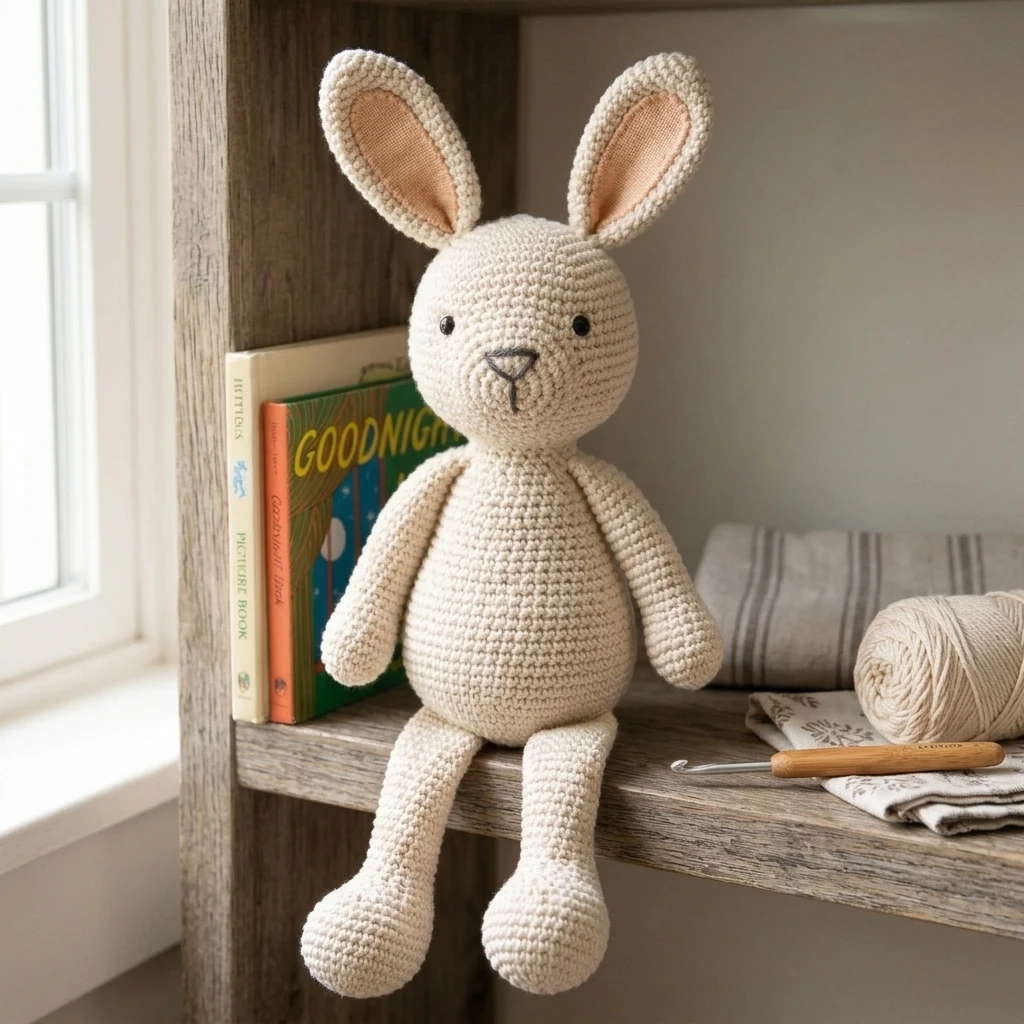
This charming crochet bunny features a timeless, minimalist aesthetic characterized by long, floppy ears and a soft, teardrop-shaped body. Designed to be the ultimate nursery companion or a heartfelt handmade gift, this amigurumi project emphasizes clean lines and a huggable texture. The construction typically involves working in continuous rounds to create a seamless finish, ensuring the toy is durable enough for years of play while maintaining its endearing, soulful expression.
The Design: What Makes This Pattern Different
Unlike traditional stiff toy patterns, this crochet bunny focuses on a “relaxed” silhouette. The design utilizes a weighted bottom (through dense stuffing) and elongated, un-stuffed ears that drape naturally. This choice gives the bunny a modern, “heirloom” look rather than a rigid plastic feel. We have also opted for a seamless transition between the head and body to eliminate the weak point often found at the neck.
One common mistake to avoid when working on this design is inconsistent tension between the limbs and the body. Because the body is larger, crocheters often loosen their grip, leading to visible stuffing gaps. Keep your tension firm throughout to ensure the bunny retains its shape even after multiple washes.
Project Info at a Glance
| Feature | Specification |
|---|---|
| Skill Level | Advanced Beginner / Intermediate |
| Estimated Time | 4 to 6 hours |
| Finished Size | Approximately 11 inches (excluding ears) |
| Hook Size | 3.5mm (E) or 3.25mm (D) |
| Yarn Weight | Worsted (Weight 4) |
| Gauge | 5 sc x 5 rows = 1 inch (estimated) |
| Best For | Nursery Decor, Baby Showers, Easter Gifting |
Materials and Tools
Yarn
For this project, we suggest approximately 180 to 200 yards of a soft cotton or acrylic blend. A matte finish yarn works best to emphasize the stitch definition. Natural tones like oatmeal, soft grey, or dusty rose are highly recommended for the classic heirloom aesthetic.
Tools
You will need a crochet hook slightly smaller than what the yarn label suggests to ensure a tight fabric. Additionally, prepare a tapestry needle for assembly, sharp scissors, 10mm safety eyes (or black embroidery floss for a child-safe version), and high-quality polyester fiberfill.
Abbreviations
Pattern — Step by Step
The Head and Body (Worked as One Piece)
The main structure starts at the top of the head and works downward into the body to create a sturdy, neck-free transition.
- Rnd 1: 6 sc in MR (6).
- Rnd 2: Inc in each st around (12).
- Rnd 3: [1 sc, inc] x6 (18).
- Rnd 4: [2 sc, inc] x6 (24).
- Rnd 5: [3 sc, inc] x6 (30).
- Rnd 6-12: sc in each st around (30).
- Rnd 13: [3 sc, dec] x6 (24).
- Rnd 14: [2 sc, dec] x6 (18). (Insert safety eyes between rounds 10 and 11).
- Rnd 15: [2 sc, inc] x6 (24). (This begins the neck-to-body expansion).
- Rnd 16: [3 sc, inc] x6 (30).
- Rnd 17-25: sc in each st around (30).
- Rnd 26: [3 sc, dec] x6 (24). Begin stuffing firmly.
- Rnd 27: [2 sc, dec] x6 (18).
- Rnd 28: [1 sc, dec] x6 (12).
- Rnd 29: Dec around (6). Fasten off and weave in ends.
The Floppy Ears (Make 2)
Ears are worked in long rounds without stuffing to allow them to hang loosely.
- Rnd 1: 6 sc in MR (6).
- Rnd 2: Inc in each st around (12).
- Rnd 3-15: sc in each st around (12).
- Rnd 16: [4 sc, dec] x2 (10).
- Rnd 17-20: sc in each st around (10). Fasten off, leaving a long tail for sewing.
Arms and Legs (Make 2 of Each)
Arms are shorter and thinner, while legs are slightly wider at the base to provide balance.
- Arms: Start with 6 sc in MR. Work 10 rounds of 6 sc. Stuff only the bottom half.
- Legs: Start with 6 sc in MR. Inc to 9 sc. Work 12 rounds of 9 sc. Stuff firmly.
Assembly
Proper assembly is the difference between a project that looks “homemade” and one that looks “handmade.” Take your time to pin every piece before sewing to ensure symmetry.
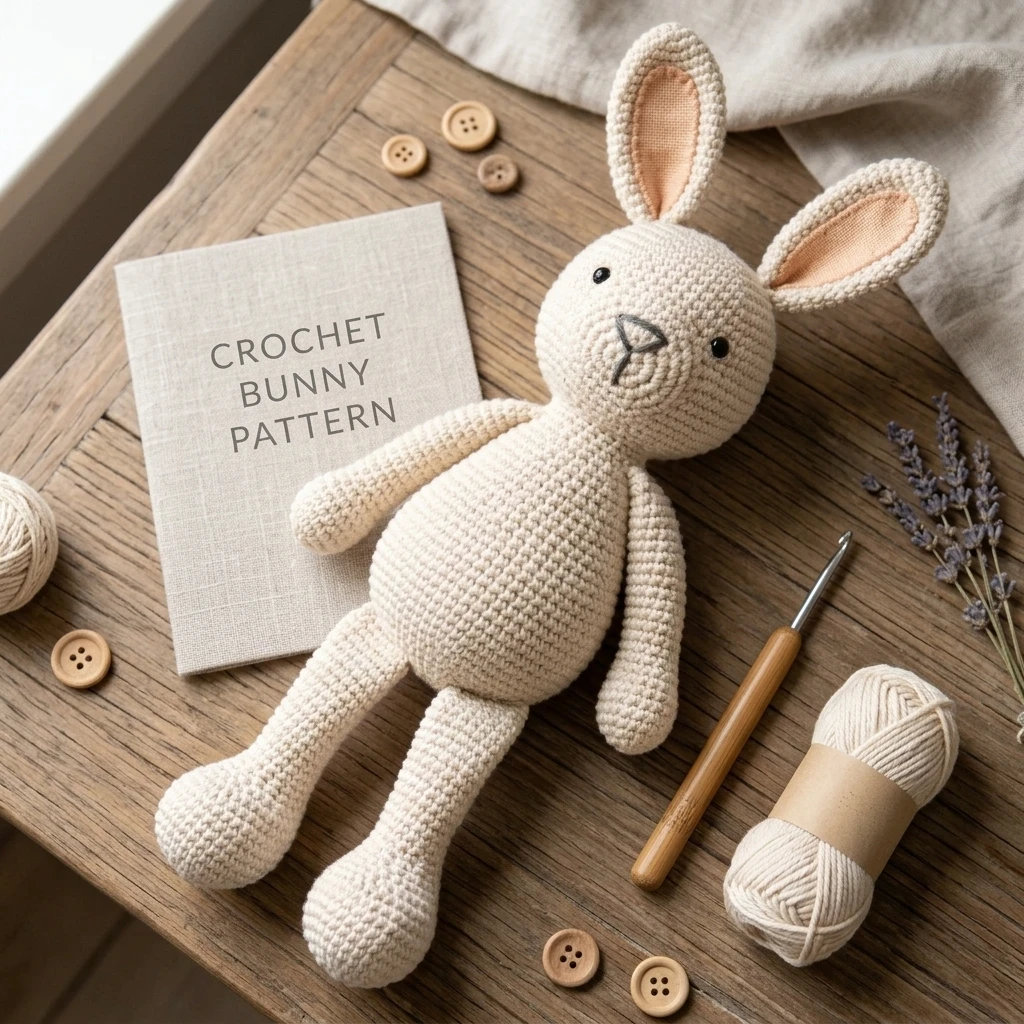
- Eye Placement: If using safety eyes, ensure they are secured with the washers inside the head before the neck narrows.
- Ear Attachment: Flatten the base of the ears and sew them to the top of the head at Round 3. Angle them slightly backward for a more natural look.
- Limb Placement: Sew the arms to the sides of the body just below the neck line. Sew the legs to the bottom of the body, spacing them so the bunny can sit upright.
- The Tail: Create a small pompom or a crocheted ball (6 sc in MR, inc to 12, dec back to 6) and attach it to the lower back for balance.
- Facial Details: Use pink embroidery floss to stitch a small “Y” shape for the nose and mouth directly between the eyes.
7 Technical Tips for a Better Crochet Bunny Pattern
- The Invisible Decrease: Always use the front-loop-only method for decreases. This prevents the “gaps” that allow white polyfill to peek through dark yarn.
- Yarn Under vs. Yarn Over: Consider using the “yarn under” technique for your single crochets. This creates a tighter “X” shaped stitch that is more rigid and professional for amigurumi.
- Weighted Base: For a bunny that sits perfectly on a shelf, add a small pouch of clean plastic pellets at the bottom of the body before finishing the stuffing.
- Double-Secure Eyes: If gifting to a child under three, ditch the safety eyes and use satin-stitch embroidery. It is 100% fail-safe and adds a custom look.
- Staggered Increases: To avoid a “hexagonal” shape in your rounds, stagger your increases (e.g., don’t always put the increase directly on top of the previous round’s increase).
- Tension Check: If you see the stuffing stretching the stitches, your hook is too large. Drop down half a millimeter to tighten the fabric.
- Softening the Fiberfill: Tease your polyester fiberfill apart before stuffing. This prevents “clumping” and makes the bunny feel much softer to the touch.
Frequently Asked Questions
What is the best yarn for a baby-safe bunny?
A high-quality cotton or bamboo blend is best. These fibers are breathable, don’t pill as easily as wool, and can usually withstand machine washing on a gentle cycle.
Can I use velvet or chenille yarn with this pattern?
Yes, but you will need to increase your hook size significantly (likely to 4.5mm or 5.0mm) and your finished bunny will be much larger and fluffier.
How do I make the ears stand up instead of flop?
To make the ears stand up, insert a pipe cleaner or floral wire inside before sewing. Note: This makes the toy unsuitable for young children.
My bunny’s head is wobbly. How can I fix it?
The best fix is to sew the head and body together with a very wide “base” of stitches, or insert a “neck bridge” (a small rolled-up piece of felt) inside the neck before closing.
How do I wash my finished crochet bunny?
Place the bunny in a mesh laundry bag and wash on a cold, delicate cycle. Lay flat to dry; never put amigurumi in the dryer as the heat can melt synthetic fibers or clump the stuffing.
Conclusion
Creating this crochet bunny is a rewarding journey that results in a classic, lovable companion. By focusing on tight tension, thoughtful assembly, and high-quality materials, you can produce a boutique-quality toy that stands the test of time. Don’t forget to customize your bunny with different colors or embroidered details to give it its own unique personality!
Love this design? Save it to your Crochet Inspiration board on Pinterest!
What color yarn are you planning to use for your first bunny project—traditional cream or something more adventurous like lavender?
Save This Crochet Pattern