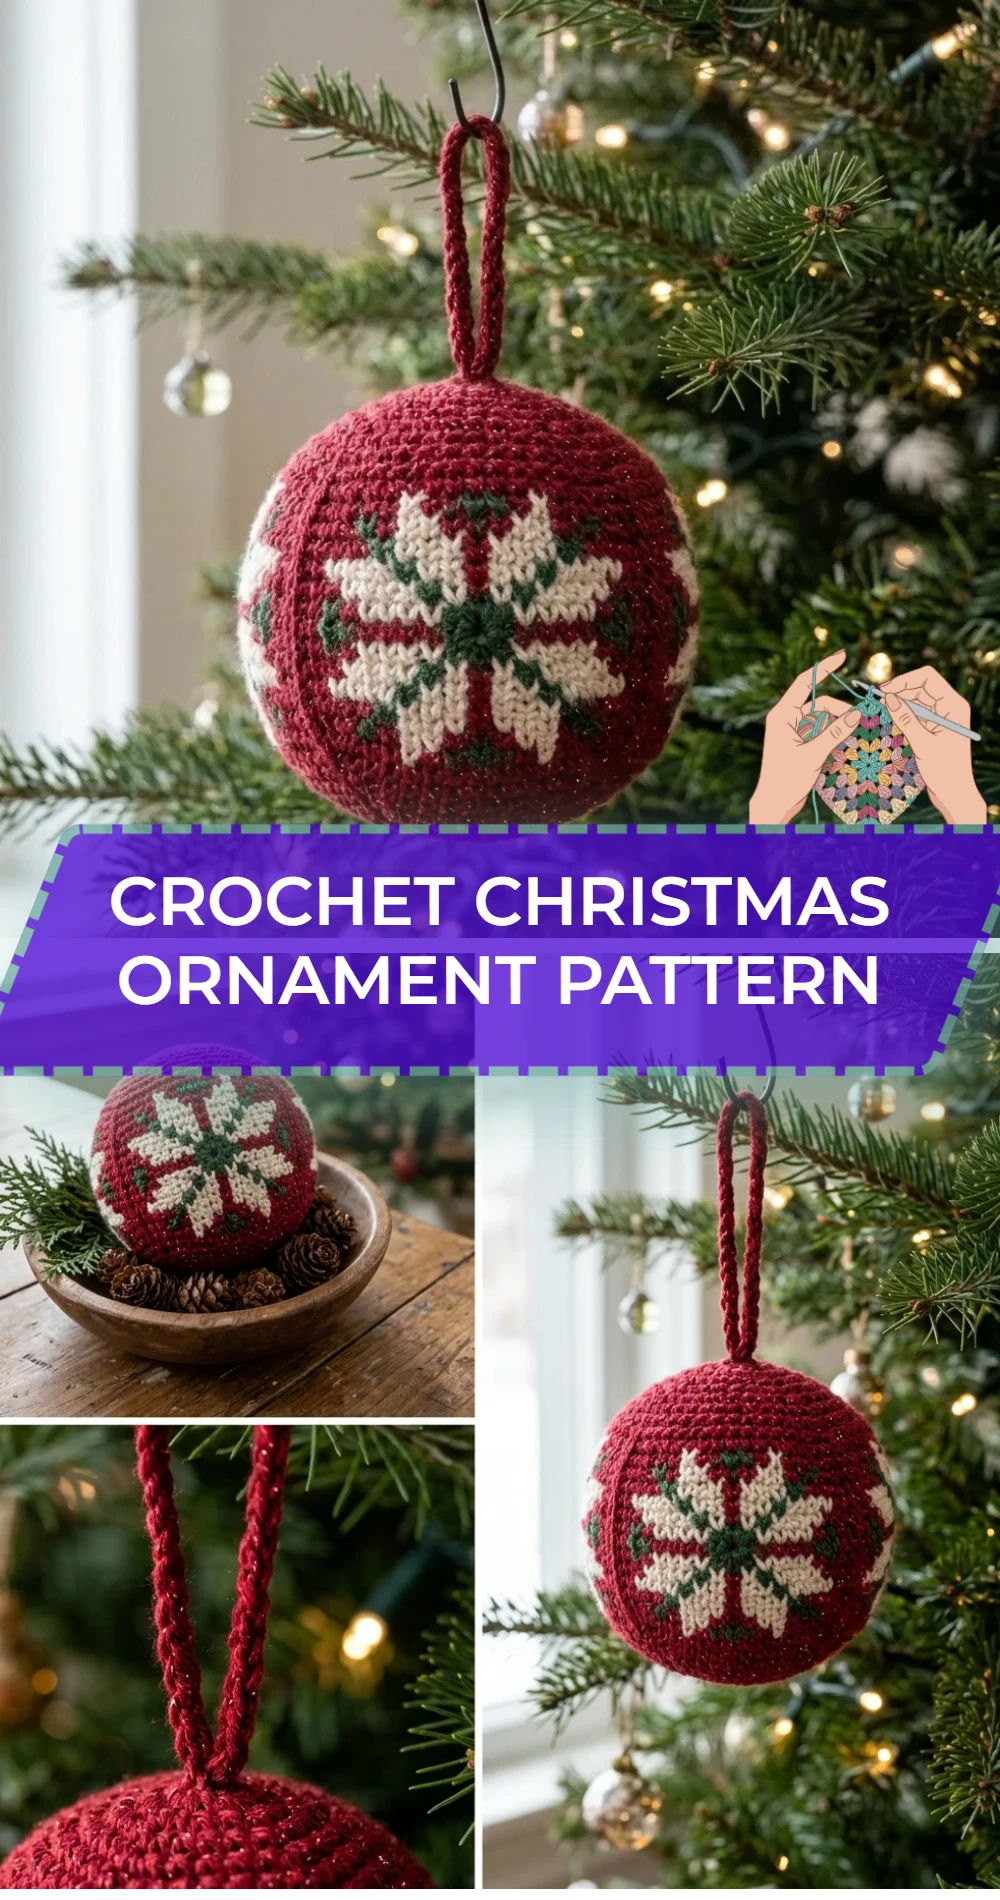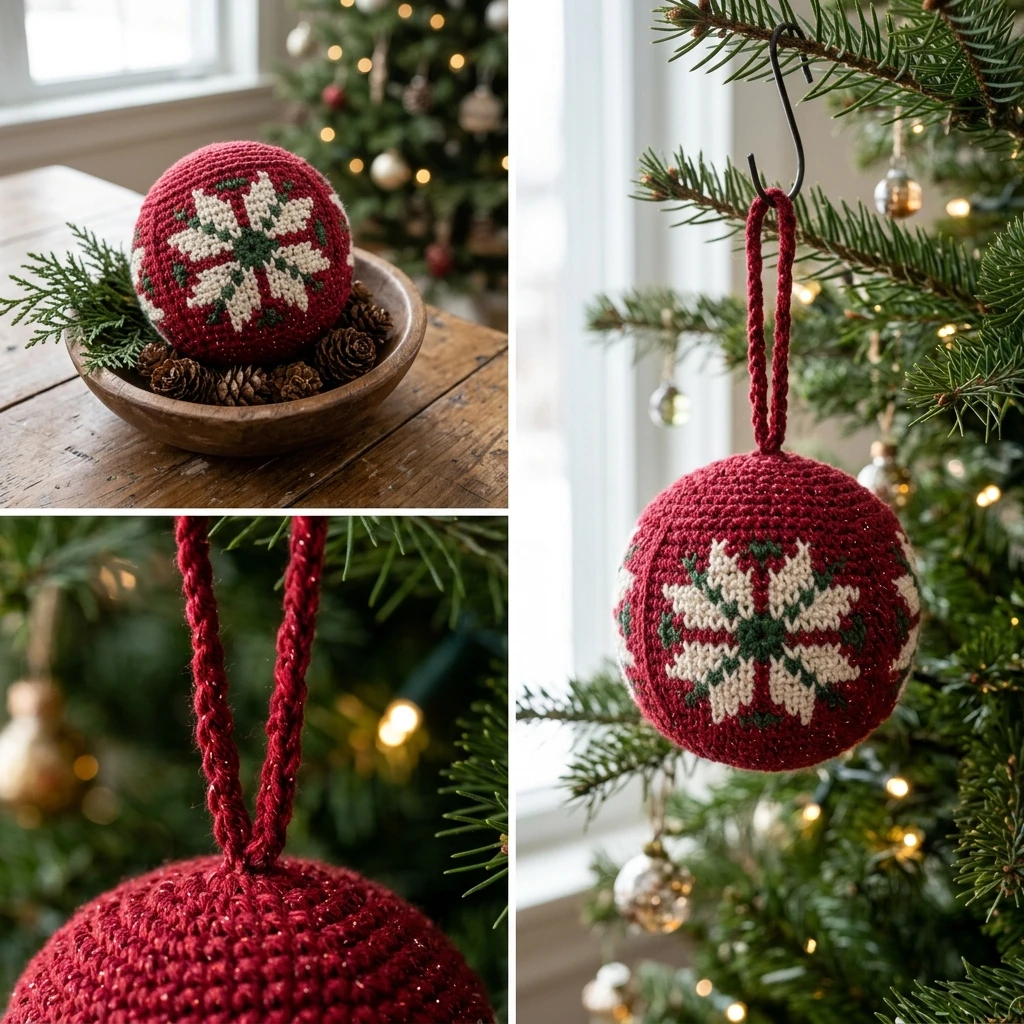
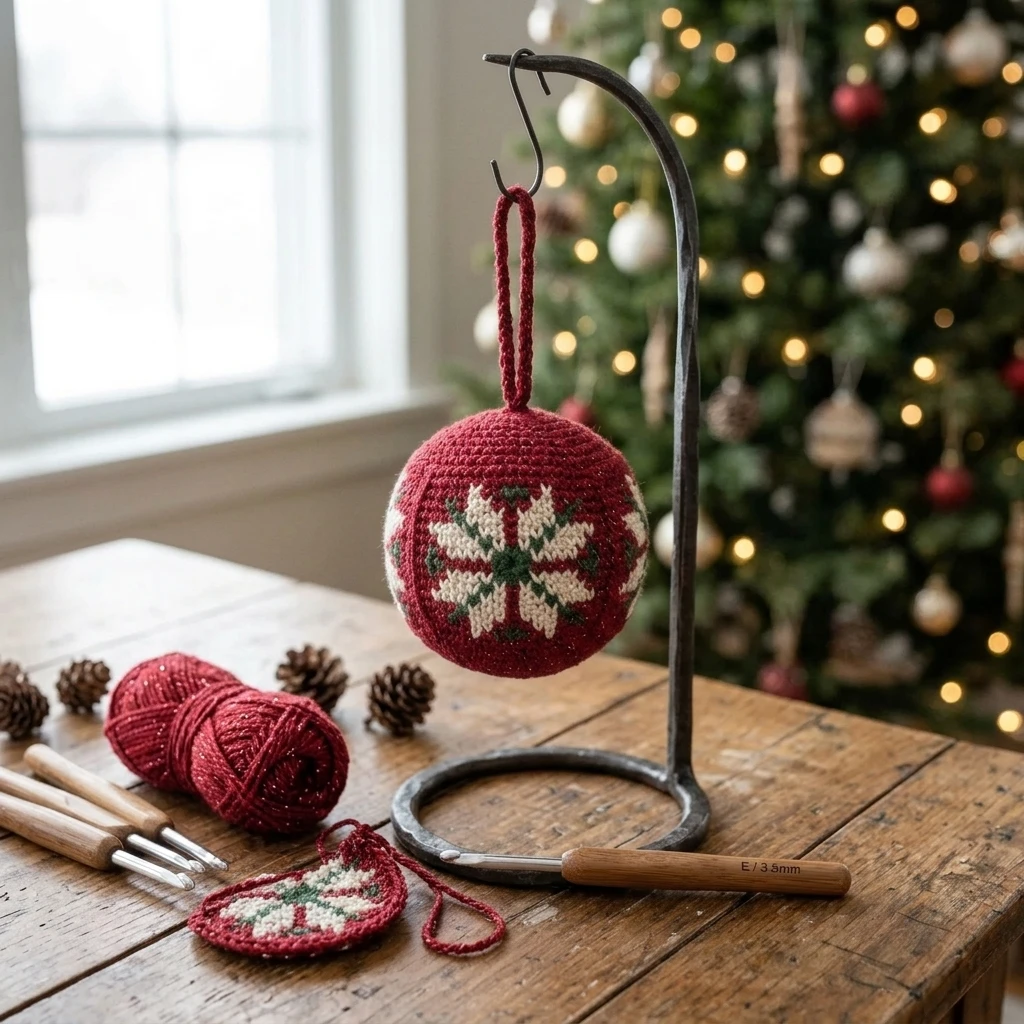
Add a touch of handmade charm to your holiday tree with this classic Crochet Christmas Ornament. This project creates a perfectly spherical, textured bauble that captures the nostalgic essence of a traditional Victorian Christmas while maintaining a clean, modern aesthetic. Designed for crocheters who enjoy quick-win projects, this ornament is worked in the round using simple stitches, making it an ideal choice for last-minute gifts or bulky tree-filler sets. The construction relies on precise increases and decreases to ensure a smooth surface that hides stuffing effectively.
The Design: What Makes This Pattern Different
This pattern prioritizes a seamless finish and structural integrity. Unlike many basic ball patterns that result in a “pointed” or egg-like shape, this design utilizes a balanced increase-to-row ratio to ensure a true geometric sphere. Visually, the dense single crochet fabric provides a sturdy canvas for optional embroidery or colorwork stripes.
A common mistake to avoid when making spherical ornaments is using standard decreases, which can leave unsightly gaps or “holes” in the fabric. To prevent this, we recommend the invisible decrease technique, which keeps the stuffing tucked away and maintains a professional, shop-bought appearance.
Project Info at a Glance
| Attribute | Details |
|---|---|
| Skill Level | Easy / Beginner Friendly |
| Estimated Time | 30 – 45 Minutes |
| Finished Size | Approximately 3 inches in diameter (Estimated) |
| Hook Size | 3.5mm (E/4) or 4.0mm (G/6) |
| Yarn Weight | Worsted Weight (#4) or DK Weight (#3) |
| Gauge | Not critical, but must be tight enough to hide stuffing |
| Best For | Holiday decor, gift toppers, and stash-busting |
Materials and Tools
Yarn
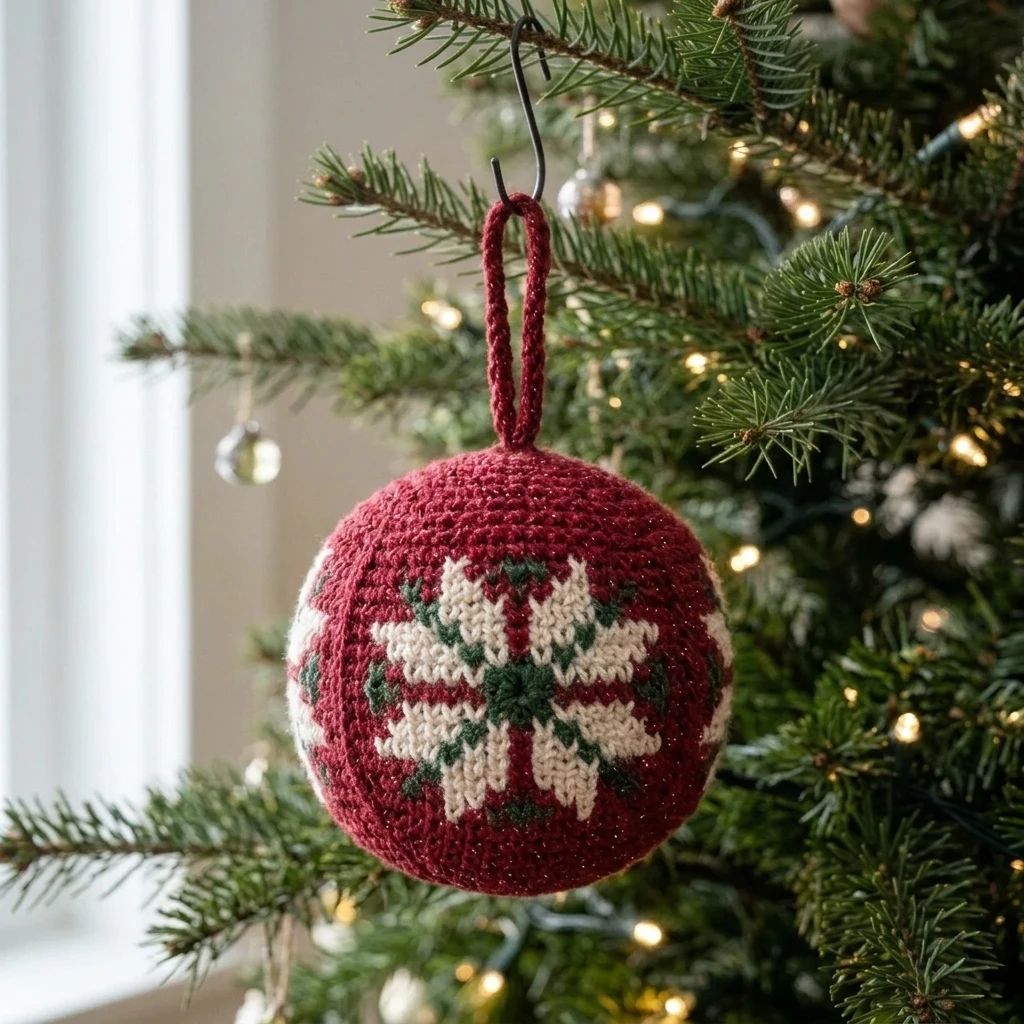
For a standard ornament, you will need approximately 40 to 50 yards of medium-weight yarn. Cotton yarn is suggested for a crisp, matte finish with excellent stitch definition, while acrylic yarn provides a soft, slightly fuzzy look that glows beautifully under Christmas lights. High-contrast holiday colors like crimson, forest green, or shimmering white work best for this design.
Tools
You will need a crochet hook slightly smaller than what is recommended on your yarn label to ensure a tight tension. Additionally, prepare a tapestry needle for weaving in ends, sharp scissors, a stitch marker to track your rounds, and a handful of polyester fiberfill or recycled yarn scraps for stuffing.
Abbreviations
- ch: chain
- sc: single crochet
- inc: increase (2 sc in the same stitch)
- dec: invisible decrease (sc 2 together using front loops only)
- st(s): stitch(es)
- sl st: slip stitch
- ( ): repeat instructions within parentheses
Pattern — Step by Step
Construction Overview
This ornament is worked from the top down in continuous spirals. Do not join rounds with a slip stitch unless specifically instructed. Use a stitch marker to denote the first stitch of every round to avoid losing your place during the increase and decrease phases.
The Main Sphere
- Round 1: Start with a magic ring. Work 6 sc into the ring. (6 sts)
- Round 2: Inc in each st around. (12 sts)
- Round 3: (Sc in next st, inc in next st) repeat 6 times. (18 sts)
- Round 4: (Sc in next 2 sts, inc in next st) repeat 6 times. (24 sts)
- Round 5: (Sc in next 3 sts, inc in next st) repeat 6 times. (30 sts)
- Rounds 6-12: Sc in each st around. (30 sts per round)
- Round 13: (Sc in next 3 sts, dec) repeat 6 times. (24 sts)
- Round 14: (Sc in next 2 sts, dec) repeat 6 times. (18 sts)
- Round 15: (Sc in next st, dec) repeat 6 times. (12 sts) Note: Begin stuffing firmly at this point.
- Round 16: Dec 6 times. (6 sts)
Closing and Hanger
Cut the yarn, leaving an 8-inch tail. Thread the tail onto a tapestry needle and weave through the front loops of the remaining 6 stitches. Pull tight to close the hole. Do not cut the yarn yet; this tail can be used to create the hanging loop.
Assembly
Since this project is worked in one piece, assembly is minimal and focuses on final shaping and the addition of the hanging element. Ensure your stuffing is distributed evenly before the final closure to avoid “lumps” in the sphere.
- Ensure the magic ring at the start is pulled tight and secured on the inside.
- Check the firmness of the ornament; it should be bouncy but hold its shape when squeezed.
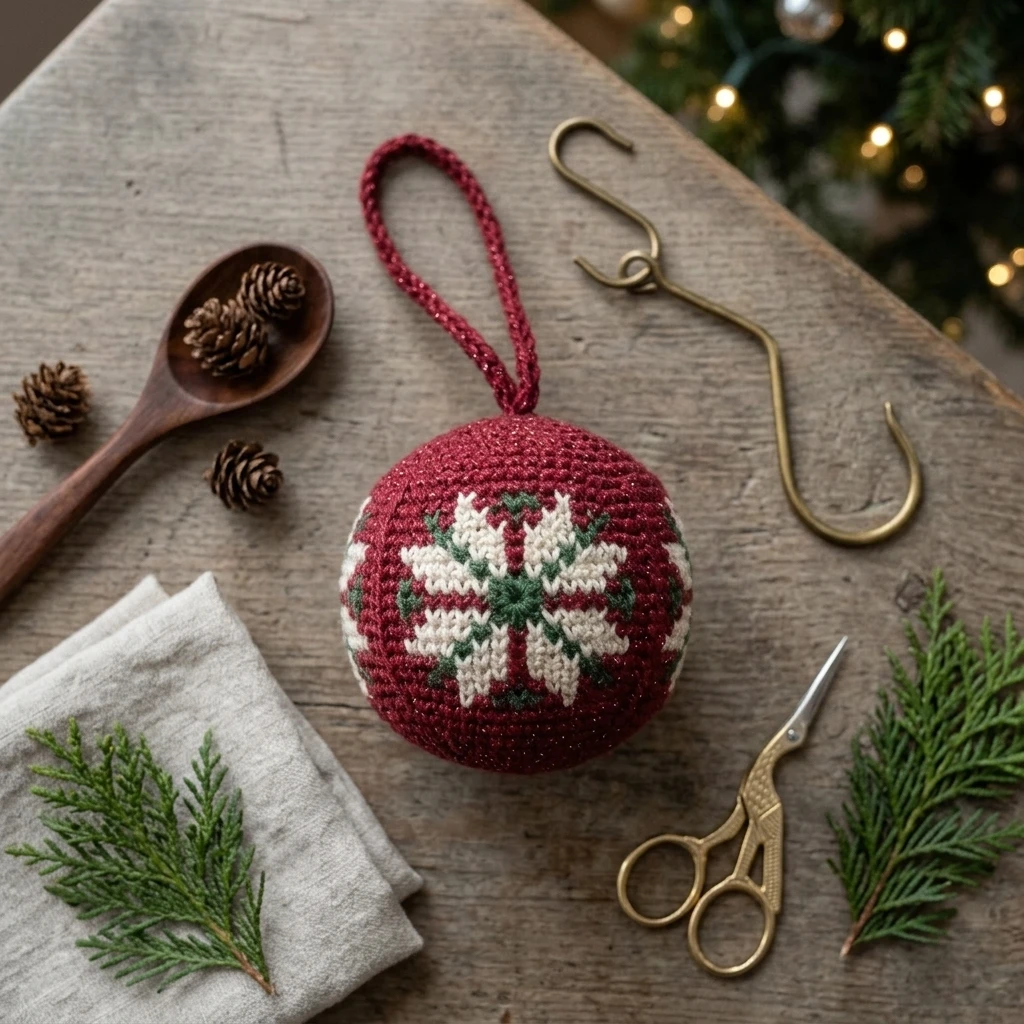
- Using the remaining yarn tail at the top, create a loop by pulling the yarn through the center-top of the ornament and knotting it securely.
- Alternatively, attach a metallic hook or a piece of twine through the top stitches for a rustic look.
- Weave any remaining yarn tails deep into the center of the stuffing to hide them.
7 Technical Tips for a Better Crochet Christmas Ornament Pattern
- Master the Invisible Decrease: Instead of a standard sc2tog, insert your hook into the front loops only of the next two stitches. This creates a much smoother surface.
- Use a Smaller Hook: If you see white stuffing peeking through your stitches, drop down a hook size (e.g., from 4.0mm to 3.5mm) to tighten the fabric.
- Overstuff Slightly: Crochet fabric tends to stretch over time. Stuffing the ornament slightly more than you think is necessary will keep it round for years to come.
- Check for Symmetry: If your ball looks lopsided, you may have missed an increase. Count your stitches at the end of every round during the increase phase.
- Hide the “Jog”: When changing colors for stripes, use a “jogless” join technique to ensure the stripes wrap around the ornament evenly.
- Embroider Before Closing: If you plan to add snowflakes or names in embroidery, do it after Round 12 while you can still access the inside of the work easily.
- Steam Block: A very light hit of steam (without touching the iron to the yarn) can help settle the stitches and perfect the spherical shape.
Frequently Asked Questions
What is the best yarn for Christmas ornaments?
Mercerized cotton is often considered the best choice because it has a slight sheen and does not pill. However, acrylic is more affordable for making large sets of ornaments.
Can I make this ornament larger or smaller?
Yes. To make it larger, continue the increase pattern (e.g., 4 sc, inc; 5 sc, inc) and add more even rounds in the middle. To make it smaller, stop at Round 4 and begin your decreases sooner.
How do I stop my ornament from looking like a diamond?
This happens when increases and decreases are stacked directly on top of each other. Try staggering your increases (e.g., in Round 4, start with 1 sc, then inc, then continue the 2 sc, inc pattern) to create a more rounded shape.
Do I need to use a magic ring?
While a magic ring provides the tightest closure, you can ch 2 and work your first 6 sc into the second chain from the hook if you find the magic ring difficult.
Can I wash these ornaments?
If you use acrylic or cotton yarn and polyester stuffing, they are technically machine washable on a delicate cycle, though hand washing is recommended to maintain the shape.
Conclusion
This Crochet Christmas Ornament Pattern is a versatile foundation for your holiday crafting. Whether you keep them simple and monochromatic or adorn them with beads and embroidery, these handmade baubles will surely become family heirlooms. If you enjoyed this project, pin it to your Christmas Crochet board on Pinterest so you can find it every year! What color combinations are you planning for your holiday tree this season?
Save This Crochet Pattern