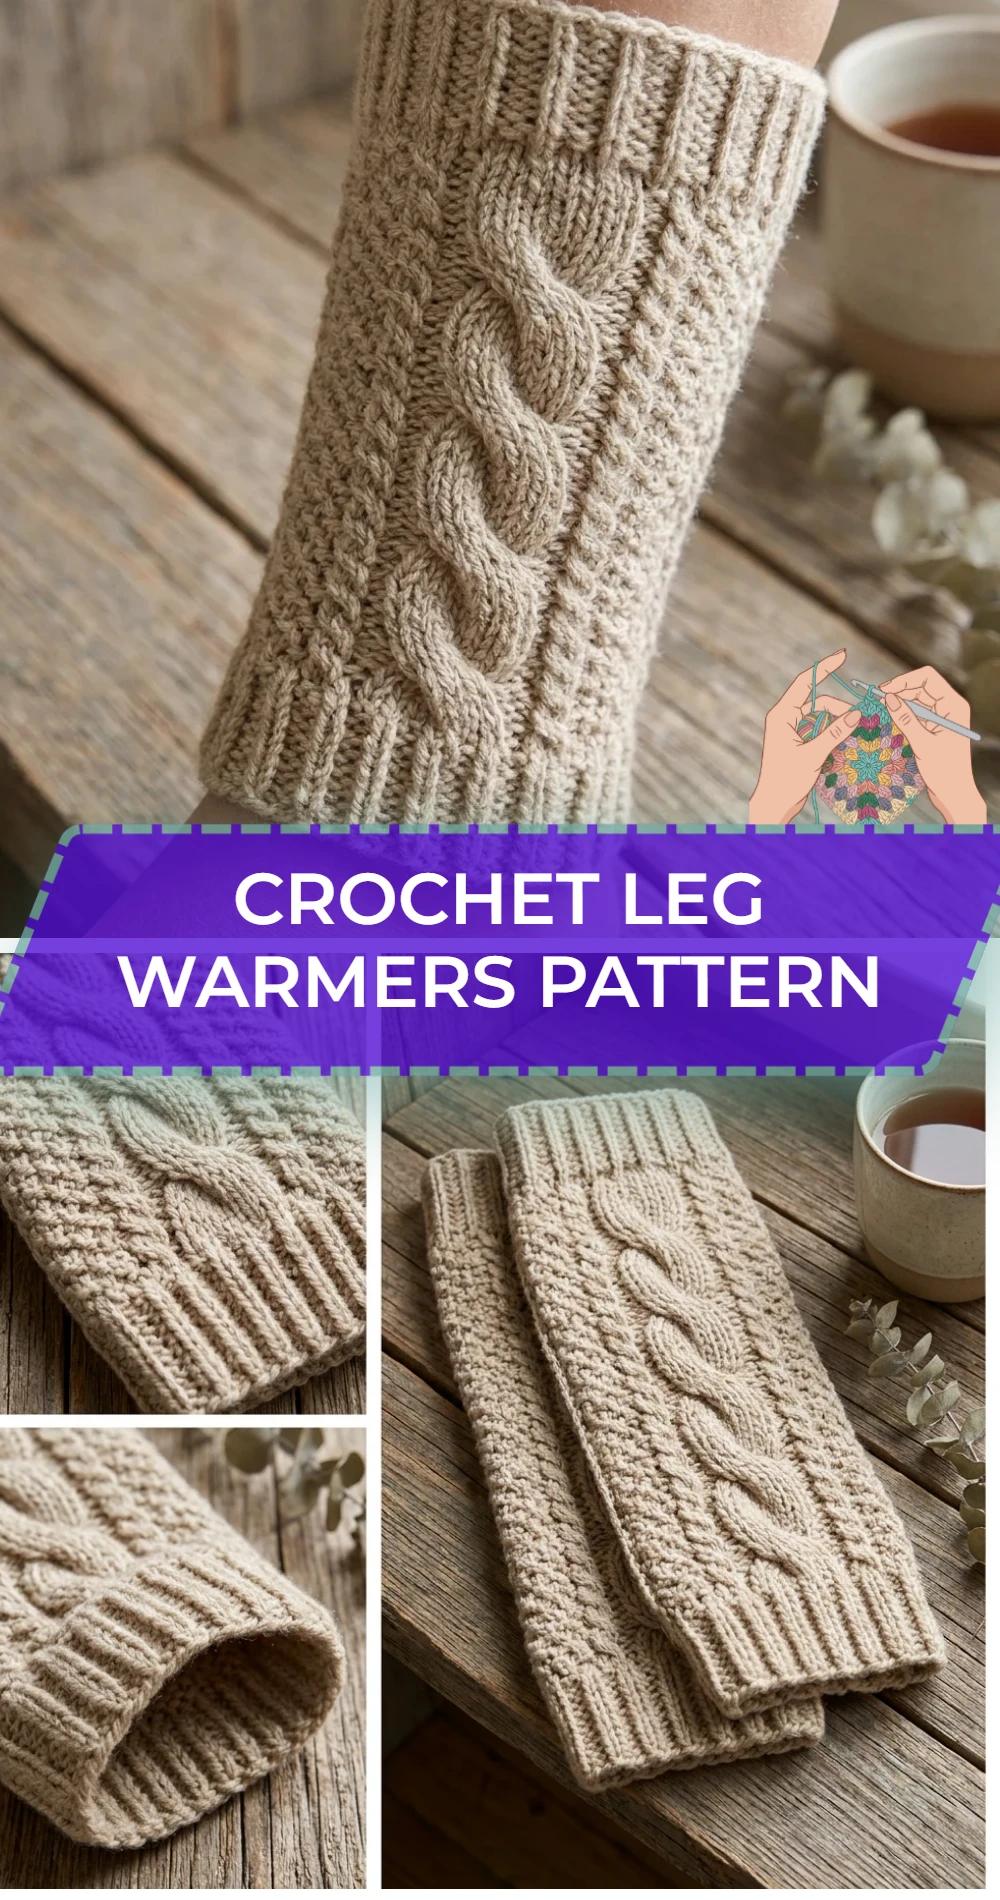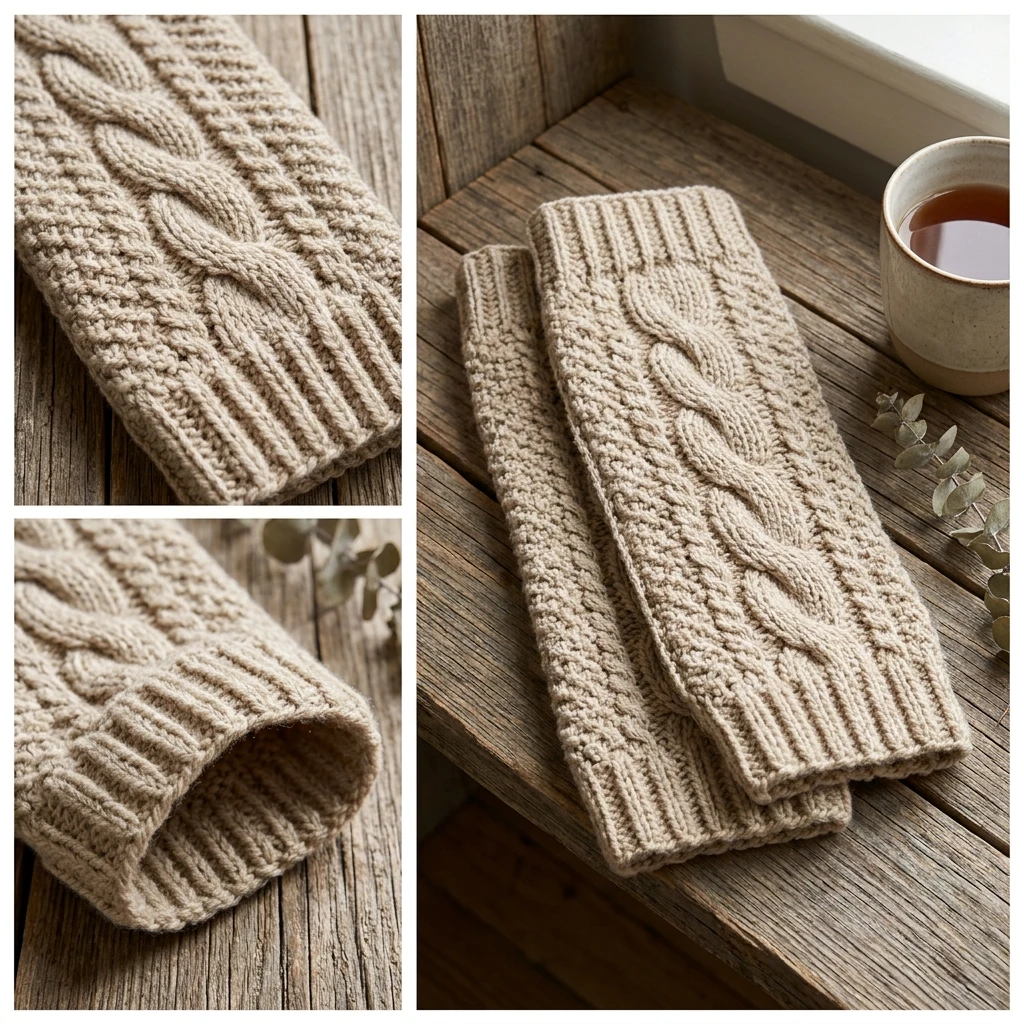
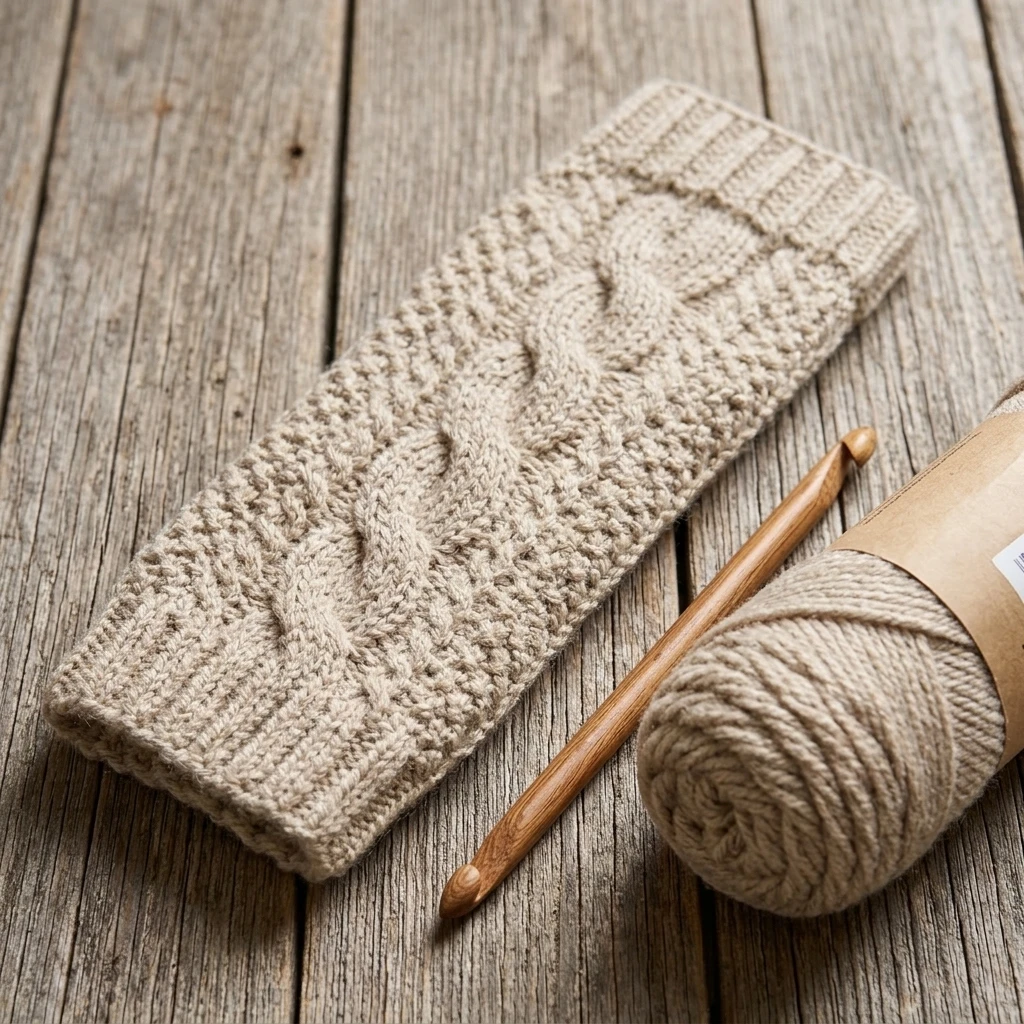
These crochet leg warmers are a stylish fusion of vintage dancewear aesthetics and modern cozy comfort. Designed with a deep, elastic ribbing at both the top and bottom, they offer a secure fit that resists slouching during movement, while the main body showcases a textured stitch pattern that traps heat effectively. Perfectly suited for layering over leggings or peeking out from the top of winter boots, this project is constructed in the round to eliminate uncomfortable seams. The result is a seamless, professional-looking accessory that fits the contours of the leg while providing the quintessential “slouchy” look that defines high-quality handmade knitwear.
The Design: What Makes This Pattern Different
The primary design focus of these leg warmers is structural integrity combined with stretch. Unlike many patterns that result in a rigid tube, this design utilizes a specific combination of front and back post stitches to mimic a knit-look ribbing that actually functions like an elastic band. The main body is worked with a slightly larger hook than the cuffs to ensure the fabric remains supple and drapes naturally against the calf.
One common mistake to avoid is neglecting the “negative ease” required for leg warmers. If the top cuff is crocheted to the exact circumference of your upper calf, the weight of the yarn will cause the garment to slide down within minutes of walking. To prevent this, the pattern is designed to be approximately 1.5 to 2 inches smaller than the actual leg measurement, relying on the elasticity of the stitches to hold the garment in place.
Project Info at a Glance
| Category | Details |
|---|---|
| Skill Level | Easy / Intermediate (requires post stitches) |
| Estimated Time | 4 – 6 Hours |
| Finished Size | 14″ long x 12″ calf circumference (suggested/adjustable) |
| Hook Size | 5.0mm (H/8) and 5.5mm (I/9) |
| Yarn Weight | Worsted Weight (Category 4) |
| Gauge | 14 sts x 10 rows = 4″ in DC with larger hook (estimated) |
| Best For | Winter layering, dance classes, and outdoor festivals |
Materials and Tools
Yarn
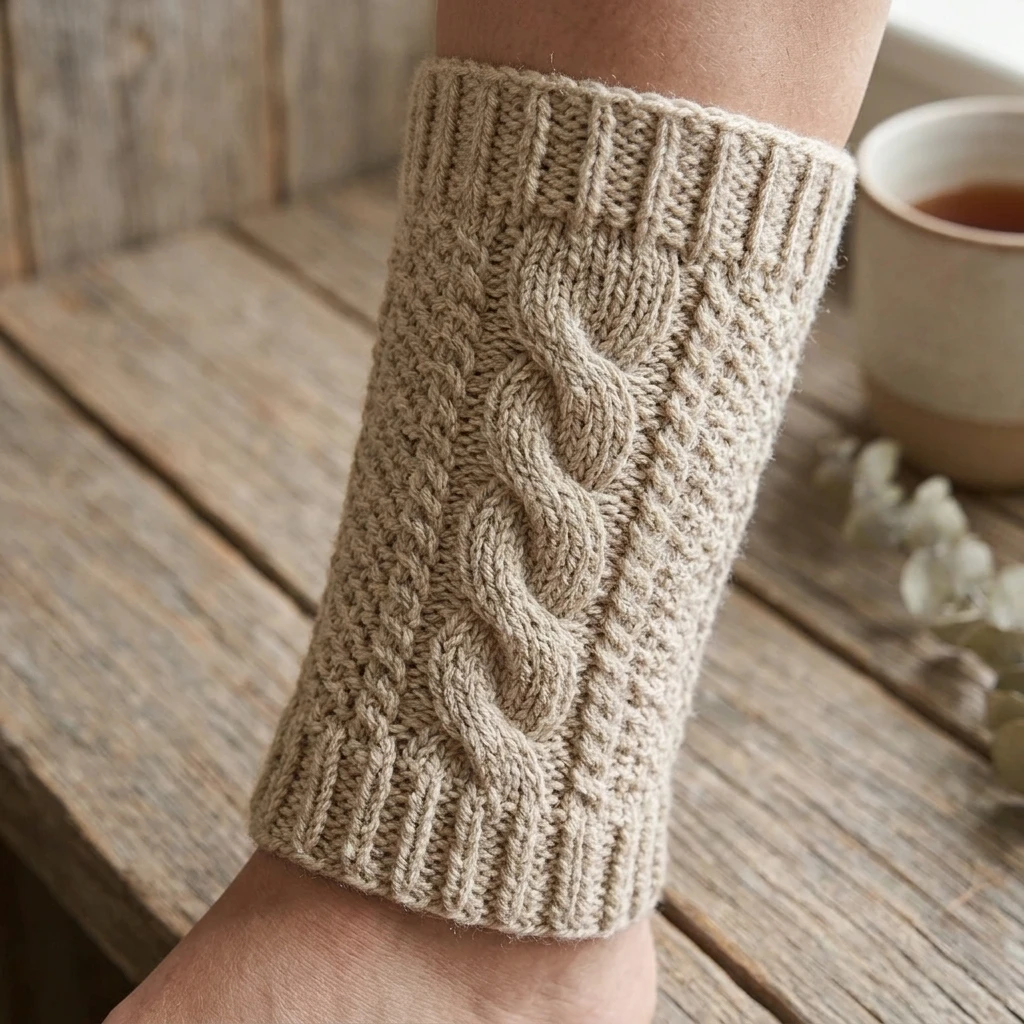
To achieve the best results, use a high-quality worsted weight yarn with at least a 20% wool content for natural elasticity, though a premium acrylic will also work for those with sensitivities. Based on the suggested sizing, you will need approximately 350 to 450 yards of yarn to complete a pair of adult-sized leg warmers.
Tools
You will need a 5.0mm crochet hook for the ribbing sections to ensure a tight, springy fit, and a 5.5mm hook for the main body to allow for better drape. Additionally, keep a tapestry needle for weaving in ends, a pair of sharp embroidery scissors, and at least two stitch markers to track the beginning of your rounds.
Abbreviations
- ch: chain
- st(s): stitch(es)
- sl st: slip stitch
- sc: single crochet
- dc: double crochet
- fpdc: front post double crochet
- bpdc: back post double crochet
- blo: back loop only
Pattern — Step by Step
Construction Overview
These leg warmers are worked from the top down, starting with the upper cuff. The cuff is worked in short rows of sc in the blo to create a stretchy vertical ribbing, which is then joined into a circle. The body is worked directly into the edge of the cuff in continuous rounds of dc and post stitches, and the bottom cuff is finished with post-stitch ribbing for a tapered look.
Phase 1: The Top Ribbed Cuff
1. Using the 5.0mm hook, ch 11.
2. Row 1: Sc in 2nd ch from hook and in each ch across. Turn. (10 sc)
3. Row 2: Ch 1, sc blo in each st across. Turn.
4. Repeat Row 2 until the piece measures approximately 10.5 inches unstretched (or 2 inches smaller than your upper calf).
5. Join the last row to the first row using sl st to form a ring. Do not fasten off.
Phase 2: The Body
1. Round 1: Switch to the 5.5mm hook. Ch 2 (does not count as st), work dc evenly around the edge of the ribbing. For a standard size, aim for 36-40 dc. Sl st to join.
2. Round 2: Ch 2, *fpdc in next st, bpdc in next st; repeat from * around. Sl st to join.
3. Rounds 3–25 (or until desired length): Repeat Round 2. This creates the thick, textured thermal body.
4. Note: If you prefer a slouchier look, continue repeating Round 2 until the piece is 3 inches longer than your leg measurement.
Phase 3: The Bottom Cuff
1. Switch back to the 5.0mm hook.
2. Round 1: Ch 1, sc in each st around, decreasing 4 sts evenly spaced to slightly taper the ankle.
3. Round 2–5: Ch 1, sc blo in each st around.
4. Fasten off and leave a long tail for finishing.
Assembly
Because this pattern is worked largely in the round, assembly is minimal. The main focus is ensuring the transition between the ribbed cuff and the textured body is clean and that the vertical seam is reinforced.
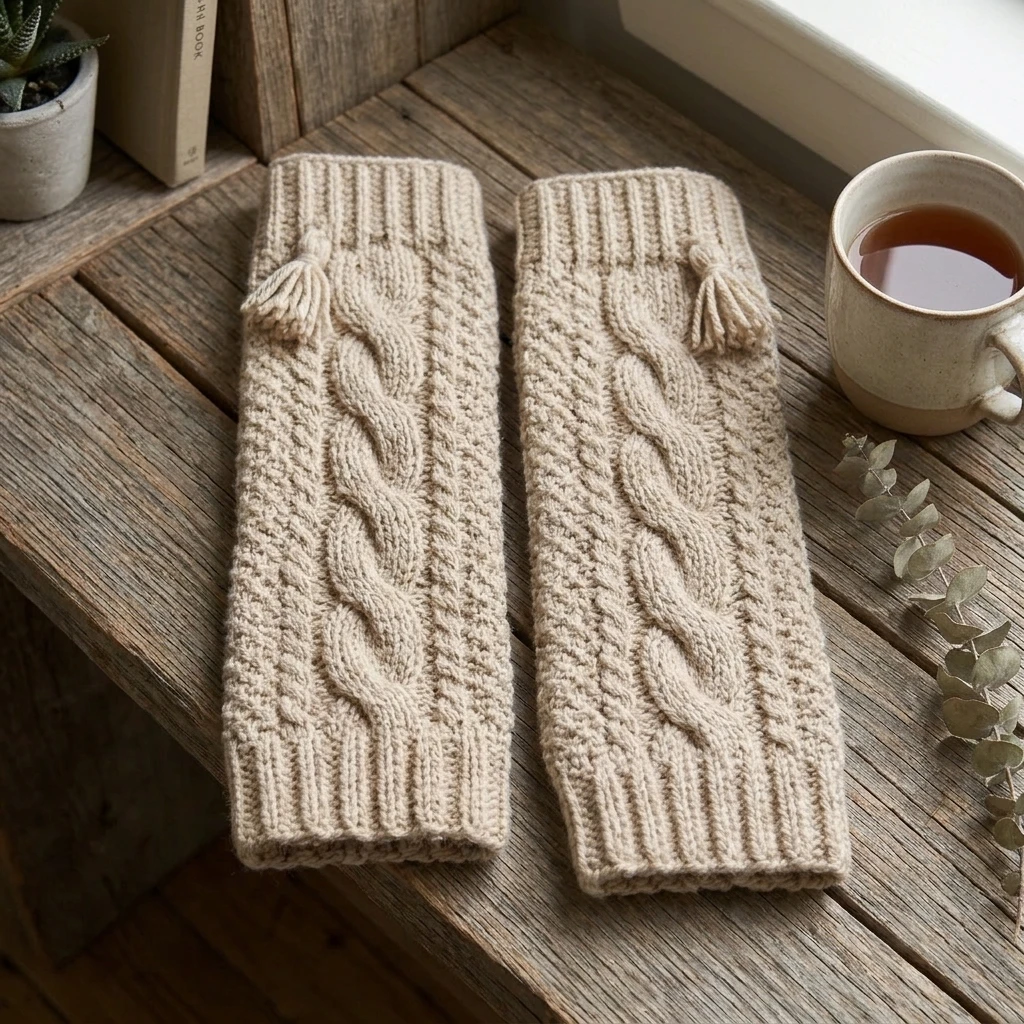
1. Use the tapestry needle and the yarn tail to close any small gaps where the top ribbing joined the first round of the body.
2. Turn the leg warmer inside out to weave in the starting tail securely along the foundation chain.
3. Repeat all steps for the second leg warmer, ensuring you match the row and round counts exactly to maintain symmetry.
4. Lightly steam block the finished items, avoiding direct contact with the iron, to settle the stitches and enhance the drape of the body.
7 Technical Tips for a Better Crochet Leg Warmers Pattern
Mastering the fit and finish of leg warmers requires a few professional touches that go beyond the basic stitches.
- Check Your Stretch: Always test the “vertical stretch” of your cuff ribbing before joining. It should be able to expand comfortably over your heel and calf while snapping back to its original shape.
- The “Invisible” Join: When joining rounds in the body, use a slightly tighter tension on the slip stitch to minimize the visibility of the seam.
- Color Matching: If using hand-dyed yarn, alternate skeins every two rounds to avoid “pooling” or distinct color blocks between the two leg warmers.
- Prevent Slouching: For extra security, you can crochet over a thin strand of elastic thread during the very last round of the top cuff.
- Count Your Rows: Use a row counter or mark every 10th round with a stitch marker. It is very easy to accidentally make one leg warmer half an inch longer than the other.
- Stitch Definition: Choose a yarn with good twist. A loosely spun roving yarn will lose its post-stitch definition and may pill quickly with the friction of walking.
- Swapping Hooks: Do not skip the hook size change. Using the smaller hook for the cuffs is essential for the mechanical “grip” needed to keep the garment upright.
Frequently Asked Questions
What is the best yarn for leg warmers?
A wool-blend worsted weight yarn is ideal. Wool has natural “memory,” meaning it returns to its shape after being stretched. 100% cotton is generally discouraged as it tends to grow and sag over time.
How do I adjust this for a child’s size?
Measure the child’s calf circumference and subtract 1.5 inches for the cuff length. Decrease the number of initial chains for the cuff height to match the child’s leg length (from knee to ankle).
Can I make these longer for “thigh-high” warmers?
Yes! Simply continue the repeat rounds in the body section. Be sure to increase your stitch count by 2-4 stitches every 5 rounds as you move up toward the thigh to accommodate the larger circumference.
My leg warmers are twisting; what happened?
Twisting usually occurs if the slip stitch join is pulling too tightly or if your tension shifts throughout the project. Using a “standing stitch” start for each round can help keep the seam straight.
How do I wash my crochet leg warmers?
Hand wash in cool water with a gentle wool wash. Lay them flat on a towel to dry. Never hang them while wet, as the weight of the water will stretch the stitches permanently.
Conclusion
Creating your own crochet leg warmers is a rewarding project that results in a functional, fashionable accessory tailored to your exact measurements. By focusing on the interplay between the ribbed cuffs and the textured body, you ensure a professional fit that stays put all day long. This pattern is easily customizable—try experimenting with variegated yarns or contrasting cuff colors for a bold look.
Don’t forget to pin this pattern to your Crochet Accessories board for your next cozy project!
What yarn color are you choosing for your first pair: a classic charcoal or a vibrant jewel tone?
Save This Crochet Pattern