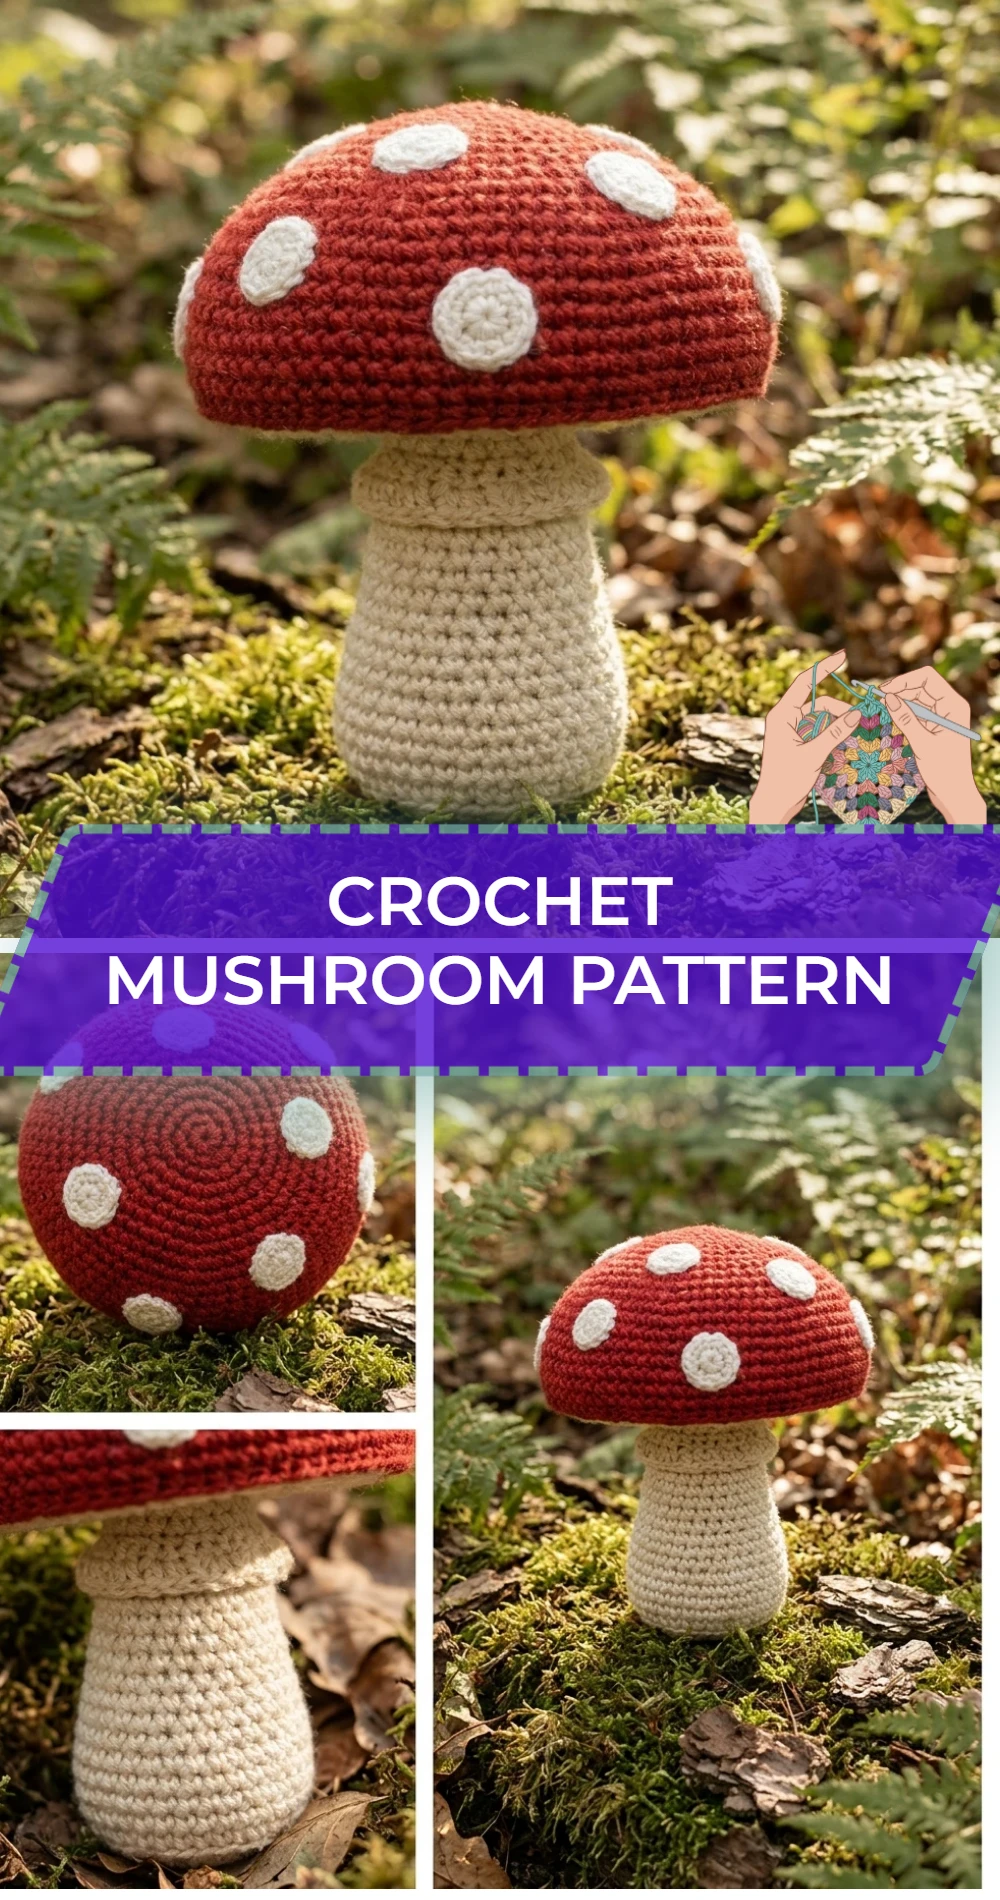
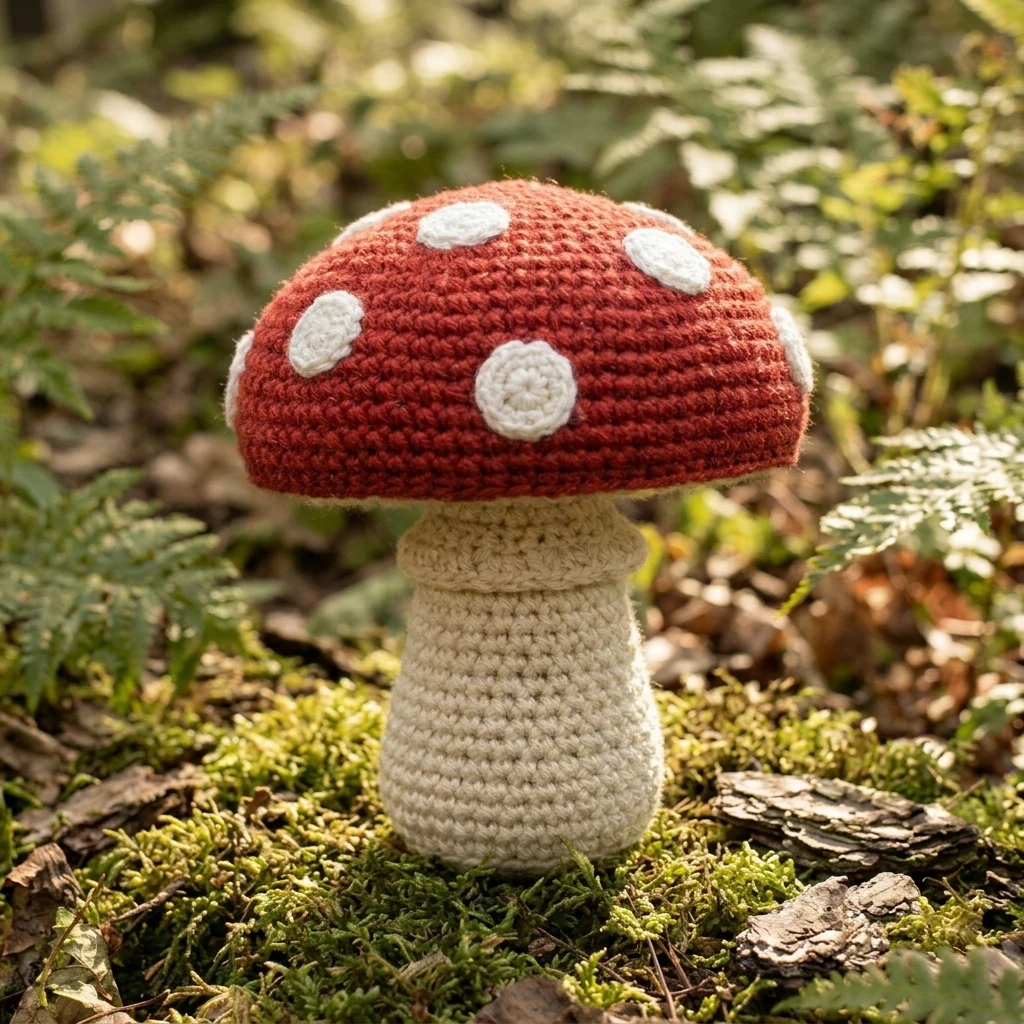
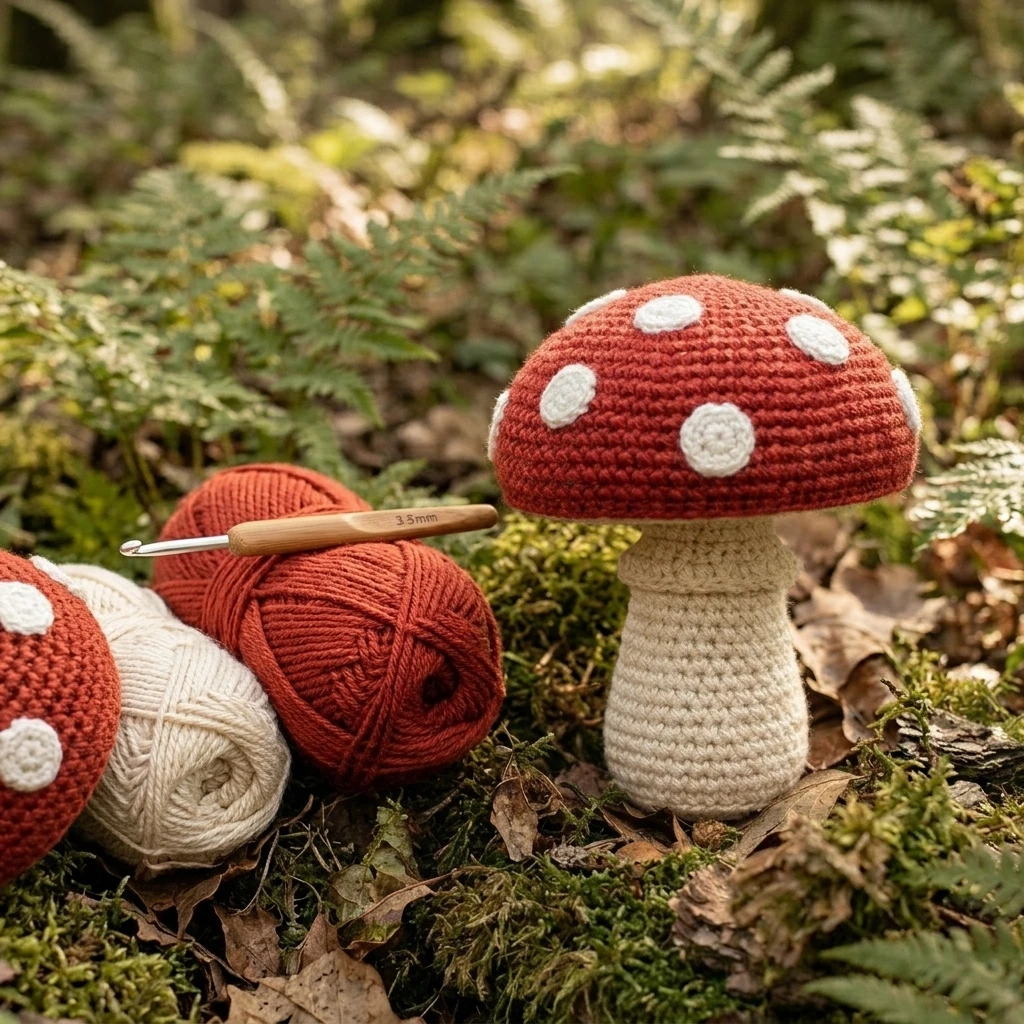
Bring the magic of the woodland floor into your home with this charming crochet mushroom. Featuring a classic domed cap adorned with whimsical spots and a sturdy, tapered stem, this project captures the iconic look of a forest toadstool. These mushrooms serve as perfect nursery accents, cottagecore desk decor, or even oversized pincushions. Constructed using standard amigurumi techniques, the pieces are worked in continuous rounds to create a dense, sturdy fabric that holds its shape beautifully without the need for internal wire or frames.
The Design: What Makes This Pattern Different
This design prioritizes structural integrity and a clean silhouette. Unlike flatter versions, this mushroom uses specific stitch placement to create a distinct “lip” on the underside of the cap, mimicking the appearance of natural gills. The stem is engineered with a slightly wider base to ensure it can stand upright when displayed on flat surfaces. A common mistake to avoid is using a hook size that is too large; if your stitches are loose, the fiberfill stuffing will peek through the fabric, detracting from the saturated color of the cap. Keeping your tension tight ensures a professional, toy-store-quality finish.
Project Info at a Glance
| Feature | Details |
|---|---|
| Skill Level | Easy / Advanced Beginner |
| Estimated Time | 1.5 – 2 Hours |
| Finished Size | Approximately 5 inches tall (estimated) |
| Hook Size | 3.5 mm (E-4) or 4.0 mm (G-6) |
| Yarn Weight | Medium / Worsted Weight (Category 4) |
| Gauge | Tight enough to prevent stuffing from showing |
| Best For | Nursery Decor, Photography Props, Pincushions |
Materials and Tools
Yarn
For this project, cotton or acrylic blends work best to maintain the shape. You will need approximately 40-50 yards of a primary color for the cap (traditionally red or forest green) and about 30 yards of a neutral color (cream, beige, or white) for the stem and spots. These amounts are suggested estimates based on a standard worsted weight yarn.
Tools
- Crochet hook (sized to match your yarn weight for a tight gauge)
- Polyester fiberfill stuffing
- Stitch markers (essential for working in continuous rounds)
- Yarn needle for assembly and weaving in ends
- Scissors
Abbreviations
- MR: Magic Ring (Magic Circle)
- ch: Chain
- sc: Single Crochet
- inc: Increase (2 sc in the same stitch)
- dec: Invisible Decrease (sc 2 together using front loops only)
- st(s): Stitch(es)
- sl st: Slip Stitch
- BLO: Back Loop Only
Pattern — Step by Step
The Mushroom Cap
The cap is worked from the top down in continuous rounds. Do not join at the end of each round unless specified.
- Rnd 1: Start with primary color. 6 sc in MR. (6)
- Rnd 2: inc in each st around. (12)
- Rnd 3: [sc, inc] 6 times. (18)
- Rnd 4: [2 sc, inc] 6 times. (24)
- Rnd 5: [3 sc, inc] 6 times. (30)
- Rnd 6-8: sc in each st around. (30)
- Rnd 9: [4 sc, inc] 6 times. (36)
- Rnd 10: [5 sc, inc] 6 times. (42)
- Rnd 11: sc in each st around. (42)
- Rnd 12: Working in BLO for this round only, [5 sc, dec] 6 times. (36)
- Rnd 13: [4 sc, dec] 6 times. (30) Fasten off, leaving a long tail for sewing. Stuff the cap firmly.
The Stem
The stem is worked in the neutral color from the base upward to ensure it has a flat bottom.
- Rnd 1: 6 sc in MR. (6)
- Rnd 2: inc in each st around. (12)
- Rnd 3: [sc, inc] 6 times. (18)
- Rnd 4: Working in BLO, sc in each st around. (18) This creates the flat base edge.
- Rnd 5-7: sc in each st around. (18)
- Rnd 8: [4 sc, dec] 3 times. (15)
- Rnd 9-12: sc in each st around. (15)
- Rnd 13: [3 sc, dec] 3 times. (12) Fasten off and leave a tail. Stuff firmly.
The Spots (Make 3-5)
Use the neutral color to create small decorative accents for the cap.
- Rnd 1: 6 sc in MR. Join with a sl st to the first sc. Fasten off, leaving a tail for sewing.
Assembly
Proper assembly is what gives the mushroom its character. Ensure your stuffing is distributed evenly before you begin sewing the final pieces together to avoid a lumpy appearance.
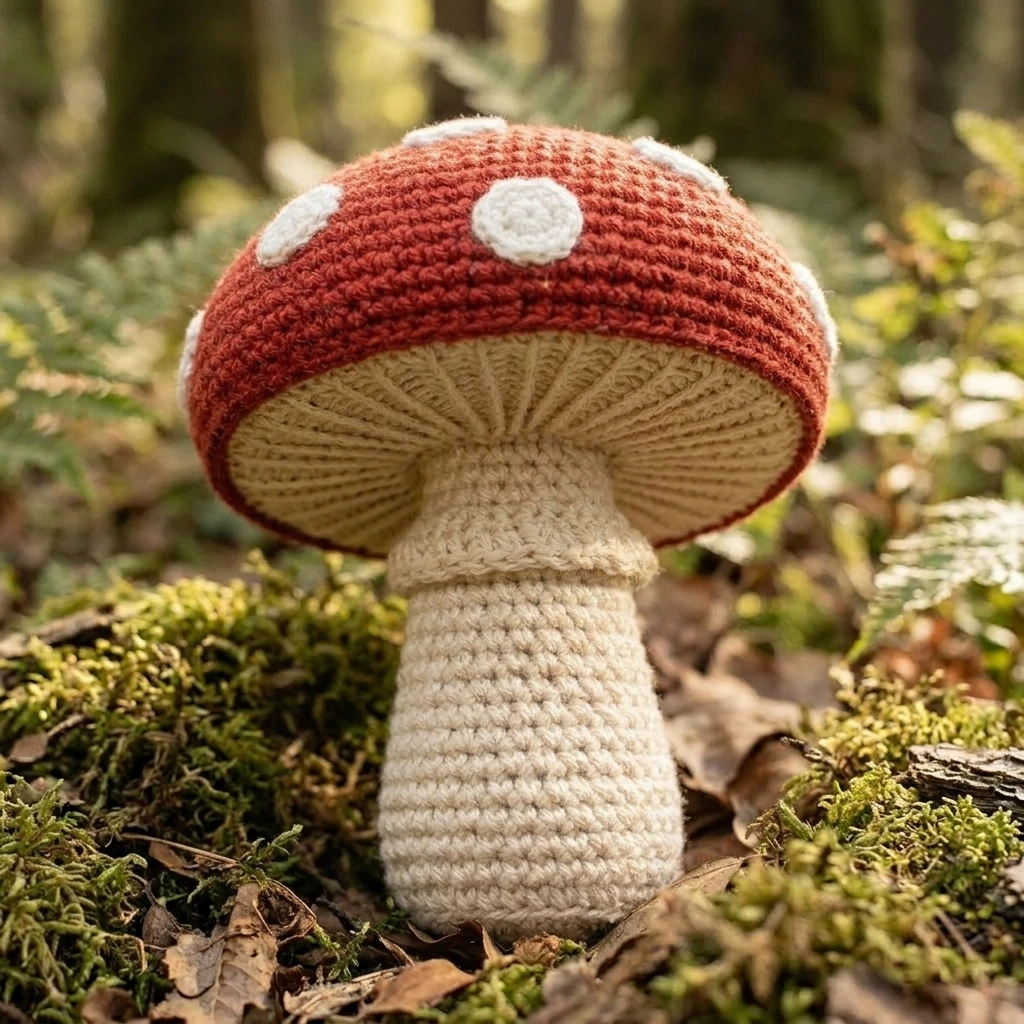
- Pin the small white spots onto the cap in a random, asymmetrical pattern. Sew them in place using the yarn tails and a tapestry needle.
- Ensure the cap is stuffed fully, then position the stem in the center of the bottom of the cap (the opening created in Rnd 13).
- Use the long yarn tail from the cap to whipstitch the opening of the cap to the top round of the stem.
- Check that the mushroom is balanced and stands upright. If it leans, adjust the stuffing in the stem.
- Weave in all remaining yarn ends securely inside the body of the mushroom.
7 Technical Tips for a Better Crochet Mushroom Pattern
- Use the Invisible Decrease: When shaping the cap, use the front-loop-only method for decreases to avoid unsightly gaps or bumps in your work.
- Manage Your Tension: If you find your stitches are loose, drop down a hook size. Amigurumi requires a denser fabric than garments.
- Flat Base Secret: To help your mushroom stand better, you can place a small circle of plastic (cut from a yogurt lid) inside the base of the stem before stuffing.
- Perfect Spot Placement: Sew your spots on *before* you stuff and close the cap. This allows you to knot the yarn securely on the inside.
- Invisible Color Changes: If making a multicolored stem, pull the new color through the last two loops of the previous stitch for a seamless transition.
- Stuffing Technique: Use small clumps of fiberfill rather than one large ball. This prevents the “lumpy” look and allows you to sculpt the shape.
- Yarn Choice: Mercerized cotton provides excellent stitch definition, making the “gills” (BLO round) stand out more prominently.
Frequently Asked Questions
What is the best yarn for a crochet mushroom?
Worsted weight cotton is highly recommended. It has very little stretch, which helps the mushroom maintain its structural shape and prevents the stuffing from stretching the stitches over time.
How can I make the mushroom larger or smaller?
The easiest way is to change your yarn weight and hook size. Use bulky yarn with a 6.0mm hook for a large plushie, or embroidery floss with a 1.0mm hook for a miniature charm.
Can I use safety eyes on these?
Absolutely! If you want to give your mushroom a personality, add safety eyes between rounds 8 and 9 of the cap before stuffing. However, remember that safety eyes are not recommended for toys intended for infants.
Why does my mushroom cap look pointy instead of rounded?
This usually happens if the increases are stacked directly on top of each other. To get a perfectly round dome, try staggering your increases in every other round.
Is this pattern suitable for complete beginners?
Yes, as long as you are comfortable with the Magic Ring and increasing/decreasing. It is a fantastic project for practicing basic amigurumi shapes.
Conclusion
Creating a crochet mushroom is a delightful way to practice three-dimensional shaping and amigurumi basics. Whether you stick to the classic red-and-white aesthetic or experiment with earthy autumnal tones, these little fungi are sure to bring a touch of enchantment to your crochet collection. Don’t forget to secure your work with tight stitches and careful assembly for the best results.
Love this woodland project? Save it to your Crochet Decor board on Pinterest!
What colors are you planning to use for your mushroom cap—classic red or something more magical like purple?
Save This Crochet Pattern