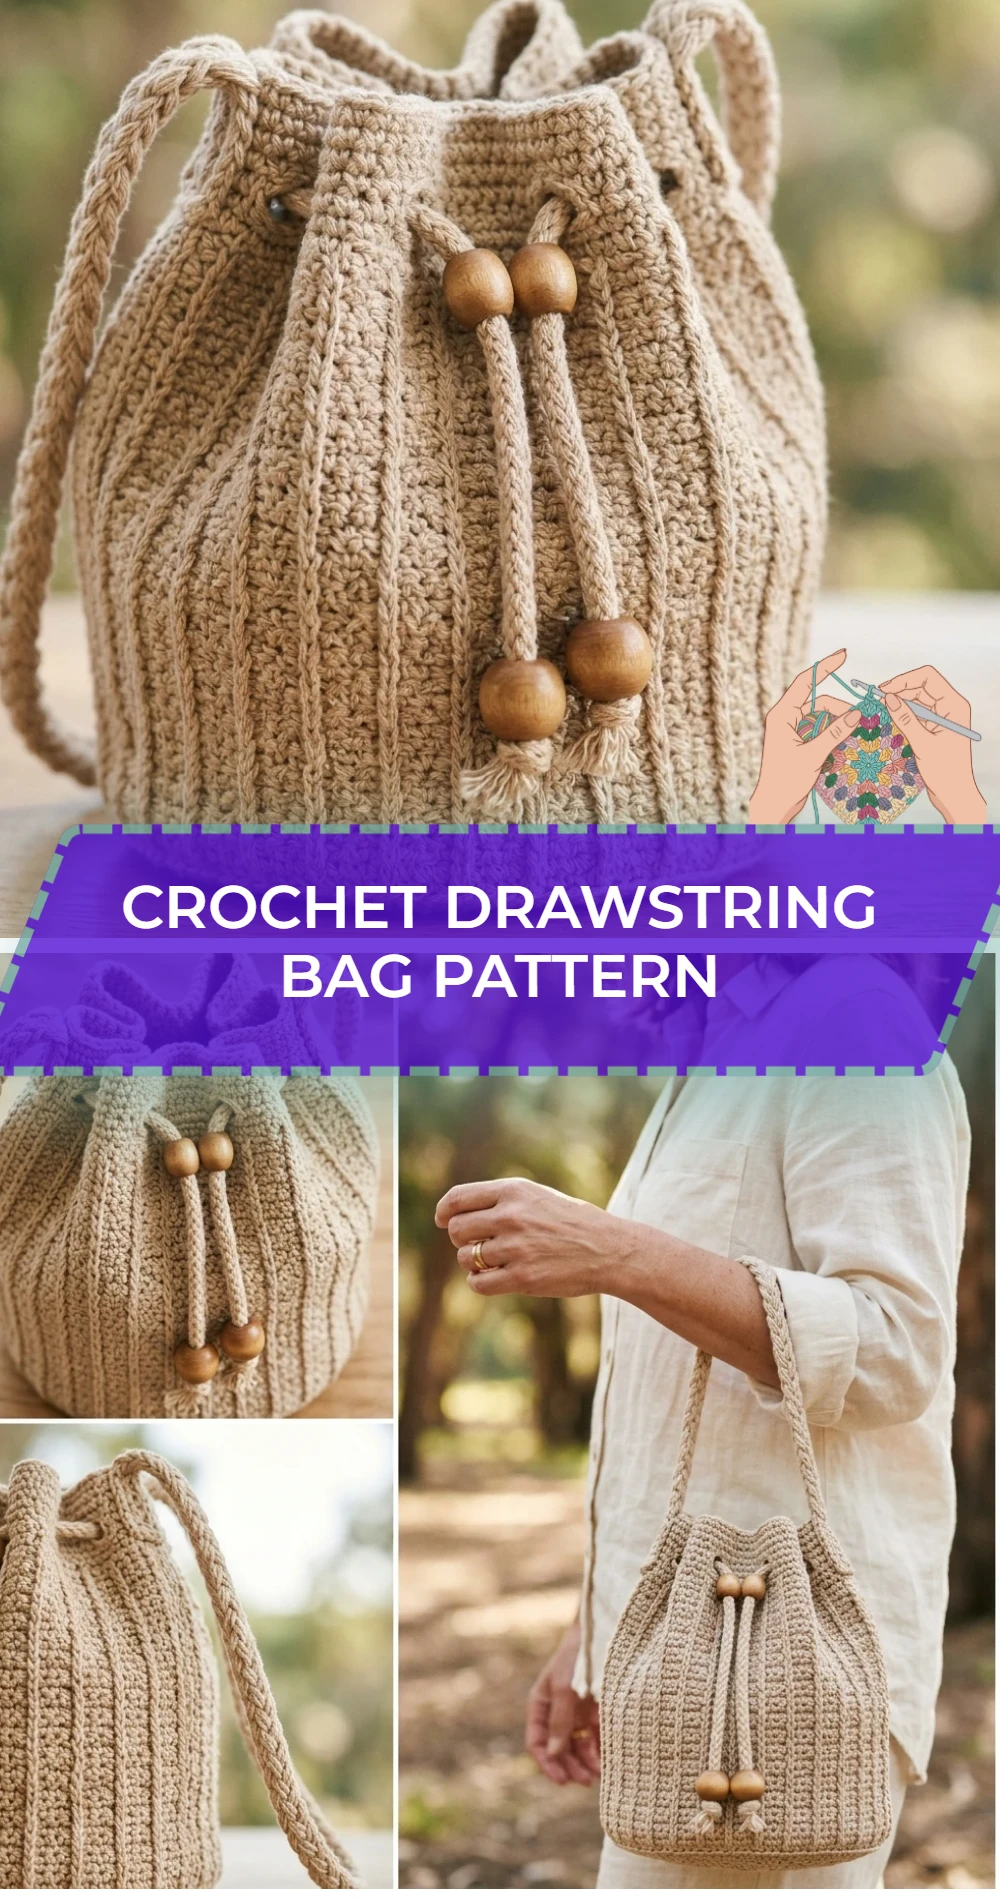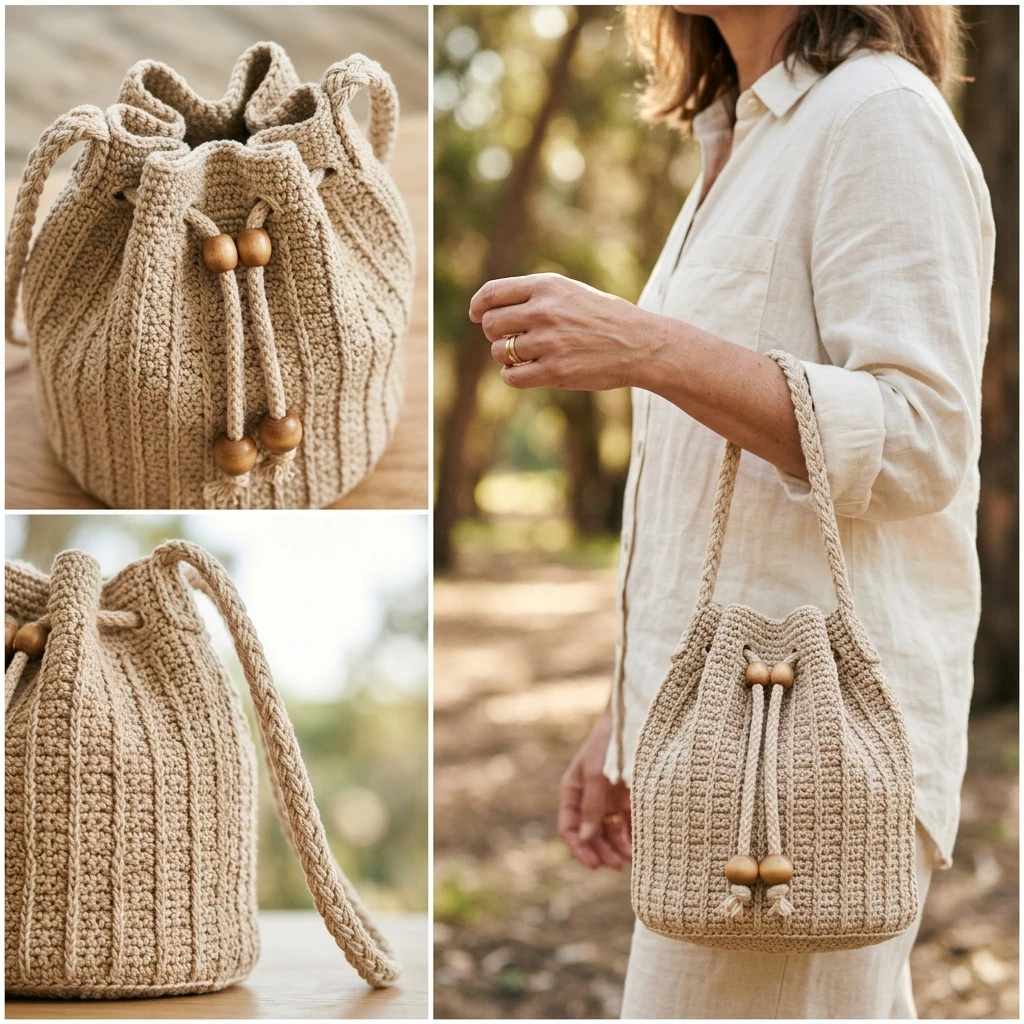
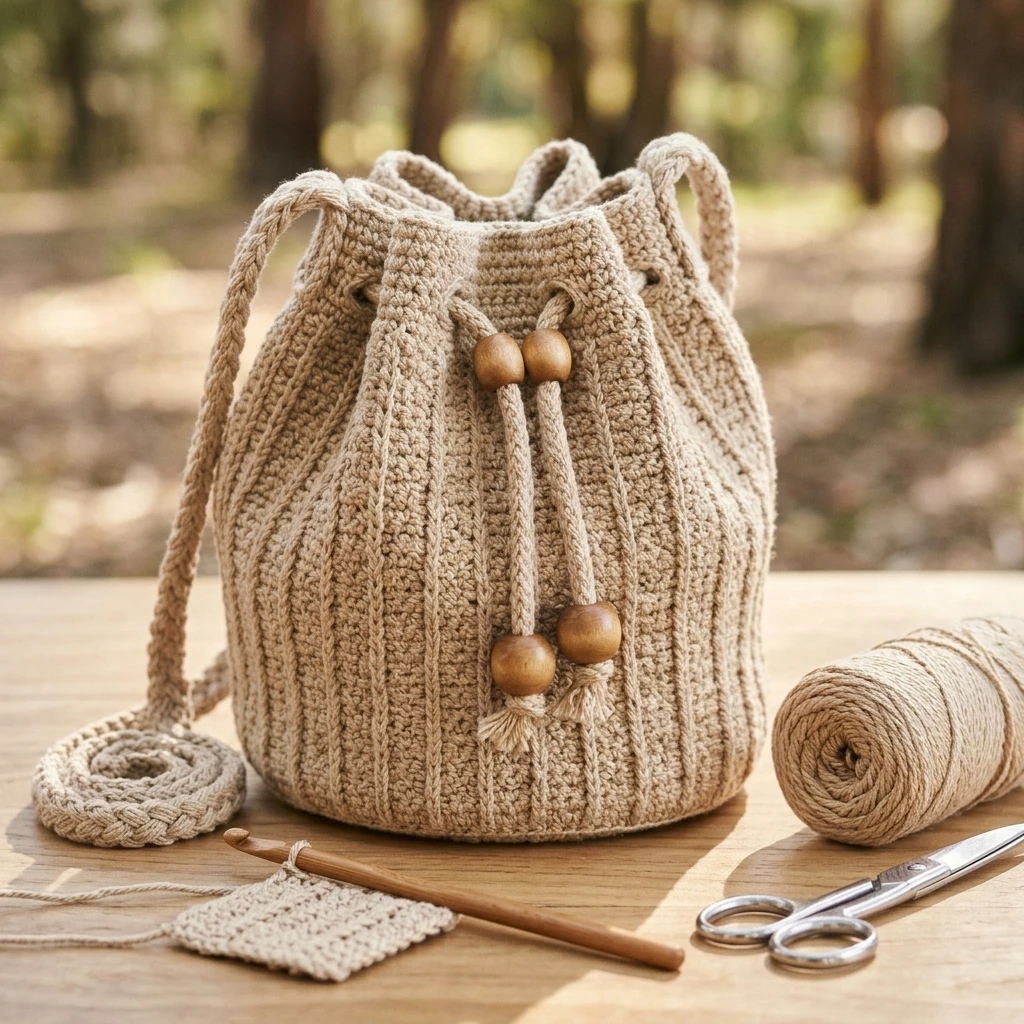
This Crochet Drawstring Bag Pattern creates a versatile, cylindrical pouch that serves as the perfect marriage of utility and handmade charm. Designed with a sturdy flat base and airy side walls, this bag is ideal for organized storage, gift packaging, or a stylish wristlet for small essentials. The project utilizes a seamless construction technique that moves from a circular bottom to a vertical body, finished with a dedicated eyelet row for a smooth-sliding closure. Its clean aesthetic makes it an excellent canvas for solid colors, stripes, or variegated yarns, appealing to both minimalists and color-lovers alike.
The Design: What Makes This Pattern Different
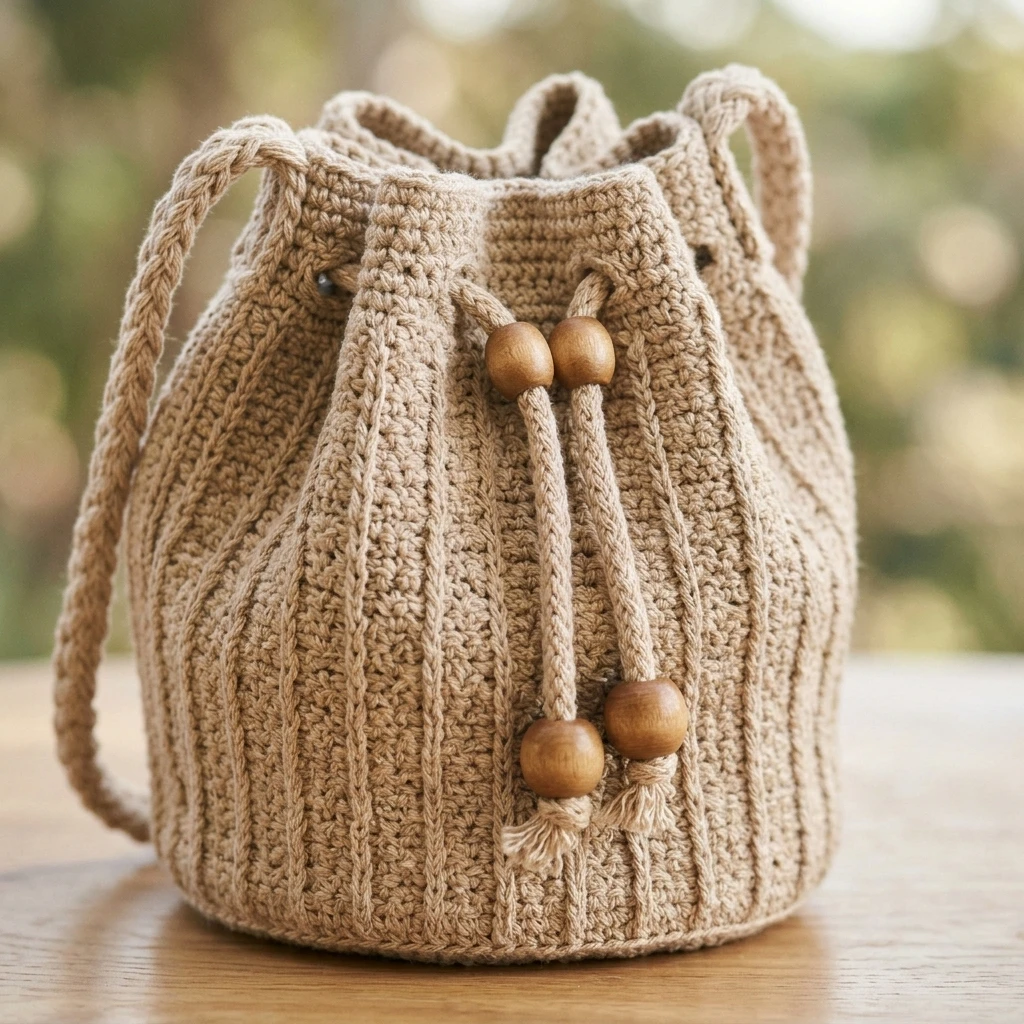
The structural integrity of this drawstring bag relies on a dense, single-crochet base to ensure that items don’t poke through the bottom. Unlike many basic pouch patterns that result in a “pancake” shape, this design features a clear transitional round that creates a sharp corner between the base and the body. This structural “lip” allows the bag to stand upright when filled. A common mistake to avoid is working too loosely during the eyelet round; if the spaces for the cord are too large, the bag won’t cinch securely and may lose its shape over time. Ensuring your tension remains consistent during the transition from the base to the sides is key to achieving a professional, upright silhouette.
Project Info at a Glance
| Skill Level | Easy / Advanced Beginner |
|---|---|
| Estimated Time | 2–4 Hours |
| Finished Size | Approximately 6″ diameter base, 8″ tall (Suggested) |
| Hook Size | 5.0 mm (H/8) |
| Yarn Weight | Worsted Weight (#4) |
| Gauge | 14 sts x 16 rows = 4″ in sc (Estimated) |
| Best For | Eco-friendly gift wrapping, dice bags, or craft storage |
Materials and Tools
Yarn
For this photo-inspired project, you will need approximately 150 to 180 yards of a sturdy worsted weight yarn. A cotton or cotton-blend yarn is highly recommended for its lack of stretch and high durability, though a stiff acrylic will also produce a functional result. Using a natural fiber helps the bag maintain its shape even when carrying heavier items like coins or stones.
Tools
- 5.0 mm (H) crochet hook (or size needed to obtain a firm fabric)
- Large-eye tapestry needle for weaving in ends
- Stitch markers (essential for working in continuous rounds)
- Sharp scissors
Abbreviations
- ch: chain
- sc: single crochet
- dc: double crochet
- sl st: slip stitch
- st(s): stitch(es)
- rnd: round
- inc: increase (2 stitches in the same space)
- BLO: back loop only
- sk: skip
Pattern — Step by Step
The Circular Base
The base is worked in joined rounds to ensure a perfectly centered circle. Do not turn your work at the end of rounds.
- Rnd 1: Start with a magic ring. Ch 1, work 6 sc into the ring. Join with sl st to first sc. (6 sts)
- Rnd 2: Ch 1, 2 sc in each st around. Join with sl st. (12 sts)
- Rnd 3: Ch 1, *1 sc in next st, inc in next st; repeat from * around. Join with sl st. (18 sts)
- Rnd 4: Ch 1, *1 sc in next 2 sts, inc in next st; repeat from * around. Join with sl st. (24 sts)
- Rnd 5: Ch 1, *1 sc in next 3 sts, inc in next st; repeat from * around. Join with sl st. (30 sts)
- Rnds 6-8: Continue increasing by 6 sts per round (e.g., Rnd 6 has 4 sc between increases) until the base reaches approximately 5–6 inches in diameter.
The Body of the Bag
We will now transition from increasing to building height. To create a crisp edge, we will work the first round of the body in the back loops.
- Rnd 1 (Transition): Ch 1, sc in the BLO of each st around. Join with sl st.
- Rnds 2-15 (or desired height): Ch 2 (does not count as st), dc in each st around. Join with sl st to first dc. (The stitch count remains consistent with your final base round).
The Eyelet Round and Edging
This round creates the holes through which the drawstring cord will be woven.
- Eyelet Rnd: Ch 3 (counts as 1 dc + ch 1), sk 1 st, *dc in next st, ch 1, sk 1; repeat from * around. Join with sl st to the 2nd ch of the starting ch-3.
- Final Rnd: Ch 1, sc in each dc and ch-1 space around. Join with sl st. Fasten off and weave in ends.
Assembly
Before assembling, ensure your bag is free of loose threads. The drawstring cord can be made from the same yarn or a coordinating ribbon for a more decorative look.
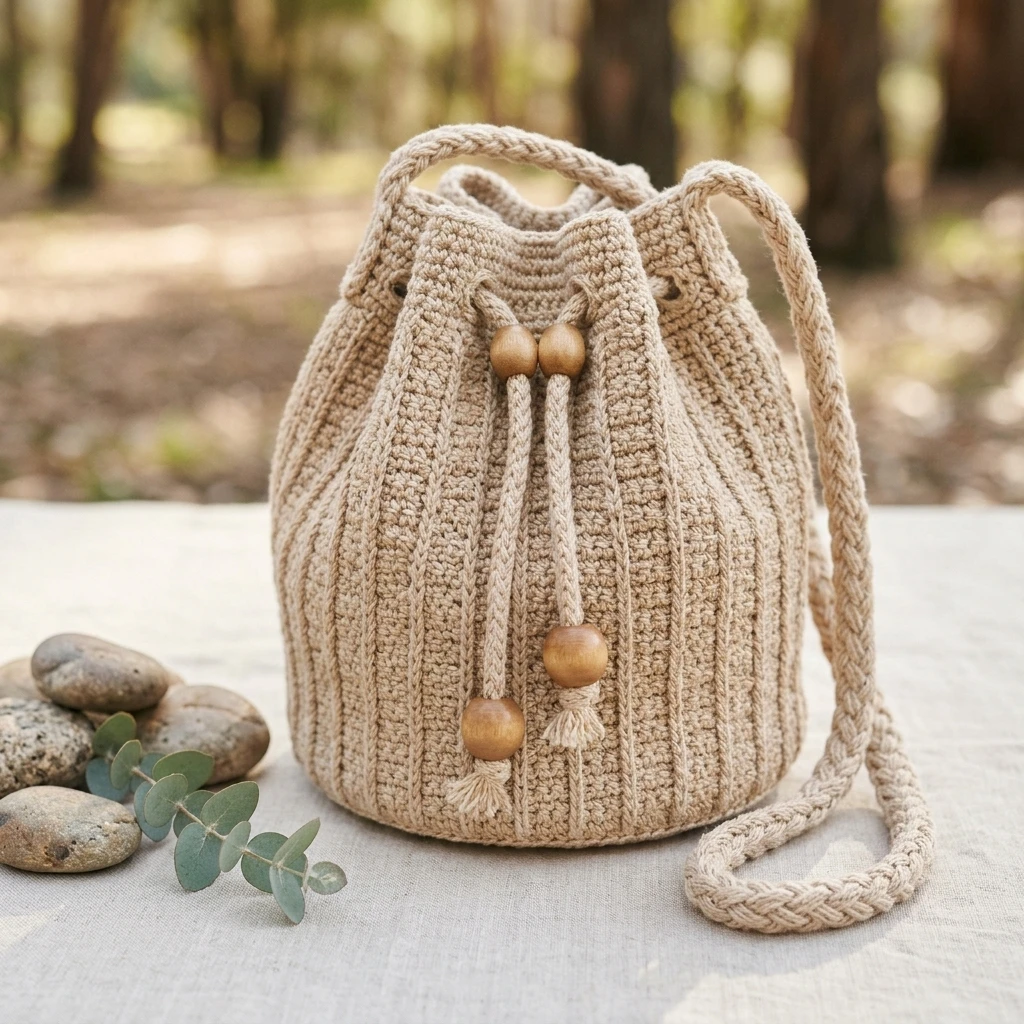
- Create the Cord: Crochet a simple chain approximately 24-30 inches long. For a sturdier cord, work a slip stitch back down the chain.
- Threading: Thread the cord onto a tapestry needle.
- The Weave: Starting at the front center, weave the cord in and out through the eyelet round spaces created in the pattern.
- Finishing: Knot the ends of the cord together or add decorative beads to each end to prevent the cord from slipping back through the holes.
7 Technical Tips for a Better Crochet Drawstring Bag Pattern
- Tighten Your Magic Ring: Ensure the center of your base is pulled extremely tight and knotted on the wrong side to prevent small items from falling out.
- Stagger Your Increases: If your circle starts looking like a hexagon, stagger your increases so they don’t stack directly on top of each other in every round.
- Mind the Gap: If your eyelet round looks too gappy, try using a hook one size smaller just for that specific round to keep the structure firm.
- Reinforce the Bottom: For a very sturdy bag, cut a circle of plastic canvas or heavy felt and place it in the bottom before cinching the drawstring.
- Yarn Choice Matters: Avoid yarns with high halo (fuzziness) for the drawstring itself, as the friction will cause the fibers to pill and eventually snap.
- Check Your Count: Ensure your final base round has an even number of stitches; otherwise, the “dc, ch 1, sk 1” eyelet repeat will not align perfectly.
- Blocking: Lightly steam block the body of the bag to settle the stitches, but avoid blocking the base if you want it to remain stiff and functional.
Frequently Asked Questions
What is the best yarn for a drawstring bag?
Mercerized cotton is the top choice. It has a beautiful sheen, excellent stitch definition, and virtually no stretch, which prevents the bag from sagging when filled.
Can I make this bag larger?
Yes. Continue the increase pattern for the circular base until it reaches your desired width, then proceed to the body instructions. The height can be adjusted by adding more rounds to the body section.
How do I stop my base from curling?
Curling usually happens if your tension is too tight or if you missed an increase round. If it curls slightly, it may flatten out once you start the side walls, but a significant “bowl” shape usually requires a larger hook.
Do I need to line the bag?
Lining is optional. For a dice bag or marble pouch, a fabric lining prevents tiny items from slipping through stitches. For larger items, the crochet fabric alone is usually sufficient.
How do I wash my crochet bag?
If made with cotton or acrylic, hand wash in cool water with mild detergent and lay flat to dry. Reshape the base while damp to ensure it dries flat.
Conclusion
The Crochet Drawstring Bag Pattern is a rewarding project that combines basic geometric shaping with practical finishing techniques. Whether you use it as a reusable gift bag or a personalized accessory pouch, the result is a durable and charming item that showcases the beauty of handmade craft. Don’t forget to save this pattern to your “Crochet Accessories” board on Pinterest for your next quick-fix project! What color combination are you planning to use for your first bag?
Save This Crochet Pattern