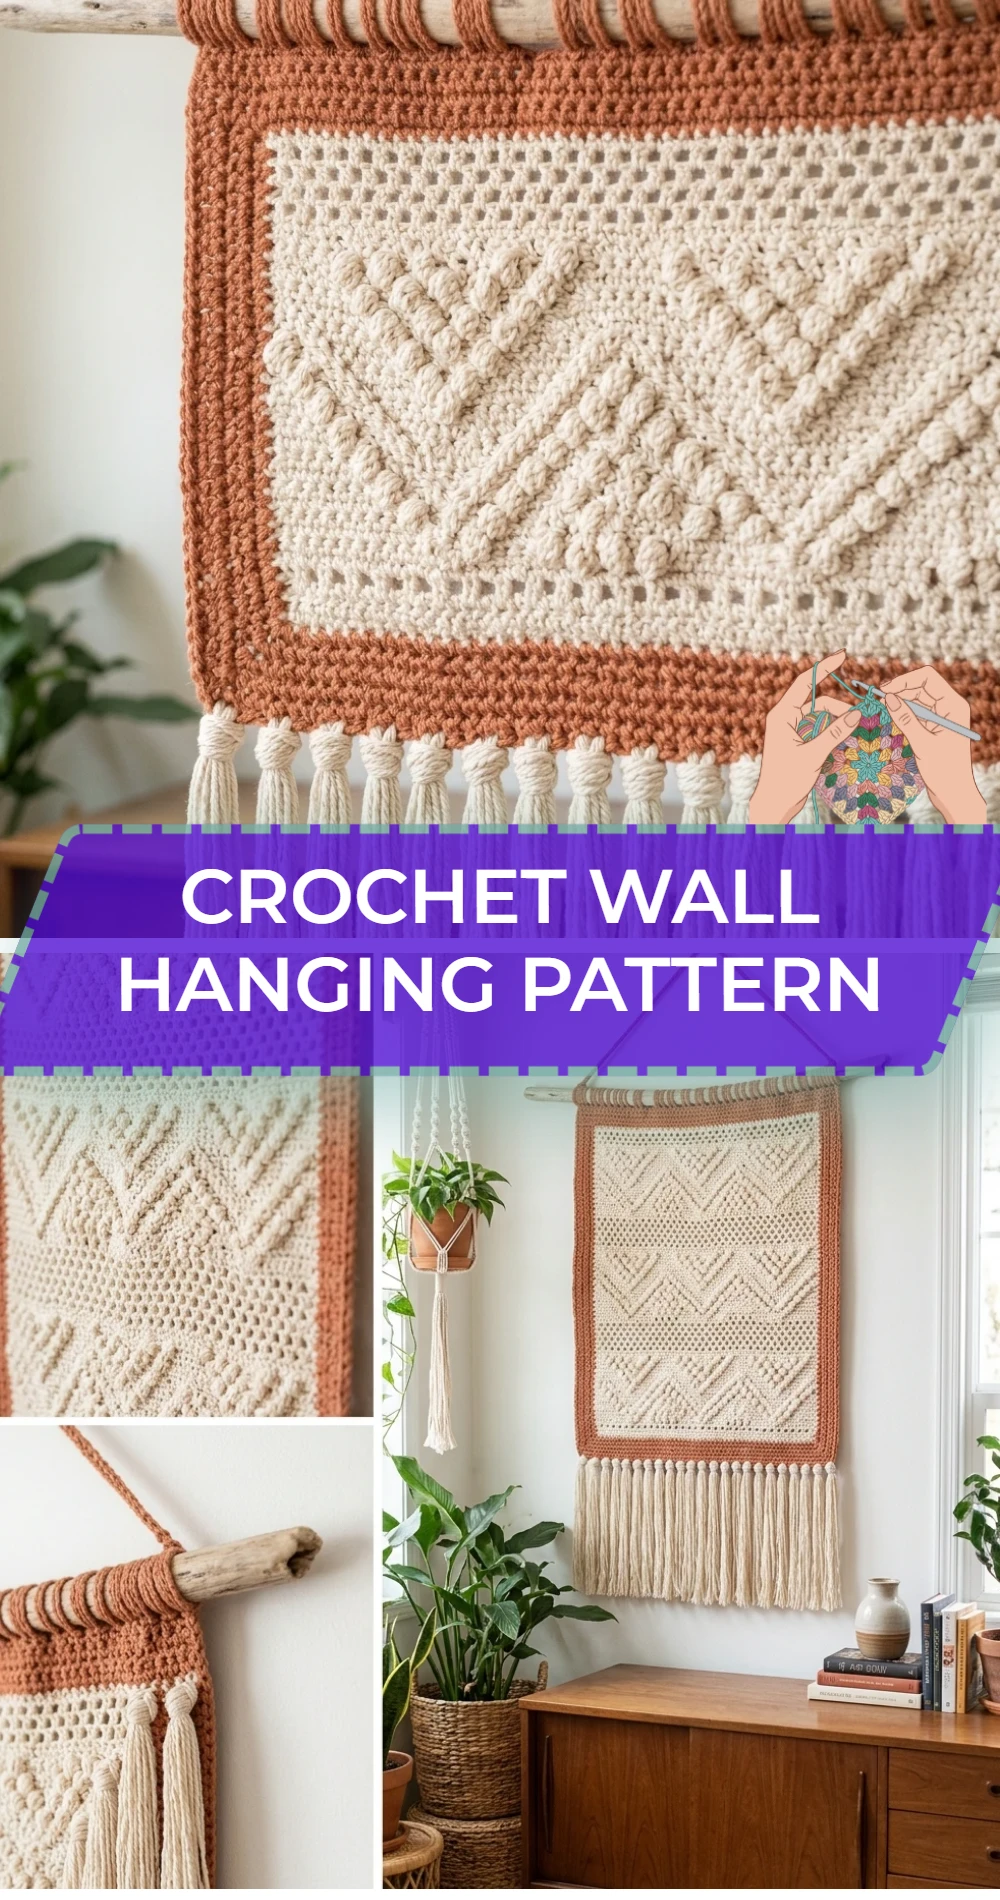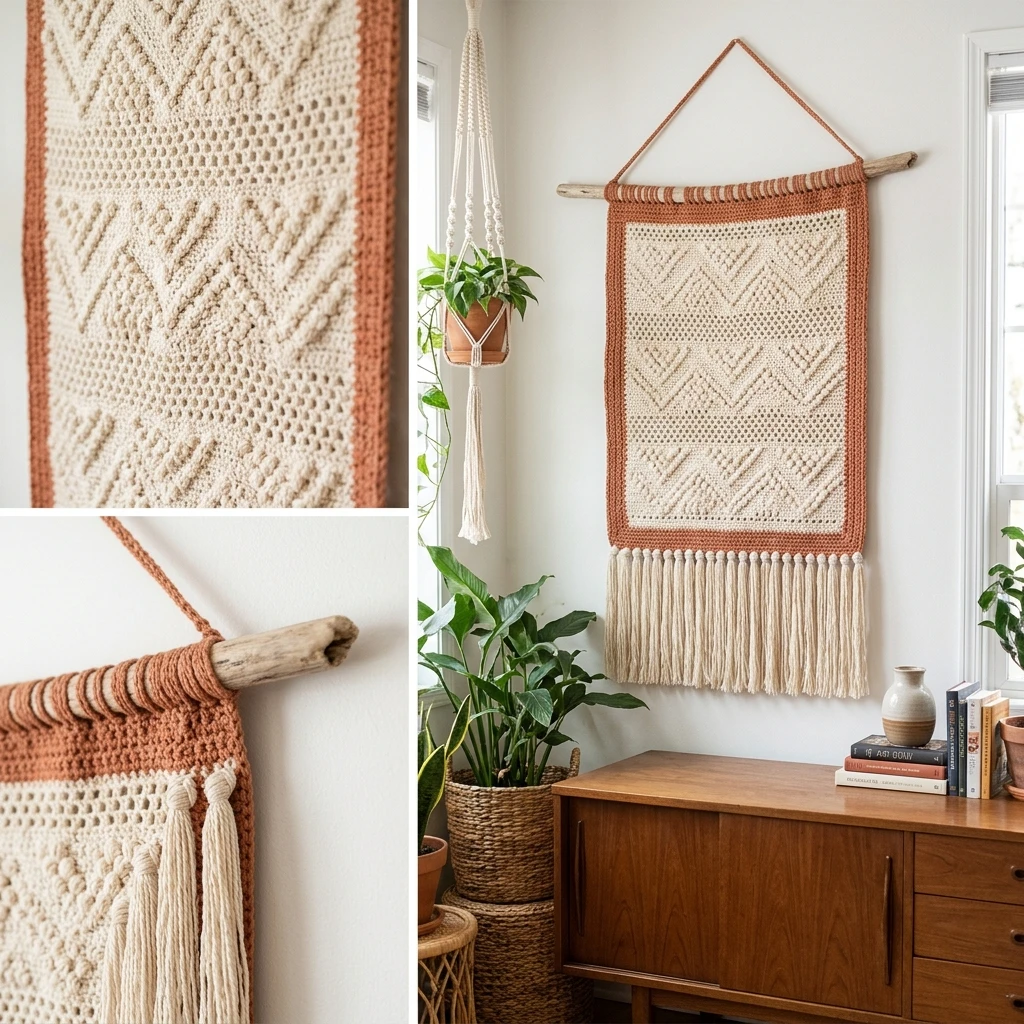
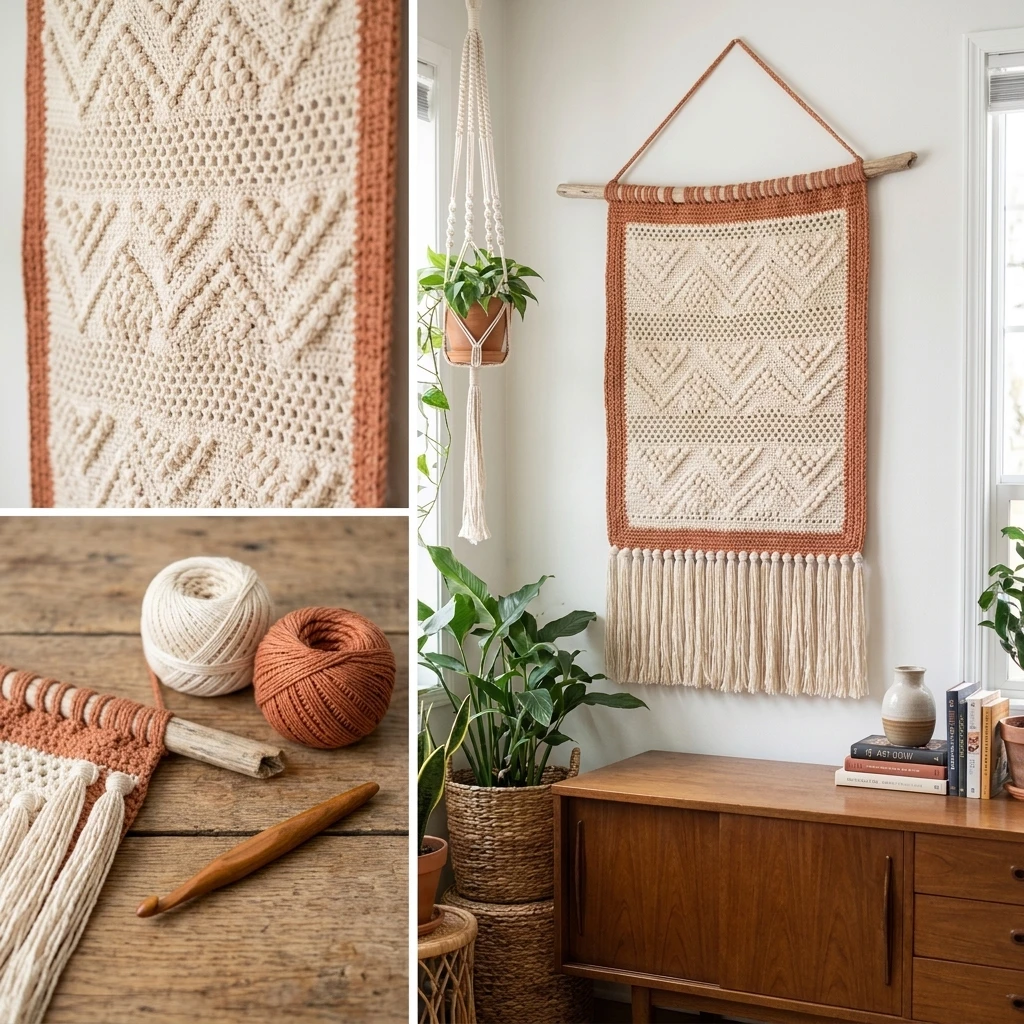
This sophisticated crochet wall hanging brings an organic, artisanal touch to any room, blending modern geometric lines with the cozy texture of handcrafted fiber art. Perfect for minimalist nurseries, bohemian living spaces, or gallery walls, this project transforms standard cotton yarn into a structured piece of decor. The construction focuses on a central rectangular panel featuring rhythmic stitch patterns that provide visual weight, finished with a lush fringe and a sturdy wooden support for a professional, boutique-inspired look.
The Design: What Makes This Pattern Different
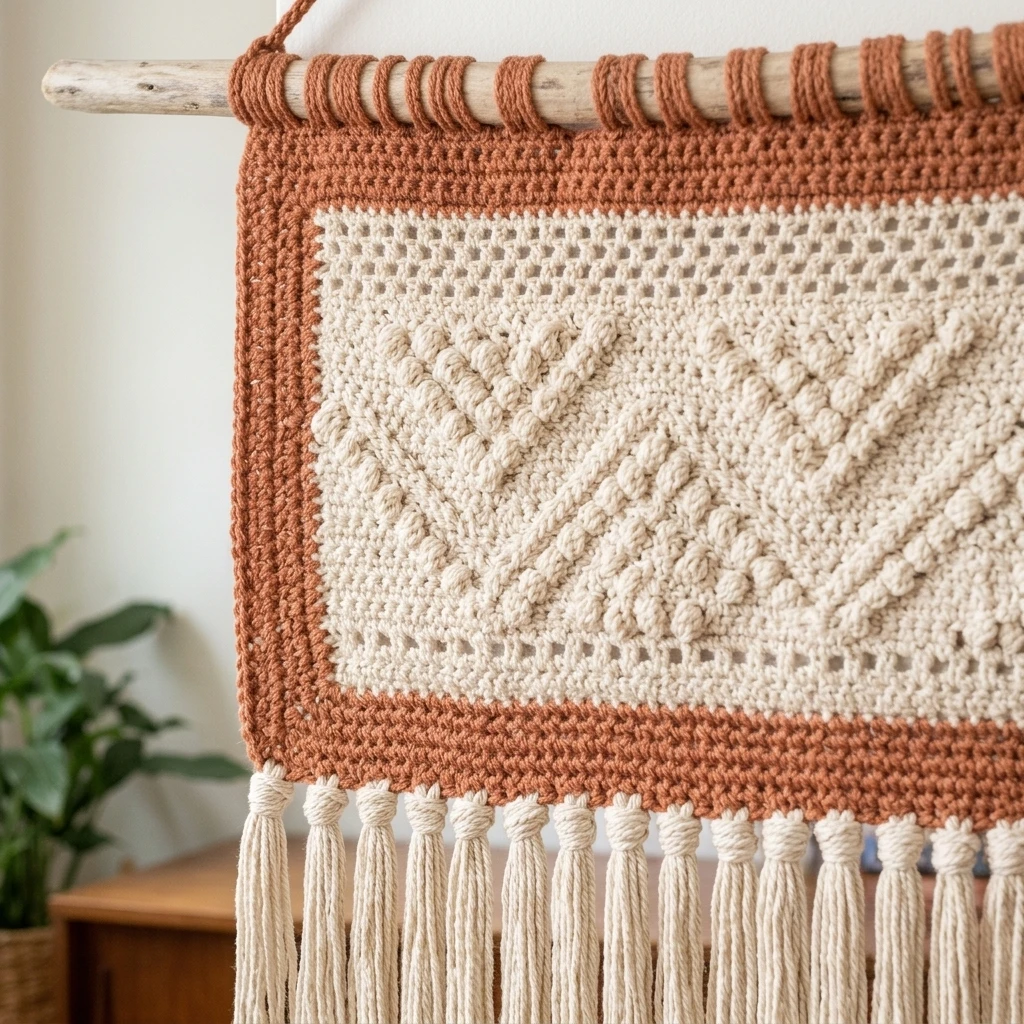
The design of this crochet wall hanging prioritizes structural integrity and tactile contrast. Unlike lightweight garments, a wall hanging must maintain its shape under its own weight without stretching excessively over time. This pattern utilizes denser stitch combinations, such as the bobble stitch or alpine stitch, to create “relief” patterns that catch the light and add depth. One common mistake to avoid is using a hook that is too large for your yarn; while a loose drape is lovely for a shawl, a wall hanging requires a firmer fabric to prevent the stitches from sagging once it is mounted on a dowel.
Project Info at a Glance
| Skill Level | Intermediate |
|---|---|
| Estimated Time | 4 – 6 Hours |
| Finished Size | 12″ wide x 16″ long (excluding fringe) |
| Hook Size | 5.0 mm (H-8) |
| Yarn Weight | Worsted (Weight 4) Cotton |
| Gauge | 14 sts x 16 rows = 4″ in Sc (Suggested) |
| Best For | Home Decor & Housewarming Gifts |
Materials and Tools
Yarn
For this project, a sturdy 100% cotton yarn is highly recommended to minimize stretching. You will need approximately 250–300 yards of worsted weight yarn. Natural, unbleached cotton provides a classic macramé look, while muted earth tones like terracotta or sage green can modernize the aesthetic.
Tools
- 5.0 mm crochet hook
- 14-inch wooden dowel or a piece of driftwood
- Large-eye tapestry needle
- Measuring tape
- Sharp fabric scissors
- Steamer (optional, for blocking and fringe)
Abbreviations
- ch: chain
- sc: single crochet
- dc: double crochet
- st(s): stitch(es)
- sk: skip
- bo: bobble stitch (4-dc cluster)
- rs: right side
- ws: wrong side
Pattern — Step by Step
This wall hanging is worked from the bottom up in rows. The texture is created by alternating rows of flat single crochet with decorative rows containing bobbles or post stitches. After the main panel is completed, we will use the tail end to secure the piece to the wooden dowel.
The Foundation
- Row 1 (RS): Ch 41. Sc in 2nd ch from hook and in each ch across. (40 sts)
- Row 2 (WS): Ch 1, turn. Sc in each st across.
The Textured Body
- Row 3: Ch 1, turn. Sc in first 4 sts. *Bo in next st, sc in next 5 sts; repeat from * until 6 sts remain. Bo in next st, sc in last 5 sts.
- Row 4: Ch 1, turn. Sc in each st across. Ensure you do not skip the tops of the bobbles.
- Rows 5–12: Repeat Rows 1–4 to establish the base texture.
- Rows 13–40: Continue in established sc pattern or introduce geometric color changes (intarsia) for a modern look. (Stitch counts should remain at 40).
Finishing the Panel
- Final Row: Ch 1, turn. Sc in each st across. Fasten off, leaving a very long tail (approx. 40 inches) for attaching the panel to the dowel.
Assembly
The assembly process is what transforms a flat crochet rectangle into a piece of art. It is vital to ensure the panel is centered on the dowel to prevent lopsided hanging.
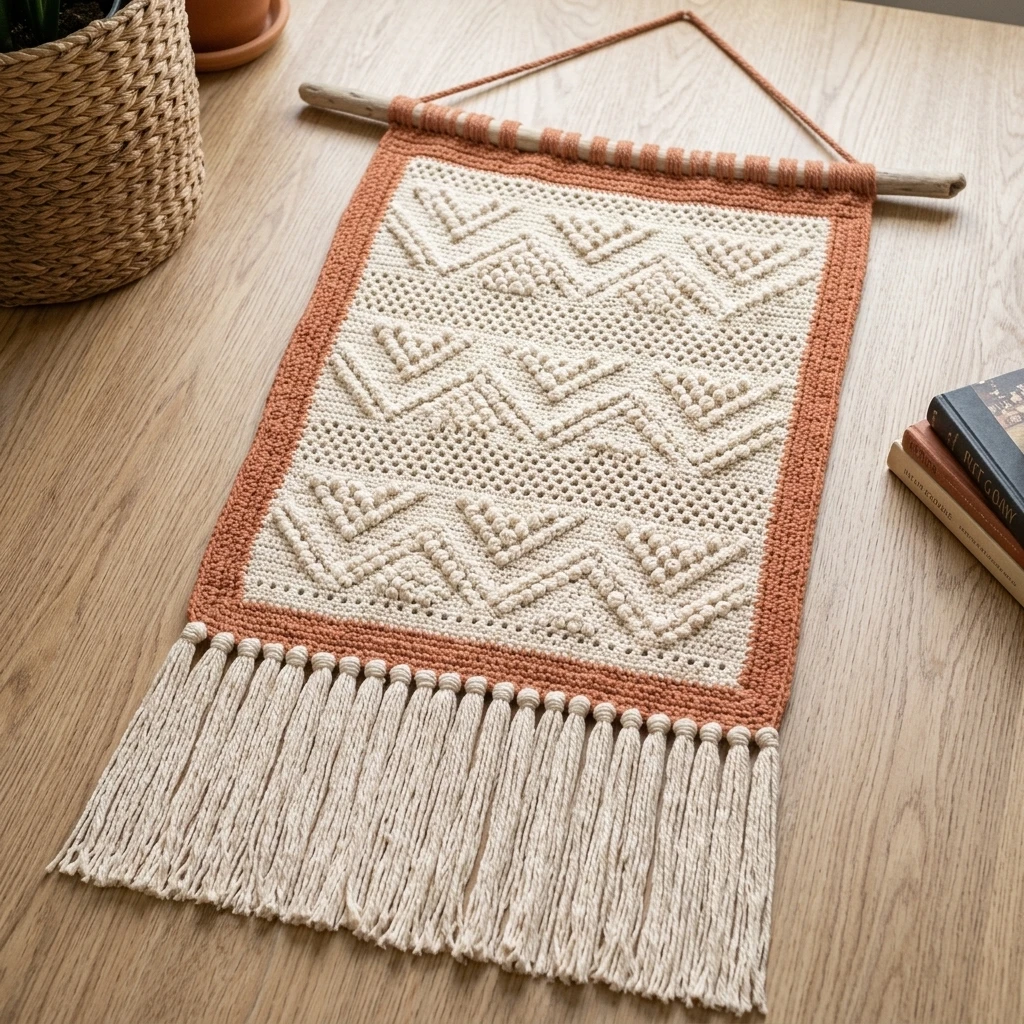
- Blocking: Before mounting, steam block your panel. This relaxes the cotton fibers and ensures the edges are perfectly straight.
- Dowel Attachment: Lay your dowel across the top of the finished panel. Using the long tail and a tapestry needle, whip stitch around the dowel and into each stitch of the final row. Pull tight so the panel sits flush against the wood.
- Fringe Application: Cut 80 strands of yarn, each 12 inches long. Group them in pairs. Fold the pairs in half and use your hook to pull the loop through the foundation row (Row 1), then pull the ends through the loop to create a “lark’s head knot.” Repeat across the bottom edge.
- Hanging Cord: Cut a 20-inch piece of yarn. Tie each end securely to the ends of the wooden dowel using a double knot.
7 Technical Tips for a Better Crochet Wall Hanging Pattern
- Consistent Tension: Because wall hangings are viewed flat, uneven tension is highly visible. Try to maintain a relaxed but firm grip throughout.
- Use Cotton Yarn: Acrylic yarn has “memory” and will stretch over several months. Cotton stays crisp and supports the weight of the dowel better.
- The “Comb” Method: Use a fine-tooth comb to brush out your fringe if you want a softer, macramé-style look.
- Weight Matters: If your hanging is curling at the bottom, consider adding small decorative beads to the ends of the fringe to weight it down.
- Invisible Weaving: Always weave your ends into the wrong side of the fabric to keep the front face pristine.
- Starch it: For very intricate lace wall hangings, a light spray of fabric stiffener or starch can help keep the stitches defined.
- Dowel Prep: Sand your wooden dowels before starting to prevent the yarn from snagging during the assembly phase.
Frequently Asked Questions
Can I use driftwood instead of a dowel?
Absolutely! Driftwood adds a wonderful rustic character to the project. Just ensure it is cleaned and dried thoroughly, and that it is relatively straight so the crochet panel doesn’t warp.
How do I stop my wall hanging from curling?
Curling usually happens due to tight tension or the nature of certain stitches. Wet blocking or steam blocking is the most effective way to flatten the piece before you attach the fringe.
What is the best way to trim the fringe evenly?
Lay the hanging flat on a cutting mat. Use a piece of painter’s tape to mark a straight line (or a “V” shape) across the fringe, then cut along the bottom of the tape with sharp scissors.
Can I make this pattern larger?
Yes. You can increase the width by adding stitches to your starting chain (ensure you follow the bobble repeat count) and increase the length by adding more rows before the finishing section.
How do I clean my crochet wall hanging?
Since it is a decorative item, it shouldn’t get very dirty. However, you can use a lint roller to remove dust or spot clean with a damp cloth. Do not machine wash, as the dowel could break and the fringe will tangle.
Conclusion
Creating a crochet wall hanging is a rewarding way to experiment with texture and home styling. By focusing on tension and choosing the right materials, you can craft a piece that rivals high-end boutique decor. Whether you stick to neutral tones or go bold with color-blocking, your finished project is sure to be a conversation starter. Don’t forget to pin this pattern to your DIY Decor board on Pinterest! What color palette are you planning to use for your wall hanging?
Save This Crochet Pattern