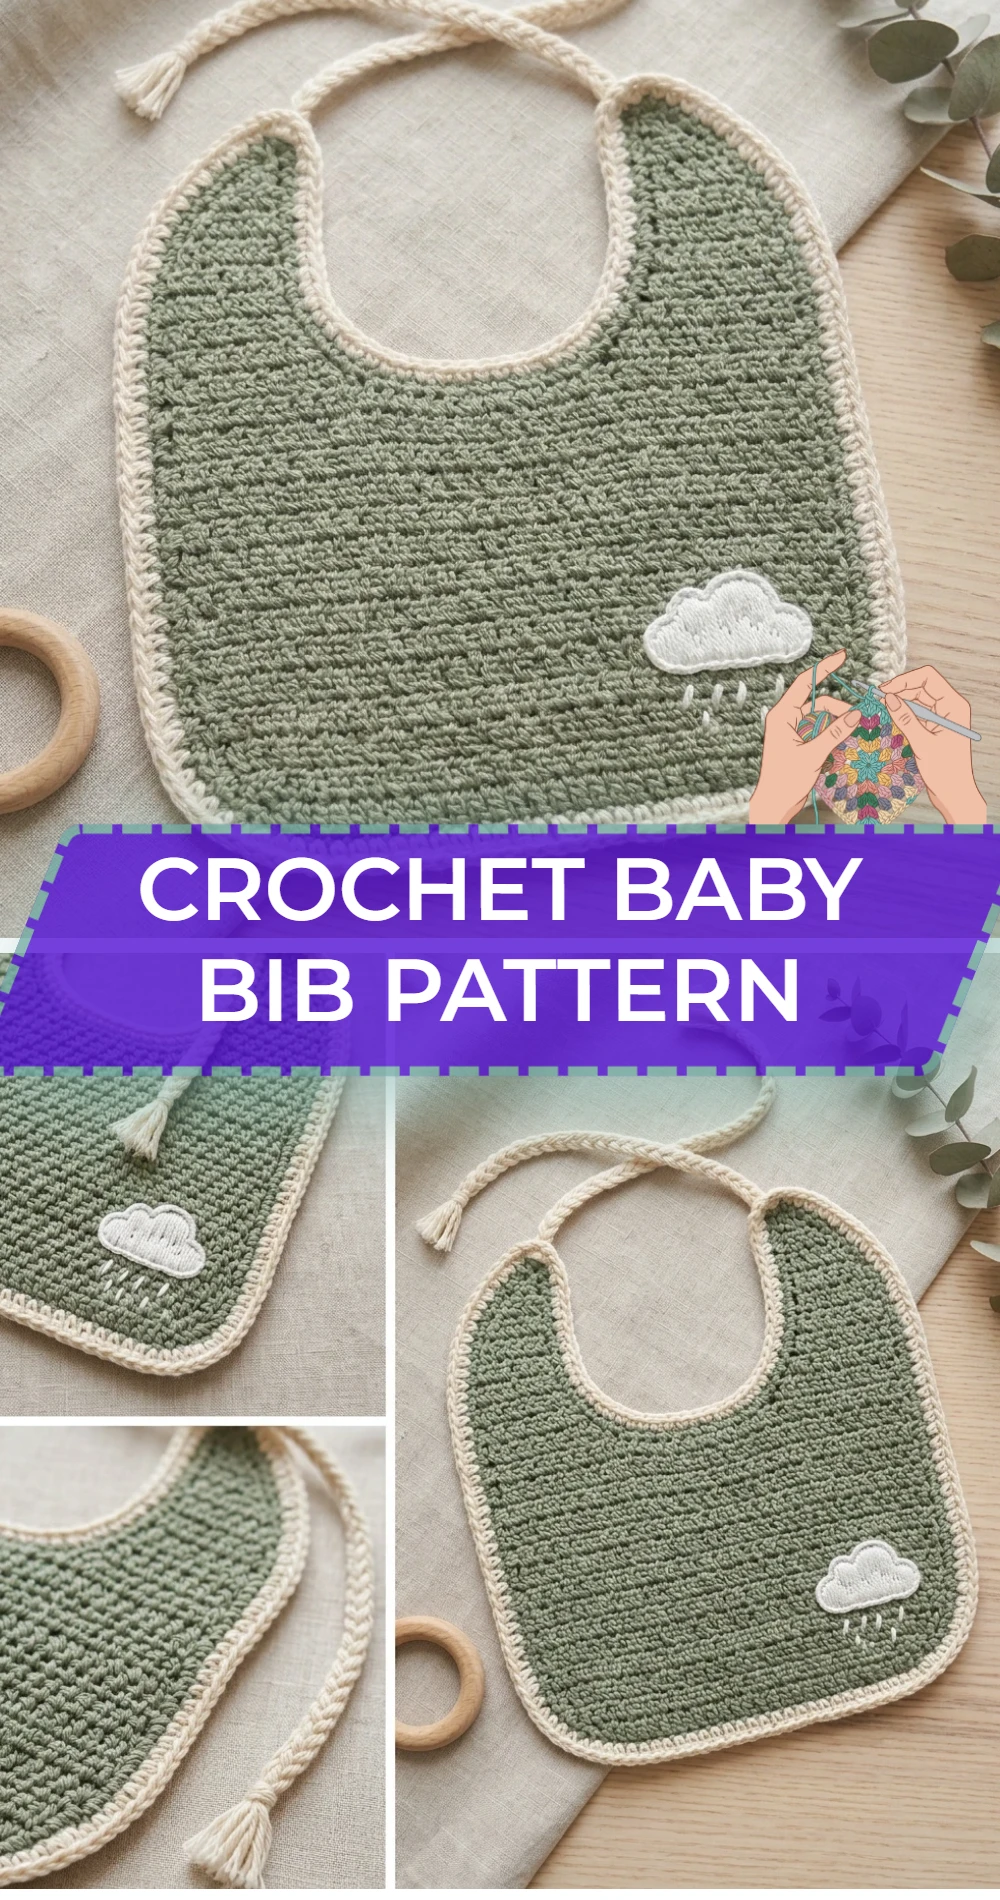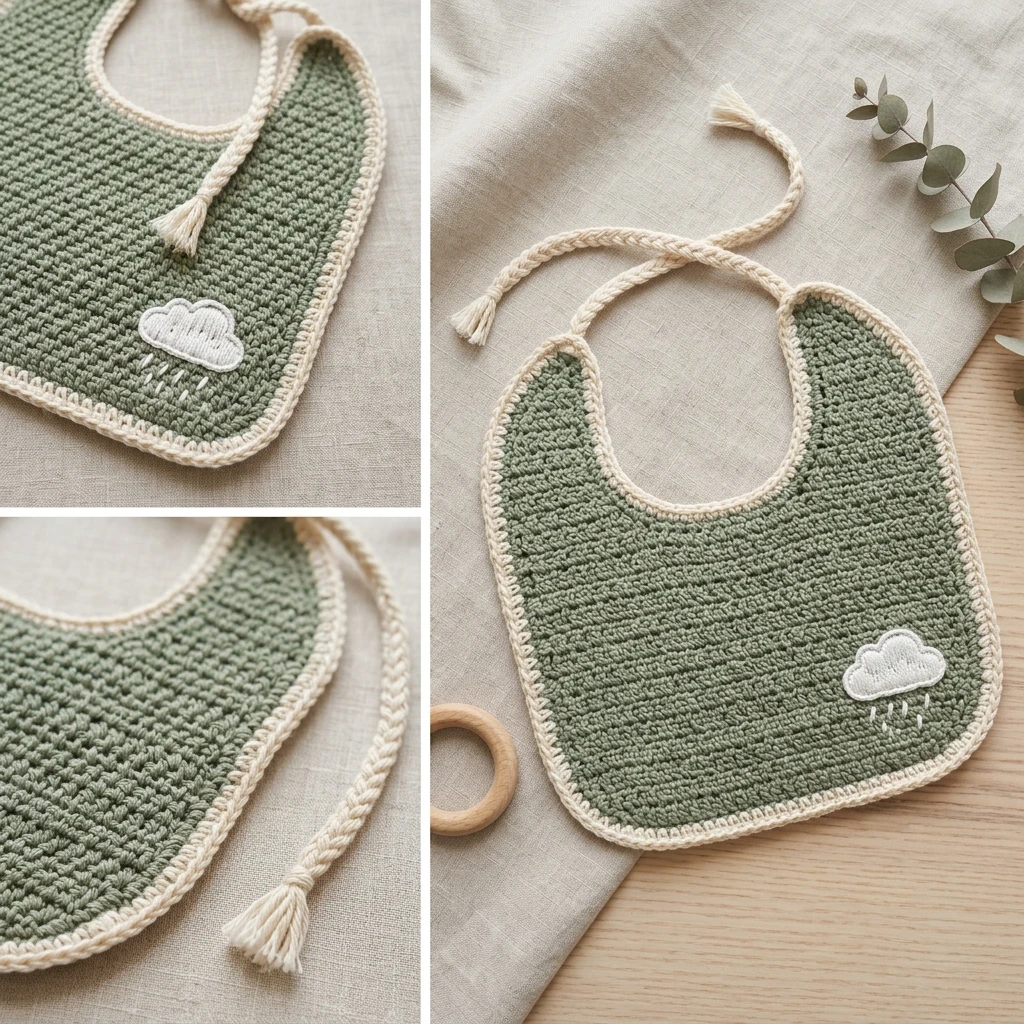
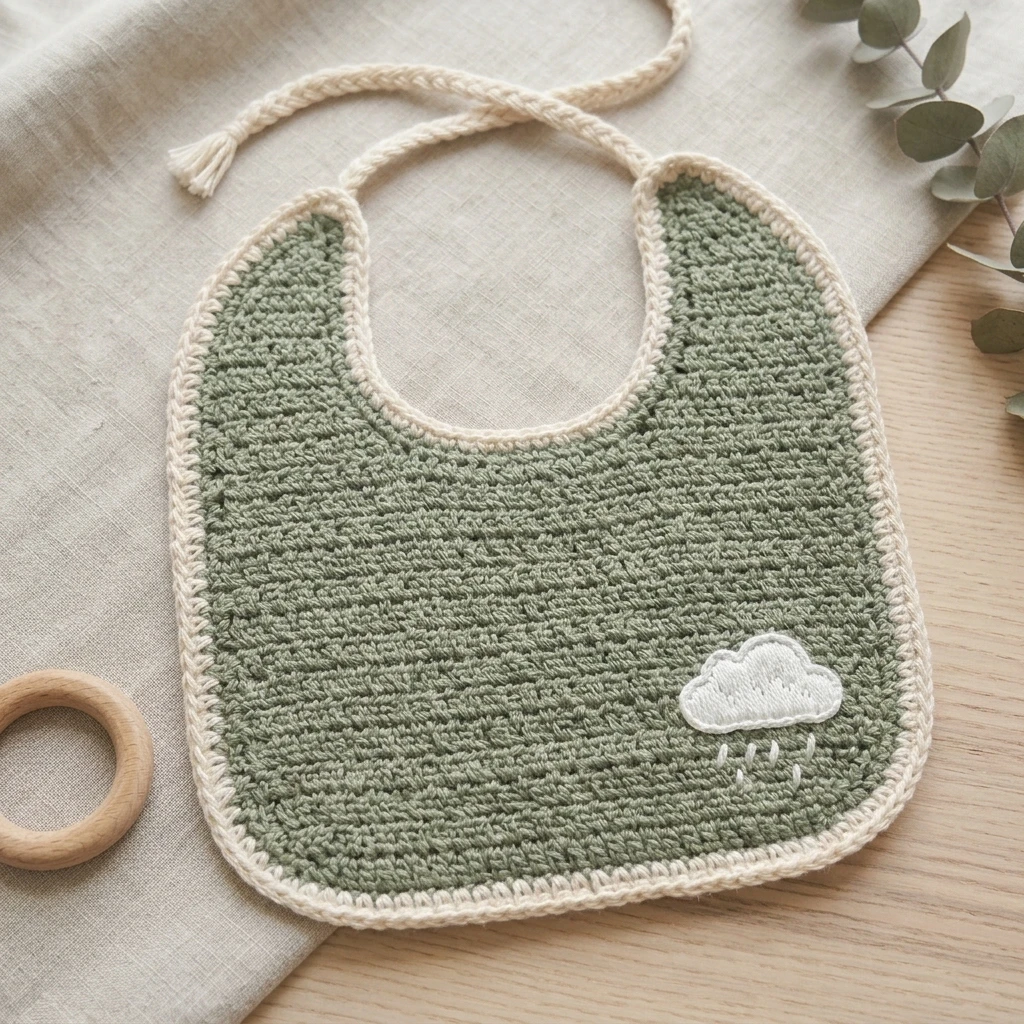
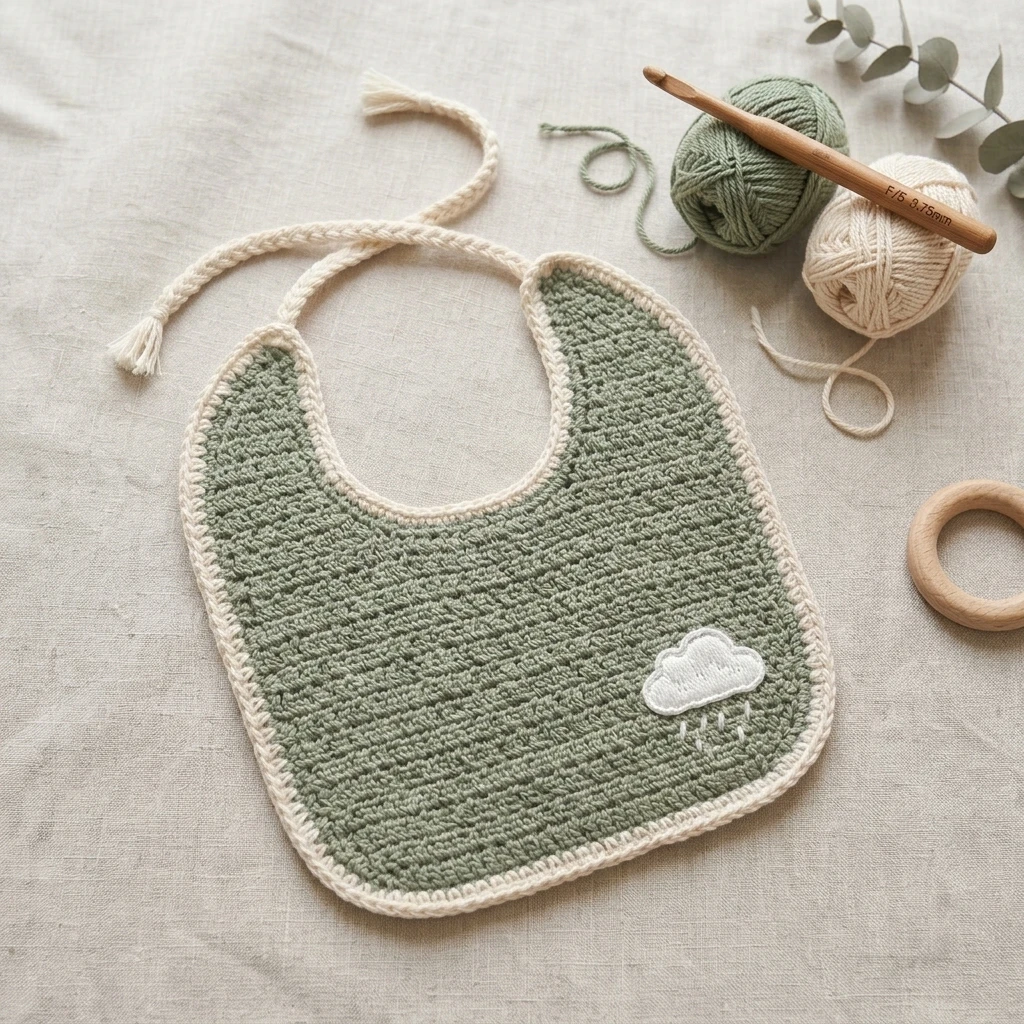
A handmade crochet baby bib is the ultimate blend of practicality and heirloom charm. Designed to be both absorbent and soft against delicate skin, this project features a sturdy yet flexible texture achieved through classic crochet stitches. The visual identity of this bib is defined by its clean, rounded edges and a comfortable neckline that stays in place during use. Whether you are crafting a set for a baby shower gift or stocking up for your own little one, this pattern provides a quick-to-finish project that uses a simple flat-row construction, making it accessible for beginners and relaxing for seasoned makers.
The Design: What Makes This Pattern Different
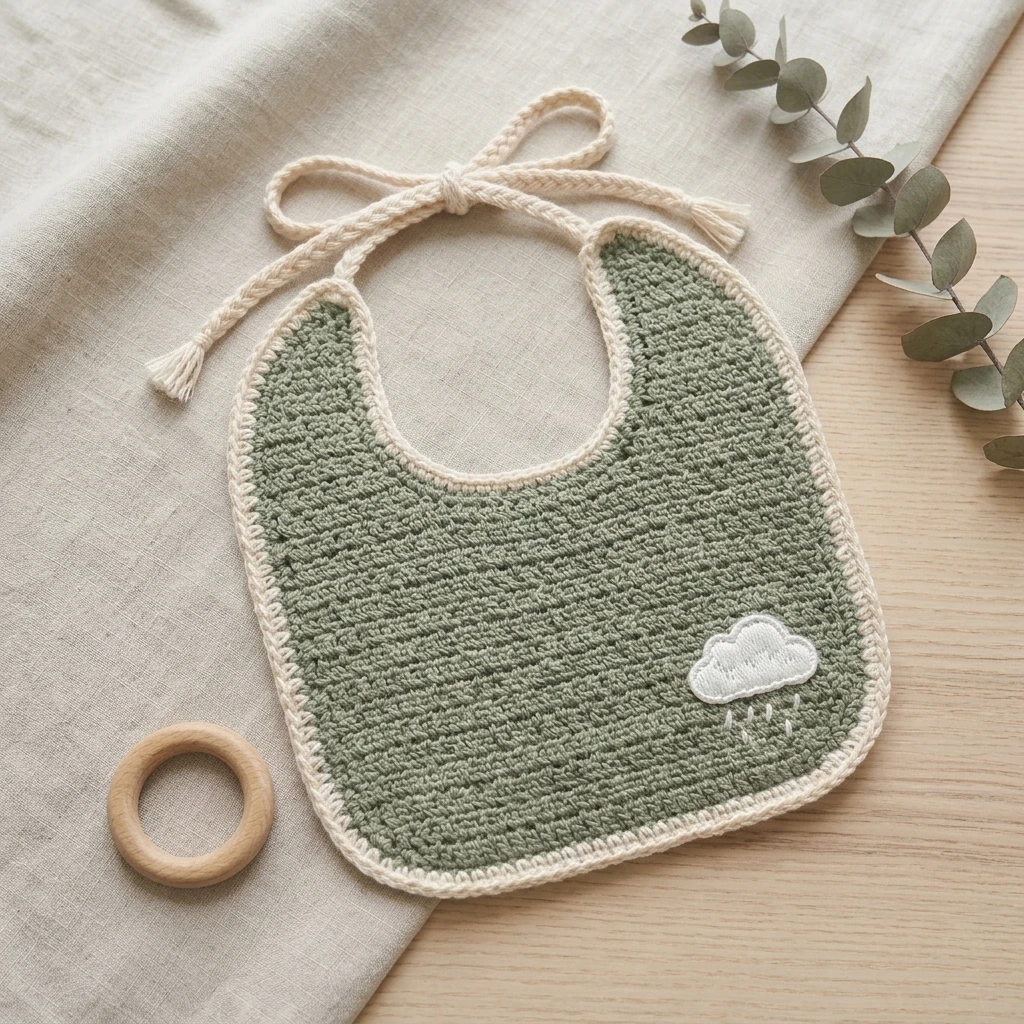
The architecture of this crochet baby bib focuses on maximum coverage and comfort. Unlike many store-bought bibs that are too thin to handle messes, this design utilizes the natural density of crochet stitches to create a “thirsty” fabric. We have opted for a classic U-shape with extended neck tabs that can be fastened with a button or a soft tie. One specific structural decision is the use of a slightly smaller hook than recommended for the yarn weight; this creates a tighter fabric that prevents liquids from seeping through too quickly.
A common mistake to avoid when making baby items is using a yarn that is too “toothy” or rough. Always ensure your tension is consistent, especially around the neck area, to prevent any sharp or stiff edges that might irritate the baby. Focus on a relaxed grip during the final edging rounds to ensure the bib lies perfectly flat rather than curling at the corners.
Project Info at a Glance
| Attribute | Details |
|---|---|
| Skill Level | Easy / Advanced Beginner |
| Estimated Time | 1 – 2 Hours |
| Finished Size | Approximately 7.5″ wide x 9″ long (excluding ties) |
| Hook Size | 5.0 mm (H-8) US Hook |
| Yarn Weight | Worsted (Medium 4) Cotton |
| Gauge | 14 sts x 16 rows in sc = 4″ (Suggested) |
| Best For | Baby Shower Gifts, Daily Use, Teething |
Materials and Tools
Yarn
For this project, cotton is the gold standard. We recommend using 100% cotton yarn because it is breathable, highly absorbent, and can withstand frequent hot-water washes. You will need approximately 75 to 90 yards of worsted weight cotton. This quantity is an estimate based on the suggested dimensions and the dense stitch pattern used to ensure durability.
Tools
Gather a 5.0 mm crochet hook, a blunt-tipped tapestry needle for weaving in ends, and a pair of sharp embroidery scissors. If you choose the button-closure version, you will also need one 1/2-inch smooth plastic or wooden button. Avoid using metal buttons that may become cold or rust over time with frequent washing.
Abbreviations
- ch: Chain
- sc: Single Crochet
- hdc: Half Double Crochet
- dc: Double Crochet
- st(s): Stitch(es)
- sl st: Slip Stitch
- sc2tog: Single Crochet Two Together (Decrease)
- inc: Increase (2 stitches in the same space)
Pattern — Step by Step
Construction Overview
This bib is worked from the bottom up in flat rows to create the main body. Once the chest area is complete, you will work the two neck straps separately by attaching yarn or continuing from the shoulder. Finally, a single crochet border is worked around the entire perimeter to smooth out the edges and integrate the fastening system.
The Main Body
- Foundation: Ch 21.
- Row 1: Sc in 2nd ch from hook and in each ch across. Turn. (20 sts)
- Row 2: Ch 1, 2 sc in first st, sc in next 18 sts, 2 sc in last st. Turn. (22 sts)
- Row 3-15: Ch 1, sc in each st across. Turn. (22 sts)
- Row 16: Ch 1, sc2tog, sc in next 18 sts, sc2tog. Turn. (20 sts)
- Row 17: Ch 1, sc in each st across. Turn. (20 sts)
The Shoulders and Neckline
You will now work only across the first 6 stitches to create the first strap.
- Row 18: Ch 1, sc in first 6 sts. Turn. (6 sts)
- Row 19-28: Ch 1, sc in each st across. Turn. (6 sts)
- Row 29: Ch 1, sc2tog, sc in next 2 sts, sc2tog. Turn. (4 sts)
- Fasten off and repeat for the other side, leaving the center 8 stitches unworked for the neck opening.
The Edging
- Attach yarn at the bottom corner. Sc evenly around the entire bib.
- At the top of the straps, ch 25 to create ties, or create a loop of ch 5 for a button closure.
- Sl st to the first sc to join.
Assembly
The assembly of this bib is minimal, as the piece is largely worked in one or two continuous sections. Ensure that the transition between the body and the straps is secure by reinforcing the join if you attached new yarn.
- Weave in Ends: Use your tapestry needle to thread all yarn tails through the back of the single crochet stitches for at least two inches to prevent unraveling during machine washing.
- Attach Fastener: If you are using a button instead of ties, sew the button securely to the end of the opposite strap, ensuring it fits snugly through the chain loop created during the edging round.
- Steam Block: Lightly steam the bib with an iron (do not touch the iron to the yarn) to settle the stitches and help the bib lay flat.
7 Technical Tips for a Better Crochet Baby Bib Pattern
- Choose 100% Cotton: Acrylic yarn does not absorb moisture and will simply allow liquid to roll off the bib onto the baby’s clothes.
- Tighten Your Gauge: If your stitches look gappy, drop down half a hook size to ensure the fabric is dense enough to catch spills.
- Safety First: If making ties, ensure they are not longer than 6 inches to prevent any tangling hazards.
- Check for Softness: Rub the finished fabric against your inner wrist. If it feels scratchy, the yarn or the tension is too stiff for a newborn.
- Avoid Large Gaps: Stick to solid stitches like sc or hdc. Laced or “holey” stitches like the granny stitch are less effective for bibs.
- Colorfastness: Wash your yarn or a swatch first to ensure bright colors won’t bleed onto the baby’s skin or clothes when damp.
- Reinforce the Neck: The neck area takes the most strain. Work your stitches slightly tighter here to prevent the straps from stretching out over time.
Frequently Asked Questions
What is the best yarn for a crochet baby bib?
Medium-weight cotton or a cotton-bamboo blend is best. Cotton is absorbent, durable, and handles the high heat of washing machines and dryers very well.
Can I use a button for a newborn bib?
While buttons are common, ensure they are sewn on very securely. For newborns, many crafters prefer soft crochet ties or velcro strips to avoid any hard pressure points behind the neck.
How do I make the bib bigger for a toddler?
You can increase the starting chain by 4-6 stitches and add 5-10 additional rows to the main body before starting the neck shaping.
Will the bib shrink in the wash?
Cotton yarn does tend to shrink slightly in the first wash. It is helpful to make the bib about 5% larger than your desired finished size to account for this.
Is the single crochet stitch the best choice?
Yes, the single crochet (sc) provides a tight, dense fabric that is ideal for absorption. If you want a faster project, half double crochet (hdc) also works well.
Conclusion
This crochet baby bib pattern is a rewarding project that combines utility with a beautiful handmade aesthetic. By choosing high-quality cotton and focusing on a dense stitch gauge, you create an item that is as durable as it is charming. These bibs make wonderful additions to any nursery and are perfect for practicing your shaping and edging techniques.
If you enjoyed this tutorial, please save it to your “Crochet for Baby” board on Pinterest so you can find it whenever you need a quick gift idea! Which color of cotton yarn will you choose for your first bib—a classic neutral or a bright, playful variegated shade?
Save This Crochet Pattern