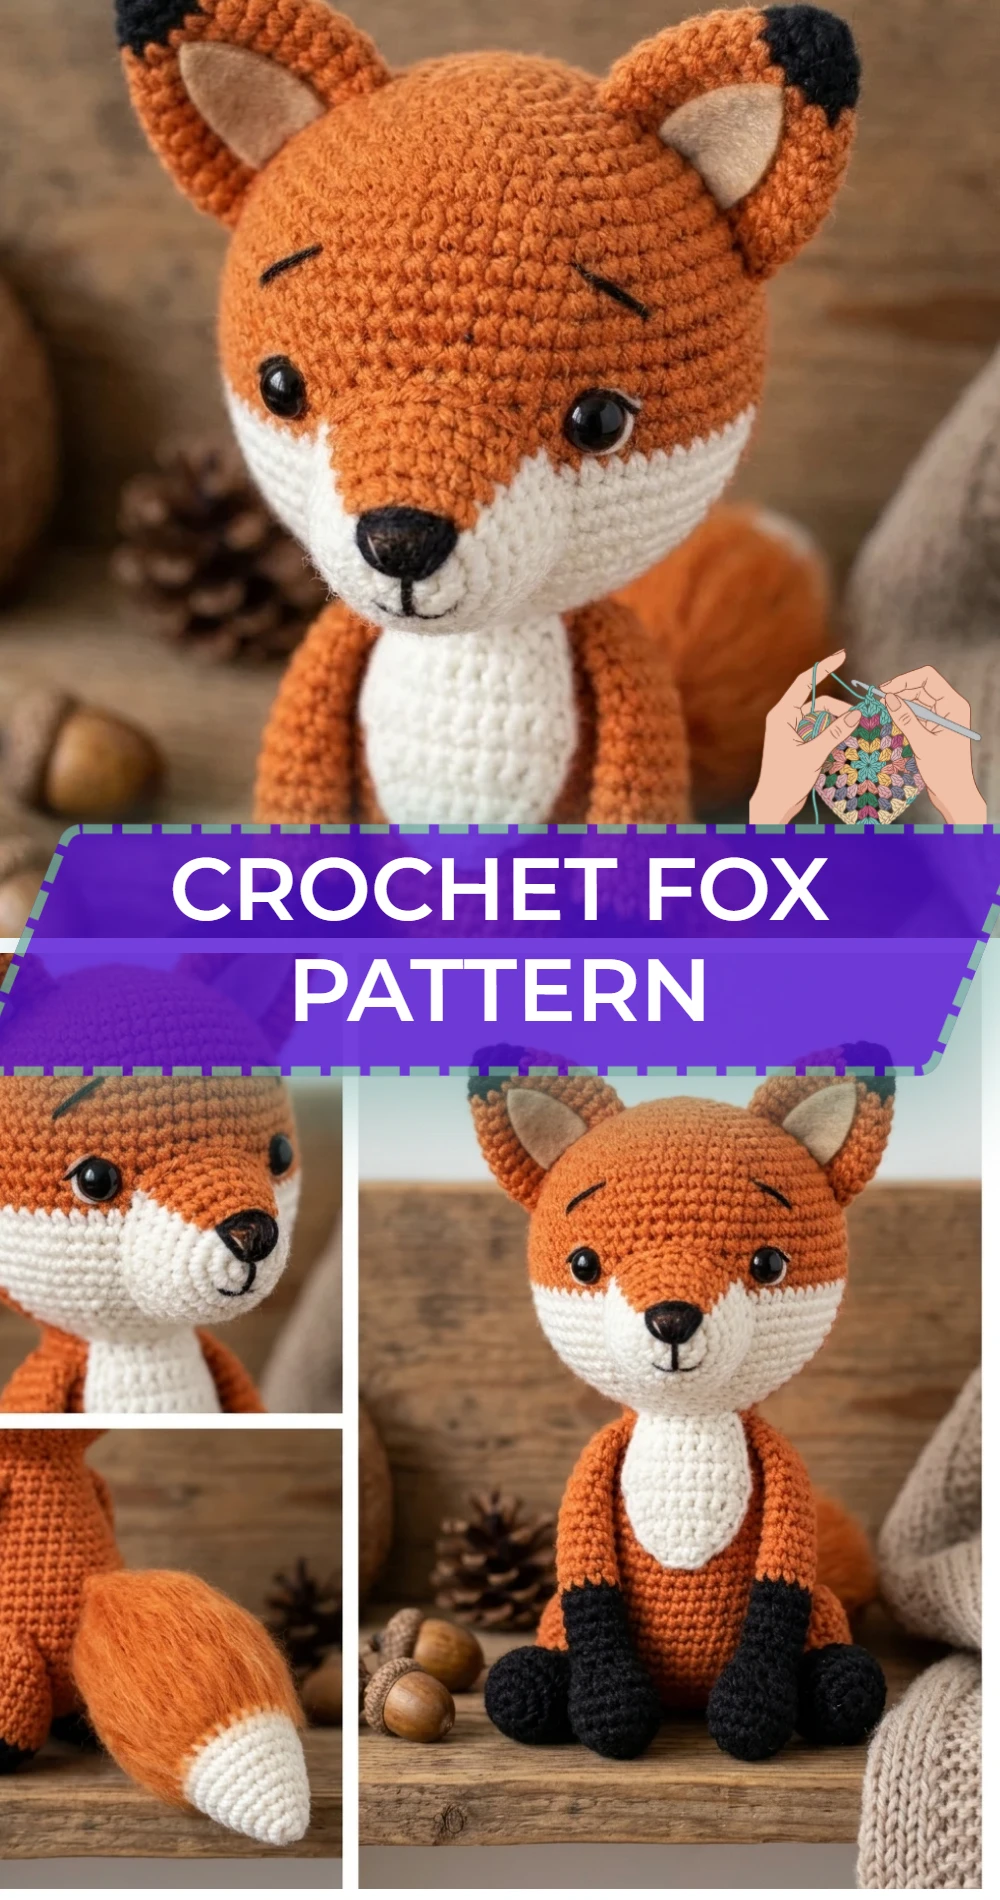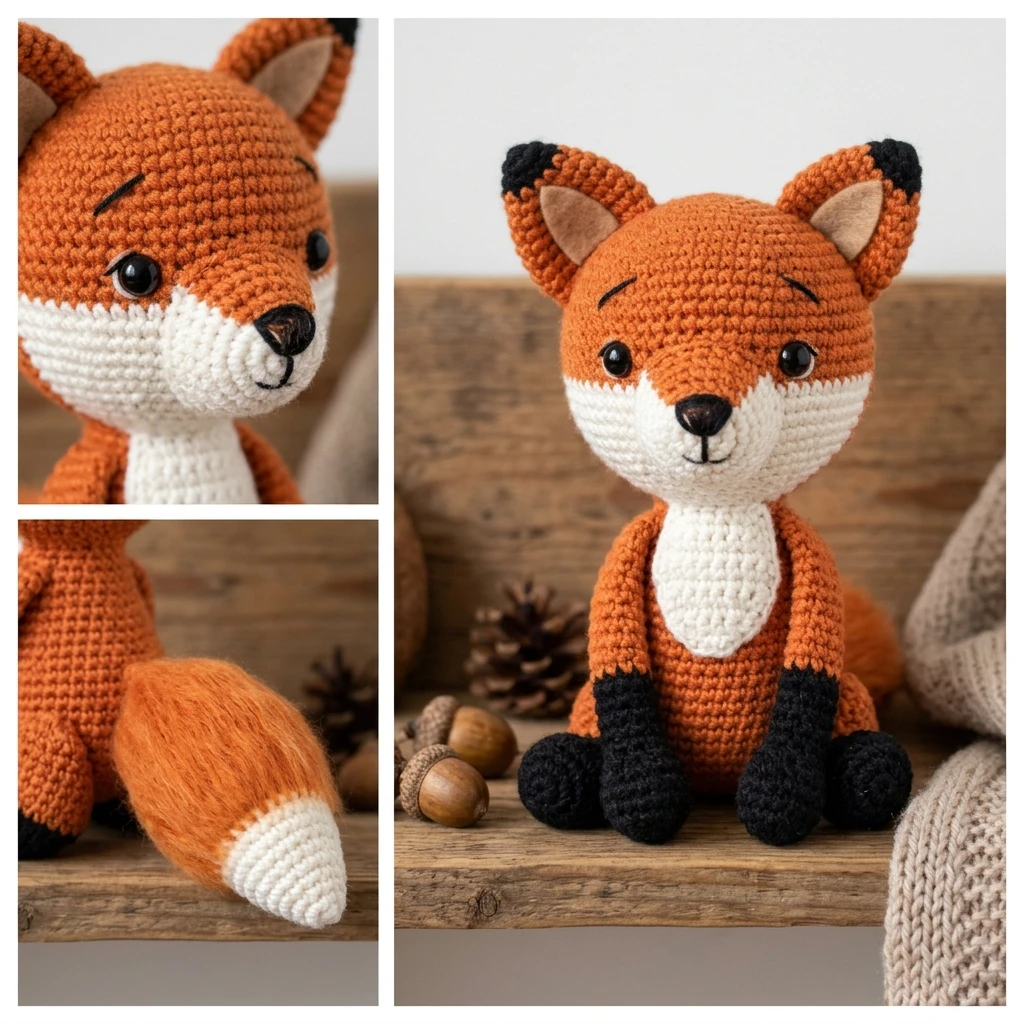
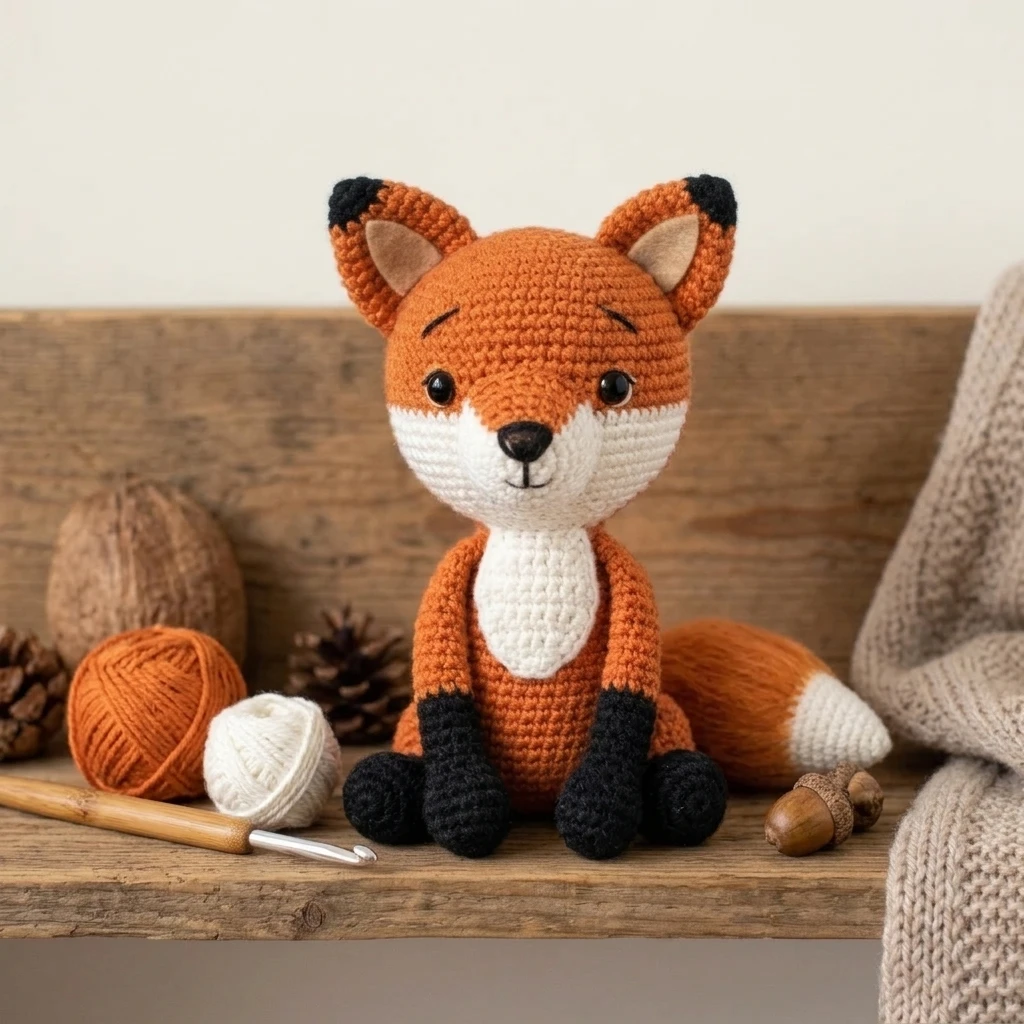
Capture the essence of the forest with this adorable Crochet Fox Pattern, a project that blends woodland charm with modern amigurumi techniques. This finished fox features a classic vibrant orange coat, a bushy white-tipped tail, and distinct black “socks” on its paws, giving it a playful yet sophisticated visual identity. Suited perfectly for nursery decor, nature-themed gifts, or as a cozy desk companion, this project is constructed using the traditional amigurumi method of continuous spirals. The design focuses on clean lines and color blocking to ensure the fox looks sharp and professional, whether it’s sitting on a shelf or being held by little hands.
The Design: What Makes This Pattern Different
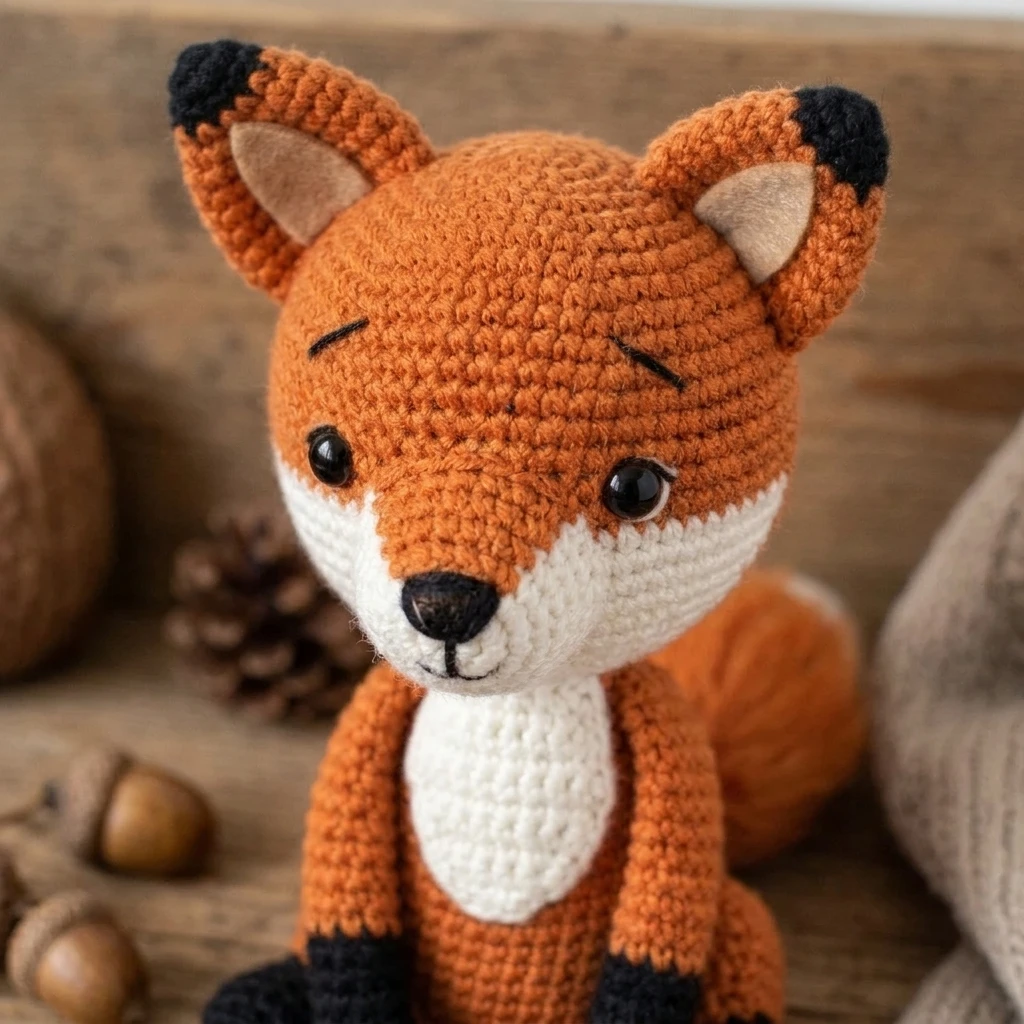
This design prioritizes a seamless transition between the muzzle and the head, creating a realistic facial structure without the bulk often found in beginner patterns. By using specific placement for the safety eyes and a tapered snout, the fox gains a curious, lifelike expression. One common mistake to avoid during construction is over-stuffing the muzzle too early; doing so can distort the stitch tension and make it difficult to maintain the sharp point of the nose. Instead, wait until you are halfway through the head decreases to ensure the shape remains symmetrical and firm.
Project Info at a Glance
| Feature | Details |
|---|---|
| Skill Level | Intermediate (due to color changes) |
| Estimated Time | 4 – 6 Hours |
| Finished Size | Approx. 8 inches tall (seated) |
| Hook Size | 3.25mm (D) or 3.5mm (E) |
| Yarn Weight | Medium Worsted (Weight 4) |
| Gauge | 5 sc x 5 rows = 1 inch (estimated) |
| Best For | Gifts, Nursery Decor, Amigurumi Enthusiasts |
Materials and Tools
Yarn
To achieve the classic woodland look, you will need approximately 120 yards of a primary orange yarn, 40 yards of creamy white for the accents, and roughly 20 yards of black for the paws and ear tips. These amounts are suggested based on standard worsted weight yarn usage for an 8-inch figure.
Tools
You will need a crochet hook that is one or two sizes smaller than what the yarn label recommends to ensure a tight, no-hole fabric. Additionally, prepare polyester fiberfill for stuffing, a pair of 10mm or 12mm safety eyes, a yarn needle for assembly, and stitch markers to track your rounds.
Abbreviations
- ch: chain
- sc: single crochet
- inc: increase (2 sc in one stitch)
- dec: invisible decrease (sc 2 together using front loops only)
- st(s): stitch(es)
- sl st: slip stitch
- MR: Magic Ring
- [ ]: repeat instructions within brackets
Pattern — Step by Step
This pattern is worked in continuous rounds. Do not join or turn unless specifically instructed. Use a stitch marker to mark the first stitch of every round.
Head and Muzzle
Construction begins at the nose with white yarn, transitioning to orange to form the main head structure.
- Rnd 1: In white, 6 sc in MR (6)
- Rnd 2: [sc, inc] x3 (9)
- Rnd 3: [2 sc, inc] x3 (12)
- Rnd 4: [sc, inc] x6 (18)
- Rnd 5: Switch to orange. [2 sc, inc] x6 (24)
- Rnd 6: [3 sc, inc] x6 (30)
- Rnd 7-12: sc in each st around (30)
- Rnd 13: [3 sc, dec] x6 (24)
- Rnd 14: [2 sc, dec] x6 (18). Install safety eyes between rounds 5 and 6, approximately 8 stitches apart.
- Rnd 15: [sc, dec] x6 (12)
- Rnd 16: dec x6 (6). Fasten off and weave in ends.
Body
The body is worked from the bottom up in orange yarn.
- Rnd 1: 6 sc in MR (6)
- Rnd 2: inc in each st (12)
- Rnd 3: [sc, inc] x6 (18)
- Rnd 4: [2 sc, inc] x6 (24)
- Rnd 5: [3 sc, inc] x6 (30)
- Rnd 6-10: sc in each st around (30)
- Rnd 11: [3 sc, dec] x6 (24)
- Rnd 12-13: sc in each st around (24)
- Rnd 14: [2 sc, dec] x6 (18)
- Rnd 15: sc in each st around (18). Fasten off, leaving a long tail for sewing.
Ears (Make 2)
Start with black yarn for the tips, then switch to orange.
- Rnd 1: In black, 4 sc in MR (4)
- Rnd 2: [sc, inc] x2 (6)
- Rnd 3: Switch to orange. [2 sc, inc] x2 (8)
- Rnd 4: [3 sc, inc] x2 (10)
- Rnd 5: [4 sc, inc] x2 (12). Fasten off, leave tail for sewing. Do not stuff.
Assembly
Assembly is the most critical stage for giving your fox its personality. Ensure all parts are firmly stuffed (except the ears) before attaching them. Using a whip stitch with a yarn needle will provide the most secure and invisible seams.
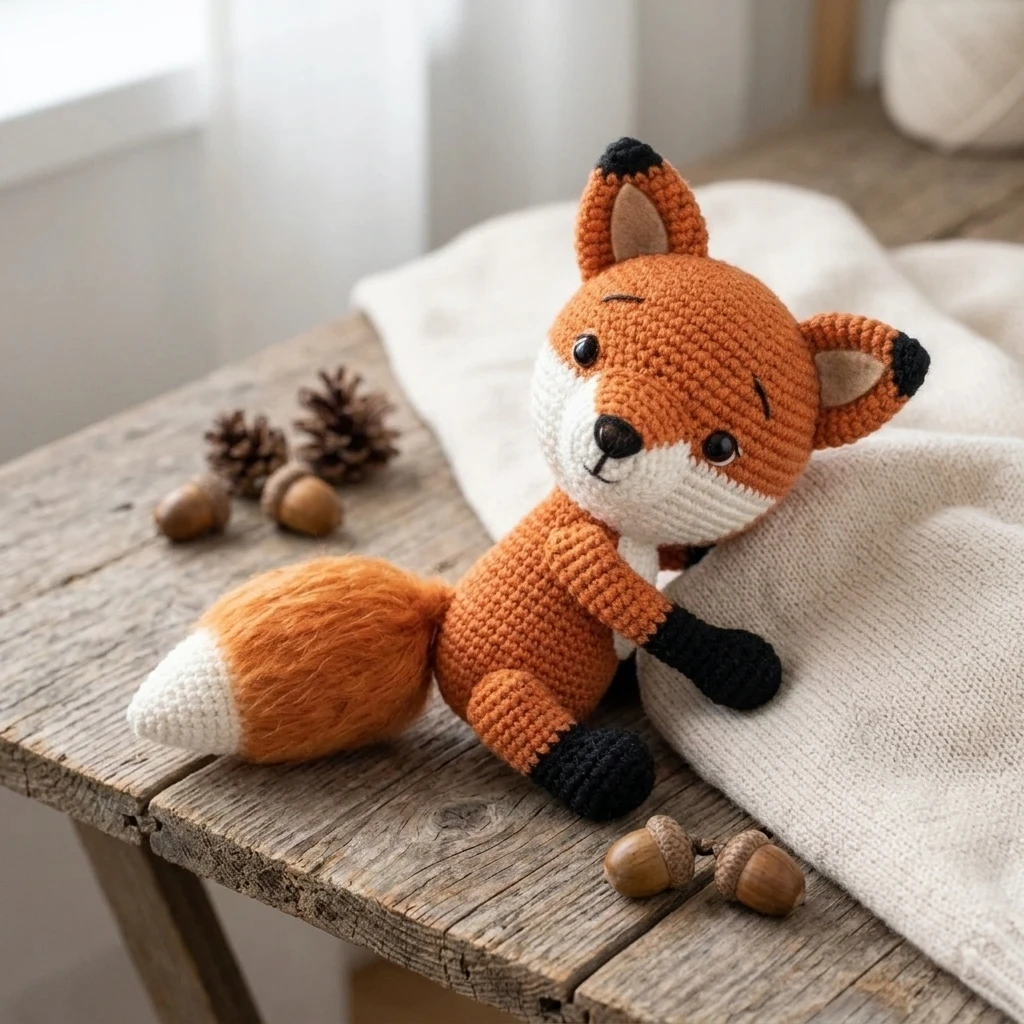
- Sew the head onto the body, ensuring the muzzle is centered between the front of the body.
- Flatten the ears and sew them to the top of the head, typically between rounds 10 and 13.
- Attach the arms to the sides of the body just below the neckline.
- Sew the legs to the bottom-front of the body to allow the fox to sit upright.
- Attach the tail to the lower back of the body, positioning it so it can wrap around the side.
- Using black yarn or embroidery floss, stitch a small nose onto the tip of the white muzzle.
7 Technical Tips for a Better Crochet Fox Pattern
- Yarn Tension: Keep your tension consistently tight to prevent the stuffing from peeking through your stitches.
- Invisible Decreases: Always use the invisible decrease method (working in front loops only) for amigurumi to avoid bulky gaps.
- Color Transition: Change colors on the final pull-through of the stitch before the new color begins for a sharp, clean line.
- Pinning Parts: Use pearl-head pins to position all limbs and ears before sewing to ensure perfect symmetry.
- Weighting the Base: For a more stable sitting fox, add a few plastic pellets in a small pouch at the bottom of the body before stuffing.
- Nose Placement: Embroider the nose in a “Y” shape or a simple triangle to vary the fox’s expression.
- Neck Support: If the head feels floppy, insert a small rolled piece of felt or extra-firm stuffing into the neck joint during assembly.
Frequently Asked Questions
What is the best yarn for amigurumi foxes?
Cotton or cotton-blend yarns are excellent for amigurumi because they offer great stitch definition and do not pill easily. However, a high-quality acrylic worsted weight yarn is the most common choice for its affordability and wide range of colors.
How can I make the fox safe for a baby?
If gifting this to an infant, replace the plastic safety eyes with embroidered eyes using black yarn. Even “safety” eyes can become a choking hazard if they are pulled out or the backing fails.
Can I make this fox larger?
Yes! To make a jumbo fox, simply use a bulky or velvet yarn and a larger hook (5.0mm or 6.0mm). The proportions will stay the same, but the finished size will increase significantly.
How do I get the tail to stay upright?
Stuff the tail very firmly at the base and use a few extra stitches when sewing it to the body to “anchor” it in an upward position against the back.
My fox won’t sit up straight; what happened?
This usually happens if the legs are sewn too far back or if the tail isn’t positioned to act as a tripod. Try adjusting the leg placement slightly forward to shift the center of gravity.
Conclusion
Creating this crochet fox is a rewarding way to practice color changes and shaping in amigurumi. With its bright orange coat and classic woodland details, your finished fox will surely be the star of any collection. If you enjoyed this tutorial, don’t forget to save it to your Crochet Animals board on Pinterest! Have you decided yet—will your fox have a mischievous grin or a sleepy, closed-eye expression?
Save This Crochet Pattern