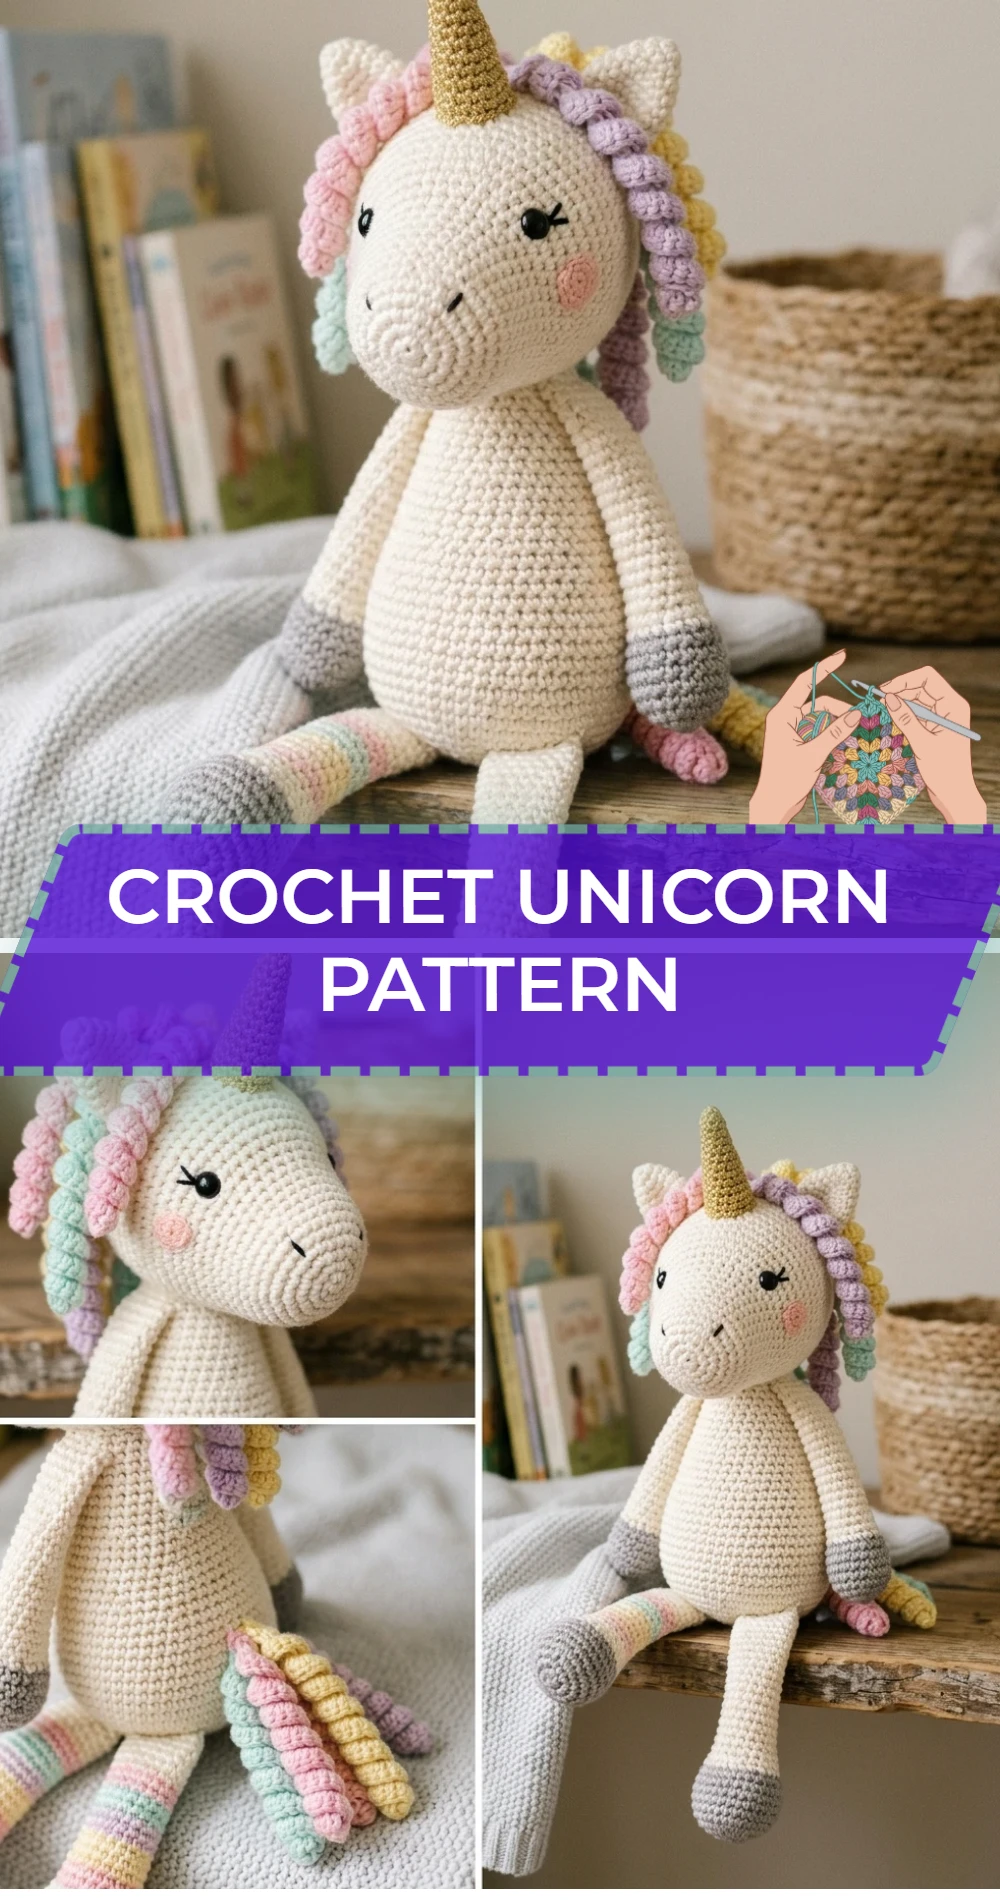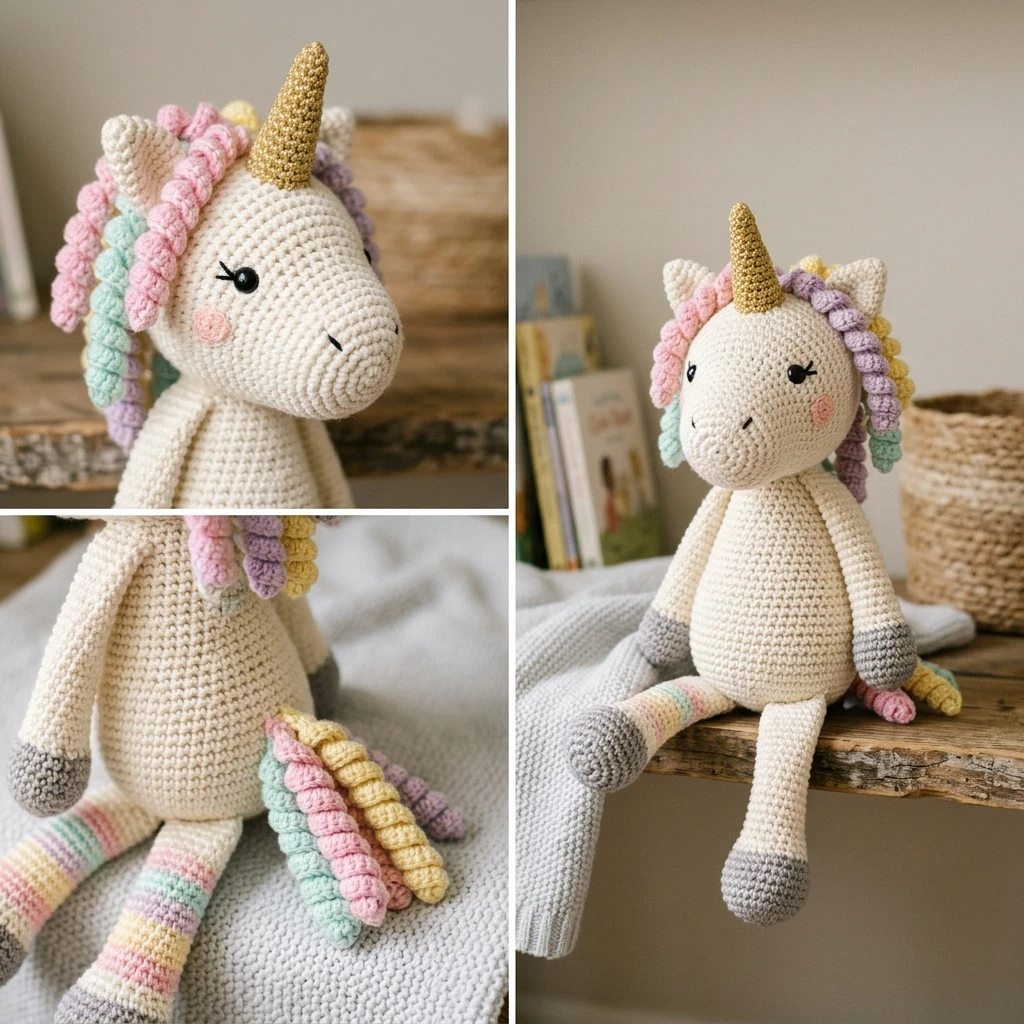
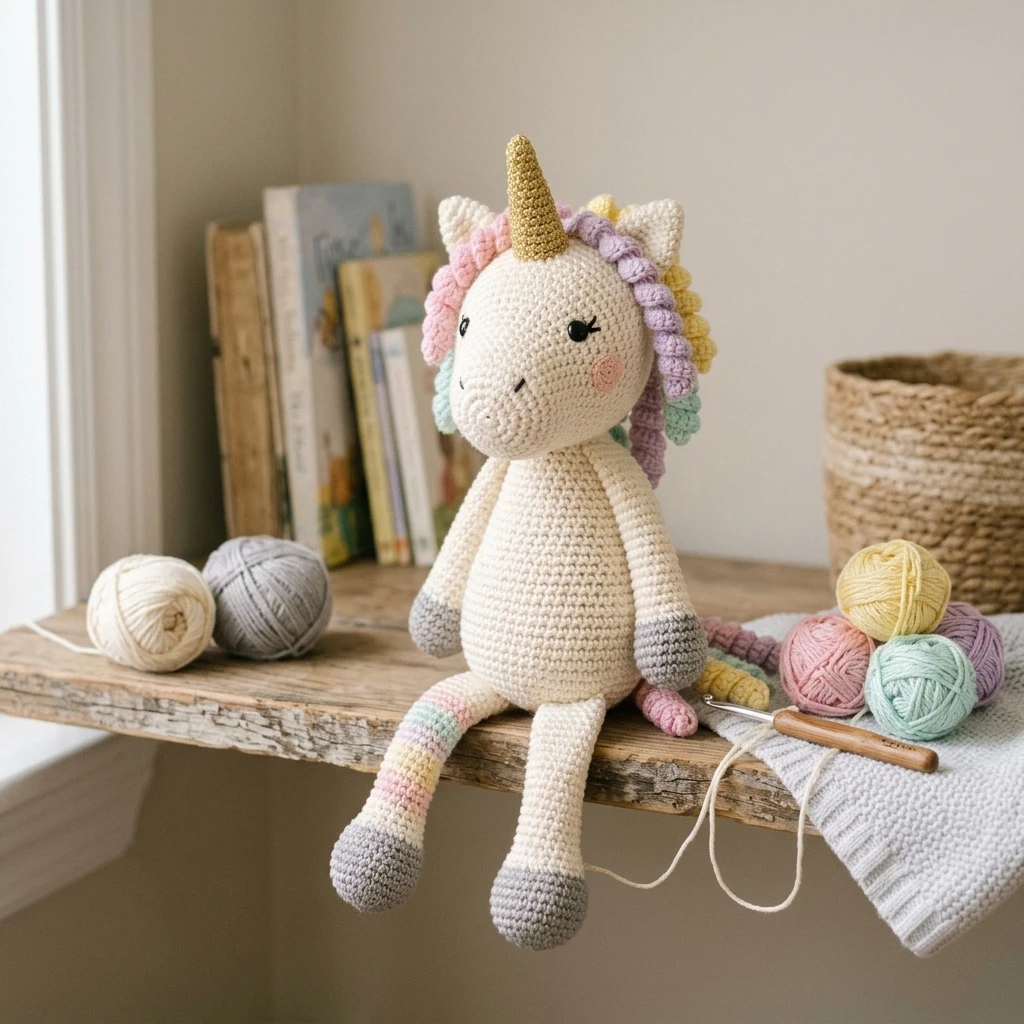
Imagine a creature born from pastel dreams and soft stitches, ready to bring a touch of magic to any nursery or bookshelf. This crochet unicorn pattern features a classic amigurumi construction with a sturdy, pear-shaped body, slender legs designed for posing, and a spiraled horn that serves as the centerpiece of the design. Perfect for intermediate crafters, this project combines basic shaping with decorative surface work, resulting in a whimsical heirloom toy that balances structural integrity with a soft, huggable texture.
The Design: What Makes This Pattern Different
This unicorn design prioritizes a graceful silhouette over a chunky “blob” shape often seen in beginner amigurumi. The legs are worked as separate pieces and joined to the body to allow for better seated stability, while the neck is reinforced through specific stitch increases to prevent the common “floppy head” syndrome. One common mistake to avoid in this pattern is loose tension around the neck join; if the stitches are too open, the stuffing will peek through or the head will tilt forward over time. By using a hook size slightly smaller than the yarn label recommends, we ensure a dense, durable fabric that keeps the unicorn standing proud.
Project Info at a Glance
| Attribute | Details |
|---|---|
| Skill Level | Intermediate |
| Estimated Time | 6 – 8 Hours |
| Finished Size | Approx. 10 inches tall (photo-inspired) |
| Hook Size | 3.25mm (D) or 3.5mm (E) |
| Yarn Weight | Worsted / Medium (Weight 4) |
| Gauge | 5 sc x 5 rows = 1 inch (estimated) |
| Best For | Nursery Decor, Gifts, Fantasy Fans |
Materials and Tools
Yarn
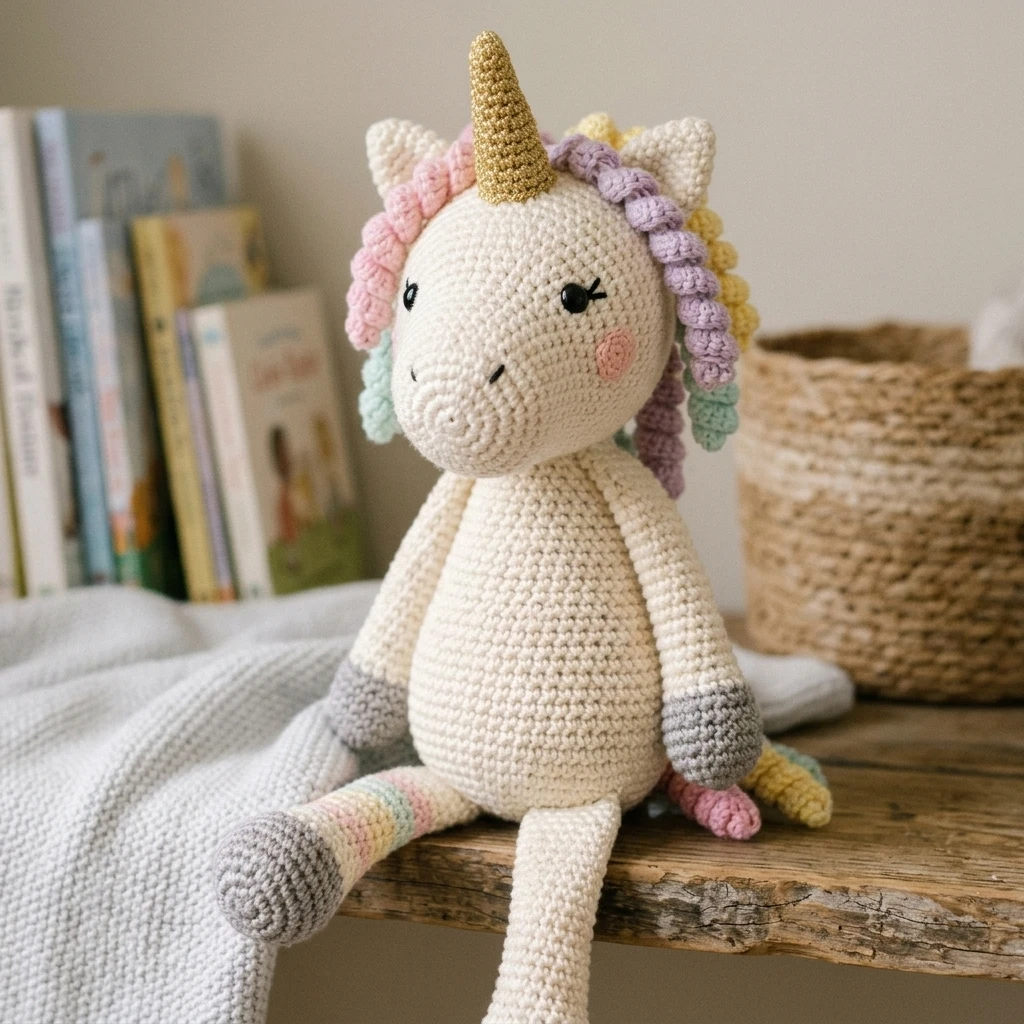
To achieve the soft look shown in our inspiration, we recommend a high-quality acrylic or cotton-blend yarn. You will need approximately 150 yards of a primary color (White or Cream), 20 yards of a contrasting color for the hooves and horn (Gold or Silver), and small amounts of various pastel colors for the mane and tail spirals.
Tools
- Crochet hook (3.25mm to 3.5mm to ensure tight stitches).
- Polyester fiberfill stuffing (approx. 4-6 oz).
- Two 10mm safety eyes (ensure they are child-safe).
- Yarn needle with a large eye for assembly.
- Stitch markers to track rounds.
- Scissors.
Abbreviations
This pattern uses standard US crochet terminology:
- ch: chain
- sc: single crochet
- inc: increase (2 sc in one stitch)
- dec: decrease (sc 2 together, preferably invisible decrease)
- st(s): stitch(es)
- sl st: slip stitch
- Rnd: Round
- MR: Magic Ring
Pattern — Step by Step
The Head
The head is worked from the snout toward the back. This ensures a smooth facial profile.
- Rnd 1: 6 sc in MR (6).
- Rnd 2: Inc in each st around (12).
- Rnd 3: [1 sc, inc] 6 times (18).
- Rnd 4-6: Sc in each st around (18).
- Rnd 7: [2 sc, inc] 6 times (24).
- Rnd 8: [3 sc, inc] 6 times (30).
- Rnd 9-13: Sc in each st around (30). Insert safety eyes between rounds 8 and 9, roughly 6 stitches apart.
- Rnd 14: [3 sc, dec] 6 times (24).
- Rnd 15: [2 sc, dec] 6 times (18). Begin stuffing firmly.
- Rnd 16: [1 sc, dec] 6 times (12).
- Rnd 17: Dec 6 times (6). Fasten off and weave in end.
The Body
The body is an elongated egg shape, providing a stable base for the head and limbs.
- Rnd 1: 6 sc in MR (6).
- Rnd 2: Inc in each st around (12).
- Rnd 3: [1 sc, inc] 6 times (18).
- Rnd 4: [2 sc, inc] 6 times (24).
- Rnd 5: [3 sc, inc] 6 times (30).
- Rnd 6-12: Sc in each st around (30).
- Rnd 13: [3 sc, dec] 6 times (24).
- Rnd 14-16: Sc in each st around (24).
- Rnd 17: [2 sc, dec] 6 times (18).
- Rnd 18-20: Sc in each st around (18). Fasten off, leaving a long tail for sewing.
The Horn
Work in the contrasting gold or silver yarn. Do not stuff until the very end.
- Rnd 1: 4 sc in MR (4).
- Rnd 2: [1 sc, inc] 2 times (6).
- Rnd 3-4: Sc in each st around (6).
- Rnd 5: [2 sc, inc] 2 times (8).
- Rnd 6-8: Sc in each st around (8). Fasten off, leaving a tail.
Assembly
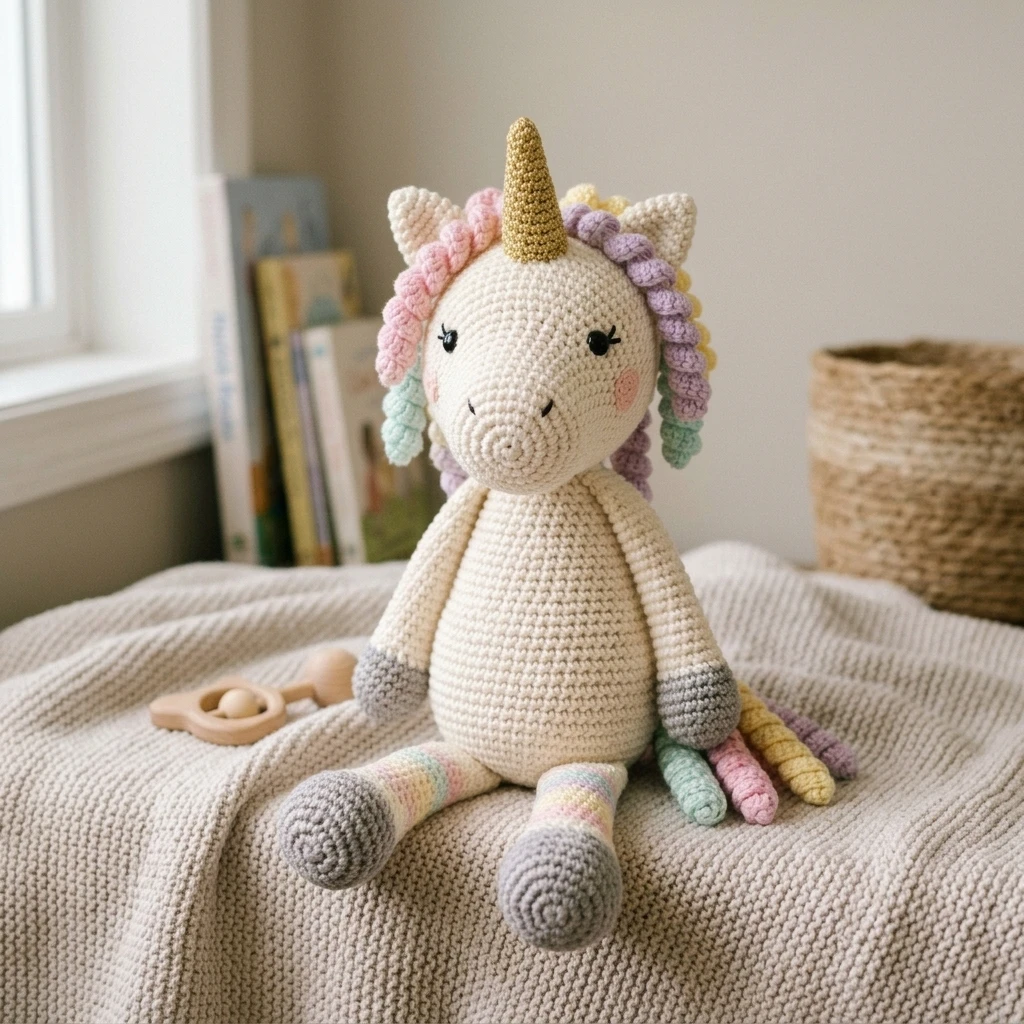
Before beginning the assembly, use pins to mark the placement of all limbs and the horn to ensure symmetry. This step is crucial for giving your unicorn a professional, balanced appearance.
- Stuff the body firmly, ensuring the neck area is packed tightly to support the weight of the head.
- Sew the head to the body using the long tail from the body piece, matching the 18 stitches of the neck to the center-bottom of the head.
- Attach the horn to the center of the forehead, slightly above the eye line.
- Sew the front legs to the upper sides of the body and the back legs to the lower sides, ensuring the unicorn can sit without tipping.
- For the mane and tail: Create several curled “corkscrews” by chaining 20 and placing 3 sc in each chain. Sew these in a line from the top of the head down the neck.
- Embroider small nostrils or eyelashes if desired using black embroidery floss.
7 Technical Tips for a Better Crochet Unicorn Pattern
- Yarn Tension: Maintain a consistent, tight tension to prevent the stuffing from showing through. If you are a loose crocheter, drop down another half-millimeter in hook size.
- Invisible Decreases: Always use the invisible decrease method (front loops only) for amigurumi to avoid unsightly gaps or bumps in the fabric.
- Color Transitions: When switching from the hoof color to the body color, use a “jogless” join to keep the color line clean.
- Pinning is Essential: Never sew pieces together without pinning them first. View the unicorn from all angles to check for symmetry before the first stitch.
- Stuffing Technique: Use small clumps of fiberfill rather than one large mass to avoid a “lumpy” texture. Use the back of a crochet hook to push stuffing into the tips of the horn and legs.
- The Magic Ring: Ensure your magic ring is pulled completely tight and knotted on the inside so it never uncurls with use.
- Secure Eyes: If gifting to a child under three, consider embroidering the eyes with yarn instead of using plastic safety eyes to eliminate choking hazards.
Frequently Asked Questions
Can I use velvet yarn for this pattern?
Yes, but be aware that velvet yarn is thicker. You will need to increase your hook size to 4.5mm or 5mm, and the resulting unicorn will be significantly larger and heavier.
How do I make the mane more “brushed” looking?
Instead of crocheting curls, you can latch-hook strands of wool yarn into the head and then use a pet slicker brush to “brush out” the fibers into a fluffy, hair-like texture.
The head is wobbling; how can I fix it?
You can add a “neck bone” by rolling a piece of stiff felt into a cylinder and inserting it into the neck before closing the join. This provides internal structure without using wire.
What is the best way to clean my crochet unicorn?
Spot cleaning with a damp cloth is best. If it must be washed, place it in a mesh laundry bag and use a delicate cycle with cold water, then air dry completely.
How can I make the horn stand up straighter?
Stuff the horn very firmly with tiny scraps of yarn or fiberfill. When sewing it to the head, sew around the base twice to create a double-reinforced “foundation” stitch.
Conclusion
Creating this crochet unicorn is a rewarding journey through color and texture, resulting in a magical companion that stands the test of time. By focusing on tight tension and precise assembly, you can transform simple stitches into a legendary creature. Don’t forget to customize your unicorn with unique mane colors or even a touch of sparkle yarn in the horn! If you enjoyed this project, be sure to save it to your “Amigurumi Ideas” board on Pinterest. What color combination will you choose for your unicorn’s magical mane?
Save This Crochet Pattern