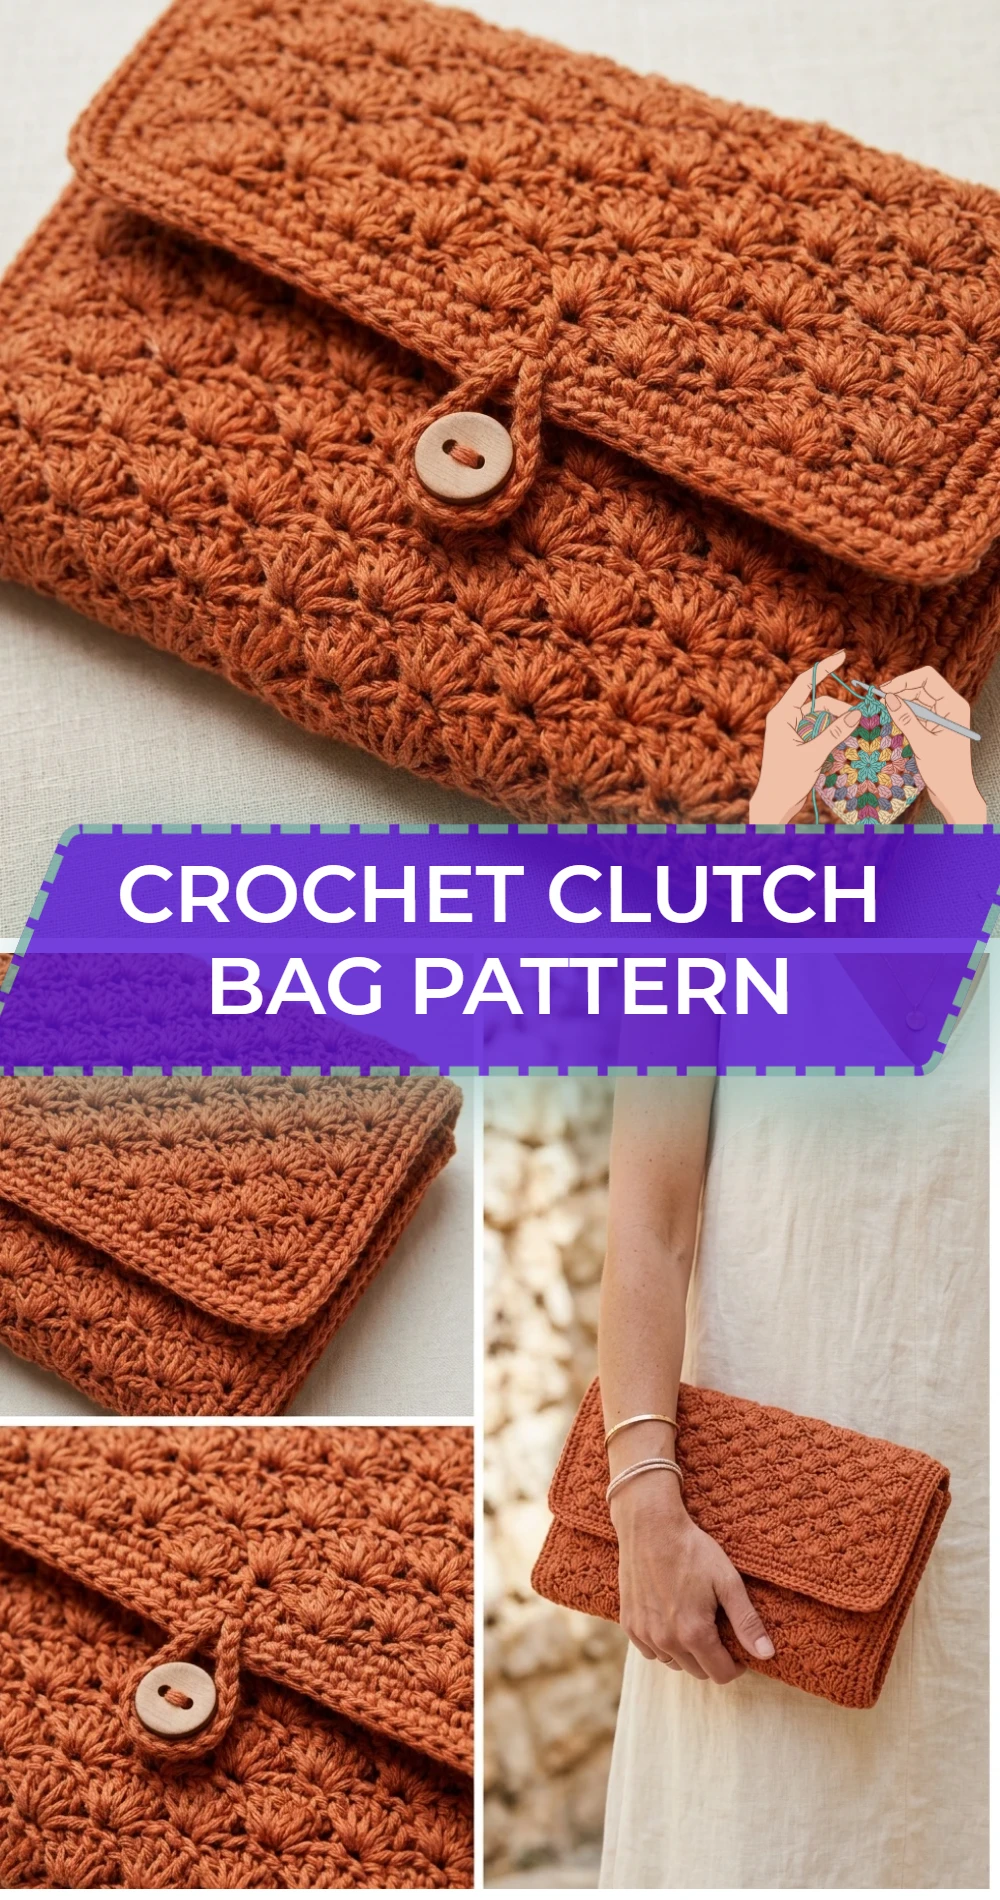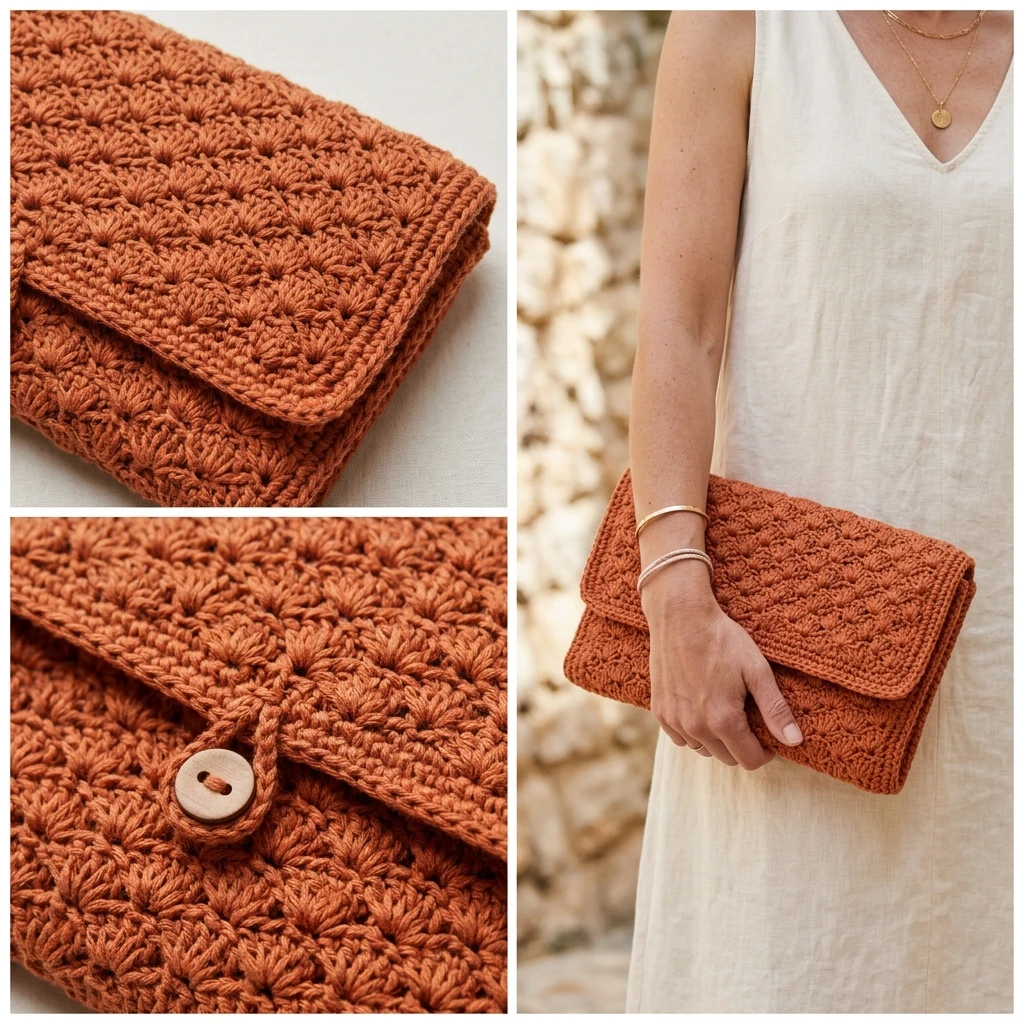
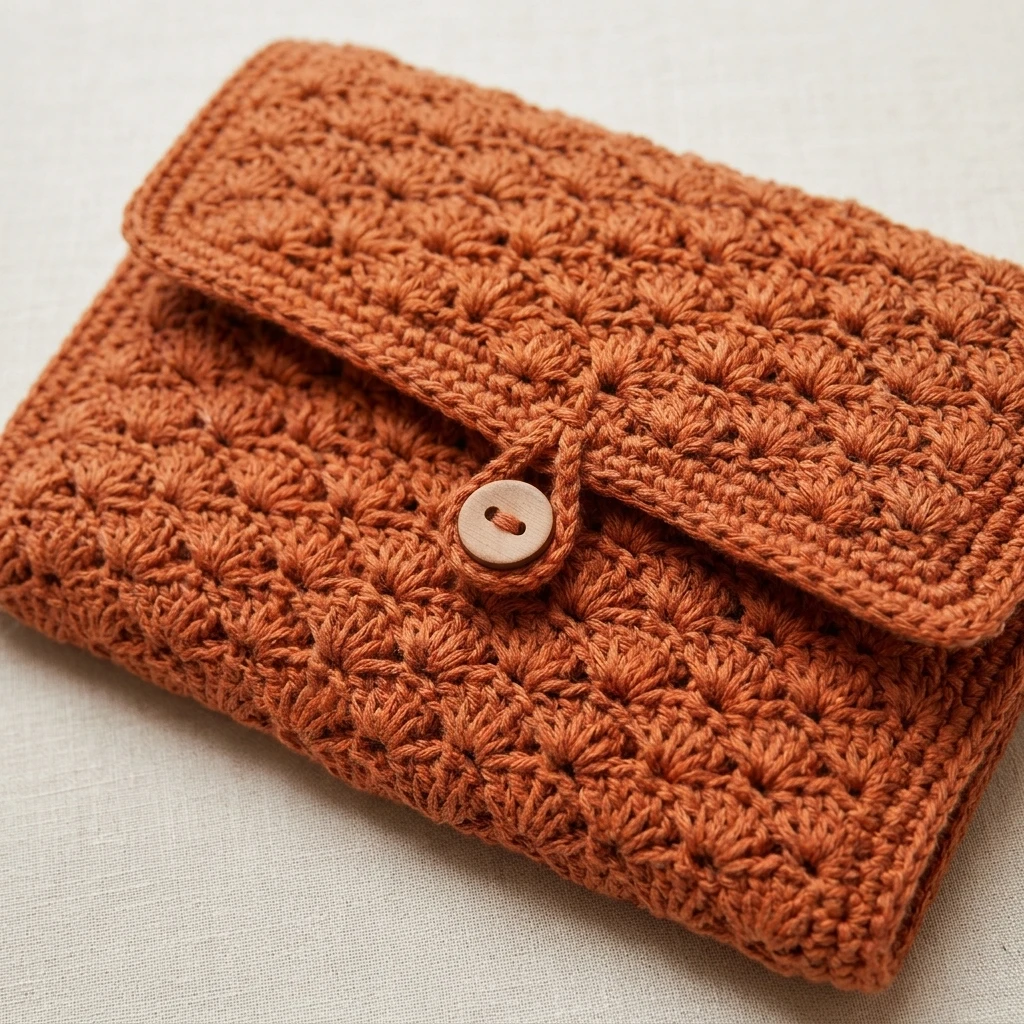
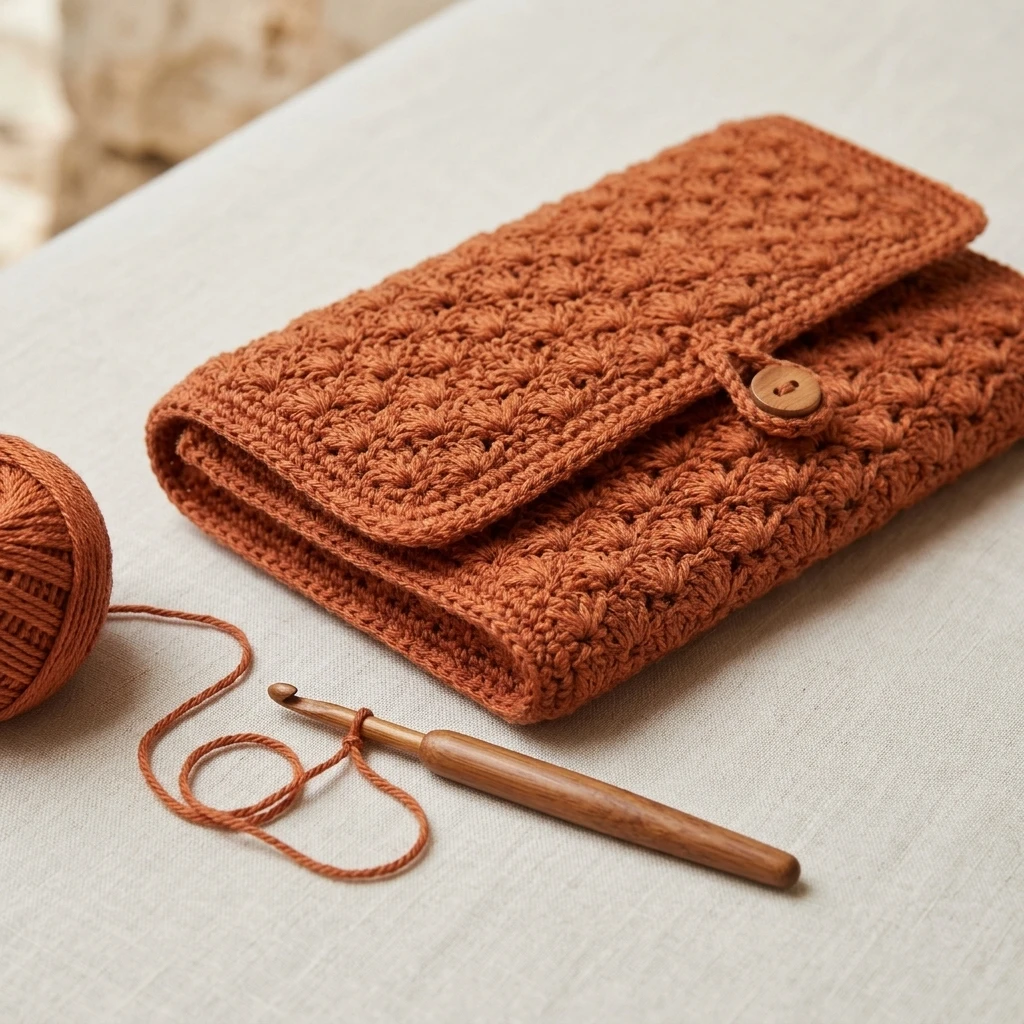
A crochet clutch bag is the ultimate fusion of handmade charm and modern elegance. This project creates a structured, sophisticated accessory that transitions seamlessly from a casual brunch to a formal evening event. Featuring a dense, textured stitch pattern and a sleek silhouette, the finished piece serves as a functional statement of your crafting skill. Whether you opt for a minimalist neutral or a vibrant metallic yarn, this clutch is designed to hold your essentials—phone, keys, and cards—while maintaining a professional, store-bought look that belies its handcrafted origins.
The Design: What Makes This Pattern Different
Unlike standard crochet pouches that can often feel floppy or unrefined, this design focuses on structural integrity. By using a smaller hook than typically recommended for the yarn weight, we create a fabric that is stiff enough to hold its shape even when filled. The pattern utilizes a combination of front-loop and back-loop techniques to add subtle ridges that mimic high-end woven textures. One common mistake to avoid is using an overly elastic yarn like a soft acrylic; instead, this design thrives with sturdier fibers like mercerized cotton or raffia to ensure the corners remain crisp and the flap doesn’t curl over time.
Project Info at a Glance
| Feature | Specification |
|---|---|
| Skill Level | Intermediate |
| Estimated Time | 4 to 6 Hours |
| Finished Size | Approx. 10″ x 6″ (Closed) |
| Hook Size | 4.0 mm (US G/6) |
| Yarn Weight | Medium / Worsted (Weight 4) |
| Gauge | 18 sts x 20 rows = 4″ in sc |
| Best For | Evening Events or Personalized Gifts |
Materials and Tools
Yarn
For this project, we suggest approximately 150–200 yards of a sturdy, non-stretching yarn. Mercerized cotton is highly recommended for its sheen and durability. If you prefer a more bohemian aesthetic, a high-quality paper raffia can also be used, though you may need to adjust your hook size to reach the suggested gauge.
Tools
In addition to your crochet hook, you will need several finishing tools to elevate the project. A large-eye tapestry needle is essential for weaving in ends and seaming the sides. You will also need a 10-inch zipper or a magnetic snap closure, as well as a small amount of fabric (cotton or satin) for the lining to prevent small items from slipping through the stitches.
Abbreviations
- ch: chain
- sc: single crochet
- dc: double crochet
- sl st: slip stitch
- st(s): stitch(es)
- BLO: back loop only
- FLO: front loop only
- RS: right side
- WS: wrong side
Pattern — Step by Step
Construction Overview
This clutch is worked as one long continuous rectangle that includes the back panel, the front panel, and the fold-over flap. After completing the main body, we will work two small triangular gussets separately to give the bag depth. All stitch counts are photo-inspired and estimated based on a standard medium-weight cotton yarn.
The Main Body
- Foundation: Ch 46.
- Row 1 (RS): Sc in 2nd ch from hook and in each ch across. Turn. (45 sts)
- Row 2 (WS): Ch 1, sc in each st across. Turn.
- Row 3: Ch 1, *sc in FLO of next st, sc in BLO of next st; repeat from * to last st, sc in both loops of last st. Turn.
- Rows 4–60: Repeat Row 3 to create the textured body of the bag. (Total height should be approx. 15 inches).
- Row 61 (Flap Shaping): Ch 1, sc2tog, sc to last 2 sts, sc2tog. Turn. (43 sts)
- Rows 62–65: Repeat Row 61 to create a slight taper for the flap.
- Fasten off, leaving a long tail for finishing.
The Side Gussets (Make 2)
- Foundation: Ch 7.
- Row 1: Sc in 2nd ch and each ch across. Turn. (6 sts)
- Row 2: Ch 1, sc in each st across. Turn.
- Row 3: Ch 1, sc2tog, sc to last 2 sts, sc2tog. Turn. (4 sts)
- Row 4: Ch 1, sc in each st across. Turn.
- Row 5: Ch 1, [sc2tog] twice. Turn. (2 sts)
- Fasten off.
Assembly
Assembling the clutch bag correctly is what separates a craft project from a professional accessory. Ensure your stitches are tight and your seams are hidden within the interior of the bag.
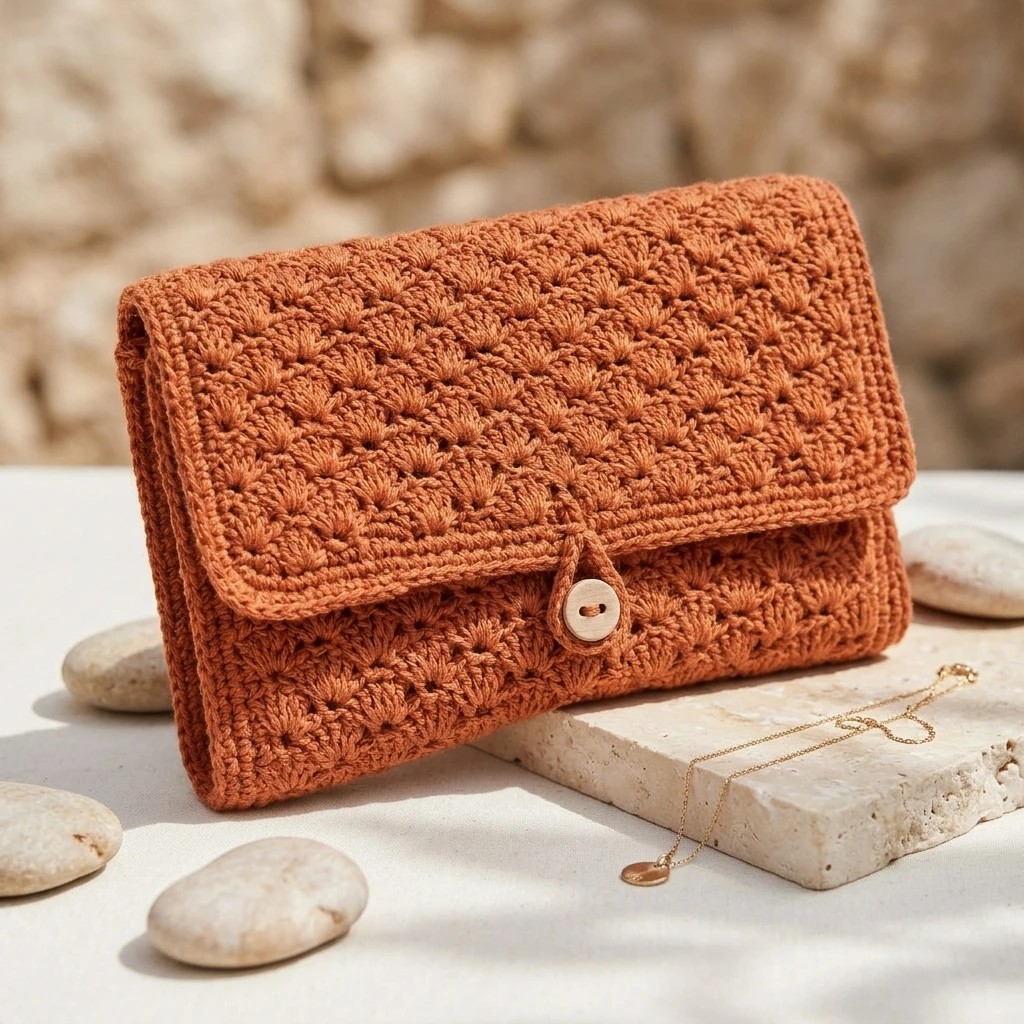
- Lay the main body flat with the RS facing up. Fold the bottom edge up approximately 6 inches to create the pocket.
- Pin the side gussets between the front and back panels. The wide end of the gusset should be at the top opening of the bag.
- Using the tapestry needle and a whipstitch, sew the gussets into place, ensuring the edges align perfectly.
- Measure your lining fabric to be 1/2 inch wider than the bag on all sides. Hem the edges and hand-sew the lining into the interior using a needle and matching thread.
- Attach your chosen closure (magnetic snap or zipper) to the flap and the front panel.
- Optional: Add a decorative tassel or a wristlet strap to one of the side seams for added functionality.
7 Technical Tips for a Better Crochet Clutch Bag Pattern
- Tension Consistency: Maintain a very tight tension throughout. If your hands cramp, try using an ergonomic hook, but do not loosen your gauge, or the bag will lose its shape.
- Blocking is Vital: Steam block your main rectangle before assembly. This relaxes the fibers and ensures your edges are perfectly straight, making the seaming process much easier.
- Invisible Seams: Use the mattress stitch instead of a whipstitch for the side gussets if you want a completely seamless external look.
- Reinforce the Flap: If your flap feels too flexible, consider adding a layer of stiff iron-on interfacing between the crochet fabric and the lining.
- Secure Closures: When sewing on magnetic snaps, sew through both the lining and the crochet fabric to ensure the weight of the bag doesn’t rip the lining.
- Avoid “Yarn Grow”: Cotton yarn can stretch over time. To prevent “growth,” avoid carrying heavy items in the bag and always store it flat rather than hanging.
- Neat Edges: Work a round of slip stitches or single crochet around the entire perimeter of the main body before assembly to give it a “framed” and polished finish.
Frequently Asked Questions
Can I use acrylic yarn for this clutch?
While you can use acrylic, it is not recommended for a clutch. Acrylic is generally too soft and elastic, which can result in a bag that stretches out of shape once you put your phone and wallet inside. Stick to cotton, linen, or raffia for the best results.
Do I really need to line the bag?
Yes, lining is highly recommended. Not only does it protect the crochet stitches from being pulled by items like keys, but it also adds a secondary layer of structure that keeps the bag looking crisp and high-end.
How do I clean my crochet clutch?
Since this bag contains a lining and potentially a metal closure, spot cleaning is best. Use a damp cloth with mild detergent. If you must wash it, hand wash in cold water and lay flat to dry, but be aware that some linings may shrink differently than the yarn.
Can I make the bag larger?
Certainly! To increase the width, add more chains to your foundation (keep an even number for the texture pattern). To increase the height, simply add more rows to the front and back panel sections before starting the flap shaping.
What is the best way to attach a chain strap?
The most professional way to add a strap is to sew “D-rings” into the top corners of the side gussets during the assembly phase. You can then clip a metal chain strap onto the rings whenever you want to wear it as a crossbody.
Conclusion
Creating your own crochet clutch bag is a rewarding project that results in a timeless accessory. By focusing on tension, fiber choice, and proper lining, you can produce a bag that rivals designer pieces. This pattern offers the perfect canvas for customization through color choice and hardware. Don’t forget to save this tutorial to your Crochet Accessories board on Pinterest for your next weekend project! What color yarn will you choose to match your favorite evening outfit?
Save This Crochet Pattern