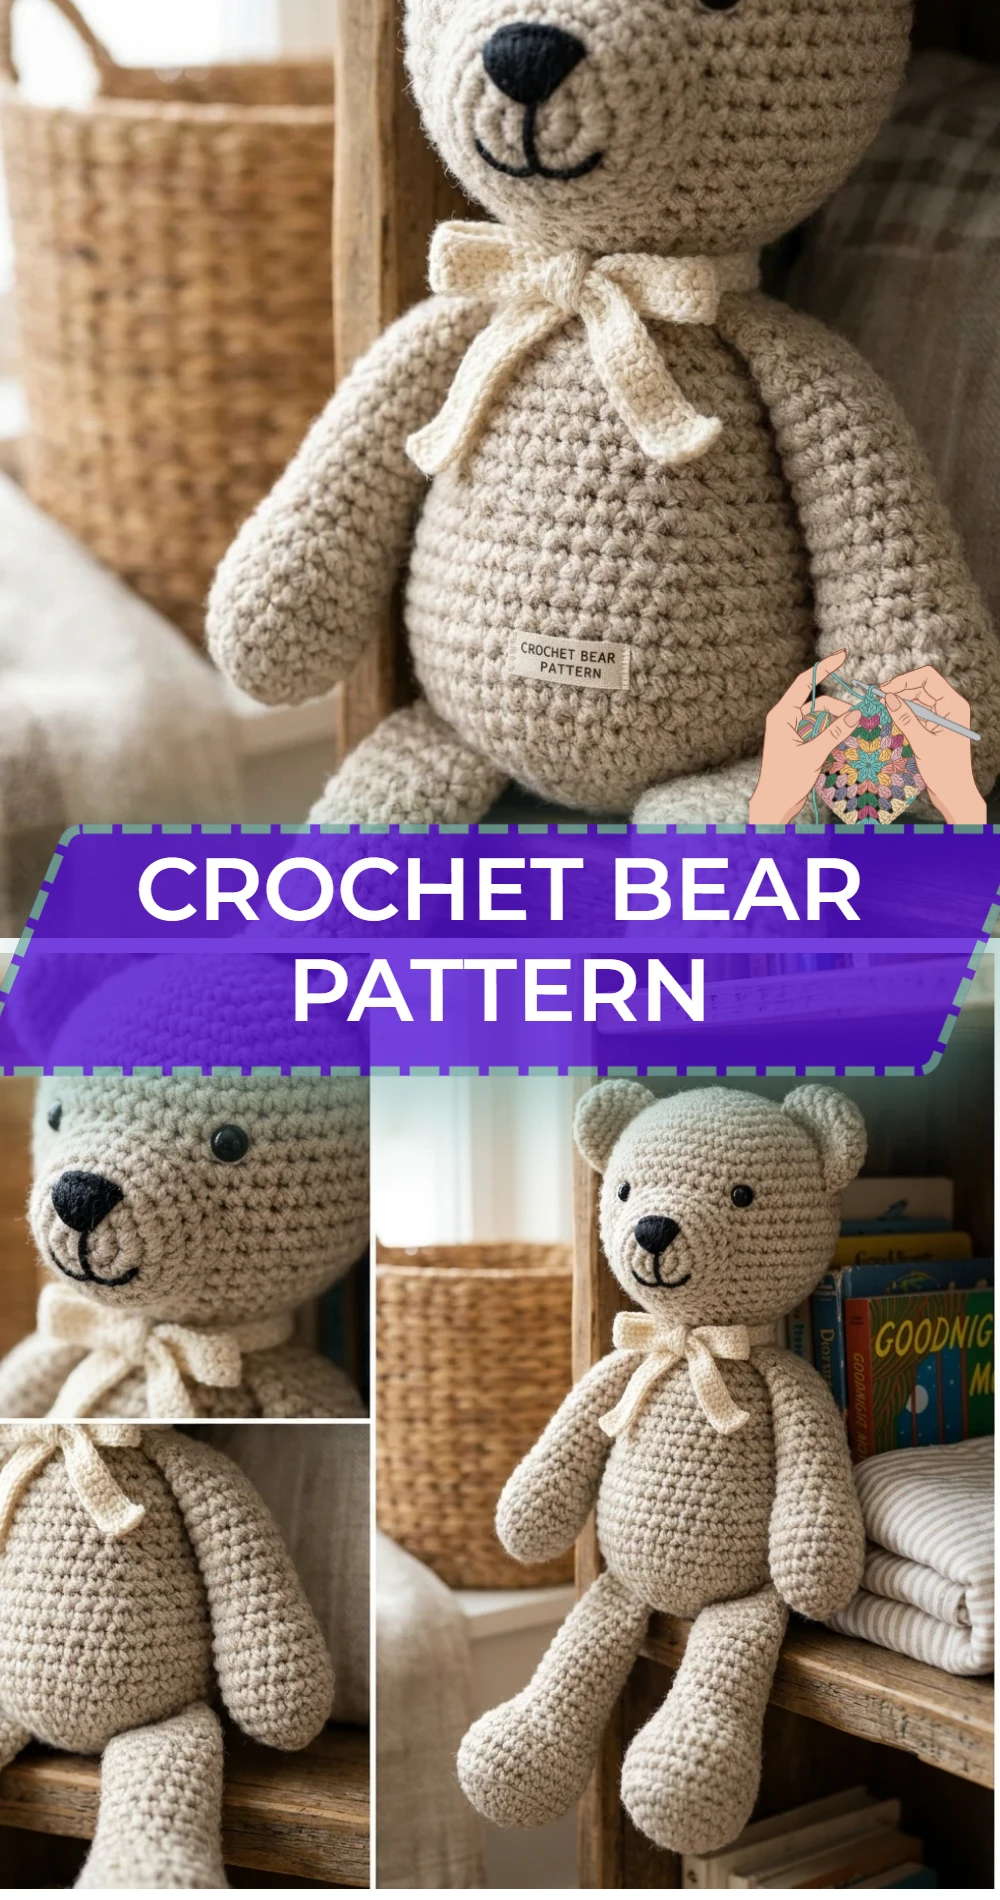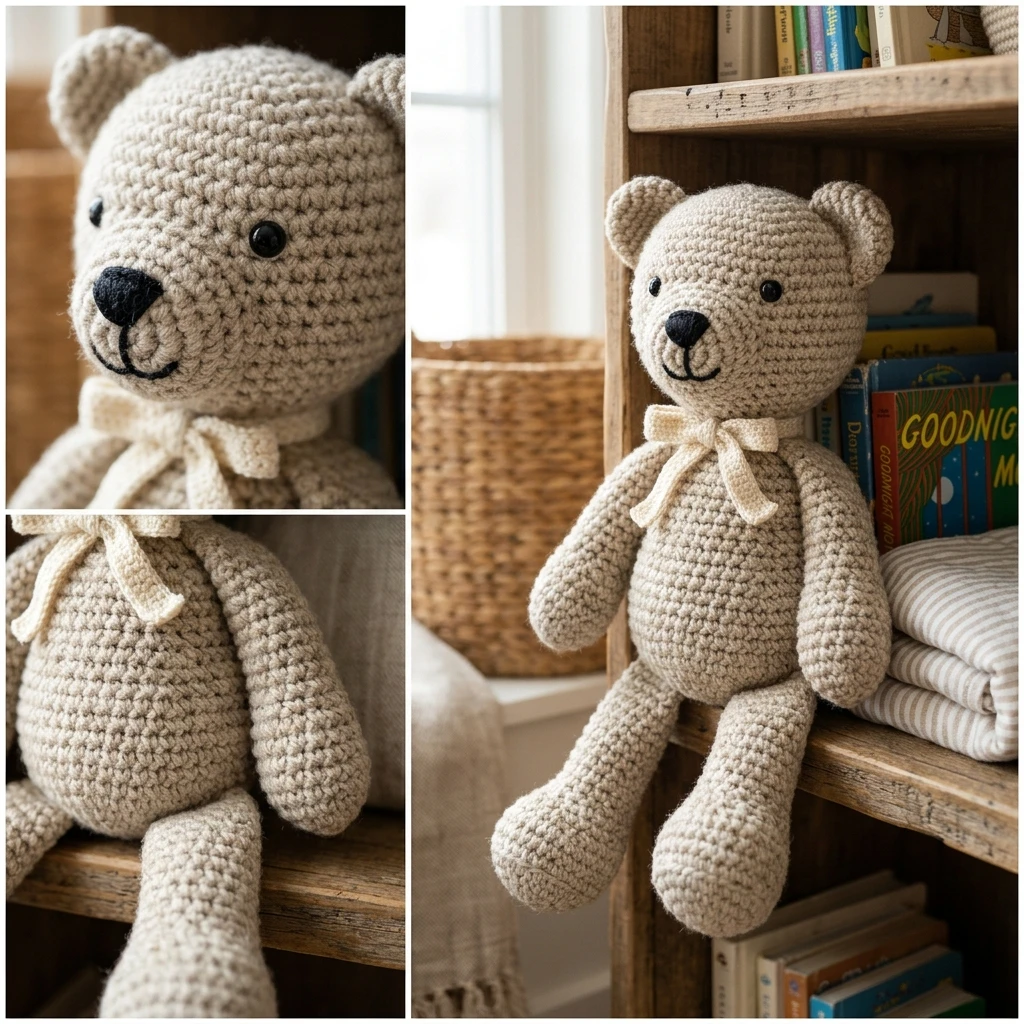
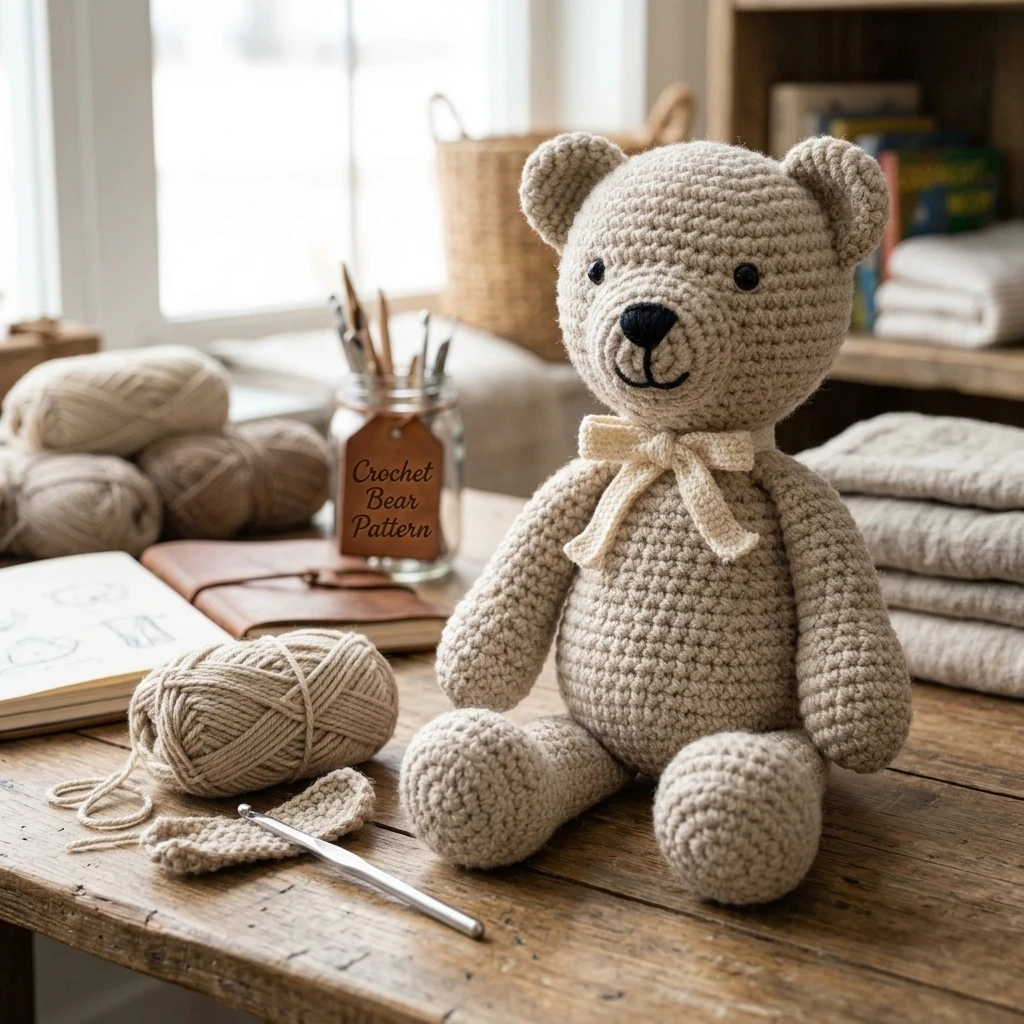
This classic crochet bear pattern creates a timeless, heirloom-quality companion that radiates warmth and charm. Designed with a soft, rounded silhouette and endearing proportions, this amigurumi project is perfect for nursery decor, baby shower gifts, or a comforting friend for children of all ages. The construction primarily utilizes worked-in-the-round techniques, ensuring a sturdy structure that holds its shape through years of hugs. By using neutral tones and a matte yarn finish, the finished bear achieves a sophisticated aesthetic that fits seamlessly into modern and traditional homes alike.
The Design: What Makes This Pattern Different
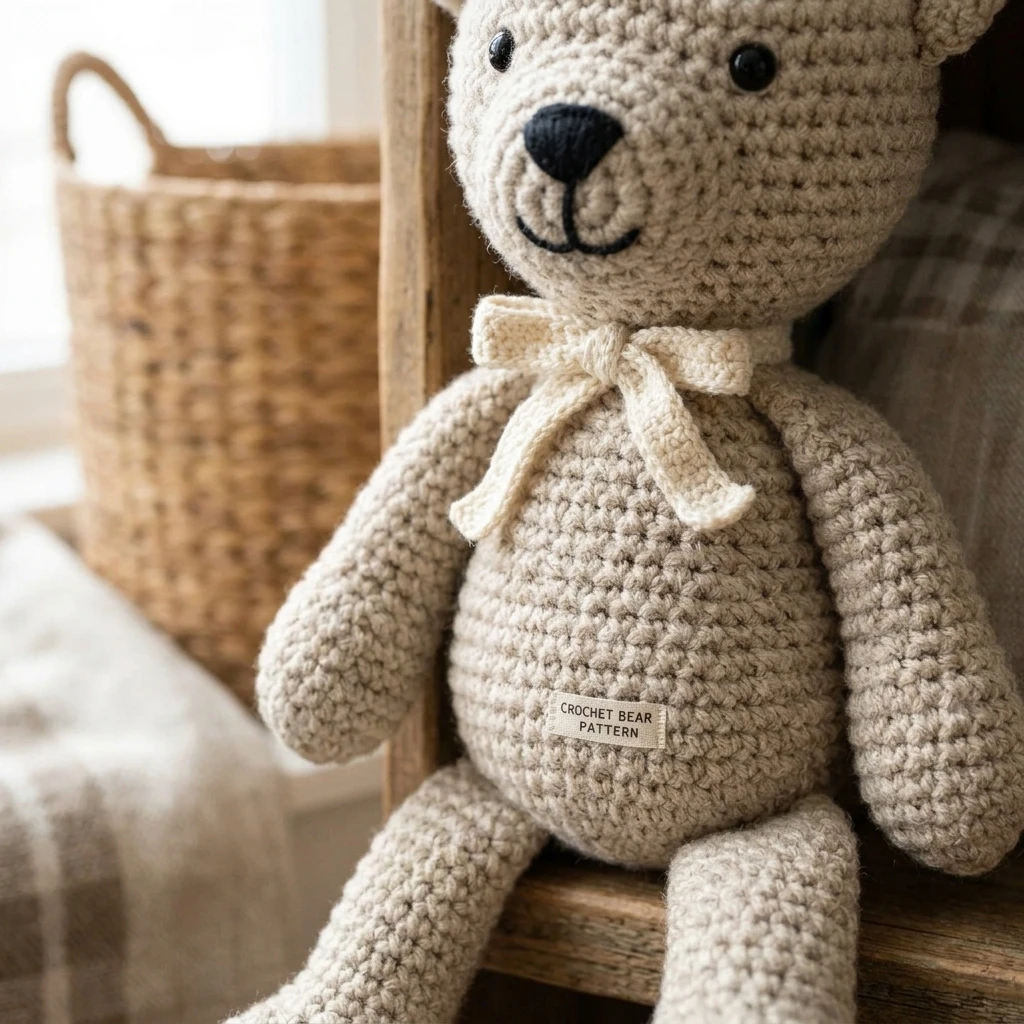
This design prioritizes a “squishy but stable” structural integrity. Unlike many bear patterns that result in a stiff, immobile figure, this version features slightly elongated limbs that allow for natural posing. The snout is designed as a separate piece to provide a three-dimensional facial profile, giving the bear a soulful, expressive look rather than a flat appearance. A common mistake to avoid during construction is placing the safety eyes too high on the head; for the most “chibi” and endearing look, the eyes should be level with the top of the snout, which lowers the center of gravity of the face.
Project Info at a Glance
| Feature | Details |
|---|---|
| Skill Level | Intermediate (familiarity with amigurumi rounds required) |
| Estimated Time | 4 – 6 Hours |
| Finished Size | Approximately 9 inches tall (photo-inspired estimate) |
| Hook Size | 3.5 mm (E) Crochet Hook |
| Yarn Weight | Medium (Weight 4) Worsted Weight |
| Gauge | 5 sc x 5 rows = 1 inch (approximate) |
| Best For | Nursery decor, toddlers, and gift-giving |
Materials and Tools
Yarn
To achieve the look shown in the tutorial, you will need approximately 150–180 yards of a medium-weight worsted yarn. A cotton-acrylic blend is highly recommended for its durability and stitch definition, though a 100% acrylic yarn works well for a softer feel. You will also need a small scrap of black or dark brown yarn for embroidering the nose and mouth.
Tools
In addition to your yarn, gather a 3.5mm crochet hook, which helps create tight, dense stitches that prevent stuffing from peeking through. You will also need polyester fiberfill (stuffing), a pair of 10mm or 12mm safety eyes, a tapestry needle for assembly, and stitch markers to track the start of each continuous round.
Abbreviations
Pattern — Step by Step
The Head
The head is worked from the top down in continuous spirals. Do not join rounds unless specified.
- Rnd 1: 6 sc in MR (6)
- Rnd 2: inc in each st around (12)
- Rnd 3: (1 sc, inc) x 6 (18)
- Rnd 4: (2 sc, inc) x 6 (24)
- Rnd 5: (3 sc, inc) x 6 (30)
- Rnd 6: (4 sc, inc) x 6 (36)
- Rnd 7-13: sc in each st around (36)
- Rnd 14: (4 sc, dec) x 6 (30)
- Rnd 15: (3 sc, dec) x 6 (24)
- Rnd 16: (2 sc, dec) x 6 (18). Fasten off, leaving a long tail for sewing. Insert safety eyes between rounds 10 and 11, about 7 stitches apart.
The Body
The body is worked from the bottom up to create a sturdy base for the bear’s sitting posture.
- Rnd 1: 6 sc in MR (6)
- Rnd 2: inc in each st around (12)
- Rnd 3: (1 sc, inc) x 6 (18)
- Rnd 4: (2 sc, inc) x 6 (24)
- Rnd 5: (3 sc, inc) x 6 (30)
- Rnd 6-10: sc in each st around (30)
- Rnd 11: (3 sc, dec) x 6 (24)
- Rnd 12-13: sc in each st around (24)
- Rnd 14: (2 sc, dec) x 6 (18)
- Rnd 15: sc in each st around (18). Fasten off.
Arms and Legs (Make 2 of Each)
Limb lengths are suggested; you may add rows for a “lankier” bear look. For legs, start with 6 sc in MR, increase to 12, and work 8 rounds. For arms, start with 6 sc in MR, increase to 9, and work 7 rounds. Stuff the bottom halves firmly and the top halves lightly to allow for movement.
Assembly
Proper assembly is the secret to a professional-looking crochet bear. Ensure your yarn tails are long enough to complete each seam without having to join new yarn, which can create unsightly knots.
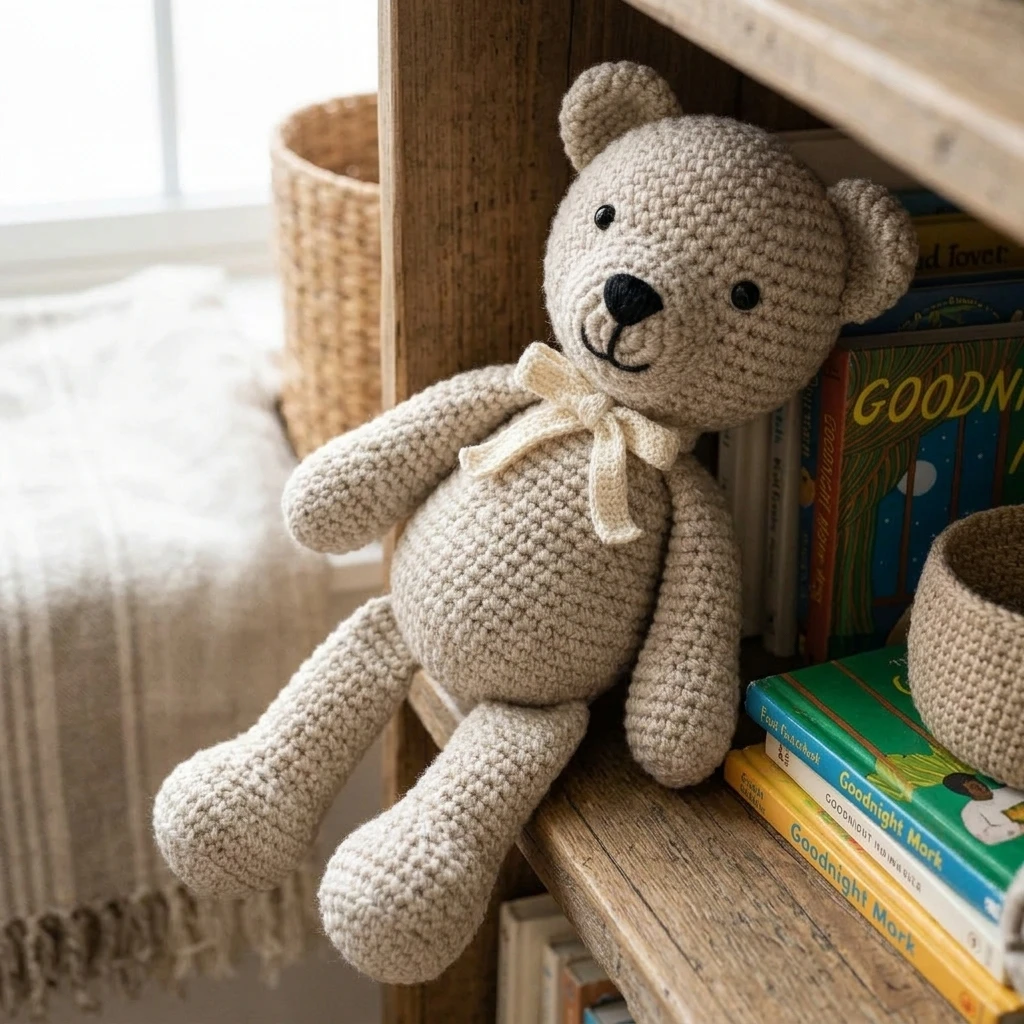
- Stuff the Components: Firmly stuff the head and body. Ensure the neck area is packed tightly to prevent “floppy head syndrome.”
- Attach the Snout: Pin the snout (a small circle of 12-18 sts) to the lower center of the face, between the eyes. Sew in place and lightly stuff before closing.
- Embroider the Face: Use black yarn to stitch a “Y” or “T” shape on the snout for the nose and mouth.
- Attach Ears: Position the ears on rounds 4 through 8 of the head. Curve them slightly for a more natural look.
- Connect Head and Body: Align the 18 stitches of the neck with the 18 stitches of the body and whipstitch together securely.
- Limb Placement: Sew the arms to the sides of the body, just below the neck seam. Sew the legs to the bottom-sides of the body so the bear can sit upright.
7 Technical Tips for a Better Crochet Bear Pattern
- Use the Invisible Decrease: To prevent gaps in your amigurumi, use the invisible decrease method (working only in the front loops) instead of a standard sc2tog.
- Check Your Tension: Amigurumi requires a tighter tension than garments. If you see stuffing through your stitches, drop down half a hook size.
- Yarn Choice Matters: Avoid highly variegated yarns for this pattern; they can hide the subtle shaping of the bear’s face and limbs.
- Symmetry Check: Use sewing pins to place all limbs and facial features before sewing. Look at the bear from a distance to ensure everything is centered.
- Reinforce the Neck: If the head feels heavy, insert a rolled-up piece of felt or a “pillar” of extra-dense stuffing into the neck area for support.
- Safety First: If making this for a child under three, embroider the eyes with black yarn instead of using plastic safety eyes to prevent choking hazards.
- Secure Your Ends: Weave yarn tails inside the body of the bear multiple times in different directions to ensure they never pull out during play.
Frequently Asked Questions
Can I use blanket yarn for this pattern?
Yes! Using a bulky or jumbo blanket yarn will result in a much larger, plushier bear. Be sure to increase your hook size to match the yarn (usually an 8mm or 10mm hook) and use larger safety eyes.
Why does my bear look lopsided?
This usually happens due to uneven stuffing or shifting your stitch marker. Ensure you are stuffing the limbs symmetrically and using a marker to stay on track with the rounds.
How do I make the bear’s face look more expressive?
Try “eye indenting.” Before finishing the head, use a strand of yarn to pull the area where the eyes sit slightly inward toward the back of the head. This creates a recessed socket look.
Can I machine wash this crochet bear?
If you used acrylic or cotton yarn and secured your ends well, you can wash it in a mesh bag on a delicate cycle. However, air drying is recommended to prevent the stuffing from clumping.
What if I don’t know how to make a Magic Ring?
You can substitute the Magic Ring by chaining 2 and working the required number of single crochets into the second chain from the hook, though the center hole may be slightly larger.
Conclusion
Creating this crochet bear is a rewarding journey that results in a heartwarming project full of character. By focusing on tight tension and careful assembly, you can produce a professional-quality toy that will be cherished for years. This pattern is just the beginning—feel free to customize your bear with a tiny crochet scarf or a different color palette to make it truly your own.
Love this classic look? Save this Crochet Bear Pattern to your Amigurumi Pinterest board!
What color yarn are you planning to use for your bear—traditional brown or a whimsical pastel?
Save This Crochet Pattern