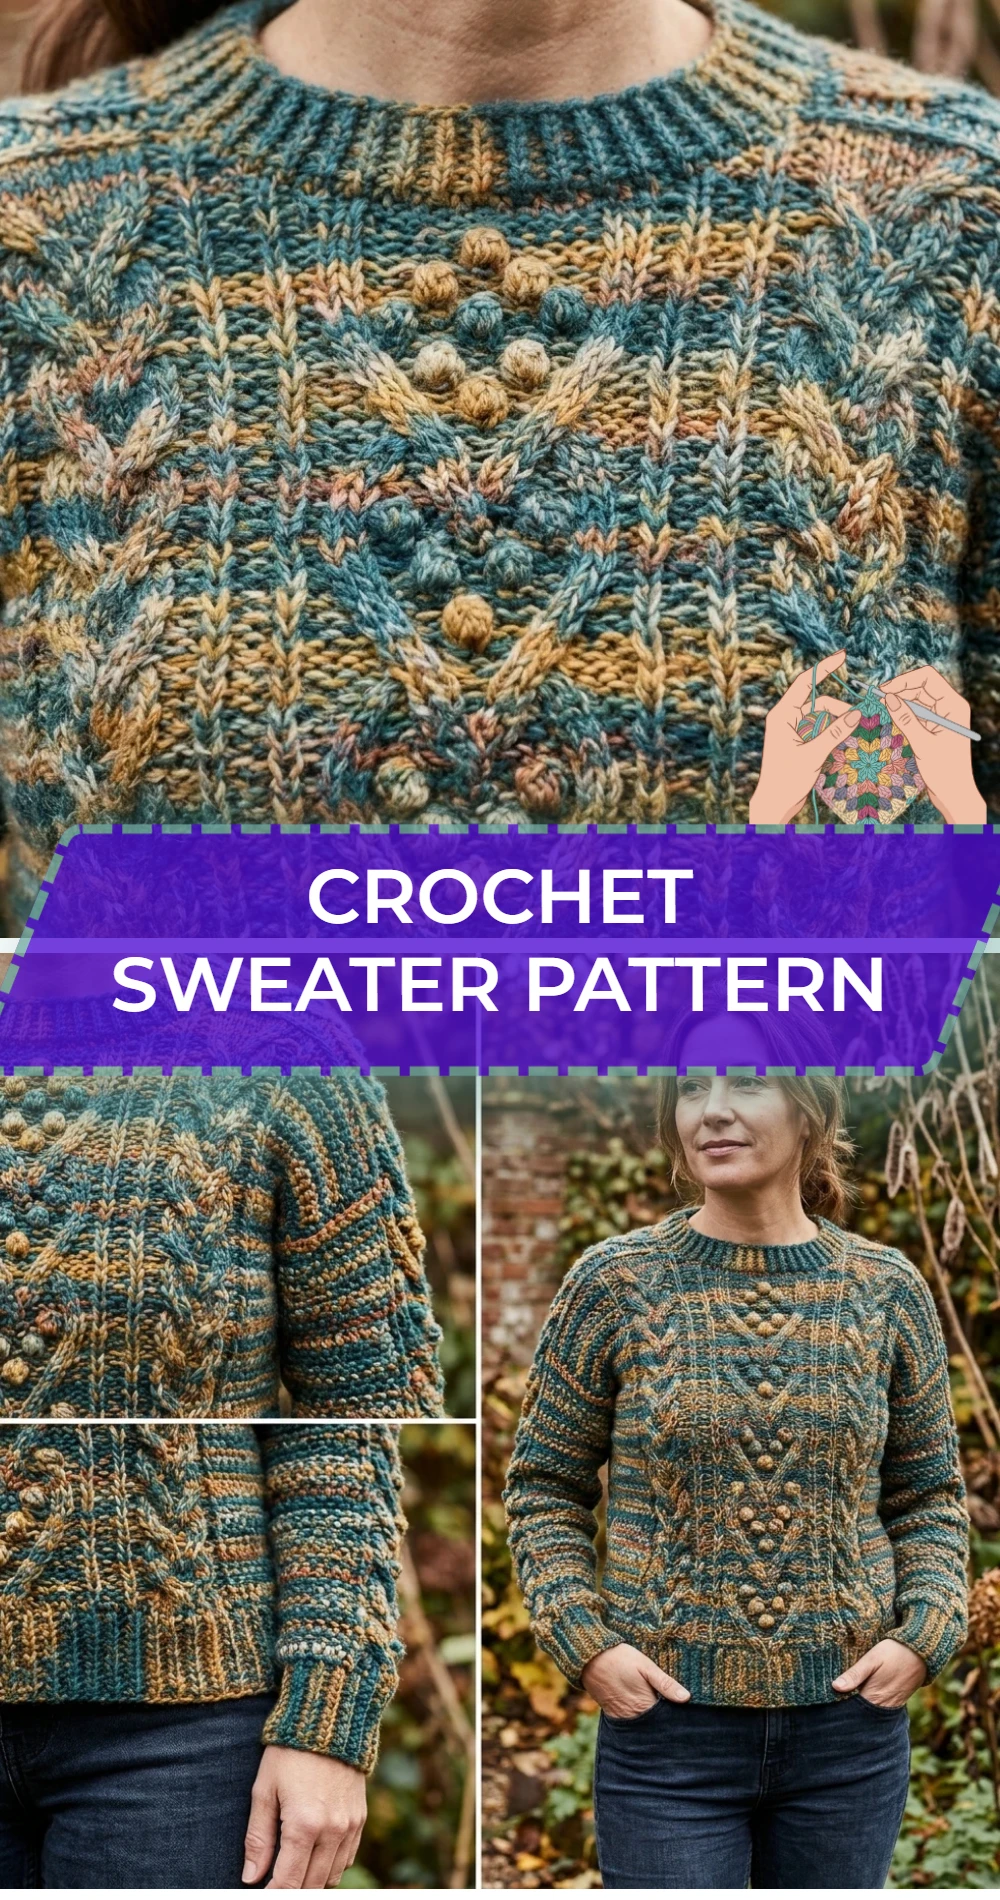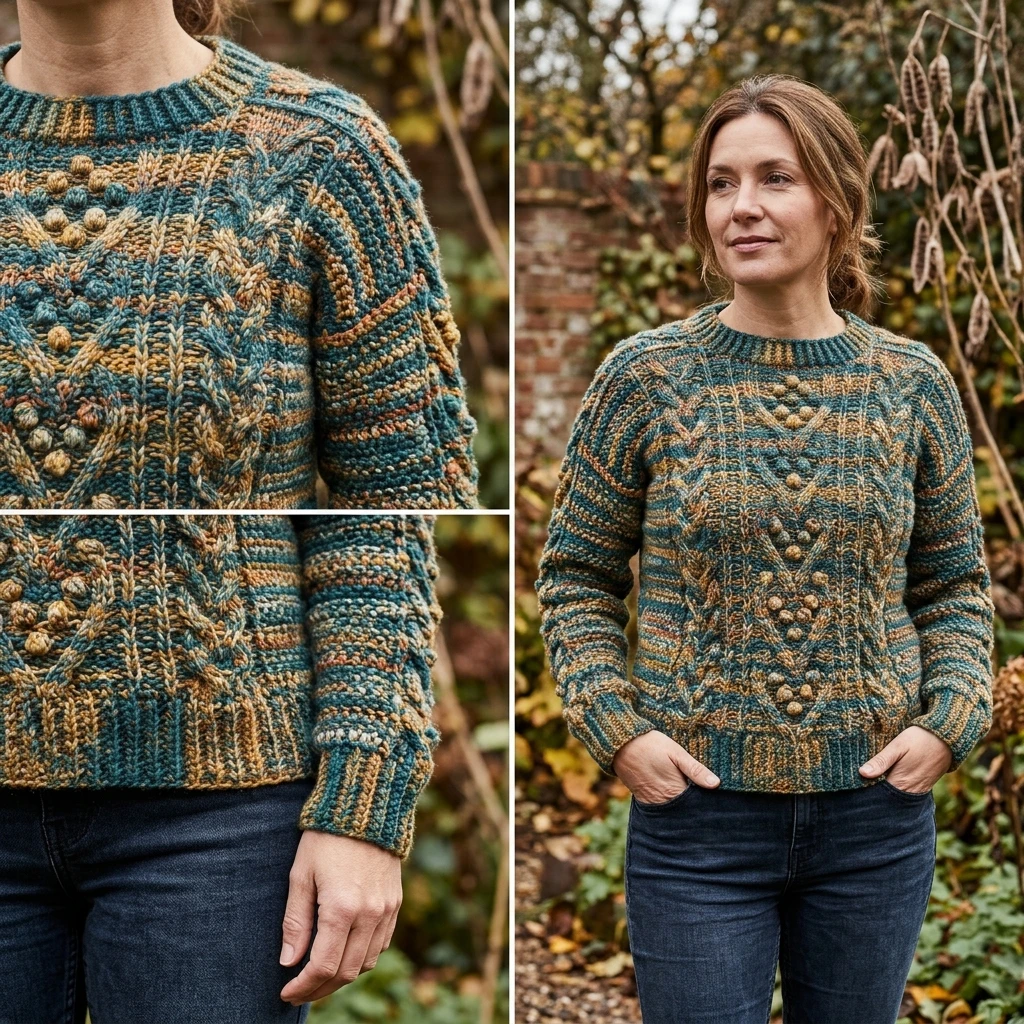
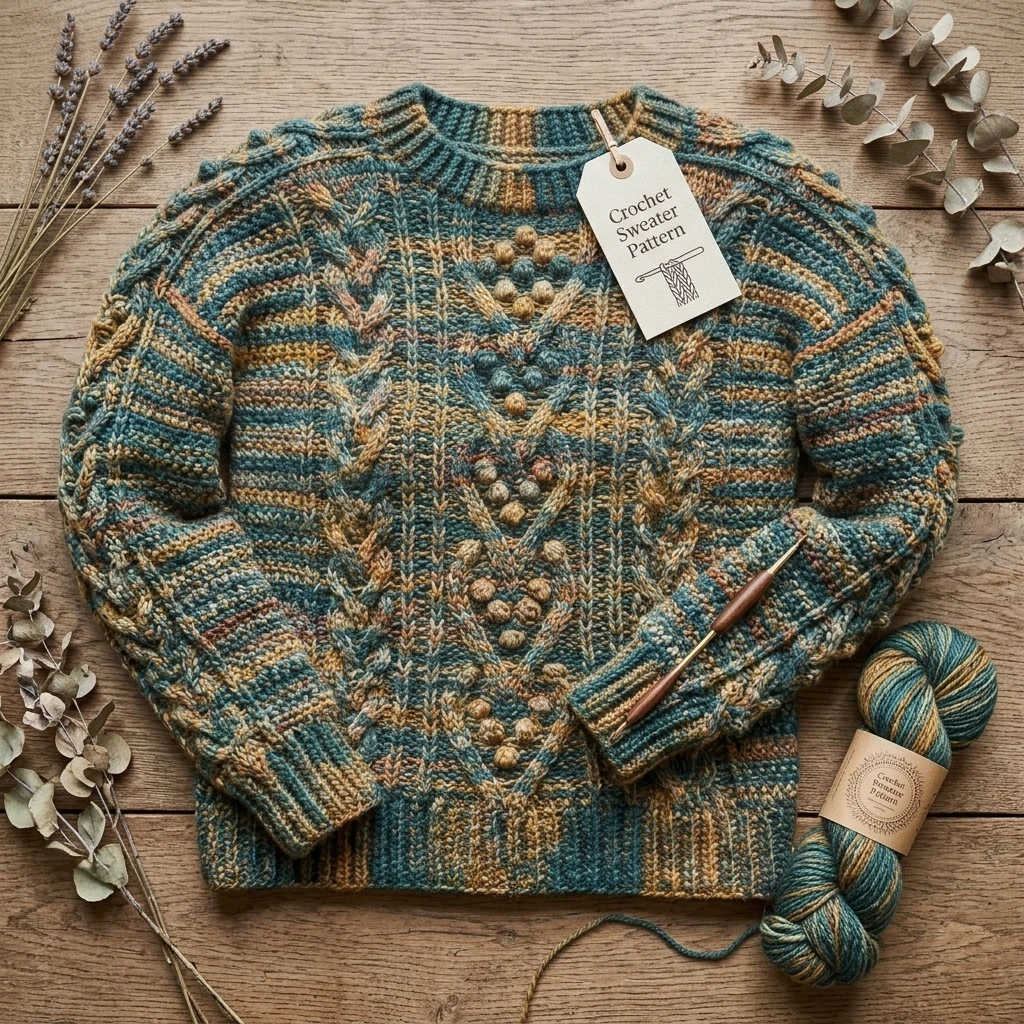
Imagine a garment that combines the structured elegance of a store-bought piece with the unmatched comfort of handmade craftsmanship. This crochet sweater pattern creates a timeless wardrobe staple, featuring a relaxed drop-shoulder silhouette and classic ribbing that mimics a high-end knit look. Designed for versatility, this sweater is perfect for crisp autumn mornings or layering during the winter months. The construction focuses on four main panels—front, back, and two sleeves—making it an approachable project for those transitioning from scarves to garments. Its visual identity is defined by clean lines and a soft, drapey texture that flatters any body type while providing the cozy warmth only a crochet sweater can offer.
The Design: What Makes This Pattern Different
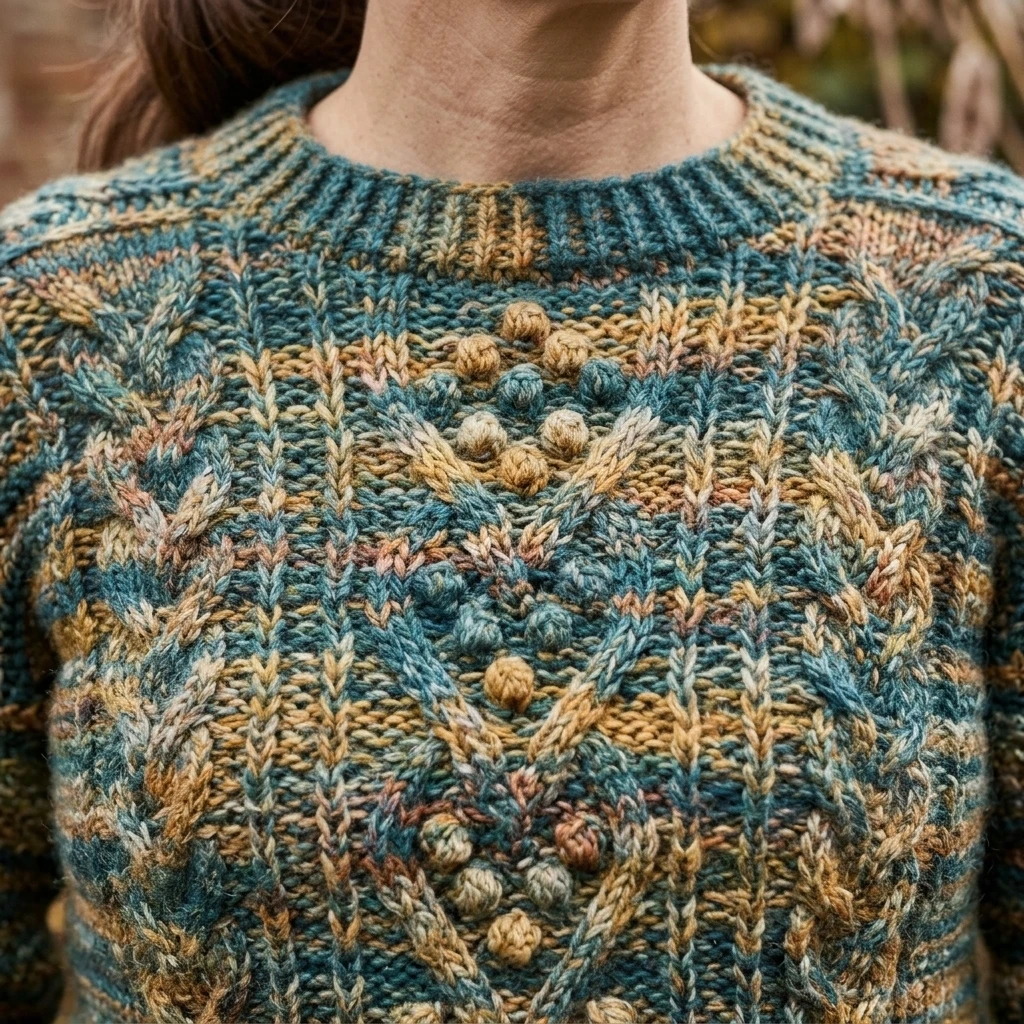
The beauty of this crochet sweater pattern lies in its minimalist construction and intentional stitch choice. Unlike complex garments that require intricate increasing or decreasing, this design utilizes a drop-shoulder method, which allows for a more forgiving fit and easier assembly. We focus on a “half-double crochet in the back loop only” technique for the ribbing and a standard half-double crochet for the body to ensure the fabric remains supple rather than stiff. This prevents the “cardboard” feel that often plagues crochet sweaters.
One common mistake to avoid when working on this design is over-tightening your foundation chain. Because the sweater panels are wide, a tight foundation chain will cause the bottom edge to pull inward, creating an unintended “cinched” look that ruins the drape. To prevent this, consider using a hook one size larger specifically for your initial chain row.
Project Info at a Glance
| Category | Specification |
|---|---|
| Skill Level | Easy to Intermediate |
| Estimated Time | 15–22 Hours |
| Finished Size | Photo-inspired Medium (Customizable) |
| Hook Size | 5.5 mm (US I-9) |
| Yarn Weight | Worsted Weight (#4) |
| Gauge | 13 sts x 10 rows = 4″ in HDC |
| Best For | Daily casual wear and beginner garment makers |
Materials and Tools
Yarn
For a standard adult medium, you will need approximately 1,300 to 1,500 yards of worsted-weight yarn. These amounts are suggested based on the photo-inspired design and may vary if you choose to add length to the body or sleeves. A wool-acrylic blend is recommended for this project to provide both the warmth of natural fibers and the durability and “bounce” of synthetic ones.
Tools
The primary tool for this pattern is a 5.5 mm crochet hook. You will also need a tapestry needle for seaming the panels together, several stitch markers to keep track of row counts, and a sharp pair of scissors. If you tend to have very tight tension, keeping a 6.0 mm hook on hand for the foundation chains is highly beneficial.
Abbreviations
- ch: Chain
- st(s): Stitch(es)
- sl st: Slip stitch
- sc: Single crochet
- hdc: Half double crochet
- hdc blo: Half double crochet back loop only
- foll: Following
- rem: Remaining
Pattern — Step by Step
The Back Panel
The back panel is worked as a solid rectangle from the bottom up. The ribbing is worked first in a perpendicular fashion, followed by the main body rows.
- Ch 11. Work 10 sc in the 2nd ch from hook and across.
- Ch 1, turn. Sc blo in each st across. Repeat this row until the ribbing measures approximately 20 inches (or your desired width).
- Rotate the ribbing to work along the long edge. Ch 1, work 65 hdc evenly across the edge of the ribbing.
- Ch 1, turn. Hdc in each st across. Repeat until the panel measures 22 inches from the bottom edge.
- Fasten off, leaving a long tail for seaming.
The Front Panel
The front panel follows the same construction as the back but includes a slight neckline dip for comfort.
- Repeat steps 1 through 3 of the Back Panel.
- Work hdc rows until the panel is 3 inches shorter than the total back panel height.
- To shape the neck: Work 22 hdc, leave the center sts unworked, and join a new ball of yarn to work the last 22 hdc.
- Continue working both sides of the shoulders separately for 3 more inches, then fasten off.
The Sleeves (Make 2)
Sleeves are worked from the cuff up to the shoulder.
- Ch 11. Work sc blo ribbing for 9 inches (or wrist circumference).
- Work 35 hdc evenly across the ribbing edge.
- Increase Row: Ch 1, 2 hdc in first st, hdc across to last st, 2 hdc in last st.
- Hdc Row: Hdc in each st across.
- Repeat the Increase Row every 4th row until you reach the desired sleeve width (approx. 55 sts).
- Continue without increasing until the sleeve measures 18 inches. Fasten off.
Assembly
Proper assembly is crucial to ensure the sweater sits correctly on the shoulders and doesn’t pull at the underarms. We use the mattress stitch for a professional, nearly invisible finish.
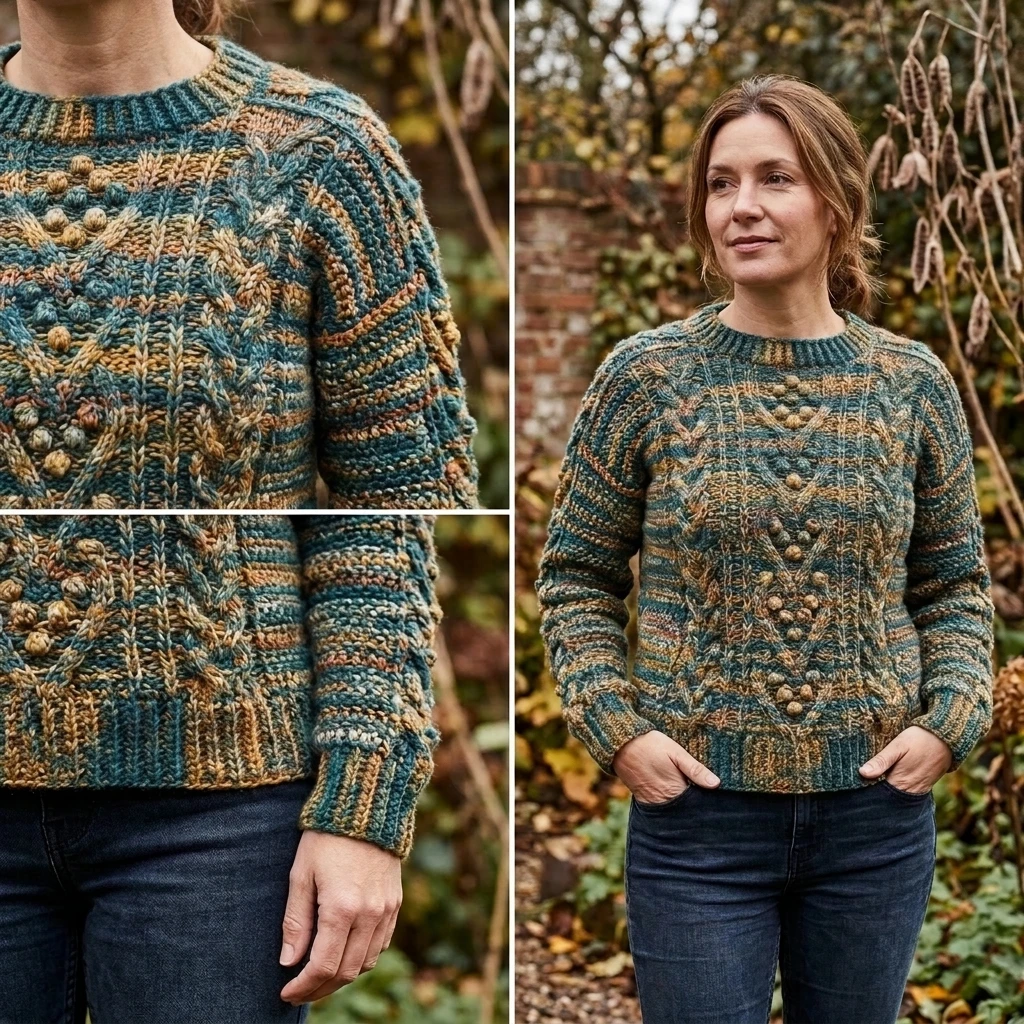
- Lay the back panel flat with the right side facing up. Place the front panel on top with the wrong side facing up.
- Align the shoulders and sew from the outer edge toward the neck, leaving a gap in the center for the head.
- Find the center point of the sleeve top and align it with the shoulder seam. Pin the sleeve in place.
- Sew the sleeve to the body panels. Repeat for the second sleeve.
- Fold the sweater and sew from the wrist, down the sleeve, and down the side seam in one continuous line.
- Optional: Join yarn at the neckline and work 2 rounds of sc for a finished edge.
7 Technical Tips for a Better Crochet Sweater Pattern
- Check Your Gauge Regularly: Garments are sensitive to tension shifts. Check your gauge every 5 inches to ensure the panels aren’t growing or shrinking.
- Steam Block Before Seaming: Pin your panels to their final dimensions and steam them lightly. This relaxes the stitches and makes seaming much easier.
- Use Removable Stitch Markers: Mark the first and last stitch of every row. It is very easy to accidentally drop a stitch at the end of an hdc row.
- Match Your Dye Lots: Because a sweater uses a large amount of yarn, ensure all your skeins are from the same dye lot to avoid visible color blocks.
- Leave Extra Long Tails: It is better to have too much yarn for seaming than to run out halfway through a side seam.
- Support the Weight: As the sweater grows, the weight of the fabric can stretch the stitches. Try to work on a table so the project is supported.
- Reinforce the Underarms: When seaming the junction where the sleeve meets the body, add a few extra whip stitches to prevent holes from forming over time.
Frequently Asked Questions
Can I use a different yarn weight?
Yes, but you will need to recalculate your stitch counts based on a new gauge swatch. Worsted weight provides the best balance of warmth and drape for this specific design.
How do I make the sweater longer?
Simply continue the hdc rows on the front and back panels before starting the neckline shaping. Remember that adding length will require more yarn than the estimated amounts.
Should I wash my sweater after finishing?
Yes, “wet blocking” helps set the stitches and improves the overall drape. Always follow the care instructions on your yarn label.
Is this pattern suitable for beginners?
If you can work a half-double crochet and are comfortable sewing two pieces of fabric together, you can definitely complete this sweater.
Why is my ribbing tighter than the body?
Ribbing is naturally more elastic. If it feels too tight, use a larger hook for the ribbing section or work more rows of sc blo before starting the body.
Conclusion
Creating your own crochet sweater is a rewarding milestone for any maker. By following this drop-shoulder construction, you ensure a comfortable fit that looks professional and feels incredibly cozy. Remember to focus on your tension and take the time to block your panels for the best results. If you enjoyed this tutorial, be sure to save it to your “Crochet Wearables” board on Pinterest! Which color of yarn are you planning to use for your first sweater?
Save This Crochet Pattern