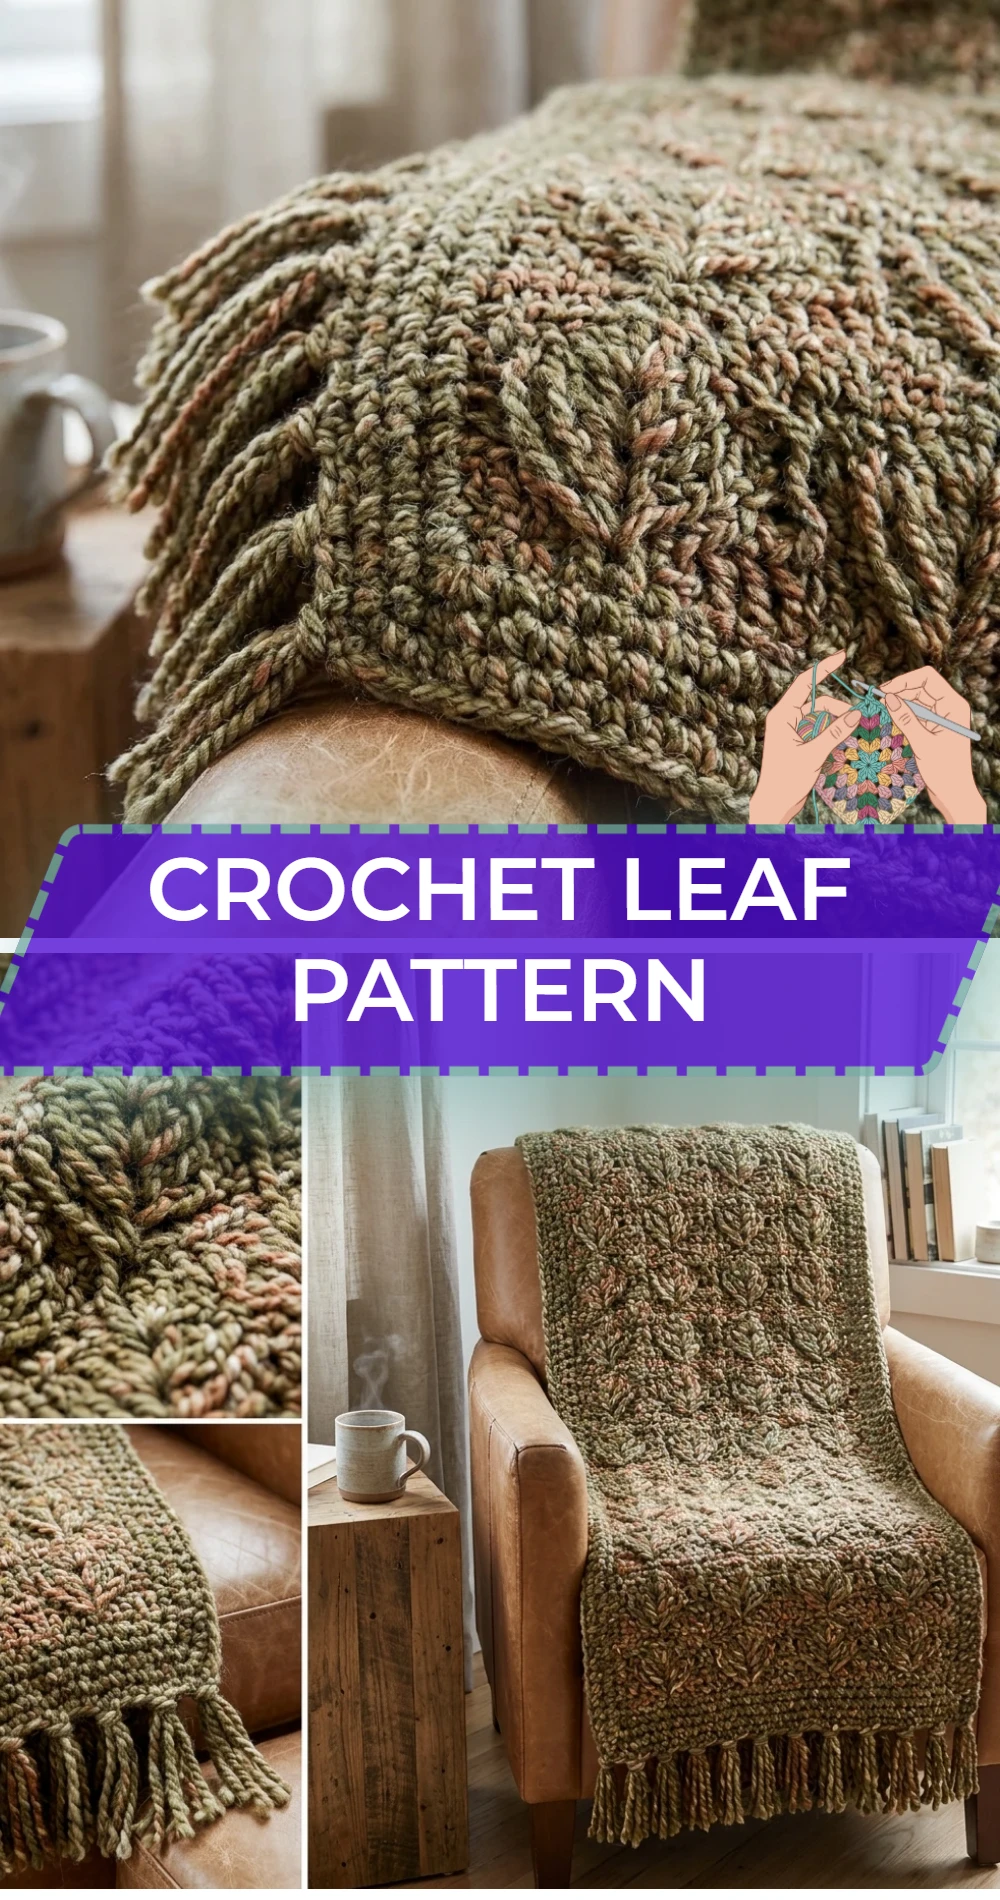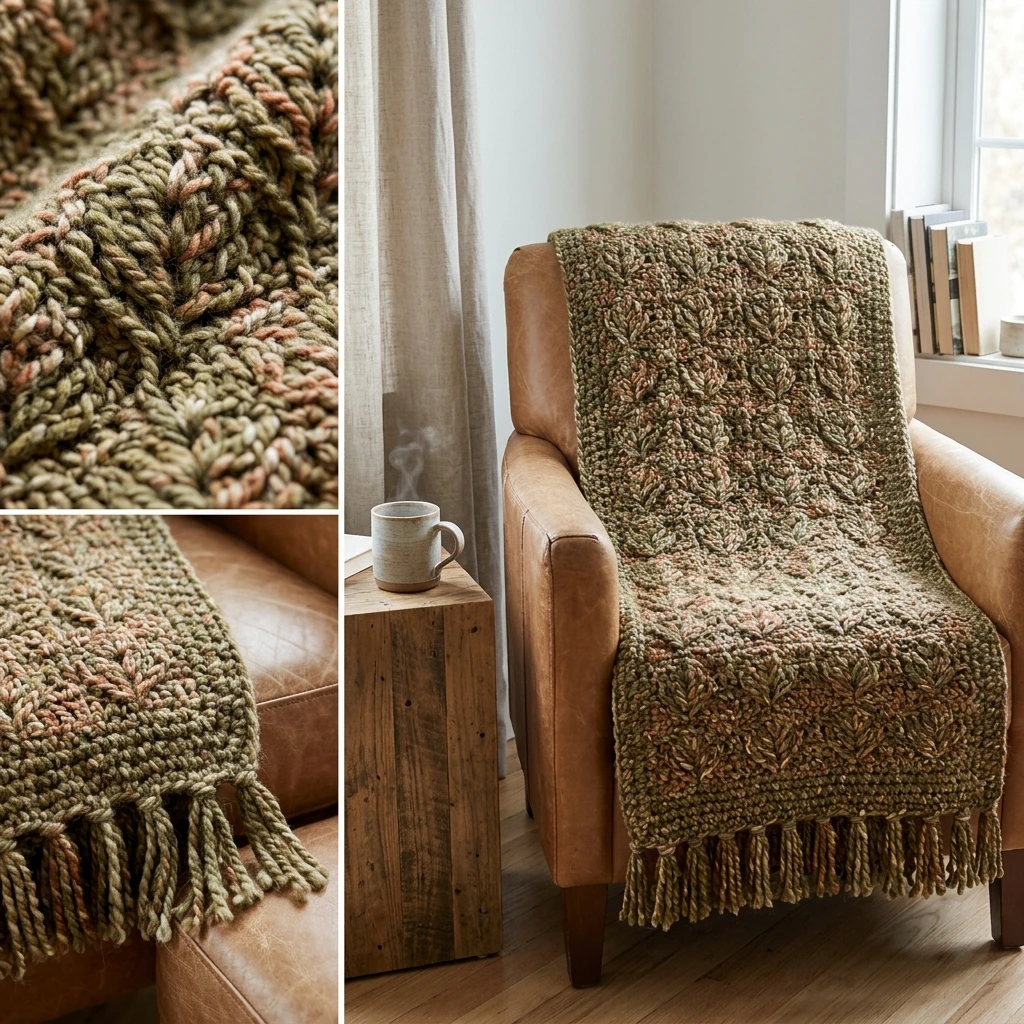
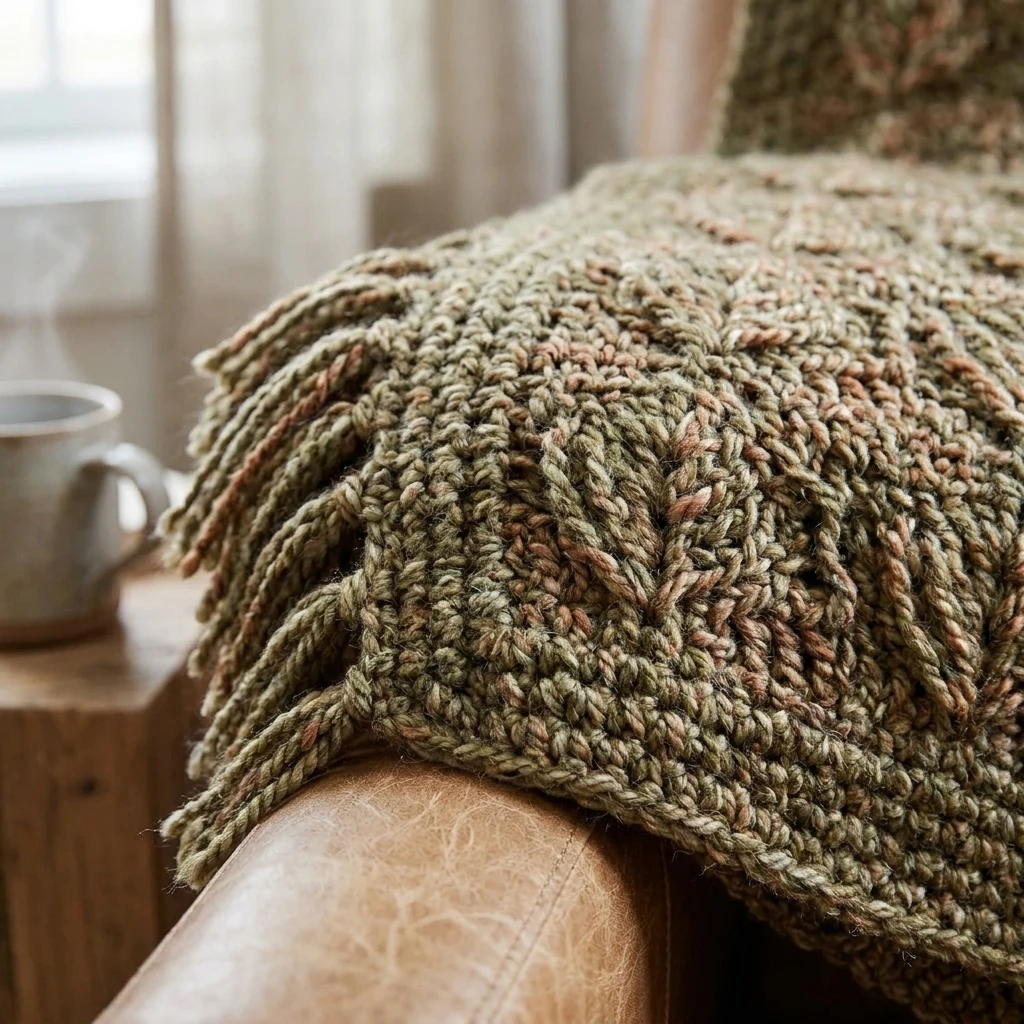
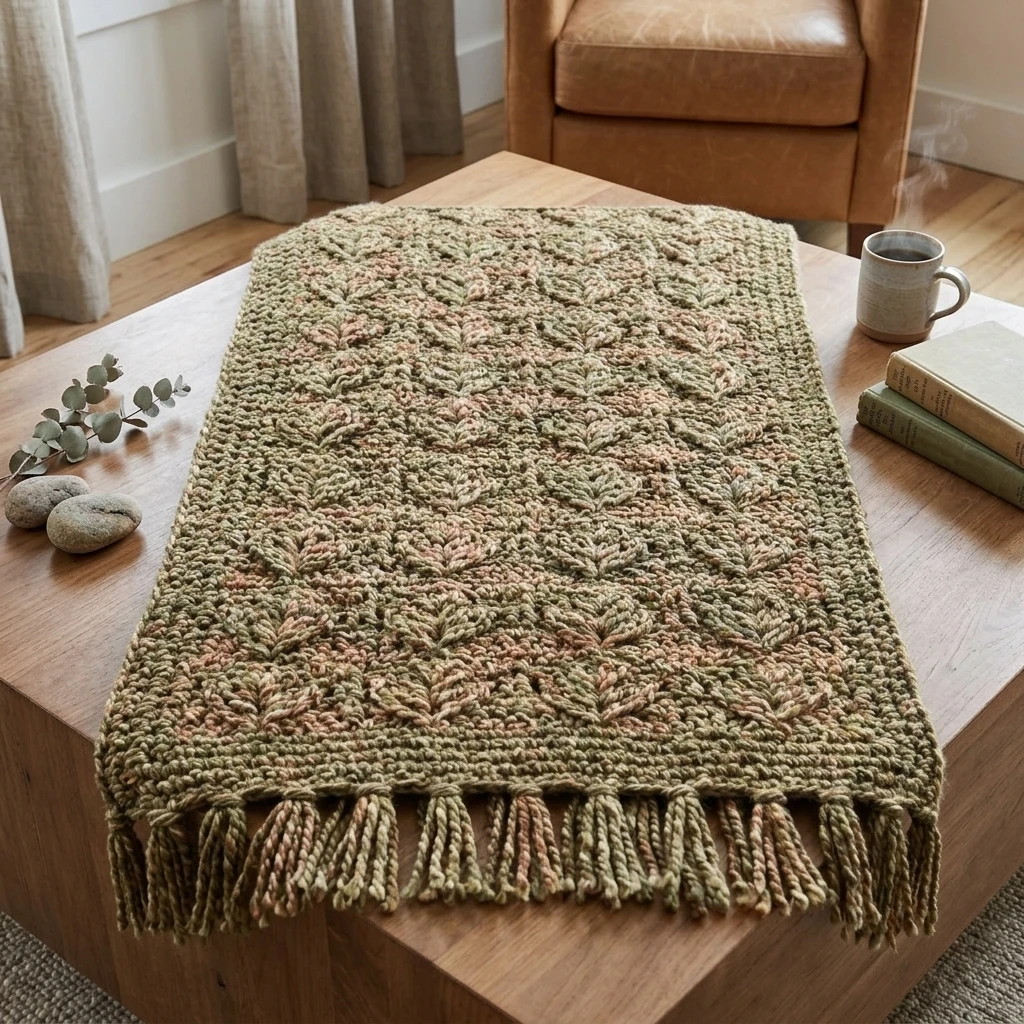
This delicate crochet leaf pattern captures the organic elegance of nature in a simple, compact design. Characterized by its pointed tip, wide midsection, and a subtle central spine, these leaves serve as the perfect botanical accent for any project. Whether you are looking to embellish a sun hat, create a woodland-themed garland, or add life to a floral bouquet, this construction method relies on a foundational chain worked on both sides to create a symmetrical, lifelike finish. It is an ideal project for beginners looking to practice stitch height variations and working into the back loops of a foundation chain.
The Design: What Makes This Pattern Different
The structural integrity of this leaf comes from the graduated stitch heights—moving from short slip stitches to tall double crochets and back down again. Unlike flat circular patterns, this design utilizes a “mirroring” technique where you work along one side of the foundation chain, create a decorative point at the end, and then rotate the work to mirror the stitches on the opposite side. This creates a visible central “vein” that mimics a real leaf’s anatomy.
One common mistake to avoid is working too tightly into the foundation chain. If the starting chain is too tight, the leaf will curl excessively or “cup” inward rather than lying flat. Aim for a relaxed tension during the initial chain-12 to ensure the stitches have enough room to breathe as you add the taller dc and hdc stitches.
Project Info at a Glance
| Attribute | Details |
|---|---|
| Skill Level | Easy / Advanced Beginner |
| Estimated Time | 10–15 minutes per leaf |
| Finished Size | Approximately 3 inches long (photo-inspired) |
| Hook Size | 3.5mm (E) or 4.0mm (G) |
| Yarn Weight | Worsted (Level 4) or DK (Level 3) |
| Gauge | Not critical; consistent tension is key |
| Best For | Appliques, garlands, and floral arrangements |
Materials and Tools
Yarn
To achieve a crisp, defined shape, a mercerized cotton yarn is suggested. Cotton holds its form better than acrylic, which is helpful for decorative botanical items. You will need approximately 5–10 yards of yarn per leaf, making this an excellent scrap-buster project.
Tools
- Crochet Hook: Size 3.5mm for a tight, stiff leaf or 4.0mm for a softer, larger leaf.
- Tapestry Needle: For weaving in ends and securing the leaf to other projects.
- Scissors: For clean finishing.
- Stitch Markers (Optional): Useful for marking the “point” of the leaf during the turn.
Abbreviations
- ch: chain
- sl st: slip stitch
- sc: single crochet
- hdc: half double crochet
- dc: double crochet
- st(s): stitch(es)
- rep: repeat
Pattern — Step by Step
Foundation and First Side
The construction begins with a central chain. We will work down one side of this chain using increasing then decreasing stitch heights to create the curve.
- Foundation: Ch 12.
- Side One: Sl st in the 2nd ch from the hook. Sc in the next ch. Hdc in the next ch. Dc in each of the next 5 chs. Hdc in the next ch. Sc in the next ch.
- The Point: In the last ch, work (sl st, ch 2, sl st). This creates the sharp tip of the leaf.
Second Side and Finishing
Now, rotate your work so you are looking at the underside of the foundation chain. You will be working into the remaining loops of the original 12 chains.
- Side Two: Working into the opposite side of the ch: Sc in the first ch. Hdc in the next ch. Dc in each of the next 5 chs. Hdc in the next ch. Sc in the next ch. Sl st in the final ch.
- Stem (Optional): Ch 4. Sl st in the 2nd ch from hook and next 2 chs. Sl st back into the base of the leaf.
- Fasten Off: Cut the yarn leaving a 6-inch tail for sewing.
Assembly
Since this leaf is a single-piece construction, assembly is primarily focused on how you choose to display or attach the finished item to a larger project. Ensure all tails are pulled to the “wrong side” (the side where the stitches appear slightly flatter) before securing.
- Weaving Ends: Use your tapestry needle to weave the starting tail through the center “spine” of the leaf to hide it.
- Blocking: For a professional finish, pin the leaf flat on a blocking mat, spray lightly with water, and allow to dry. This prevents the edges from curling.
- Attachment: If attaching to a hat or sweater, use the long finishing tail to whip stitch the leaf through the central spine only, allowing the edges to remain slightly lifted for a 3D effect.
7 Technical Tips for a Better Crochet Leaf Pattern
- Maintain Consistent Tension: When transitioning from an hdc to a dc, keep your loops snug so there are no visible gaps between the different stitch heights.
- Identify the Center Vein: Always work into the “humps” on the back of the chain for the first side; this leaves two clean loops for the second side, creating a more professional look.
- Sharp Tips: To make the tip extra pointy, substitute the ch-2 at the tip for a picot stitch (ch 3, sl st in the first ch).
- Yarn Choice: Use a smaller hook than recommended on the yarn label to create a stiffer fabric that won’t flop over.
- Color Variation: Use variegated yarn in autumn tones to create a realistic “changing leaves” effect without changing colors manually.
- Adding Wire: For posable leaves, hold a thin florist wire against the edge of the leaf and sc over it during a final decorative round.
- Size Scaling: To make a smaller or larger leaf, simply increase or decrease the foundation chain by increments of 2 and adjust the number of double crochets in the center.
Frequently Asked Questions
Can I use this pattern with thread crochet?
Yes, using size 10 crochet thread and a 1.5mm hook will create tiny, delicate leaves perfect for jewelry or lace edgings.
How do I stop the leaf from curling?
Curling is usually caused by tight tension. Try using a larger hook for the foundation chain and blocking the finished leaf with steam.
Is there a right and wrong side to the leaf?
Technically, the “right side” is the side facing you as you work the first half. However, both sides are visually pleasing; just ensure you remain consistent when making multiples.
How do I make a serrated edge?
To create a serrated or “jagged” look, work a final round of (sl st, ch 1, sl st) in every other stitch around the entire perimeter.
What is the best way to attach these to a garland?
Crochet a long chain and join the base of each leaf to the chain with a slip stitch every 10–15 chains for an even distribution.
Conclusion
This crochet leaf pattern is a versatile foundation for any botanical project, offering a quick and satisfying way to use up your yarn scraps. By mastering the mirrored construction and stitch graduation, you can create a whole forest of foliage in various sizes and colors. If you enjoyed this tutorial, be sure to pin it to your “Crochet Embellishments” board on Pinterest. What project are you planning to decorate with these leaves—a cozy autumn wreath or a bright spring bouquet?
Save This Crochet Pattern