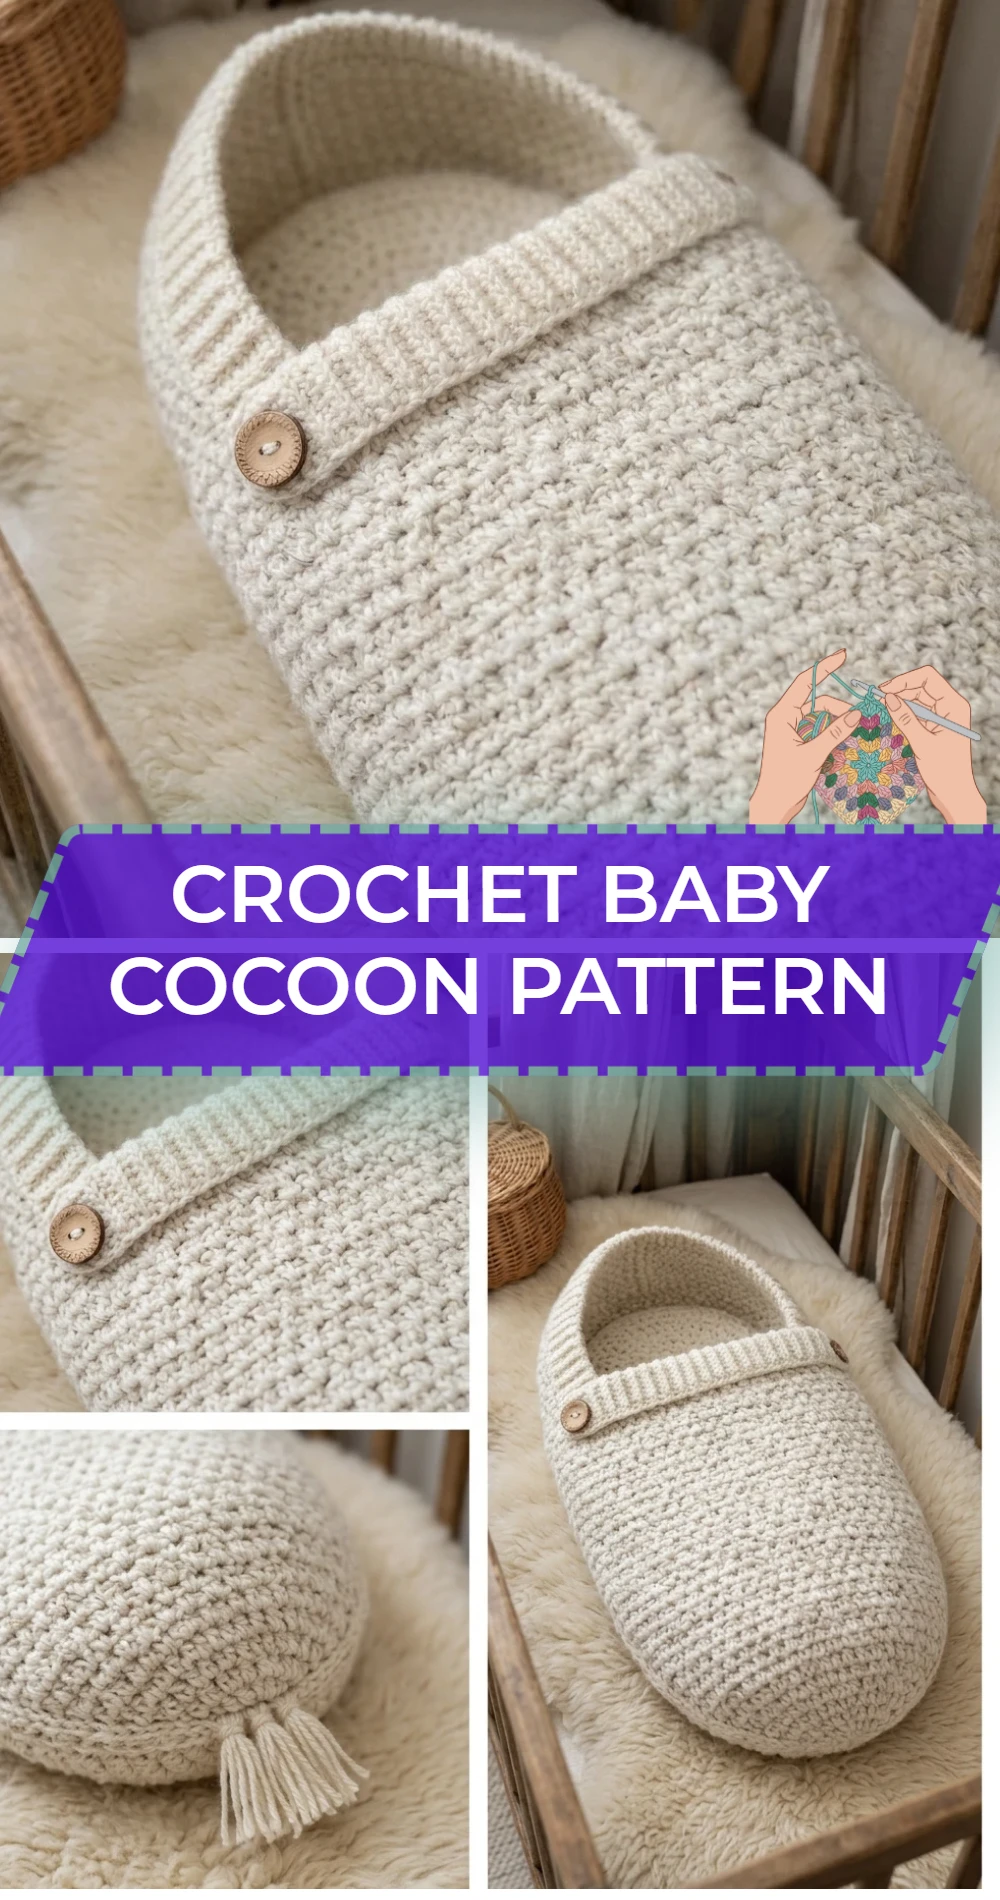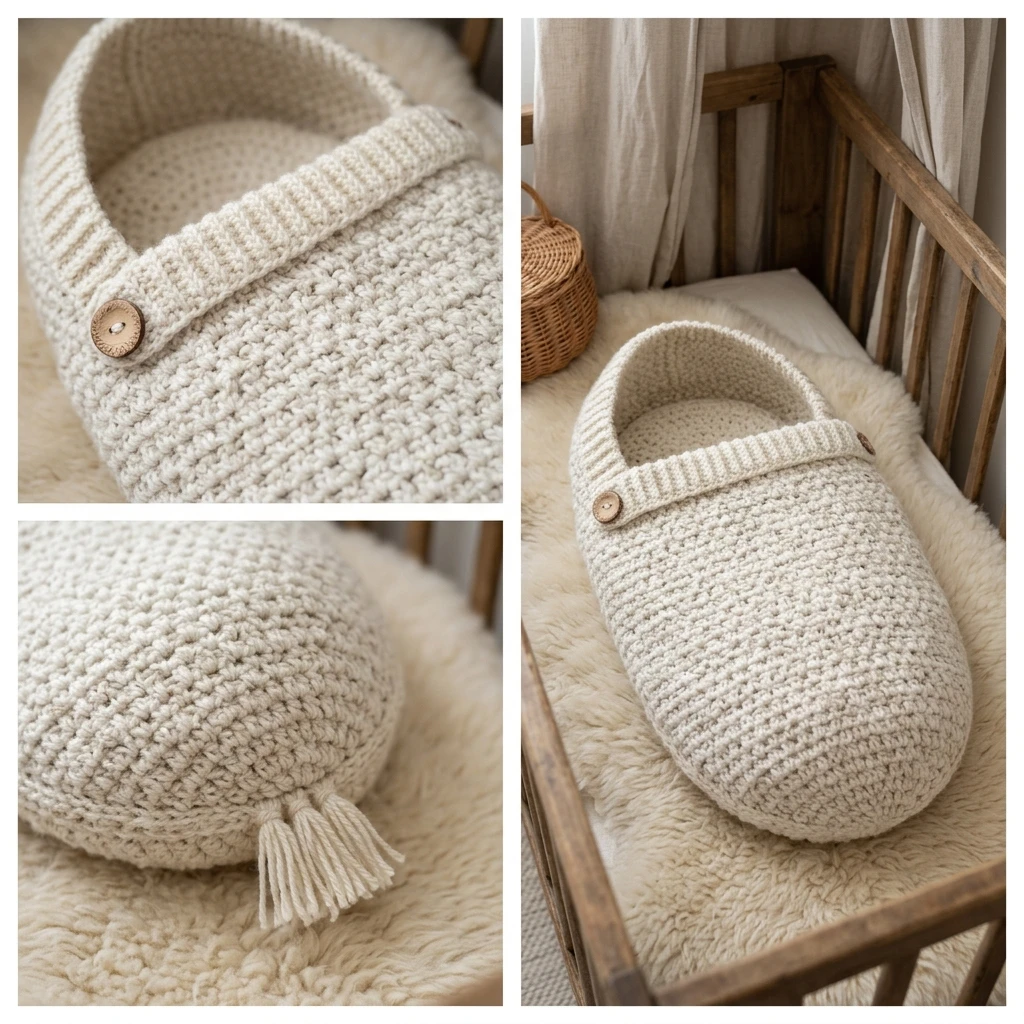
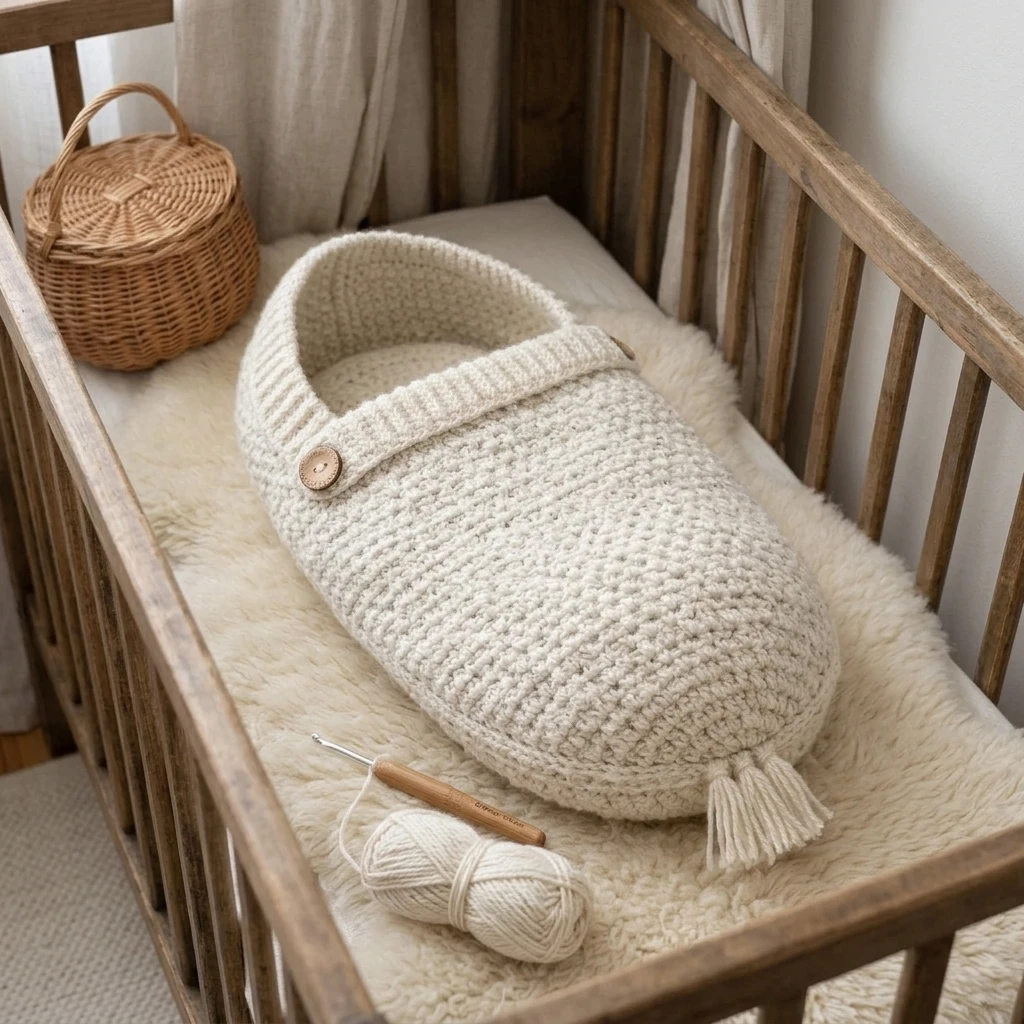
A crochet baby cocoon is the ultimate comfort project, designed to mimic the snug environment of the womb for newborns. This project creates a soft, cylindrical “sleeping bag” that keeps infants cozy during supervised naps or professional photo sessions. Characterized by a seamless, bottom-up construction, the finished piece features a gently rounded base and a stretchy body that provides warmth without restrictive bulk. It is an ideal gift for baby showers, offering a handmade touch that is both practical for parents and incredibly soothing for babies.
The Design: What Makes This Pattern Different
The primary design goal for this crochet baby cocoon is a balance between stitch density and elasticity. Unlike flat blankets, a cocoon must maintain a consistent tubular shape while allowing for the natural movement of a baby’s kicks. We have opted for a classic Double Crochet (DC) structure to ensure the project works up quickly while remaining breathable. The crown or base uses a standard circle-increase formula to prevent awkward “points” at the bottom, resulting in a smooth, rounded finish. One common mistake to avoid is using a hook that is too small for your yarn weight; if the fabric is too stiff, the cocoon will be uncomfortable and difficult to slip onto the infant. Ensuring a soft drape is crucial for the comfort of the newborn.
Project Info at a Glance
| Skill Level | Easy / Advanced Beginner |
|---|---|
| Estimated Time | 3 to 5 hours |
| Finished Size | Approx. 18″ long x 9″ wide (flat) |
| Hook Size | 5.5 mm (US I/9) or 6.0 mm (US J/10) |
| Yarn Weight | Medium (4) Worsted or Bulky (5) |
| Gauge | 12 sts x 7 rows = 4″ in DC (Suggested) |
| Best For | Newborns (0-3 months) and Photography Props |
Materials and Tools
Yarn
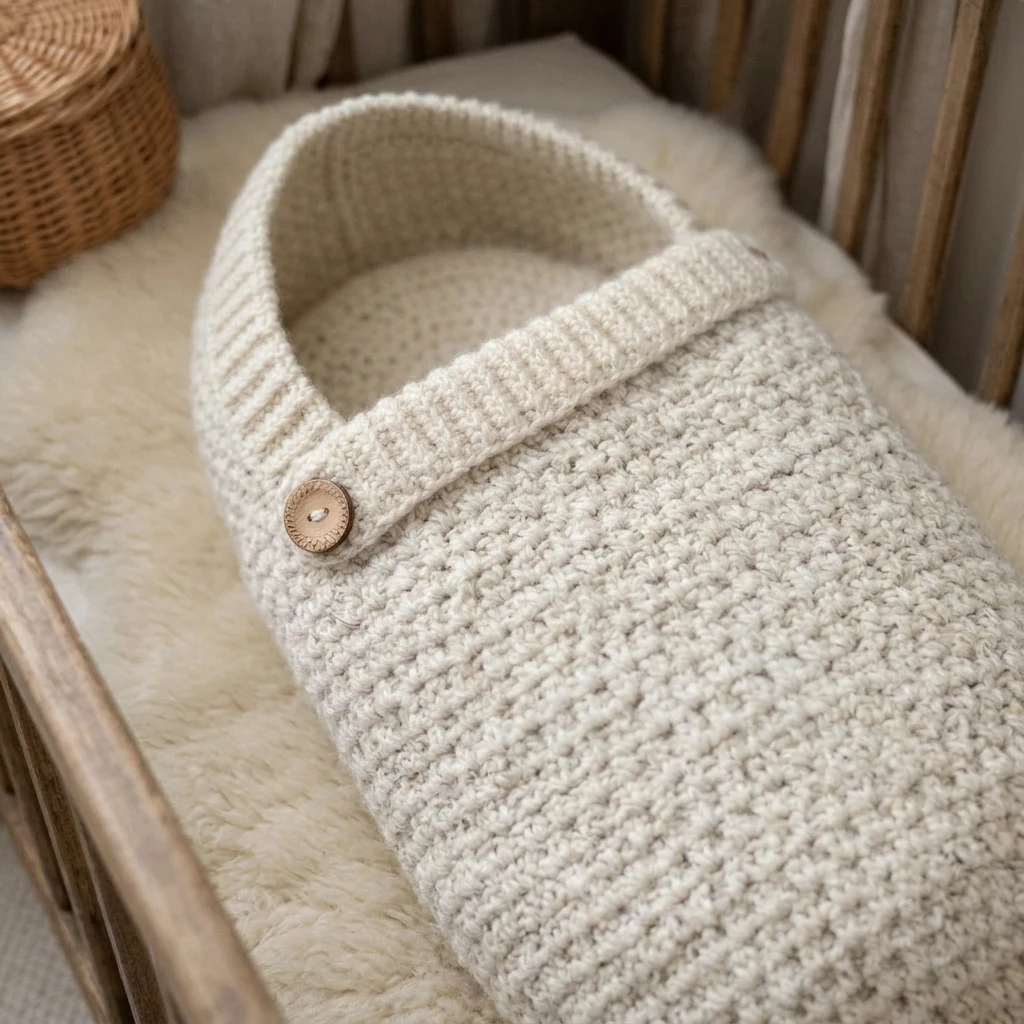
For a standard newborn cocoon, you will need approximately 250 to 300 yards of yarn. It is highly recommended to use a premium acrylic, cotton blend, or a soft “baby” designated yarn. These fibers are gentle on sensitive skin and, more importantly, are usually machine washable. Avoid yarns with heavy halo or fibers that shed, as babies often bring their hands toward their faces.
Tools
A standard crochet hook (suggested 5.5mm or 6.0mm) is required to achieve the necessary drape. You will also need a tapestry needle with a large eye for weaving in the yarn ends securely, a pair of sharp embroidery scissors, and at least one stitch marker to keep track of the start of your rounds.
Abbreviations
- CH: Chain
- DC: Double Crochet
- INC: Increase (2 DC in the same stitch)
- MR: Magic Ring (or Magic Circle)
- ST(S): Stitch(es)
- SL ST: Slip Stitch
- RND: Round
Pattern — Step by Step
Construction Overview
This cocoon is worked in the round from the bottom up. We begin with a magic ring to ensure the bottom is tightly closed with no gaps. We then perform several rounds of increases to establish the width of the cocoon before transition into straight rounds (no increases) to build the height of the tube. Finally, a simple decorative edging or ribbed border can be added to the top.
The Rounded Base
- Rnd 1: Create a MR. CH 2 (does not count as a st). Work 12 DC into the ring. SL ST to the first DC to join. (12 sts)
- Rnd 2: CH 2. Work 2 DC in each st around. SL ST to join. (24 sts)
- Rnd 3: CH 2. *1 DC in next st, INC in following st.* Repeat from * to * around. SL ST to join. (36 sts)
- Rnd 4: CH 2. *1 DC in next 2 sts, INC in following st.* Repeat from * to * around. SL ST to join. (48 sts)
- Rnd 5: CH 2. *1 DC in next 7 sts, INC in following st.* Repeat from * to * around. SL ST to join. (54 sts)
The Body of the Cocoon
- Rnd 6: CH 2. 1 DC in each st around. SL ST to join. (54 sts)
- Rnds 7–28 (or until desired length): Repeat Round 6. This establishes the height of the cocoon. For a standard newborn size, aim for a total length of approximately 17-18 inches from the base to the top.
The Finished Edging
- Rnd 29: CH 1. Work 1 SC in each st around. SL ST to join.
- Rnd 30: SL ST loosely in each st around to create a reinforced, clean edge. Fasten off and leave a tail for weaving.
Assembly
Because this pattern is worked in a continuous round, the “assembly” is minimal. The main goal is ensuring all yarn tails are integrated into the fabric so they do not come loose during use or washing.
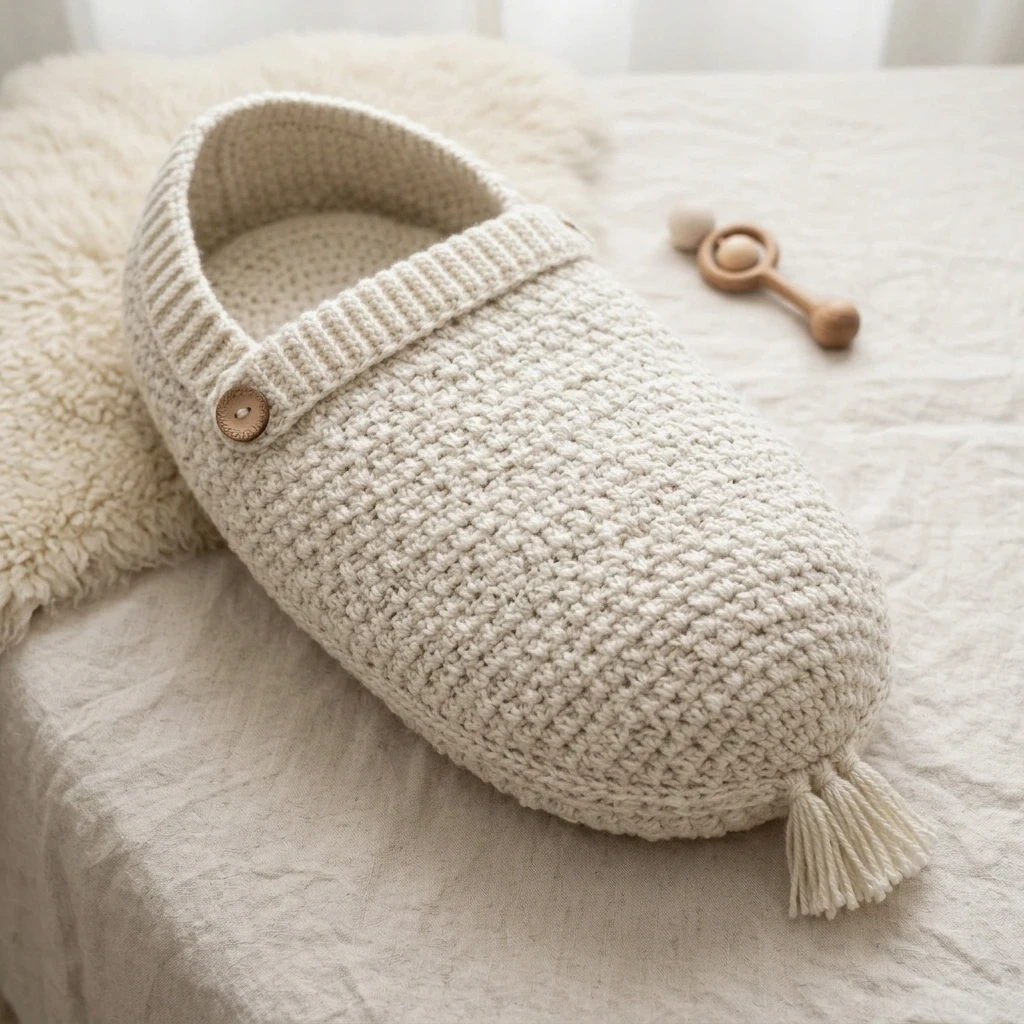
- Tighten the Magic Ring at the base firmly so there is no hole visible.
- Using your tapestry needle, weave the starting tail through the base stitches in a circular motion at least twice, then back-track once to lock it.
- Weave the final tail from the top edge downward into the body of the cocoon for about 2 inches.
- Inspect the inside of the cocoon for any stray loops or knots that might catch on tiny toes.
- Give the cocoon a gentle vertical and horizontal tug to settle the stitches into their final position.
7 Technical Tips for a Better Crochet Baby Cocoon Pattern
- Check Your Gauge: If your stitches are too loose, the baby’s toes might poke through the gaps. If too tight, the cocoon won’t have enough stretch.
- Soft Join Technique: To avoid a visible “seam” where you join rounds, try to keep your slip stitches and starting chains slightly tighter than your regular DC stitches.
- Safe Fiber Choices: Always check the label for “OEKO-TEX Standard 100” or similar certifications to ensure no harmful chemicals are in the yarn.
- Length Adjustment: Since babies grow at different rates, it is better to make the cocoon slightly longer than shorter. You can always fold the top edge down.
- The Magic Ring Security: Never just weave the tail of a magic ring once. Because newborns can kick with surprising force, the bottom of the cocoon takes a lot of stress. Secure it three times.
- Avoiding “Pointy” Bottoms: If your base looks like a cone rather than a flat circle, you may need to add one more increase round or check that you aren’t skipping the first stitch of the round.
- Blocking: Gently steam block your finished cocoon (if using acrylic, do not touch the iron to the yarn) to even out the tension and make the stitches look professional.
Frequently Asked Questions
Is a crochet baby cocoon safe for overnight sleep?
No, baby cocoons are intended for supervised use only, such as photography sessions or resting while a caregiver is present. They do not meet the criteria for safe sleep environments (like a firm, flat crib mattress with no loose bedding) and should never be used in a crib overnight.
Can I make this for a premature baby?
Yes. To adjust for a preemie, stop increasing after Round 3 or 4 of the base and reduce the total number of body rounds to reach about 12-14 inches in length.
What is the best stitch for a cocoon?
While Double Crochet is popular for its speed and stretch, Half Double Crochet (HDC) provides a slightly denser fabric with fewer gaps, which some parents prefer for added warmth.
Can I use variegated yarn?
Variegated yarn works beautifully with this simple pattern. Since the stitches are uniform, the color changes will create lovely stripes or “pooling” effects without the need for manual color changes.
How do I wash a crochet baby cocoon?
If made with baby-safe acrylic or cotton, place the cocoon in a mesh laundry bag and wash on a delicate cycle with cold water. Lay it flat on a towel to dry to prevent the weight of the water from stretching it out of shape.
Conclusion
This Crochet Baby Cocoon Pattern is a rewarding project that combines simplicity with a high-impact result. By following the rounded base increases and maintaining a steady tension through the body, you can create a professional-grade gift in just one afternoon. Remember to prioritize soft, washable fibers to ensure the piece is as functional as it is beautiful.
Love this pattern? Save it to your Crochet For Baby board on Pinterest!
Which yarn color do you think best suits a newborn photography session: classic cream or a vibrant pastel?
Save This Crochet Pattern