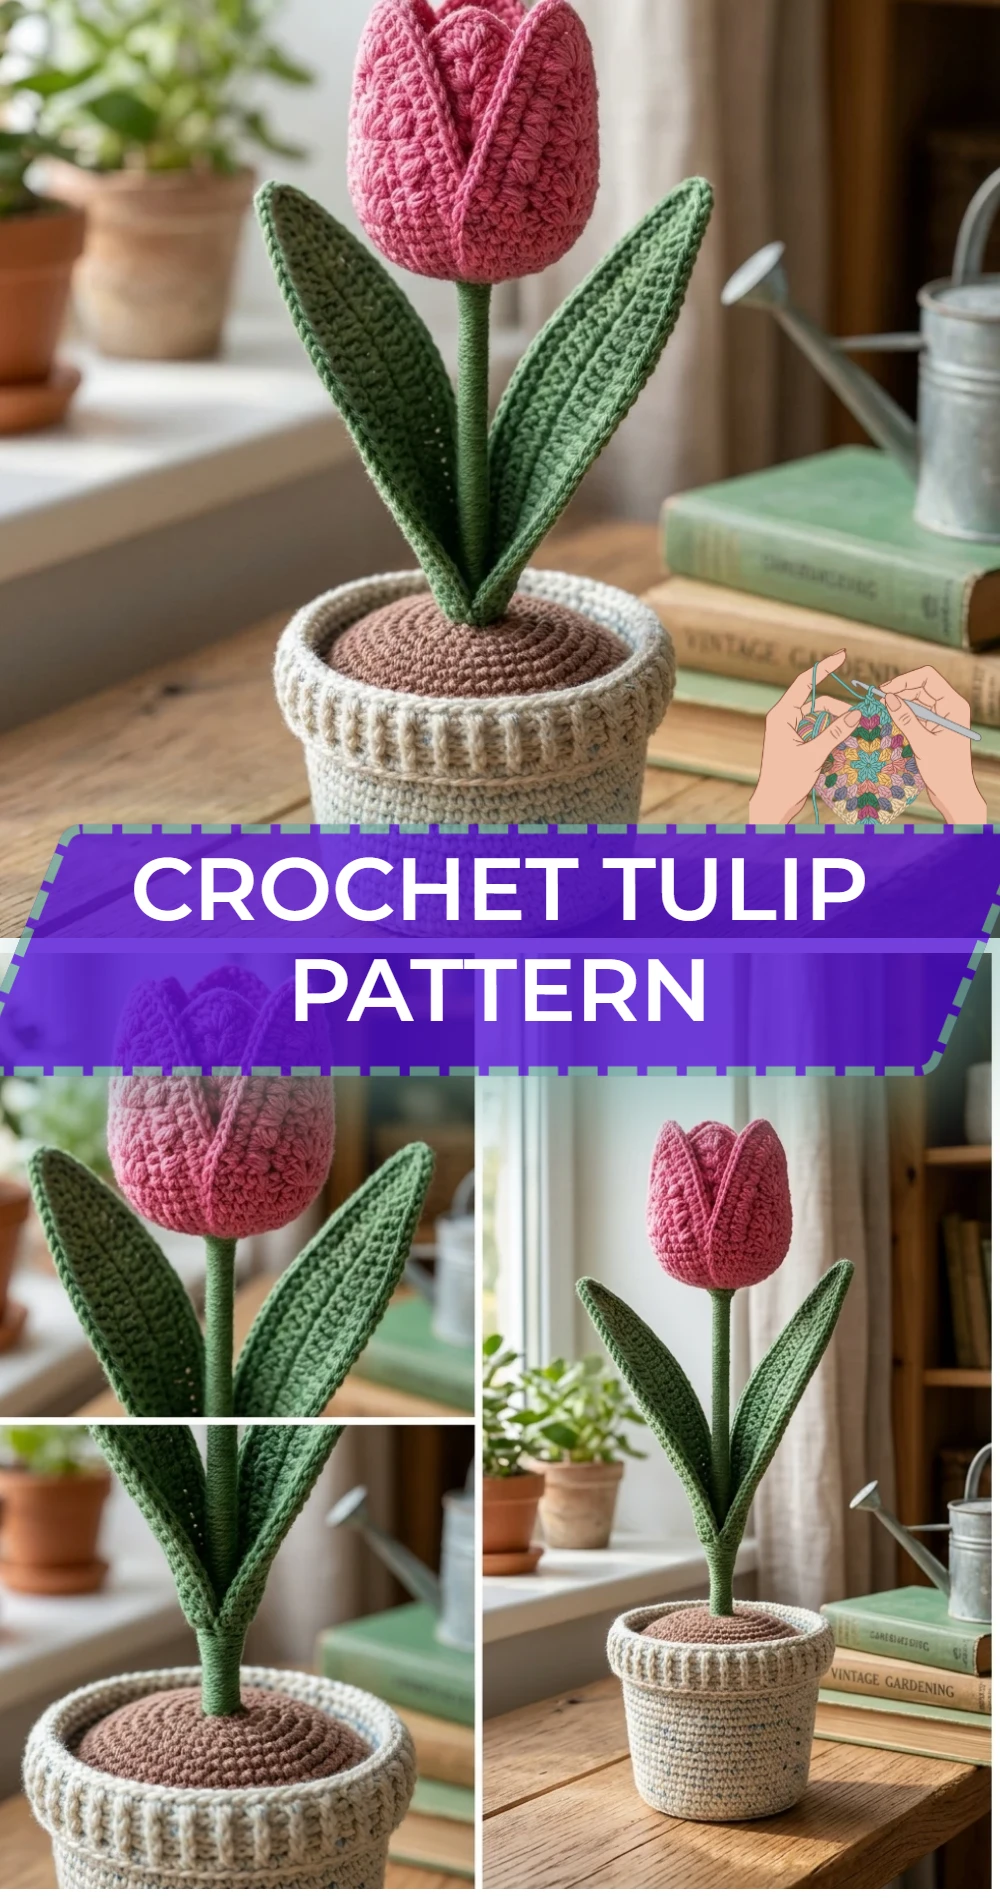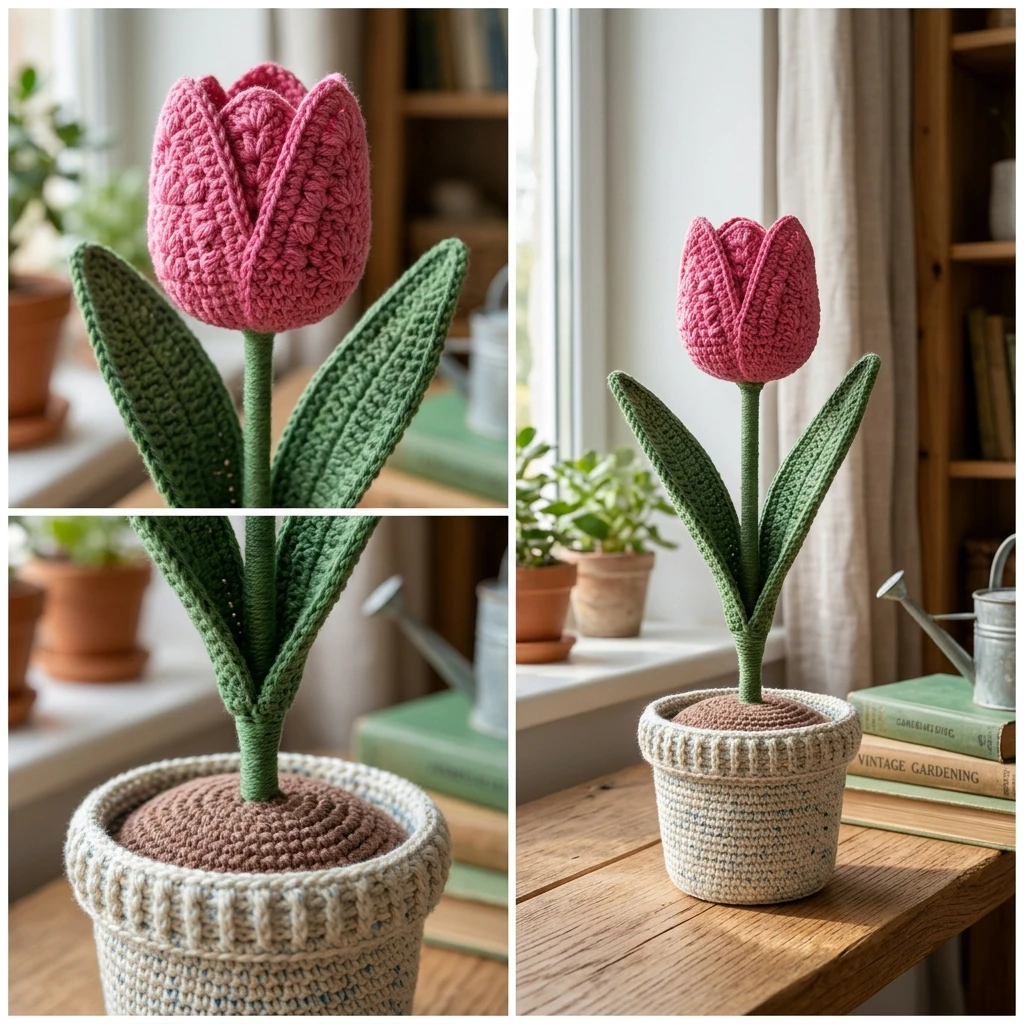
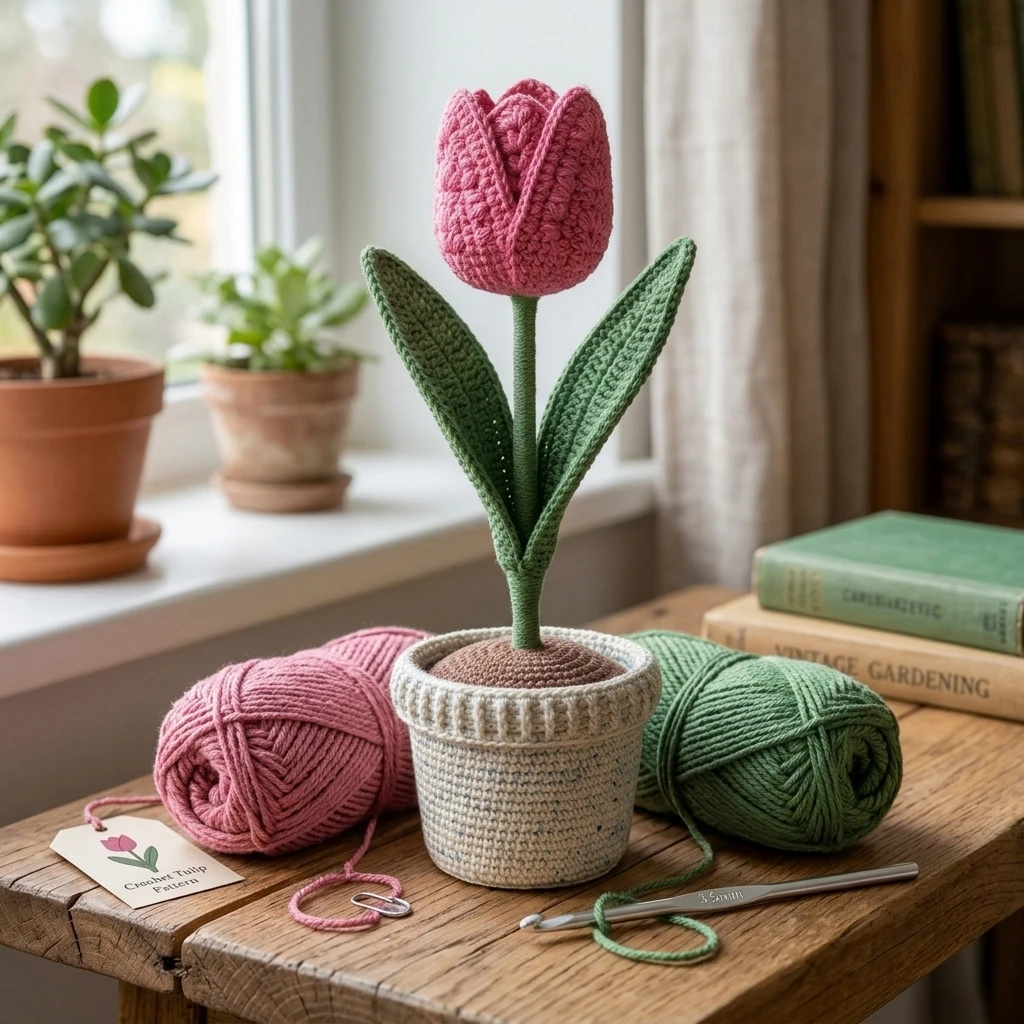
Capture the timeless elegance of springtime with a hand-stitched Crochet Tulip Pattern that never fades. These sculptural blooms feature a classic bell shape with a unique four-pointed closure that mimics the natural overlapping petals of a real tulip. Perfect for everlasting bouquets, nursery decor, or a thoughtful Mother’s Day gift, this project is designed for efficiency and visual impact. The construction relies on simple amigurumi techniques—working in a continuous spiral to create a sturdy, hollow cylinder that is transformed into a sophisticated floral head through clever assembly. Whether you are a beginner looking to practice your circular tension or a seasoned maker wanting to clear out your colorful yarn scraps, these tulips offer a satisfying, quick-finish project.
The Design: What Makes This Pattern Different
Unlike flat-petal patterns that require sewing multiple individual pieces together, this design utilizes a seamless cylindrical approach. By working the tulip head as a single unit, you eliminate the bulk of multiple seams and ensure a uniform, sturdy shape that holds its own weight. The structural integrity comes from using a smaller hook than recommended for your yarn, creating a dense fabric that hides the stuffing inside.
One common mistake to avoid is overstuffing the base of the flower. If the bottom of the tulip is packed too tightly, it loses its elegant, tapered silhouette and begins to look more like a round ball. To maintain the “tulip” look, focus the majority of your polyfill in the center and allow the top “cross” closure to provide the necessary tension for the upper petals.
Project Info at a Glance
| Feature | Details |
|---|---|
| Skill Level | Beginner / Easy |
| Estimated Time | 45–60 minutes per flower |
| Finished Size | Approx. 3″ tall (flower head only) |
| Hook Size | 3.5mm (E) or 4.0mm (G) |
| Yarn Weight | Worsted (Weight 4) or DK (Weight 3) |
| Gauge | Not critical, but must be tight enough to hide stuffing |
| Best For | Bouquets, Home Decor, Gift Toppers |
Materials and Tools
Yarn
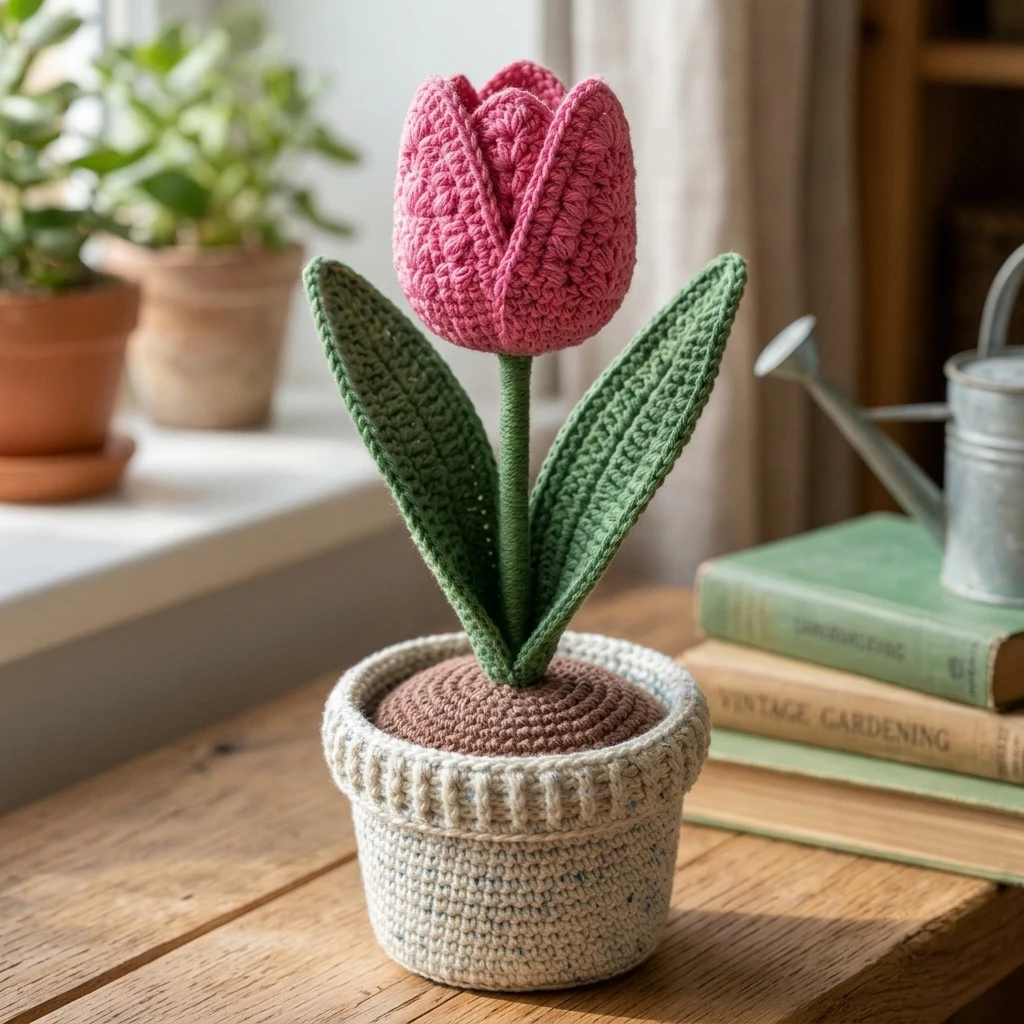
For a standard realistic tulip, we suggest approximately 20–30 yards of cotton or acrylic yarn per flower. You will need a vibrant shade for the petals (pinks, yellows, or reds) and a small amount of sage or forest green for the stem and leaf. Cotton yarn is highly recommended for this project as it provides the crisp stitch definition needed for the floral structure.
Tools
- Crochet hook (3.5mm or 4.0mm)
- Polyester fiberfill stuffing
- Tapestry needle
- Stitch markers (essential for working in rounds)
- Sharp scissors
- Optional: 12-inch floral wire or a bamboo skewer for the stem
- Optional: Hot glue gun for securing the stem
Abbreviations
- ch: chain
- sc: single crochet
- inc: increase (2 sc in the same stitch)
- st(s): stitch(es)
- sl st: slip stitch
- Rnd: round
Pattern — Step by Step
The Tulip Head
The flower head is worked from the bottom up in a continuous spiral. Do not join rounds unless specifically instructed.
- Rnd 1: Start with a magic ring. Work 6 sc into the ring. (6 sts)
- Rnd 2: 2 sc in each st around. (12 sts)
- Rnd 3: [1 sc, inc] 6 times. (18 sts)
- Rnd 4: [2 sc, inc] 6 times. (24 sts)
- Rnd 5–18: sc in each st around. (24 sts per round). Note: You can add or subtract rounds here to change the height of your tulip.
- Fasten off, leaving a long tail (approx. 12 inches) for sewing the top closed.
The Leaf
The leaf is worked in rows around a central foundation chain to create an oblong shape.
- Foundation: ch 21.
- Row 1: sl st in 2nd ch from hook, sc in next 2 ch, hdc in next 3 ch, dc in next 8 ch, hdc in next 3 ch, sc in next 2 ch, 3 sc in the last ch (to turn the corner).
- Row 2: Working along the opposite side of the foundation chain: sc in next 2 ch, hdc in next 3 ch, dc in next 8 ch, hdc in next 3 ch, sc in next 2 ch, sl st in the first ch.
- Fasten off, leaving a tail for assembly.
Assembly
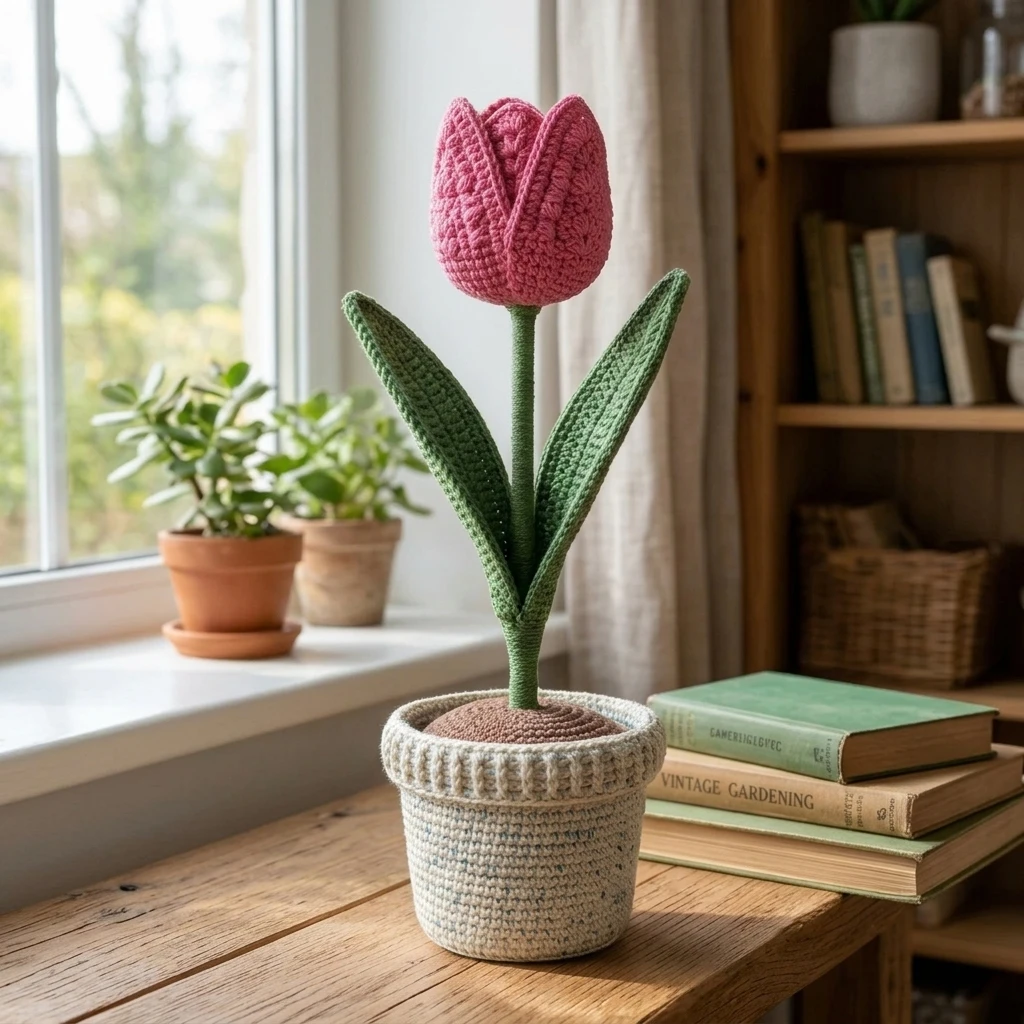
The assembly phase is where the simple cylinder takes on its characteristic floral shape. Ensuring the “X” closure at the top is perfectly centered is the key to a professional finish.
- Insert your floral wire or skewer through the center of the magic ring at the bottom of the tulip head. Secure with a dab of hot glue if desired.
- Stuff the tulip head firmly with polyfill, leaving about half an inch of space at the top.
- Thread your tapestry needle with the long yarn tail from the tulip head.
- Flatten the top of the cylinder and sew through the two middle stitches to join them.
- Fold the remaining two sides toward the center, creating a cross or “X” shape. Sew through the center point where all four folds meet.
- Weave in your ends securely.
- Wrap the stem (wire or skewer) with green yarn, using small drops of glue to keep it in place, and sew or glue the leaf approximately halfway down the stem.
7 Technical Tips for a Better Crochet Tulip Pattern
- Tighten Your Magic Ring: Ensure the initial ring is pulled very tight so the stem fits snugly and no stuffing leaks out the bottom.
- Use a Stitch Marker: Since this pattern is worked in a continuous spiral, it is easy to lose track of the beginning of the round.
- Consistent Tension: Keep your tension firm. If your stitches are too loose, the polyfill will be visible through the gaps.
- Stuffing Technique: Use small tufts of stuffing at a time to avoid lumps. Use the back of your crochet hook to push stuffing into the bottom corners.
- Wire Safety: If making these for children, skip the wire and use a soft stuffed crochet stem instead.
- Color Variation: For a more realistic look, use variegated yarn or change colors for the last two rounds of the tulip head to simulate “tipped” petals.
- Steam Blocking: Lightly steam the leaves once finished to help them lay flat or curl naturally around the stem.
Frequently Asked Questions
What is the best yarn for crochet tulips?
Cotton yarn is generally preferred because it has less “fuzz” and better structural integrity, which helps the tulip maintain its shape over time.
Can I make these tulips larger?
Yes. To increase the size, continue the increase rounds (e.g., [3 sc, inc]) and add more height rounds accordingly. Using a bulkier yarn and a larger hook will also increase the size significantly.
Do I have to use floral wire?
No. You can leave them as “loose” flower heads for bowl fillers, or use wooden dowels or even recycled plastic straws as stems.
How do I clean my crochet tulips?
If you used acrylic or cotton yarn, you can spot clean them with a damp cloth and mild soap. Avoid submerging them if you used glue or floral wire that might rust.
My tulip looks more like a square at the top. What happened?
This usually happens if the top “X” closure isn’t pulled tight enough. Ensure your stitches are centered when you pinch the four sides together to get that rounded petal look.
Conclusion
Creating a crochet tulip is a rewarding way to bring a permanent touch of nature into your home. By mastering the simple cylindrical body and the four-point closure, you can produce dozens of these beautiful blooms in no time. They are the perfect project for practicing tension and learning how basic shapes can be transformed through thoughtful assembly. If you enjoyed this tutorial, be sure to save it to your Crochet Flowers board on Pinterest! What color will you choose for your first tulip bouquet?
Save This Crochet Pattern