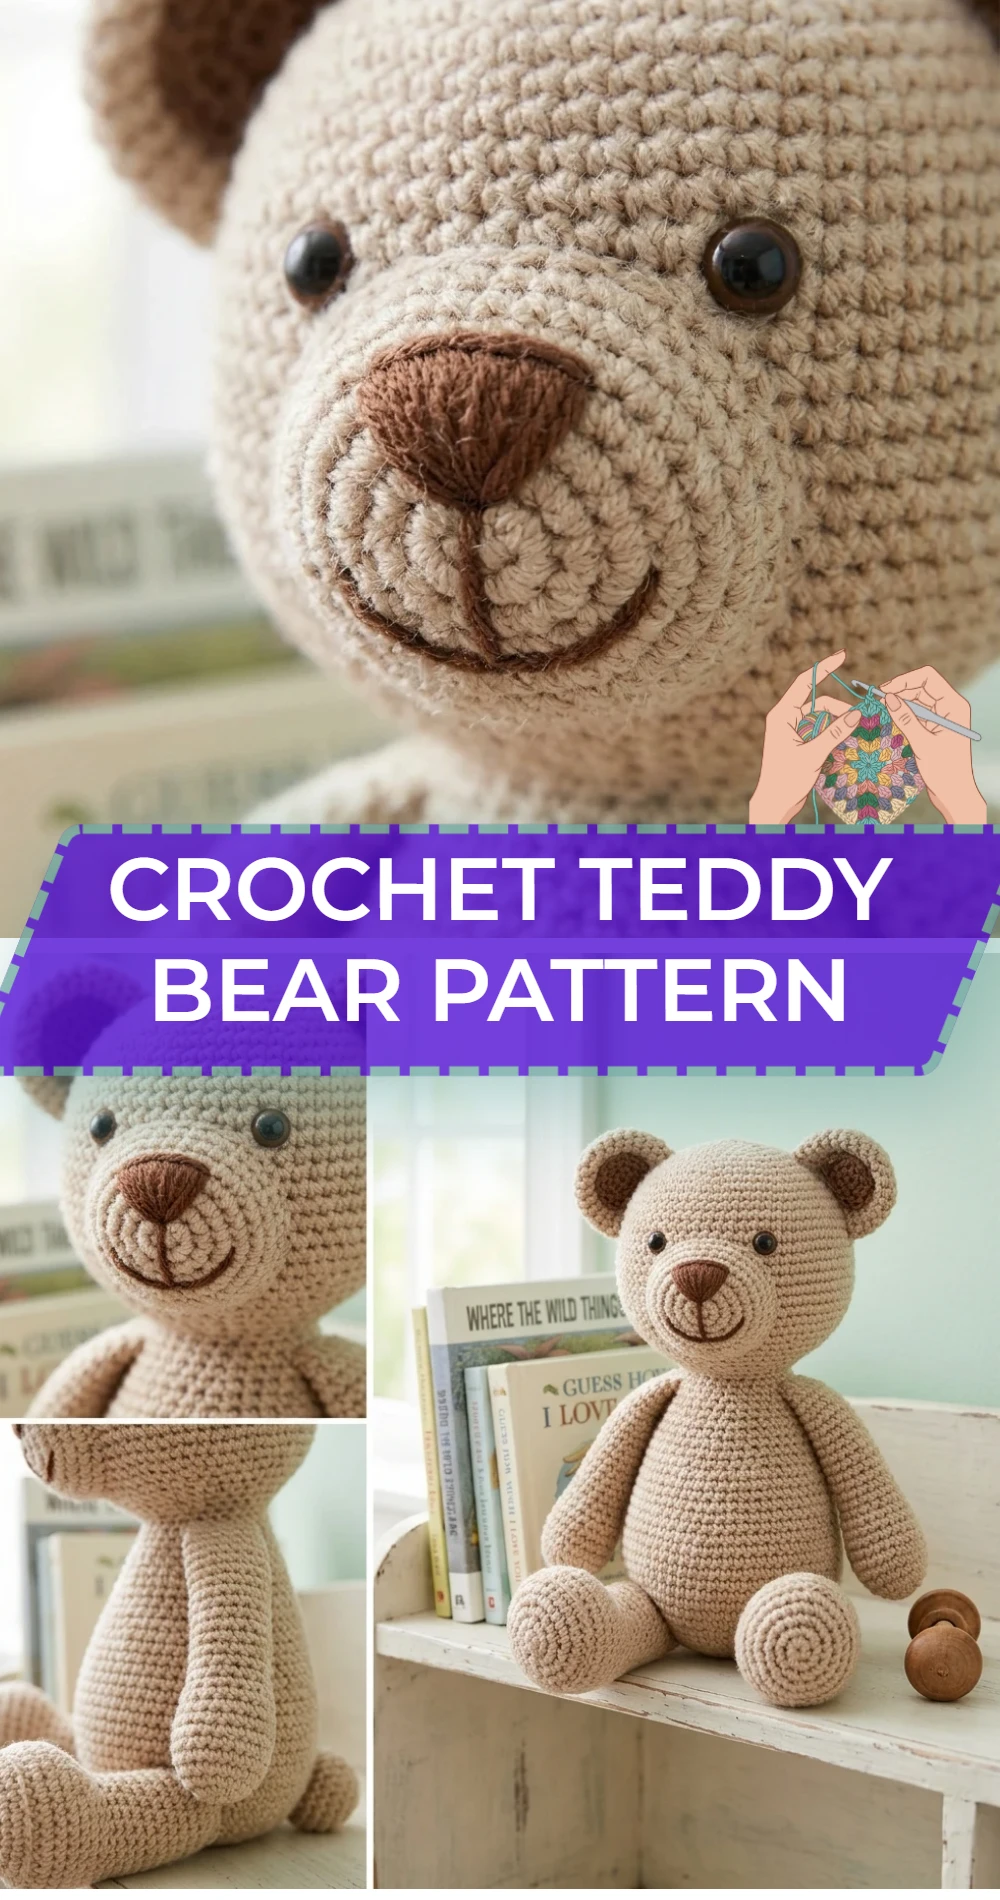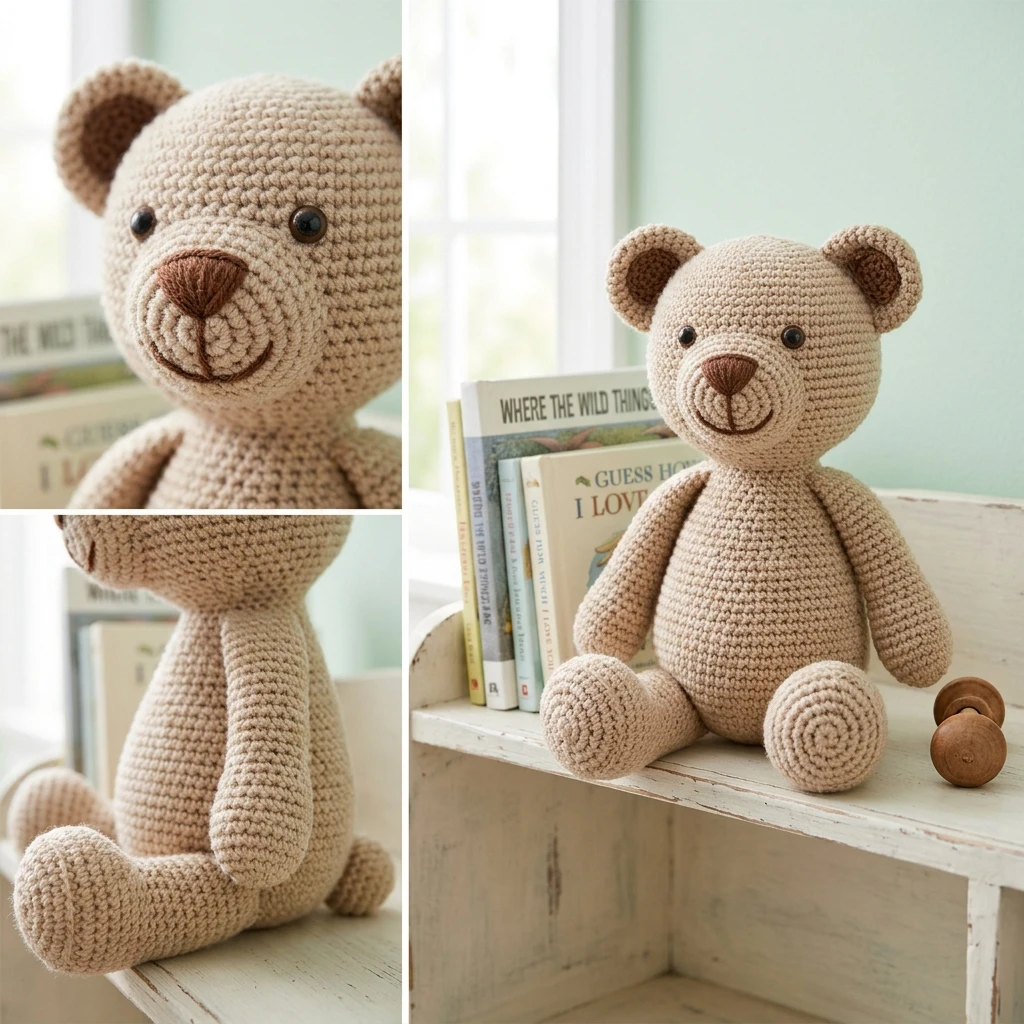
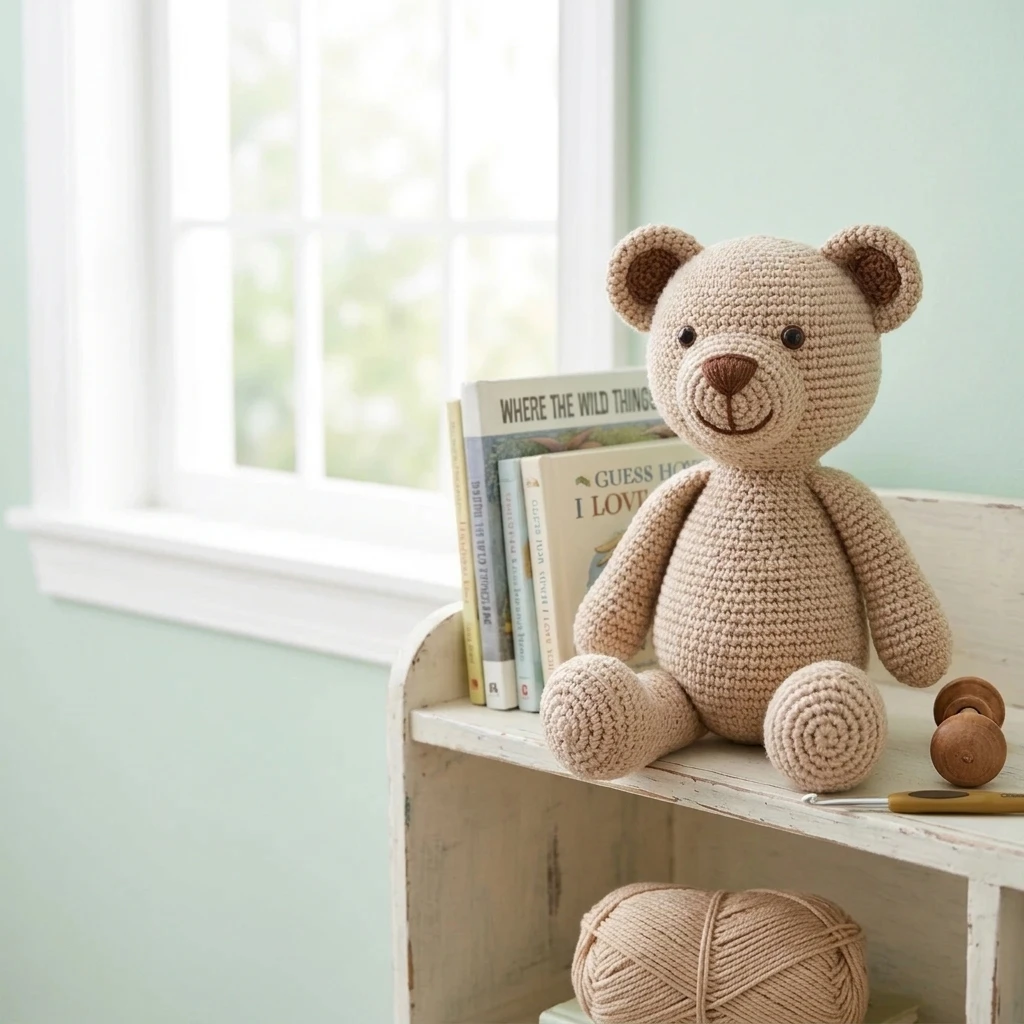
This Crochet Teddy Bear Pattern brings to life a timeless heirloom characterized by its soft, rounded proportions and expressive features. Designed in the classic amigurumi style, the finished project stands as a sturdy yet huggable companion, perfect for nursery decor, baby shower gifts, or a nostalgic addition to a collector’s shelf. The construction relies on worked-in-the-round techniques that minimize sewing while ensuring the bear maintains a professional, high-quality silhouette that looks stunning in both traditional browns and modern pastel hues.
The Design: What Makes This Pattern Different
The visual identity of this teddy bear focuses on a slightly oversized head and a “pear-shaped” body, which provides a whimsical, modern aesthetic compared to traditional, strictly anatomical bears. Unlike many patterns that result in flat or boxy faces, this design utilizes specific increase placements to create a gentle snout protrusion without the need for a separate muzzle piece. Structurally, the limbs are designed with a tapered finish to allow for easier attachment and better movement.
One common mistake to avoid when working on this pattern is failing to maintain tight tension during the decrease rounds. If the tension loosens at the neck or the crown of the head, the stuffing may peek through the stitches. To prevent this, ensure you are pulling your yarn snug, especially when executing the “invisible decrease” technique common in amigurumi projects.
Project Info at a Glance
| Feature | Details |
|---|---|
| Skill Level | Intermediate (requires knowledge of working in rounds) |
| Estimated Time | 4 to 6 hours |
| Finished Size | Approximately 10 inches (standing) |
| Hook Size | 3.5mm (E/4) or 3.25mm (D/3) |
| Yarn Weight | Worsted (Medium / Weight 4) |
| Gauge | 5 sc per inch (gauge is flexible but must be tight) |
| Best For | Gifts, Nursery Decor, Heirloom Playthings |
Materials and Tools
Yarn
For a standard 10-inch bear, we suggest approximately 150 to 180 yards of worsted weight acrylic or cotton blend yarn. Acrylic is recommended for its durability and ease of washing, while a cotton-acrylic blend offers better stitch definition. Neutral tones like honey, chocolate, or cream are classic choices, but variegated yarns can create a charming “scrappy” look.
Tools
You will need a crochet hook slightly smaller than what the yarn label suggests to ensure a dense fabric. Additionally, prepare polyester fiberfill for stuffing, a pair of 10mm safety eyes (or black embroidery thread for safety-conscious gifts), a tapestry needle for weaving ends, and stitch markers to track the start of your continuous rounds.
Abbreviations
- MR: Magic Ring
- SC: Single Crochet
- INC: Increase (2 sc in the next stitch)
- DEC: Decrease (sc 2 together, preferably using the invisible method)
- Ch: Chain
- Sl st: Slip stitch
- St(s): Stitch(es)
- Rnd: Round
Pattern — Step by Step
The Head and Muzzle
The head is worked from the nose toward the back. This ensures the face is centered and allows for easy placement of the eyes before the piece is closed.
- Rnd 1: 6 sc in MR (6)
- Rnd 2: INC in each st around (12)
- Rnd 3: [sc, INC] 6 times (18)
- Rnd 4: [2 sc, INC] 6 times (24)
- Rnd 5: [3 sc, INC] 6 times (30)
- Rnd 6-10: sc in each st around (30)
- Rnd 11: [4 sc, INC] 6 times (36)
- Rnd 12: [5 sc, INC] 6 times (42)
- Rnd 13-18: sc in each st around (42)
- Rnd 19: [5 sc, DEC] 6 times (36)
- Rnd 20: [4 sc, DEC] 6 times (30)
- Rnd 21: [3 sc, DEC] 6 times (24)
- Rnd 22: [2 sc, DEC] 6 times (18). Fasten off, leaving a long tail for sewing.
The Body
The body is worked from the bottom up. It is designed to be slightly heavier at the base to help the bear sit upright.
- Rnd 1: 6 sc in MR (6)
- Rnd 2: INC in each st (12)
- Rnd 3: [sc, INC] 6 times (18)
- Rnd 4: [2 sc, INC] 6 times (24)
- Rnd 5: [3 sc, INC] 6 times (30)
- Rnd 6: [4 sc, INC] 6 times (36)
- Rnd 7-12: sc in each st around (36)
- Rnd 13: [4 sc, DEC] 6 times (30)
- Rnd 14-16: sc in each st around (30)
- Rnd 17: [3 sc, DEC] 6 times (24)
- Rnd 18-20: sc in each st around (24)
- Rnd 21: [2 sc, DEC] 6 times (18). Fasten off.
Limbs and Ears (Make 2 of each)
Arms: Start with 6 sc in MR. Rnd 2: [sc, INC] 3 times (9). Rnd 3-12: sc around (9). Lightly stuff lower half and flatten top to sew shut.
Legs: Start with 6 sc in MR. Rnd 2: INC around (12). Rnd 3: [sc, INC] 6 times (18). Rnd 4-6: sc around (18). Rnd 7: [sc, DEC] 6 times (12). Rnd 8-14: sc around (12). Stuff firmly.
Ears: Start with 6 sc in MR. Rnd 2: INC around (12). Rnd 3: [sc, INC] 6 times (18). Rnd 4: sc around (18). Do not stuff.
Assembly
Assembly is the most critical phase of creating your Crochet Teddy Bear Pattern. It is where the personality of your creation truly emerges. Before sewing, use glass-headed pins to position all limbs and features to ensure symmetry.
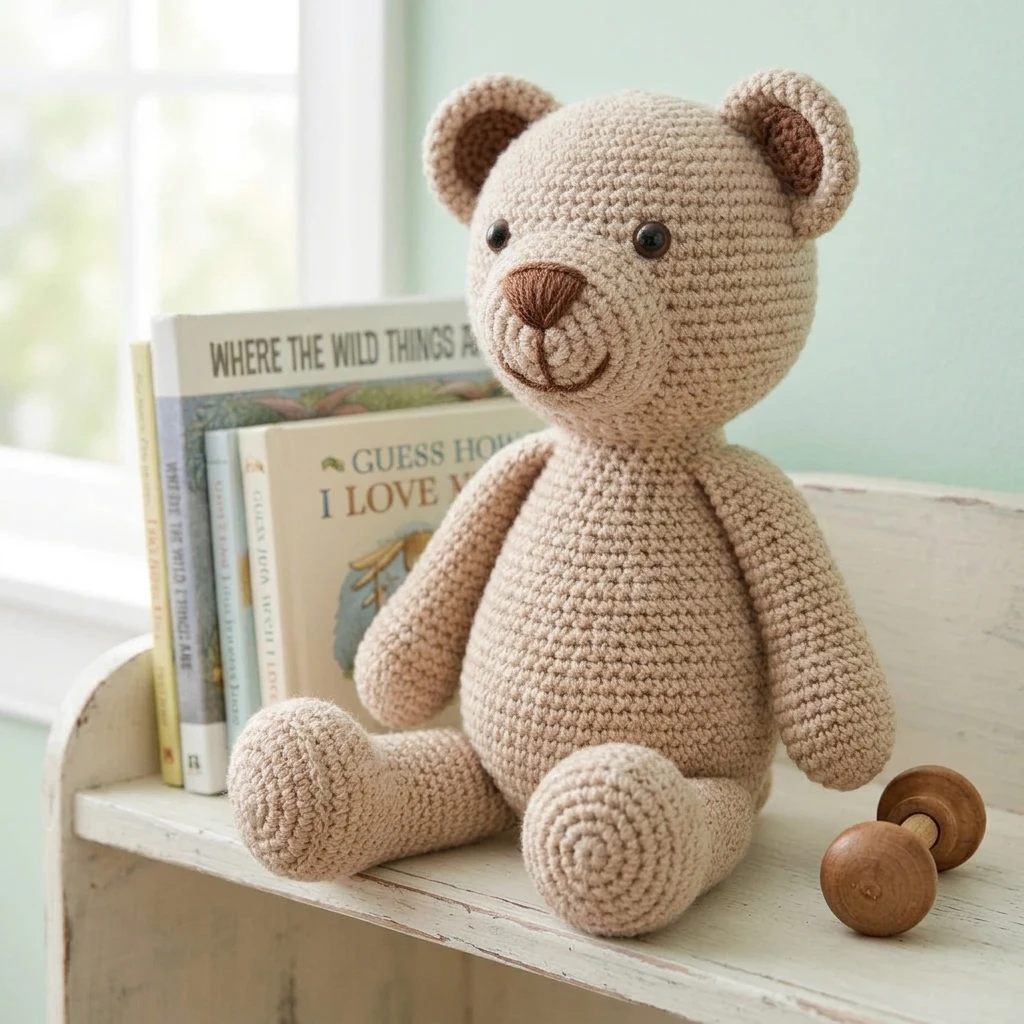
- Safety Eyes: Insert safety eyes between rounds 10 and 11 of the head, roughly 8 stitches apart. Secure the backings before stuffing.
- Stuffing: Firmly stuff the head and body. Ensure the neck area has extra stuffing to prevent the “floppy head” syndrome.
- Attaching Head: Use the long tail from the head to whipstitch the head (Rnd 22) to the body (Rnd 21), matching stitch for stitch.
- Ears: Flatten the ears and sew them between rounds 15 and 19 of the head, curving them slightly for a natural look.
- Arms: Sew the arms to the sides of the body, approximately two rounds below the neck seam.
- Legs: Sew the legs to the bottom of the body between rounds 5 and 8 so the bear can sit.
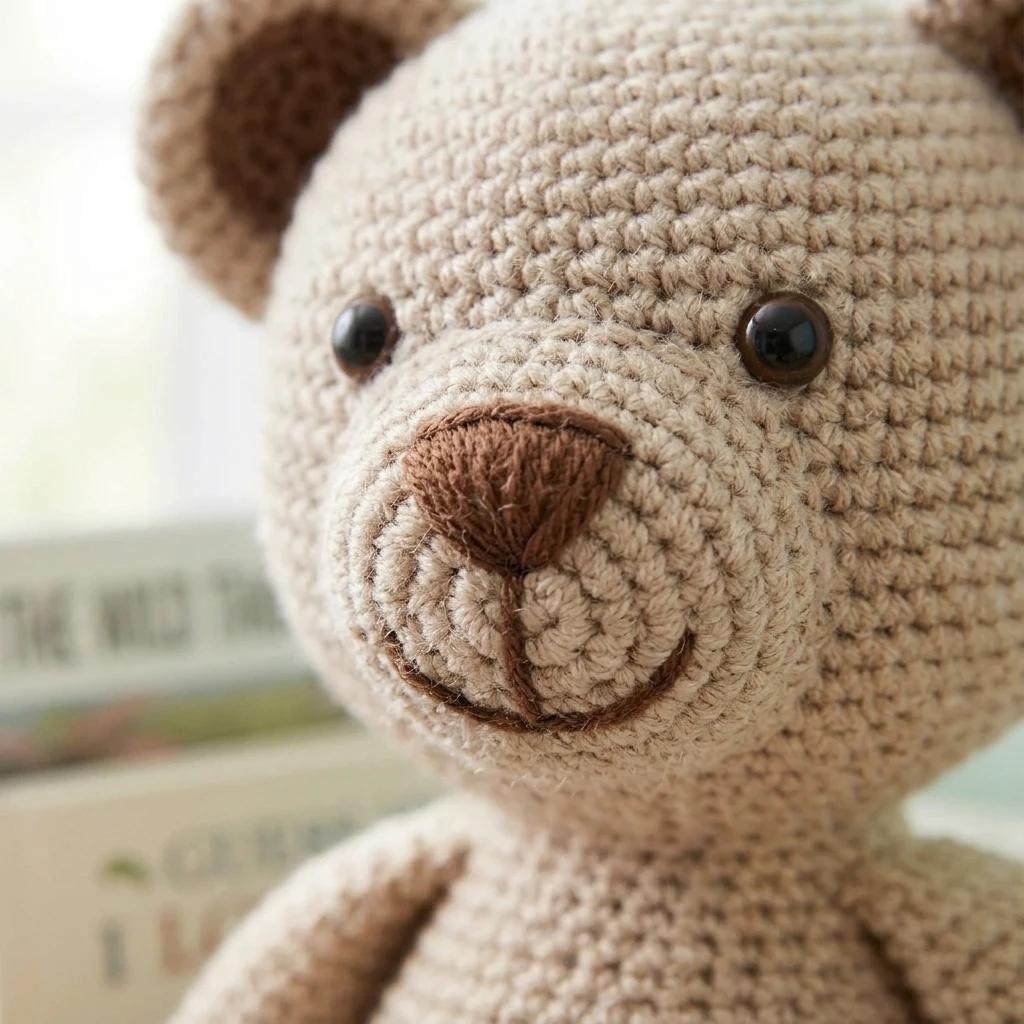
- Embroidery: Using black yarn, embroider a small “V” or “T” shape on the center of the snout for the nose and mouth.
7 Technical Tips for a Better Crochet Teddy Bear Pattern
- Use the Invisible Decrease: Instead of a standard dec, work into the front loops of the next two stitches only. This creates a much smoother finish.
- Yarn Under vs. Yarn Over: Consider using the “yarn under” method for your single crochets. This creates an “X” shaped stitch that is tighter and more structural for amigurumi.
- The Magic Ring is Essential: Never start an amigurumi piece with a “chain 2” circle if you can avoid it. The magic ring allows you to pull the center tight so no stuffing escapes.
- Stagger Your Increases: If your circle is looking hexagonal, stagger your increases so they don’t stack on top of each other in every round.
- Neck Reinforcement: If your bear is intended for play, insert a small roll of felt or a “neck bone” of extra-dense stuffing into the junction between head and body.
- Brushing for Texture: You can use a clean wire pet brush to gently brush the finished bear to create a “fuzzy” or “mohair” look even with standard acrylic yarn.
- Symmetry Check: Always look at your bear in a mirror during assembly. Seeing the reflection helps you spot lopsided ears or eyes more effectively than looking at it directly.
Frequently Asked Questions
What is the best yarn for a baby-safe teddy bear?
Cotton or organic bamboo yarns are excellent because they are breathable and don’t pill as easily as acrylic. Always substitute safety eyes with embroidered features for children under three.
How do I make my teddy bear larger?
The easiest way to resize this pattern is to use a bulkier yarn and a larger hook. Using velvet or chenille yarn with a 5.0mm hook will nearly double the size of the bear.
My stitches are showing gaps. What should I do?
Go down one hook size. Amigurumi requires a much tighter gauge than blankets or garments to prevent the white fiberfill from showing through the gaps.
How do I wash a crocheted bear?
Place the bear in a mesh laundry bag and wash on a cold, delicate cycle. Lay it flat to dry. Do not put it in the dryer, as high heat can melt acrylic fibers or clump the stuffing.
Can I use this pattern to make a panda or koala?
Yes! By changing the colors (black and white for a panda or grey for a koala) and slightly modifying the ear shape, this base pattern is extremely versatile for many bear-like animals.
Conclusion
Creating this Crochet Teddy Bear Pattern is a rewarding journey into the heart of amigurumi. By mastering the continuous rounds and focusing on tight, clean assembly, you have crafted a durable friend that will last for years. Remember to take your time with the facial embroidery, as that is what gives your bear its unique personality. If you enjoyed this project, please save it to your “Amigurumi Ideas” board on Pinterest! What color will you choose for your bear’s ribbon or bow tie?
Save This Crochet Pattern