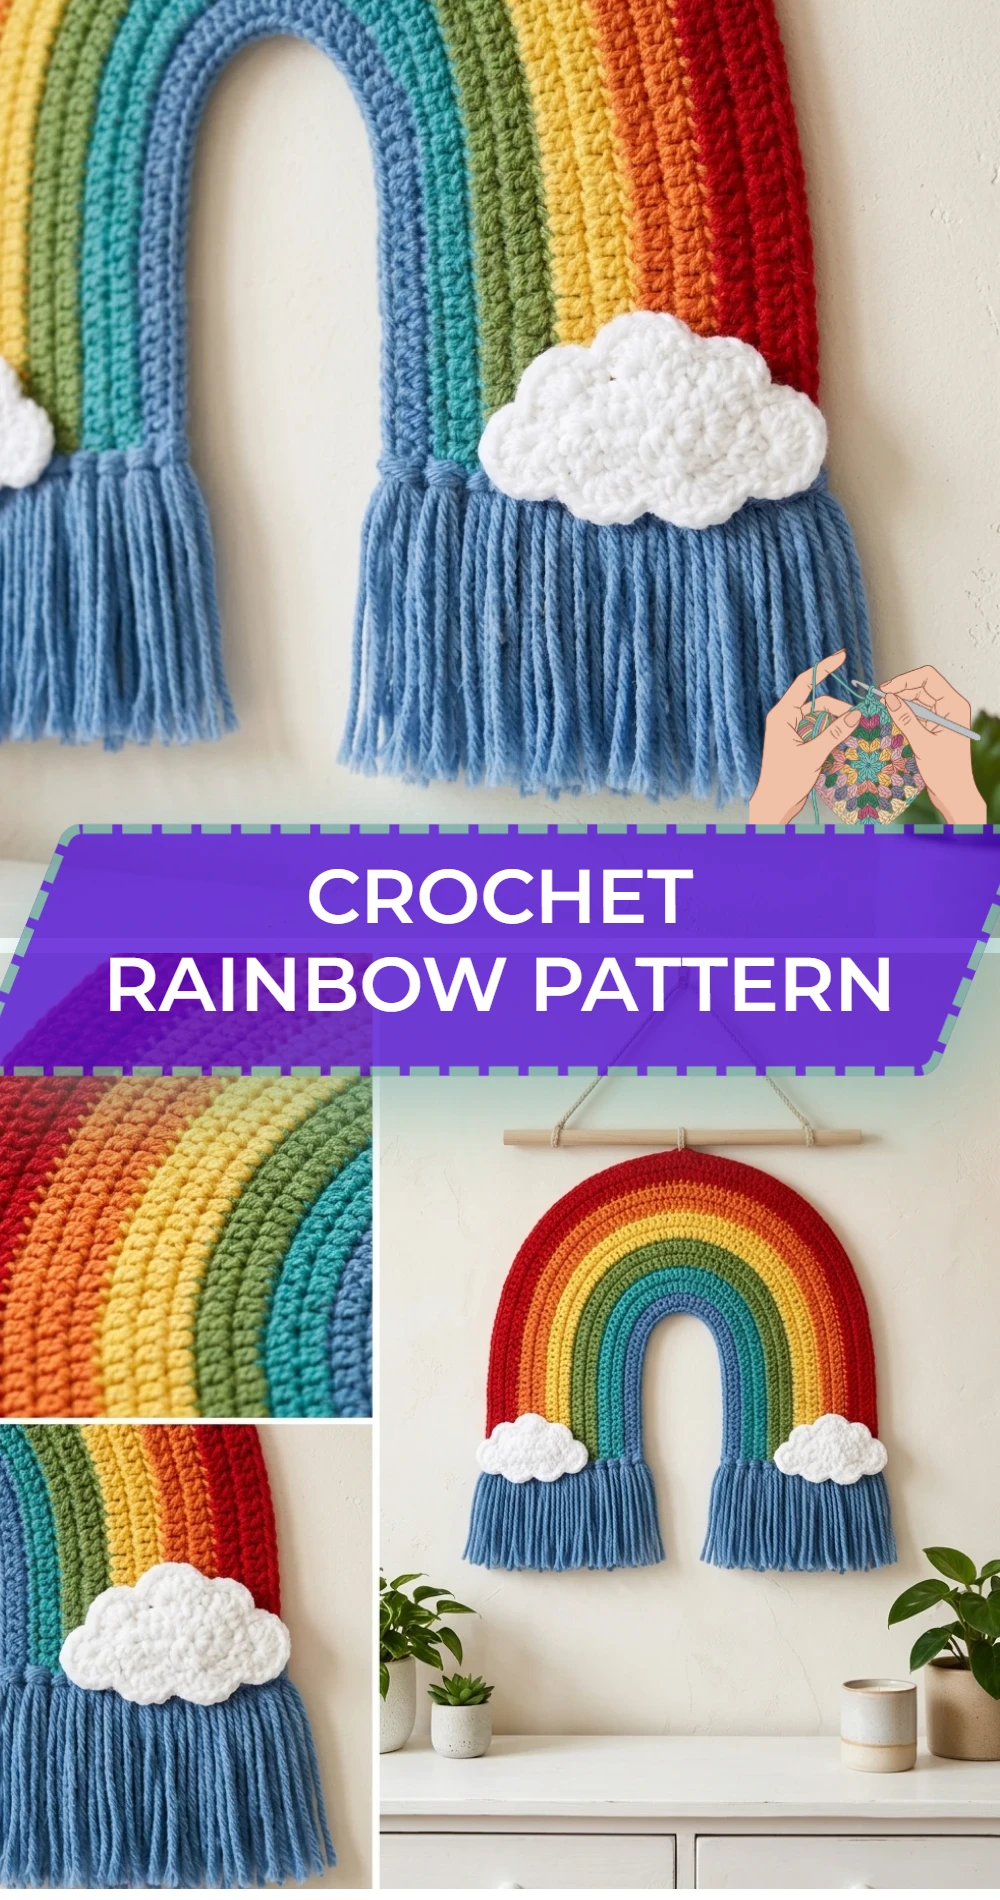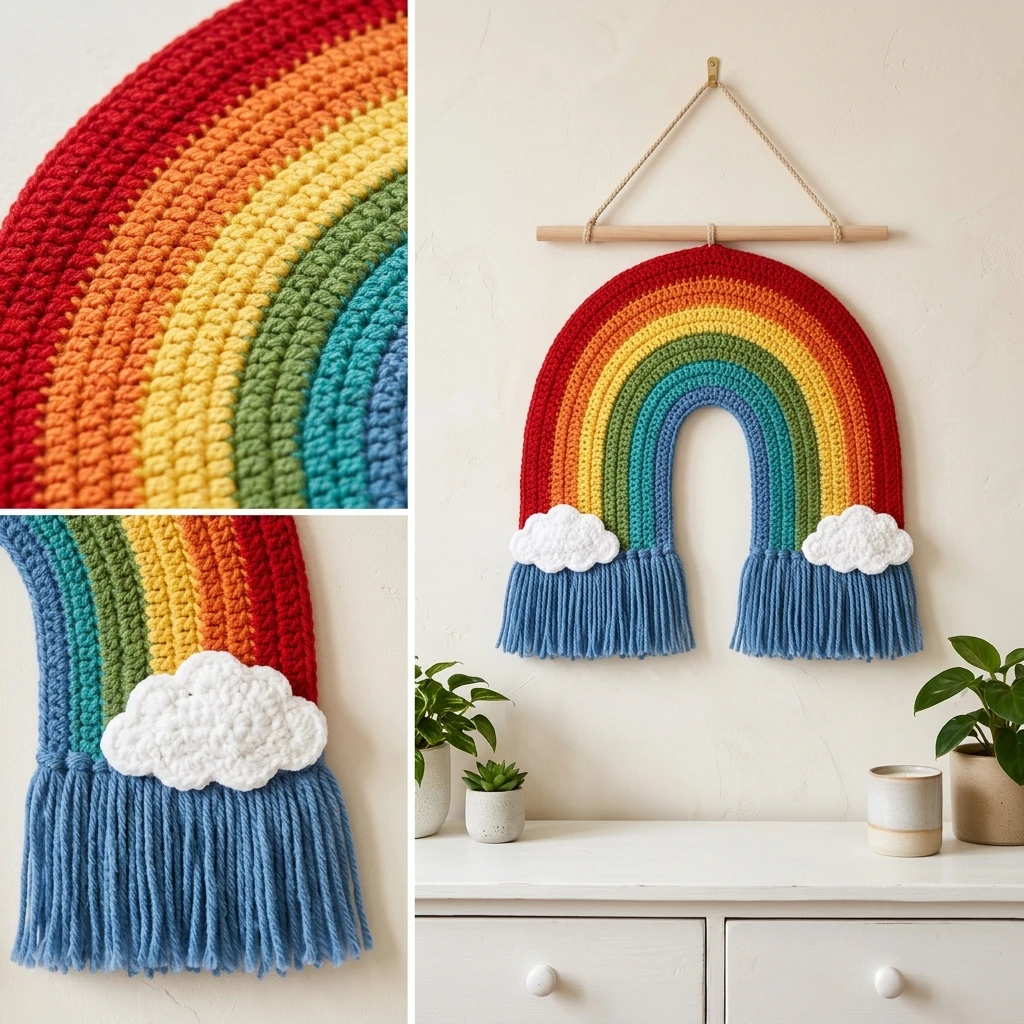
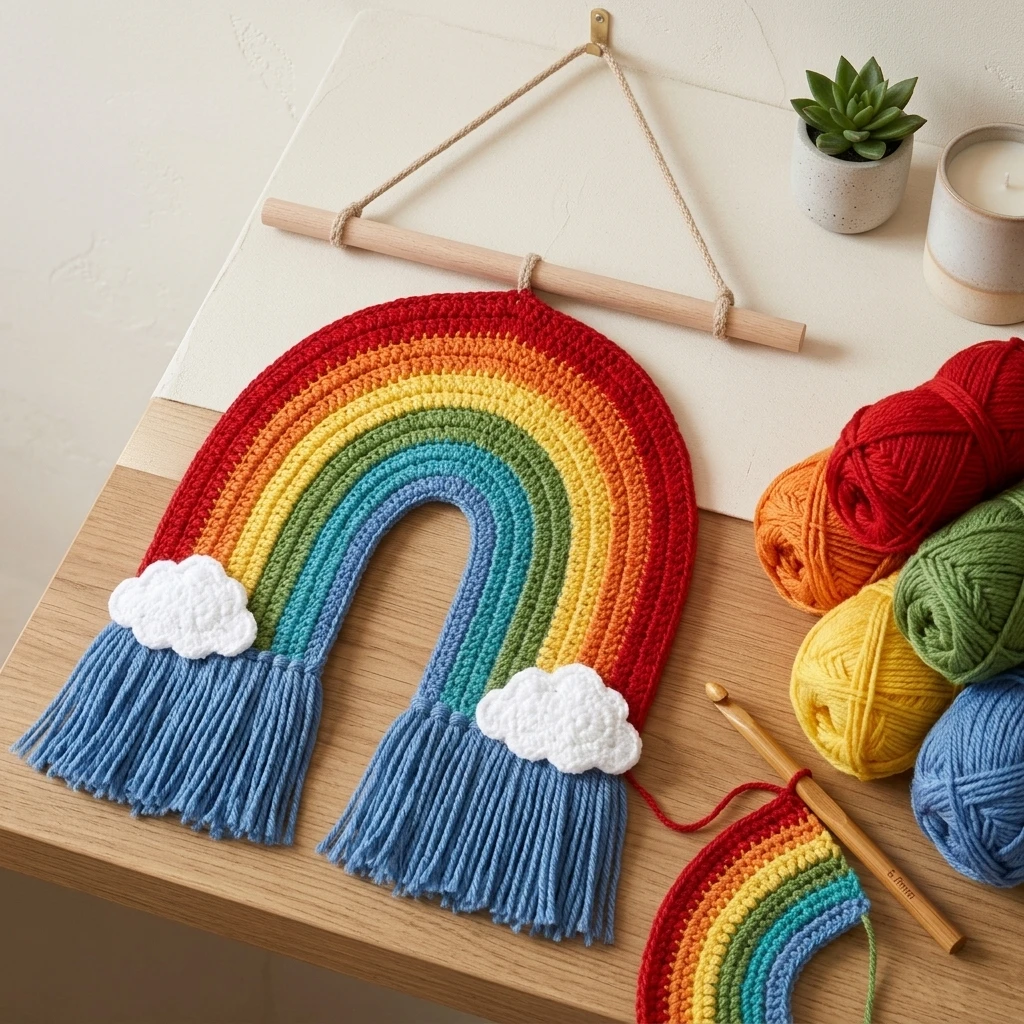
This Crochet Rainbow Pattern captures the whimsical essence of a classic weather phenomenon, transforming it into a soft, tactile piece of art. Designed with a structured semi-circular silhouette, the project relies on concentric rows of increasing stitches to create a flat, vibrant arc. Whether you are crafting a boho-inspired wall hanging for a nursery or a cheerful applique for a child’s blanket, this pattern offers a rhythmic, meditative experience. The visual identity of the piece is defined by its clean color transitions and sturdy stitch definition, making it an ideal project for those looking to master shaping through simple increases.
The Design: What Makes This Pattern Different
Unlike stuffed 3D rainbows, this design focuses on a flat, manageable construction that ensures the rainbow sits flush against any surface. The structural integrity comes from using a smaller hook than typically recommended for your yarn weight, which creates a dense fabric that holds its shape without needing an internal frame. One common mistake to avoid in this pattern is “ruffling”—this occurs when too many increases are added to a single row, causing the edge to wave. To prevent this, we utilize a mathematically balanced increase schedule that accounts for the expanding circumference of each color band.
Project Info at a Glance
| Feature | Details |
|---|---|
| Skill Level | Easy / Advanced Beginner |
| Estimated Time | 2–4 Hours |
| Finished Size | Approximately 9″ wide by 5″ tall (photo-inspired) |
| Hook Size | 4.0mm (G) or 4.5mm |
| Yarn Weight | Worsted (Medium / #4) |
| Gauge | 18 sc x 20 rows = 4″ (Suggested) |
| Best For | Nursery wall art, pillows, or mobiles |
Materials and Tools
Yarn
For the most vibrant results, use a sturdy cotton or acrylic blend. You will need approximately 15–20 yards of each of your five chosen colors (Estimated). Suggested palette: Terracotta, Mustard, Sage, Dusty Blue, and Cream for a modern boho look, or the classic Roy G. Biv spectrum for a traditional finish.
Tools
- 4.0mm crochet hook (or size needed to obtain a stiff fabric)
- Large-eye yarn needle for weaving in numerous ends
- Sharp embroidery scissors
- Steam iron or blocking mats (optional but recommended)
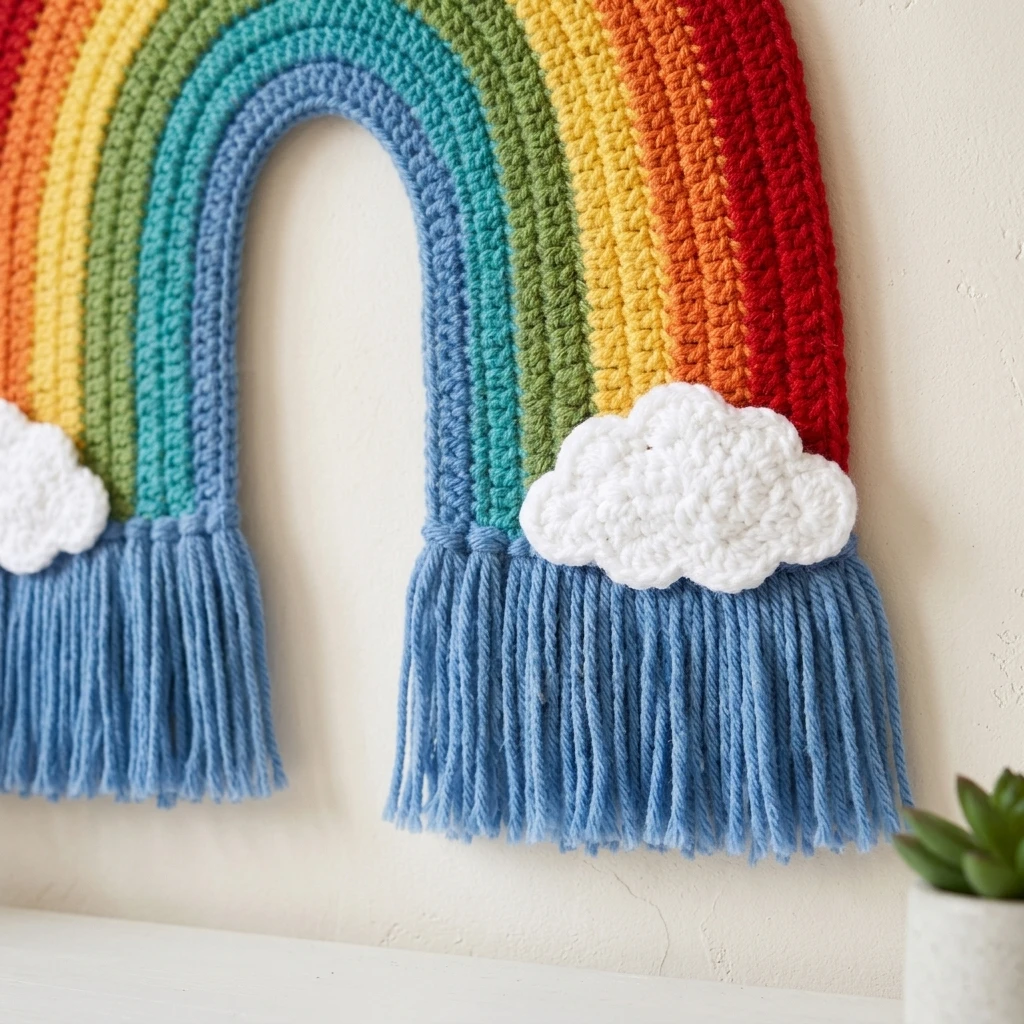
Abbreviations
- ch: chain
- sc: single crochet
- inc: increase (2 sc in the same stitch)
- st(s): stitch(es)
- sl st: slip stitch
- [ ]: repeat instructions within brackets
Pattern — Step by Step
Construction Overview
This rainbow is worked in flat, semi-circular rows. We begin at the innermost arc (the smallest color band) and work outward. You will change colors every two or three rows depending on your desired stripe thickness. To keep the edges straight, we will work a turning chain at the start of every row.
The Inner Arc (Color A)
- Row 1: Create a magic ring, ch 1, work 6 sc into the ring. Turn. (6 sts)
- Row 2: Ch 1, [inc] in every st across. Turn. (12 sts)
- Row 3: Ch 1, [sc 1, inc] repeat across. Fasten off Color A. (18 sts)
Expanding the Colors (Colors B through E)
- Row 4 (Color B): Join new color, ch 1, [sc 2, inc] repeat across. Turn. (24 sts)
- Row 5: Ch 1, sc in each st across. Turn. (24 sts)
- Row 6 (Color C): Join new color, ch 1, [sc 3, inc] repeat across. Turn. (30 sts)
- Row 7: Ch 1, sc in each st across. Turn. (30 sts)
- Row 8 (Color D): Join new color, ch 1, [sc 4, inc] repeat across. Turn. (36 sts)
- Row 9: Ch 1, sc in each st across. Turn. (36 sts)
- Row 10 (Color E): Join new color, ch 1, [sc 5, inc] repeat across. Fasten off leaving a long tail for finishing. (42 sts)
Assembly
Once the crochet portion is complete, the focus shifts to refining the shape and cleaning up the many color transitions typical of a rainbow project.
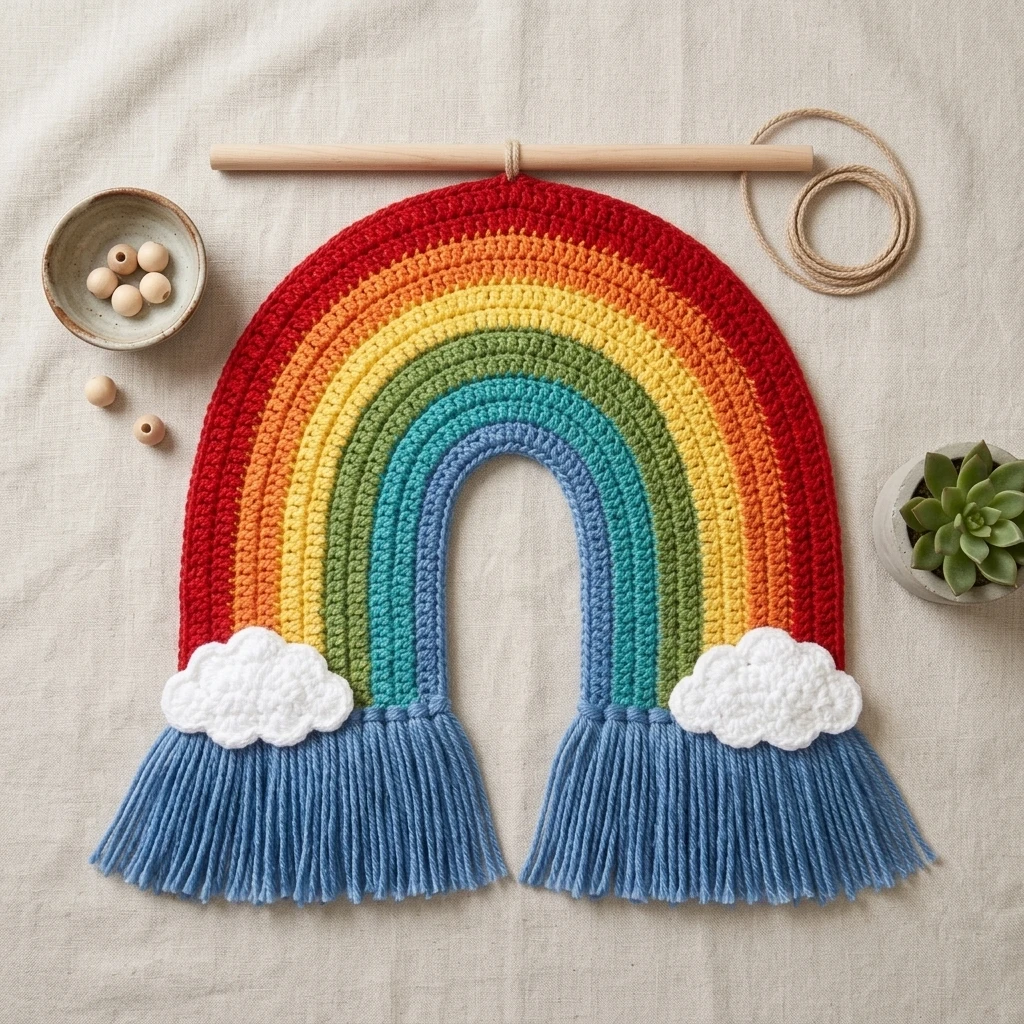
- Weave in Ends: Use your yarn needle to secure all color change tails on the “wrong side” of the work. Ensure they are hidden within the bulk of the stitches.
- Straighten the Base: If your bottom edge is slightly uneven, join the outermost color at the bottom corner and work a row of sc evenly across the flat base of the rainbow.
- Add Fringe (Optional): Cut 4-inch lengths of yarn. Fold them in half and use your hook to pull the loop through the stitches on the bottom edge of the rainbow, creating a tassel-like fringe.
- Steam Blocking: Pin the rainbow to a blocking mat in a perfect semi-circle and steam lightly to set the shape.
7 Technical Tips for a Better Crochet Rainbow Pattern
- Tension is Key: Keep your tension slightly tighter than usual. If the stitches are too loose, the rainbow will sag when hung on a wall.
- Invisible Color Joins: When changing colors, pull the new color through the last two loops of the final sc of the previous row for a seamless transition.
- The “Flat Test”: Every few rows, lay your work on a flat table. If it curls into a bowl, your tension is too tight or you missed an increase. If it ruffles, you added too many increases.
- Staggered Increases: To avoid a “hexagonal” look, try to stagger your increases so they don’t stack directly on top of the ones from the previous row.
- Yarn Choice: Use the same brand and line of yarn for every color. Different brands of “worsted” yarn can vary in thickness, which will make your bands look uneven.
- Hide Your Tails: Crochet over your tails as you go to minimize the amount of weaving required at the end.
- Adding Wire: For a freestanding rainbow, crochet around a piece of floral wire during the final row of each color band.
Frequently Asked Questions
How do I make my rainbow larger?
You can continue the increase pattern (sc 6 then inc, sc 7 then inc, etc.) for as many colors as you like. Just remember to add one more sc between increases for every new increase row.
Can I use a variegated yarn?
While you can, variegated yarn often hides the “stripe” effect that defines a rainbow. It is usually better to use solid colors for high-contrast definition between the arches.
Why is my rainbow curling forward?
This is usually caused by the turning chains being too tight. Try making a slightly looser “ch 1” at the start of your rows to allow the edges room to expand.
Do I have to use single crochet?
Half double crochet (hdc) also works well for rainbows and works up faster, but the fabric will be less dense and may require more blocking to stay flat.
How do I attach this to a wall?
You can sew a small yarn loop to the back of the top center arch, or use small upholstery tacks hidden between the stitches to pin it directly to the wall.
Conclusion
Creating a Crochet Rainbow Pattern is a delightful way to play with color theory and geometric shaping. By following a steady increase schedule and focusing on consistent tension, you can produce a stunning piece of decor that radiates joy. Don’t forget to experiment with non-traditional palettes like muted earth tones or monochromatic blues for a sophisticated twist. Save this pattern to your Pinterest crochet board so you can find it for your next baby shower gift! What colors will you choose for your first rainbow arc?
Save This Crochet Pattern