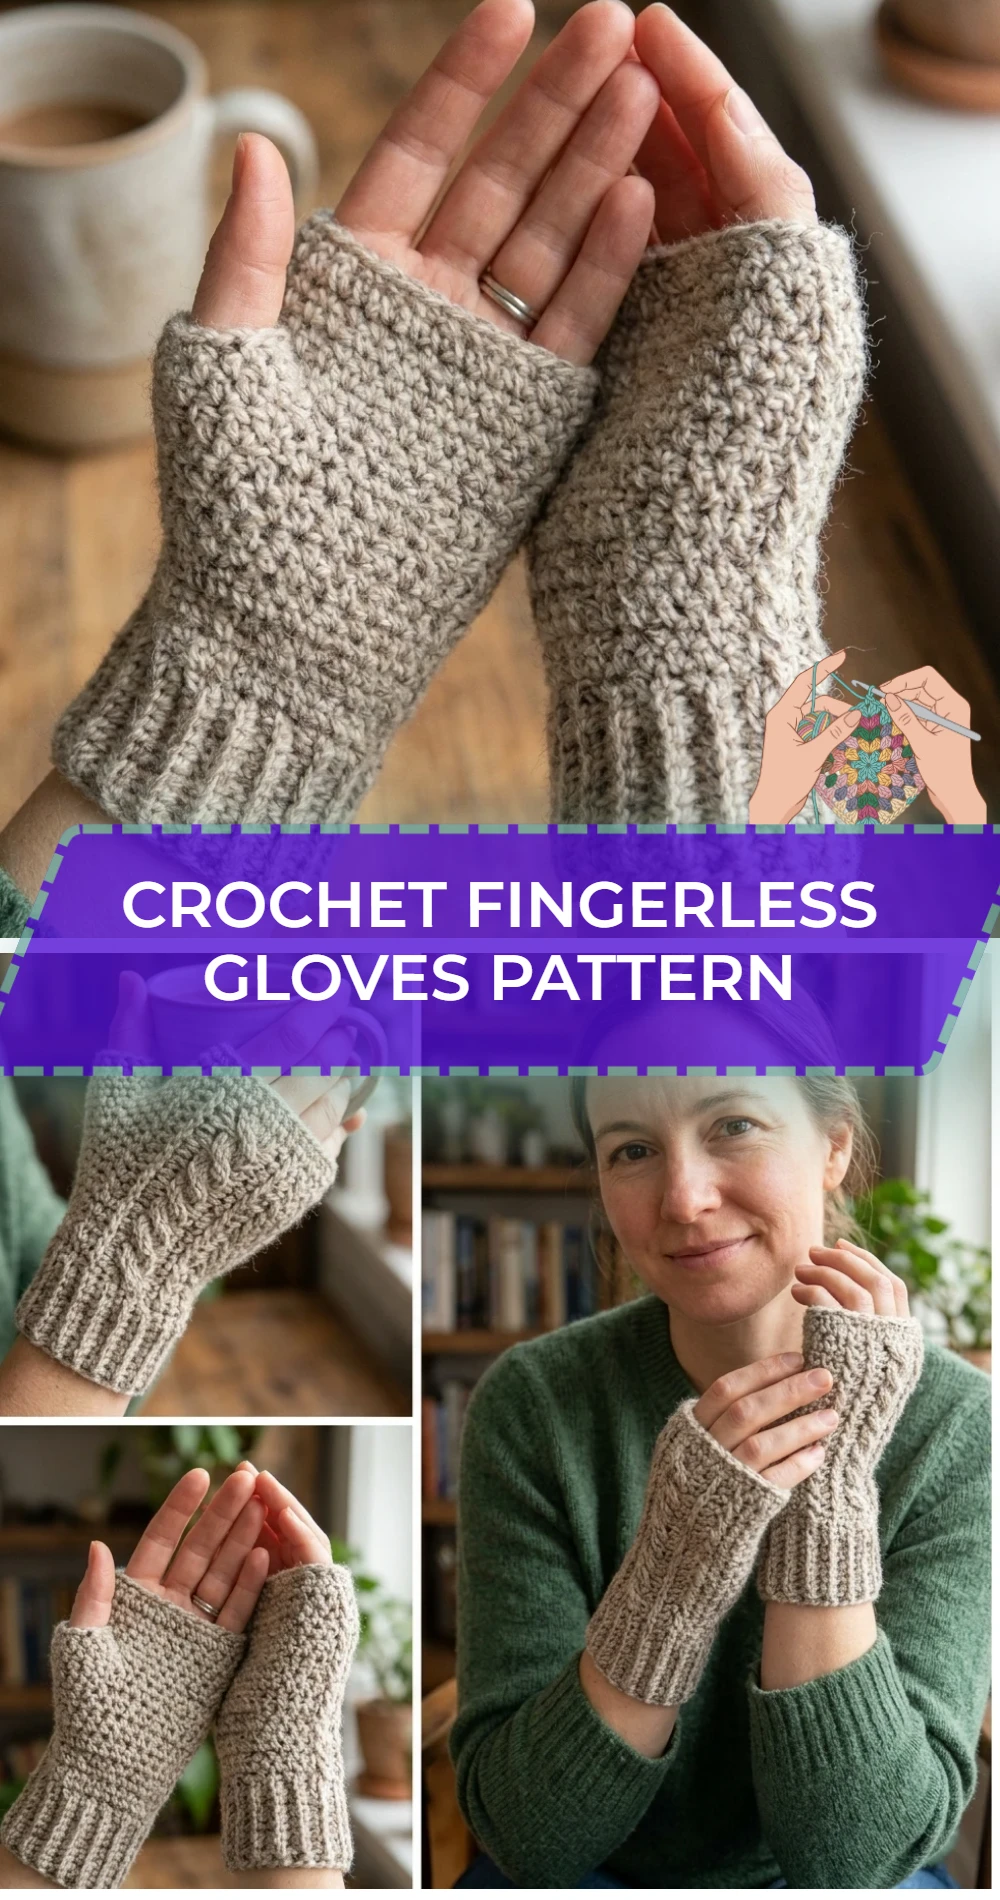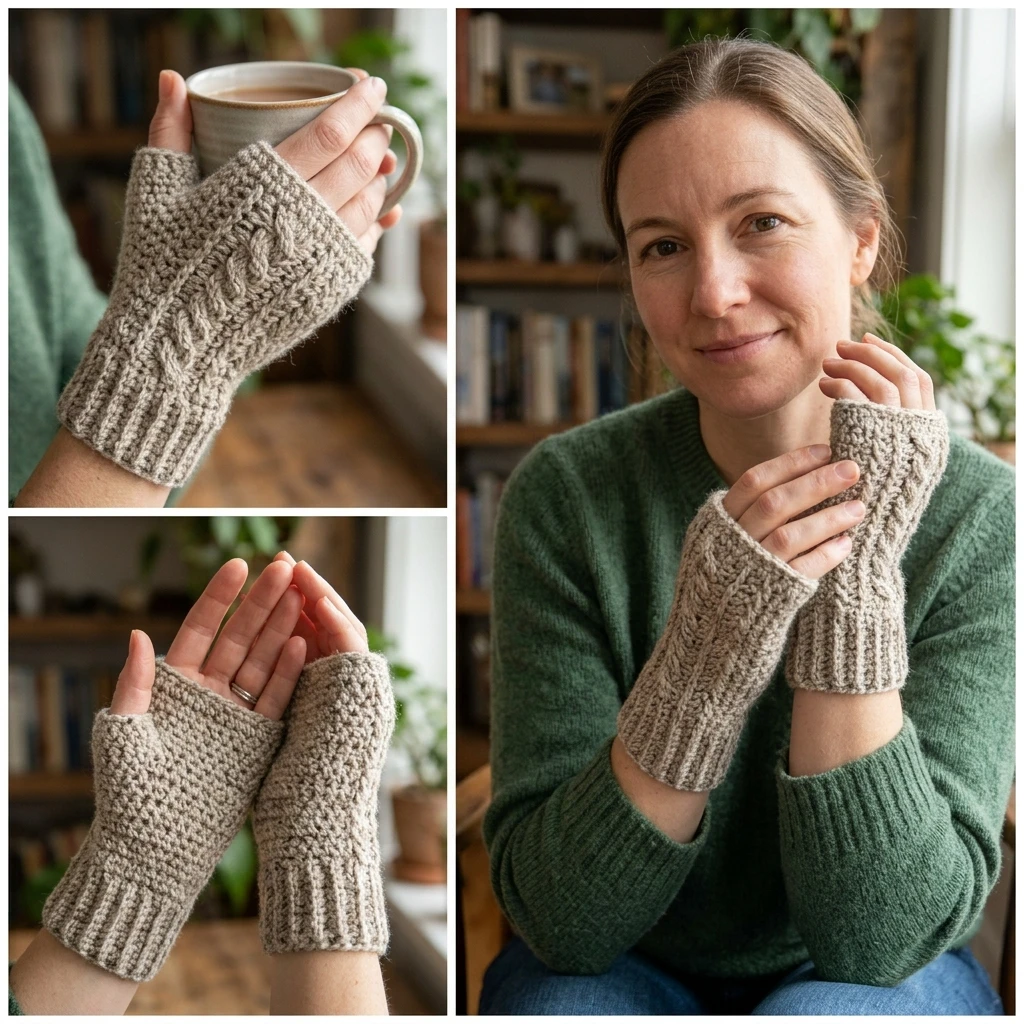
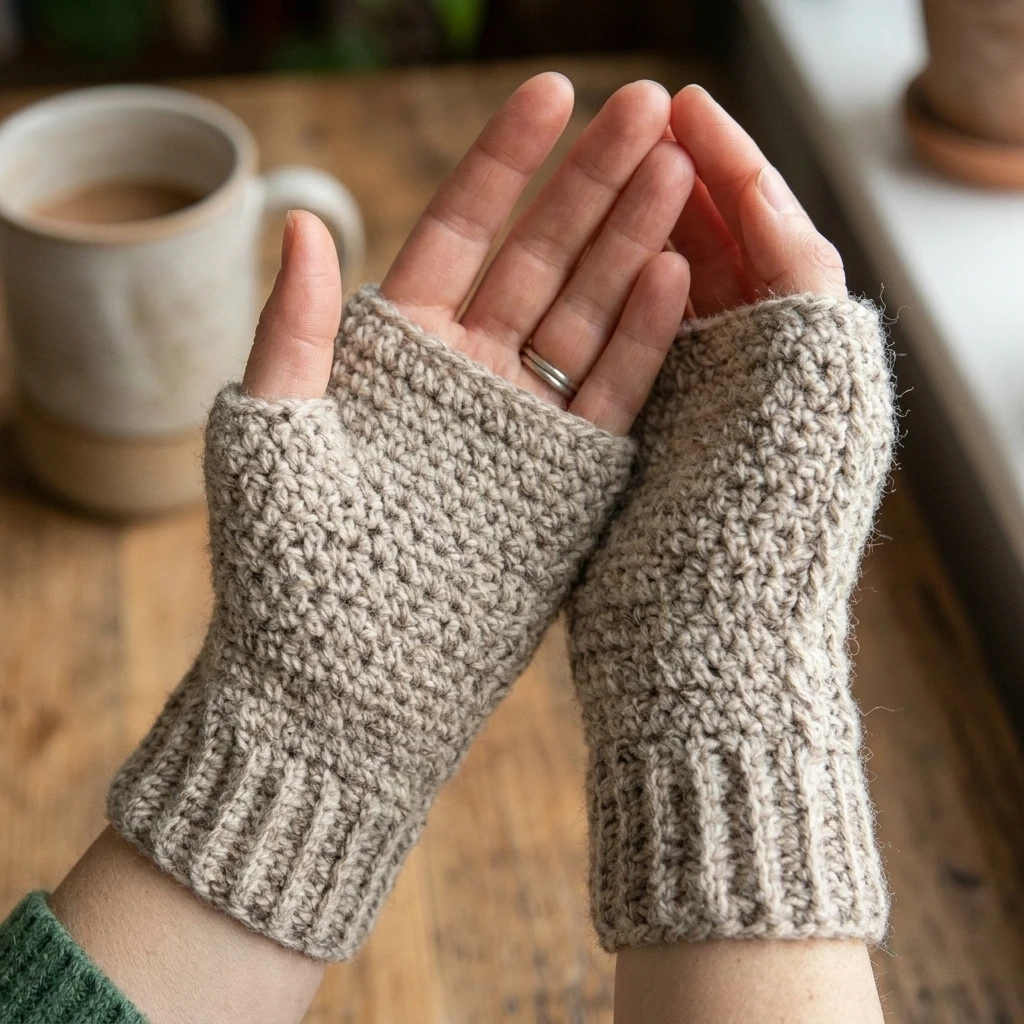
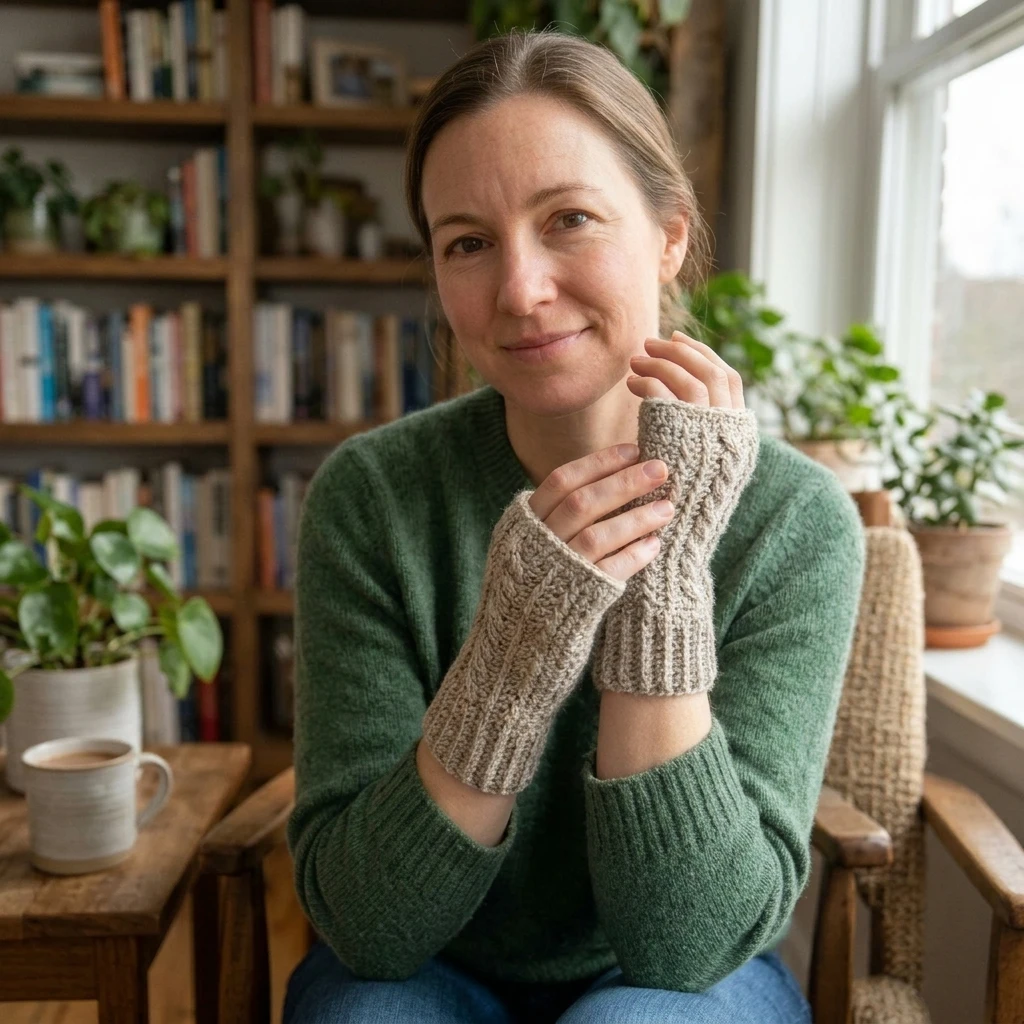
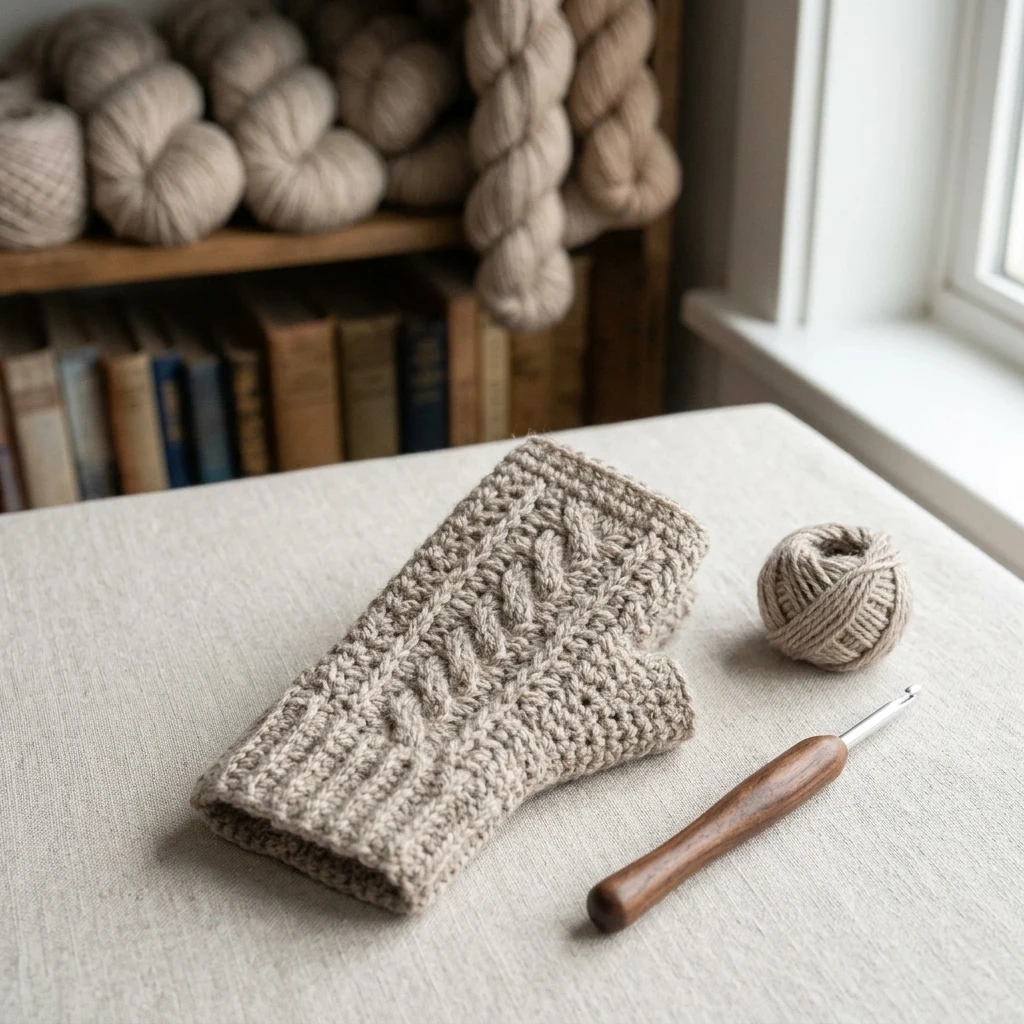
Wrap your hands in handmade warmth with these stylish and functional crochet fingerless gloves. Designed to provide the perfect balance between cozy insulation and digital dexterity, these gloves feature a sophisticated ribbed texture that mimics knitwear while offering the sturdy structure only crochet can provide. Ideal for commuters, writers, or anyone who needs their fingertips free while staying warm, this pattern utilizes a simple construction method that is accessible for beginners yet interesting enough for seasoned makers. The finished project boasts a snug, ergonomic fit that tapers at the wrist and provides ample coverage through the palm and knuckles.
The Design: What Makes This Pattern Different
This pattern deviates from standard “tube” gloves by incorporating a dedicated gusset-style thumb opening that prevents the fabric from bunching at the palm. By using a combination of back-loop-only (BLO) stitches for the cuff and a slightly more dense stitch for the hand, we achieve a garment that stays securely in place without the need for constant adjustment. A common mistake many crocheters make with fingerless gloves is working the hand portion too tightly, which restricts movement; this design accounts for natural hand expansion by suggesting a slightly larger hook for the body than for the ribbing.
Project Info at a Glance
| Skill Level | Easy / Advanced Beginner |
|---|---|
| Estimated Time | 2–4 Hours per pair |
| Finished Size | Adult (Adjustable) |
| Hook Size | 5.0mm (H/8) or 5.5mm (I/9) |
| Yarn Weight | Medium / Worsted (Weight 4) |
| Gauge (Estimated) | 14 sts x 10 rows = 4″ in HDC |
| Best For | Gifts, outdoor photography, or office wear |
Materials and Tools
Yarn
For this project, you will need approximately 150 to 200 yards of a soft, pliable worsted weight yarn. Natural fibers like wool blends are highly recommended for their elasticity and warmth. If you have sensitive skin, a high-quality anti-pilling acrylic or a cotton-bamboo blend will provide a smoother finish without the itchiness often associated with rustic wools.
Tools
You will need a crochet hook that matches your yarn choice (5.0mm is standard for worsted), a pair of sharp yarn scissors, and a blunt-tipped tapestry needle for weaving in ends. Stitch markers are also essential for keeping track of the thumbhole placement and round transitions.
Abbreviations
- ch: Chain
- sl st: Slip stitch
- sc: Single crochet
- hdc: Half double crochet
- blo: Back loop only
- st(s): Stitch(es)
- sk: Skip
Pattern — Step by Step
1. The Ribbed Cuff
The cuff is worked flat in rows and then joined to create a circle. This ensures maximum elasticity around the wrist.
- Ch 11 (or desired length of cuff).
- Row 1: Sc in 2nd ch from hook and each ch across. (10 sts)
- Row 2: Ch 1, turn. Sc in BLO of each st across.
- Repeat Row 2 until the ribbing fits comfortably around your wrist (usually 28–34 rows for an adult).
- Join the last row to the first row using sl sts to form a tube. Do not fasten off.
2. The Hand Body
The hand portion is worked in joined rounds starting from the edge of the cuff ribbing.
- Round 1: Ch 1, work one hdc into the end of each ribbing row around. Sl st to join.
- Round 2–6: Ch 1, hdc in each st around. Sl st to join. (Adjust number of rounds for shorter or longer palms).
3. Creating the Thumbhole
This section creates the gap for the thumb without breaking the yarn.
- Round 7: Ch 1, hdc in the first 2 sts, ch 4, sk 4 sts, hdc in remaining sts around. Sl st to join.
- Round 8: Ch 1, hdc in each st and each ch of the ch-4 space. Sl st to join.
4. The Top Edging
To finish the top of the glove near the knuckles:
- Round 9–11: Ch 1, hdc in each st around. Sl st to join.
- Round 12: Ch 1, sc in each st around for a clean edge. Fasten off.
Assembly
Since this pattern is primarily worked in the round after the initial cuff join, assembly is minimal. However, ensuring the seams are hidden and the thumbhole is reinforced is key to a professional finish.
- Turn the glove inside out to inspect the cuff seam; ensure it is flat and does not rub against the skin.
- Using your tapestry needle, weave in the starting tail from the cuff through the bottom ribbing.
- If the thumbhole appears too loose, join yarn to the thumb opening and work one round of sc around the edge to stabilize it.
- Weave in the final tail securely, following the direction of the stitches to hide the yarn path.
- Repeat all steps for the second glove, ensuring you match the row and round counts exactly for symmetry.
7 Technical Tips for a Better Crochet Fingerless Gloves Pattern
- Check Your Stretch: When working the BLO cuff, ensure you aren’t pulling your stitches too tight, or the glove will be difficult to pull over your hand.
- The Thumbhole Gap: If you find a small hole at the corners of your thumb opening, use your yarn tail to sew a small “V” to close the gap during the finishing stage.
- Switching Hooks: If your hand is significantly wider than your wrist, go up half a hook size when moving from the cuff to the hand body.
- Count Your Rows: Always use a row counter or scrap yarn to mark your progress so both gloves end up exactly the same length.
- Yarn Selection: Avoid “splitty” yarn for this project, as the constant friction of wearing the gloves can cause the fibers to fuzz or pill quickly.
- Invisible Join: For a more seamless look on the hand portion, use the “invisible slip stitch” method to prevent a visible diagonal seam.
- Blocking Matters: Steam block your finished gloves lightly to relax the stitches and ensure the ribbing lies flat against the wrist.
Frequently Asked Questions
What is the best yarn for fingerless gloves?
A wool-nylon blend (sock yarn) or a soft merino wool is usually best because these fibers have “memory,” meaning they will return to their original shape after being stretched out.
Can I make these longer to cover my fingers?
Yes! Simply add more rounds to the “Top Edging” section until the fabric reaches your desired knuckle height. Just ensure you don’t go so high that you lose finger mobility.
How do I adjust the size for a child?
Decrease the number of chains in the cuff for a shorter wrist and reduce the number of rows in the ribbing to fit a smaller circumference. Use a 4.0mm hook with DK weight yarn for a naturally smaller scale.
My thumbhole feels too small, what should I do?
In Round 7, increase the number of skipped stitches and the number of chains. For example, change “ch 4, sk 4” to “ch 6, sk 6” to accommodate a larger thumb.
Why is my cuff not stretchy?
You are likely working your single crochet stitches too tightly or not using the Back Loop Only (BLO) technique. The BLO is what creates the “accordion” effect that provides the stretch.
Conclusion
Crochet fingerless gloves are a rewarding project that combines utility with personal style. By mastering the transition from a flat ribbed cuff to a textured round body, you have created a versatile accessory perfect for any season. Don’t forget to experiment with different yarn colors or variegated skeins to make each pair unique! If you enjoyed this tutorial, be sure to save this pattern to your Crochet Wearables board on Pinterest. What color yarn are you choosing for your first pair of gloves?
Save This Crochet Pattern