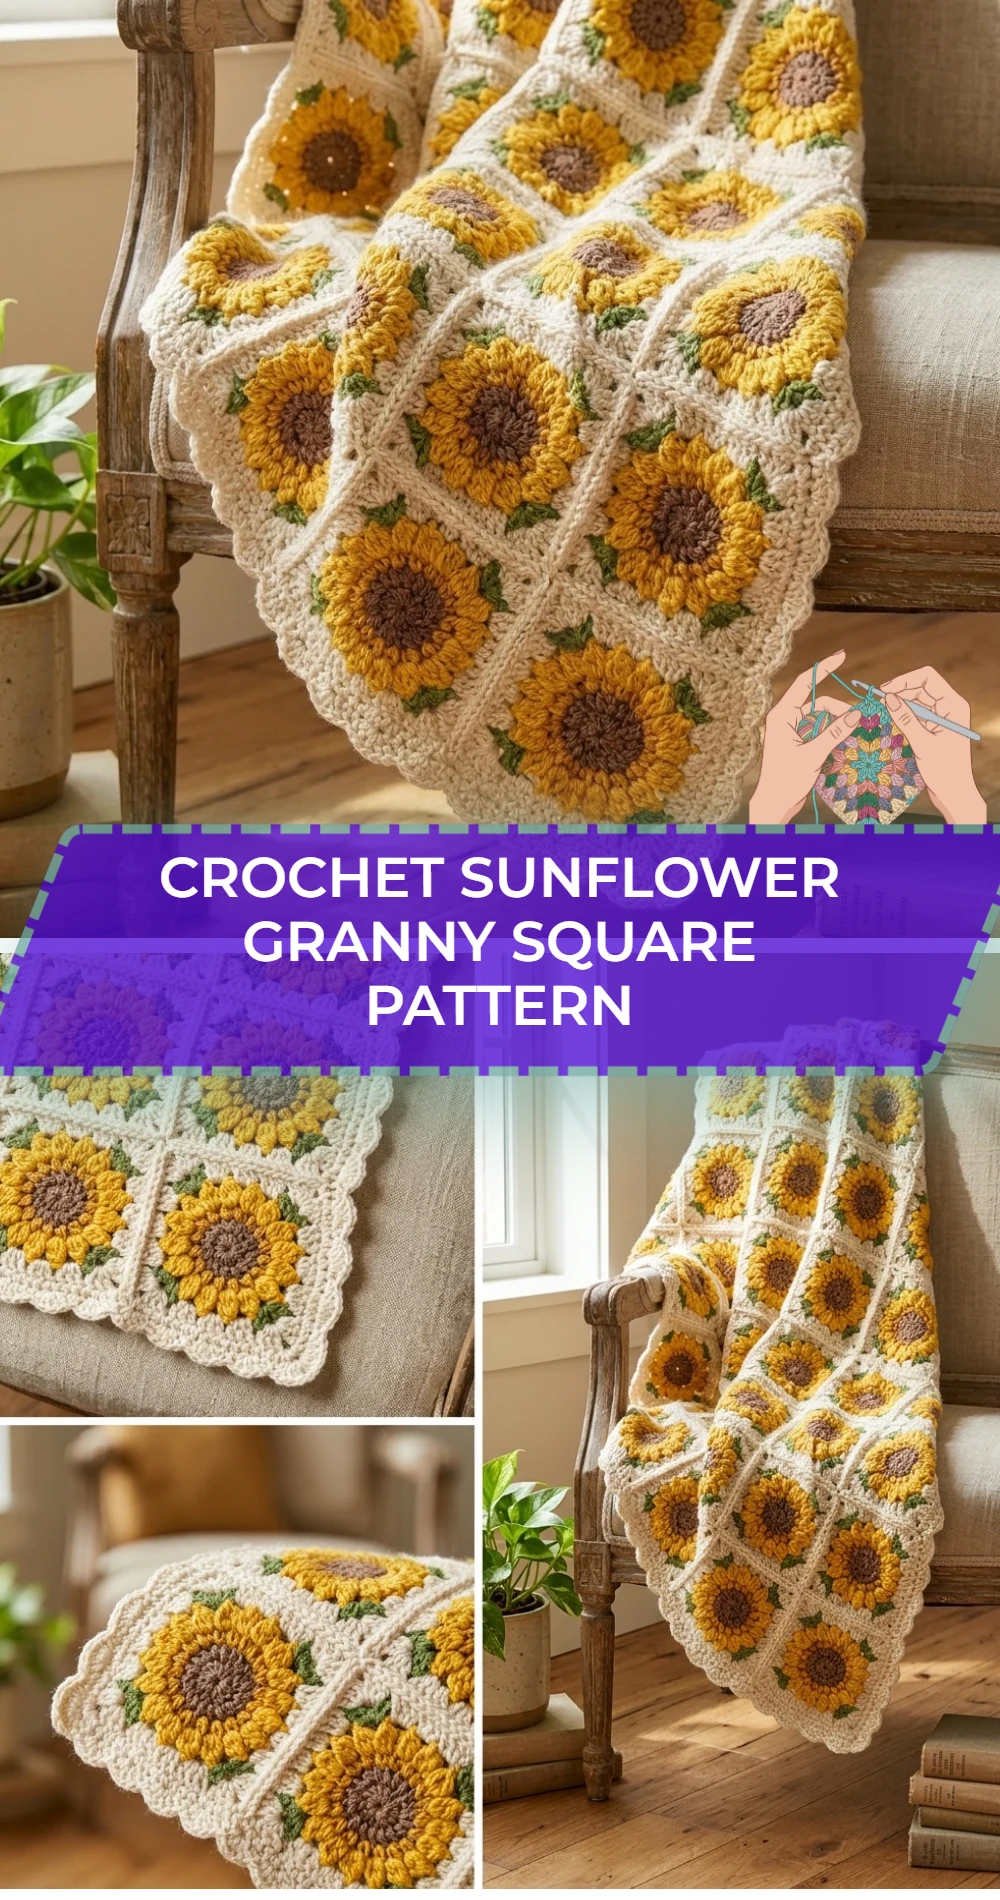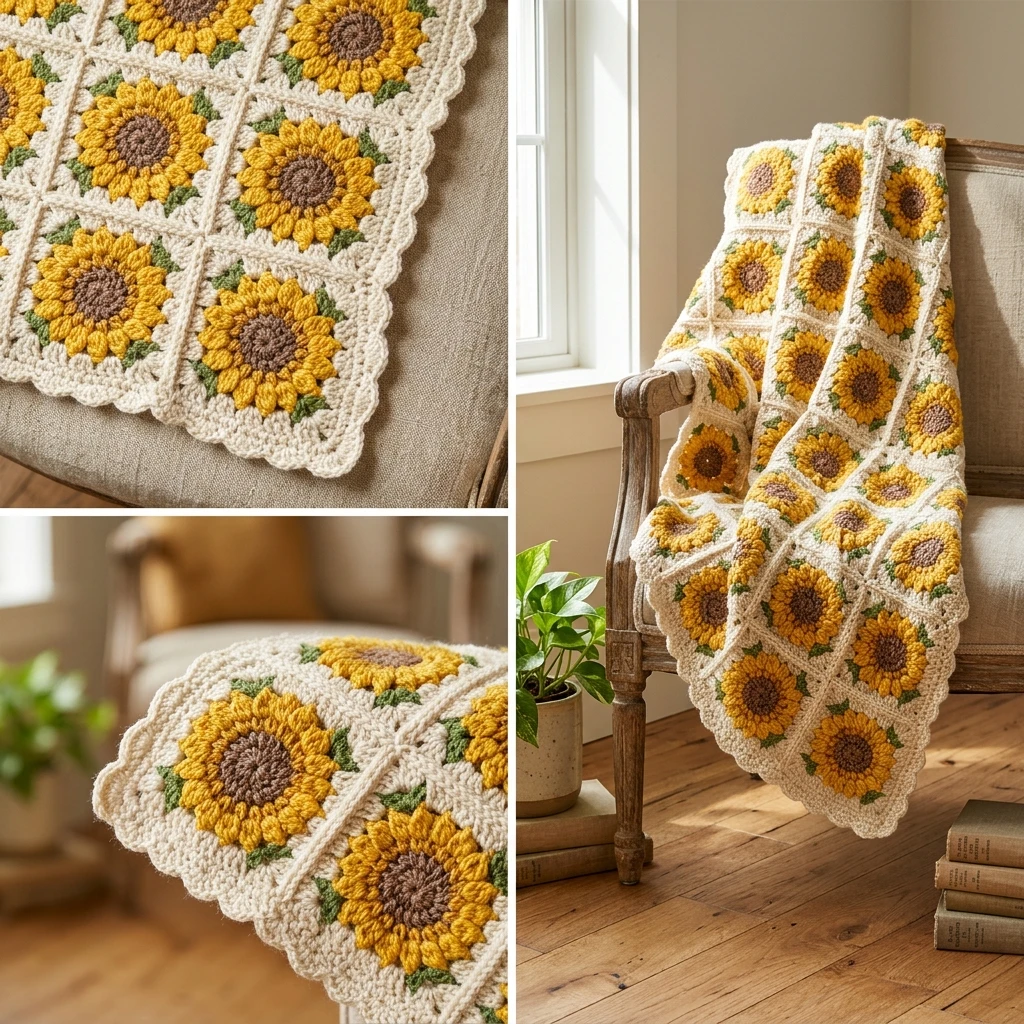
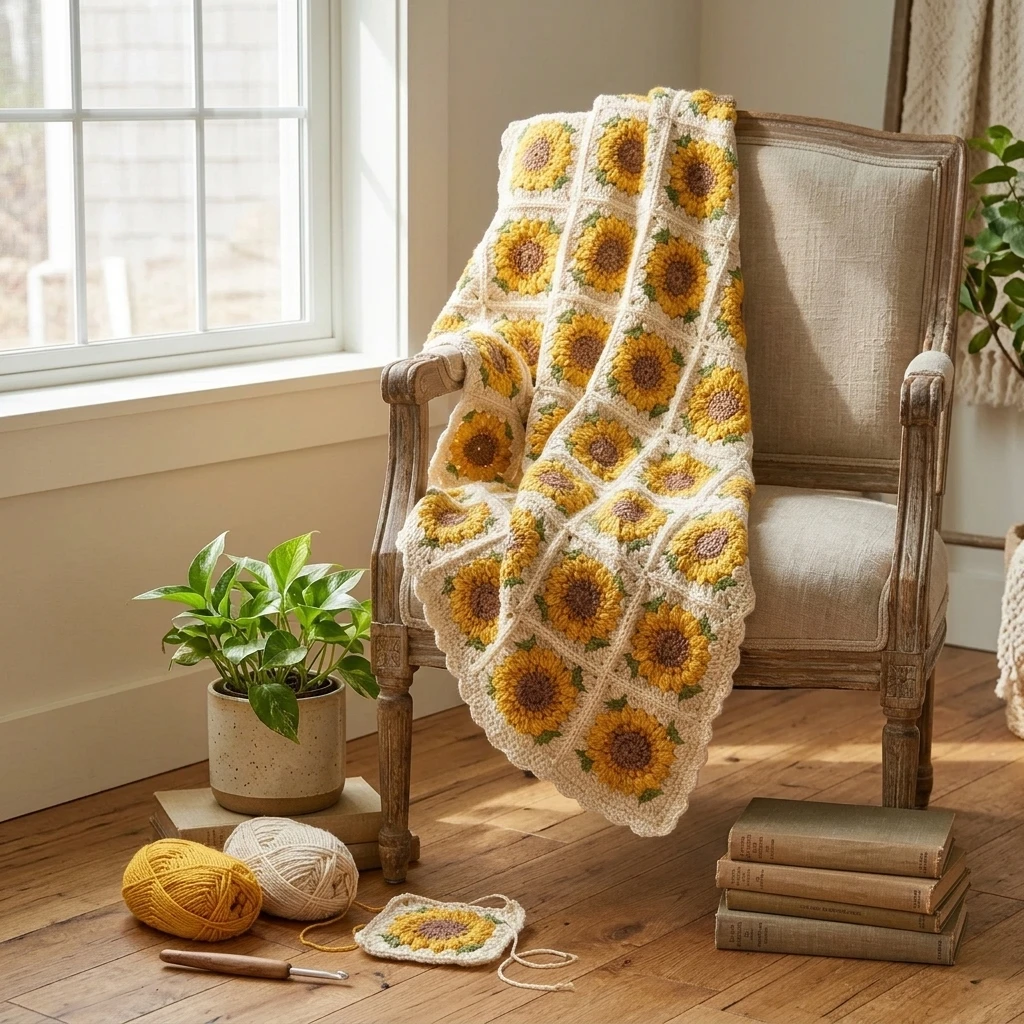
The Crochet Sunflower Granny Square is a radiant, textured motif that captures the warmth of a summer garden in a compact fiber form. This design typically features a dark, textured center representing the seeds, surrounded by bright yellow “petals” and finished with a neutral border that transforms the floral circle into a versatile square. It is an ideal project for intermediate crocheters looking to practice dimensional stitches like the puff or popcorn stitch. Whether you are assembling a cheerful farmhouse-style blanket, a trendy bohemian tote bag, or decorative throw pillows, these squares provide a sturdy yet decorative building block for any home accessory.
The Design: What Makes This Pattern Different
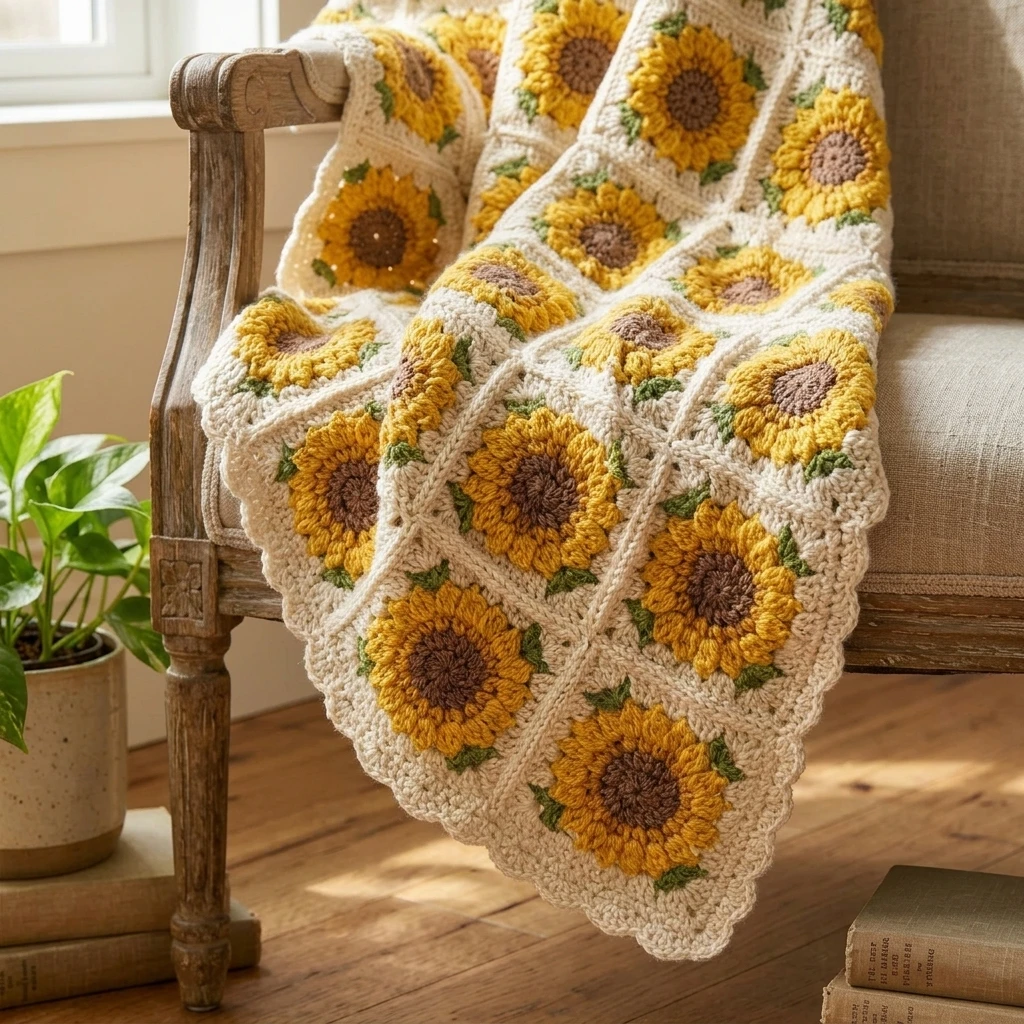
The visual identity of this Crochet Sunflower Granny Square hinges on its three-dimensional relief. Unlike traditional flat granny squares, this pattern utilizes staggered cluster stitches to lift the yellow petals off the background, creating a realistic floral silhouette. The structural transition from a circular flower head to a rigid square frame is achieved through varying stitch heights—using taller treble crochets in the corners and shorter half-double crochets along the sides.
A common mistake when working this pattern is neglecting the tension of the petal rounds. If the petal stitches are worked too tightly, the flower will cup inward like a bowl rather than lying flat. Conversely, working them too loosely can cause the flower to ripple. Ensuring your puff stitches are pulled up to a consistent height is the secret to a professional, uniform look across multiple squares.
Project Info at a Glance
| Feature | Specification |
|---|---|
| Skill Level | Intermediate |
| Estimated Time | 30 – 45 Minutes per square |
| Finished Size | Approx. 5″ x 5″ (Suggested) |
| Hook Size | 5.0 mm (H-8) |
| Yarn Weight | Medium / Worsted (Weight 4) |
| Gauge | First 2 rounds = 2.5 inches in diameter |
| Best For | Blankets, Pillows, and Market Bags |
Materials and Tools
Yarn
To achieve the classic sunflower look, it is suggested to use a high-quality acrylic or cotton blend yarn. The following estimated quantities are based on a standard 5-inch square:
- Center Color (Dark Brown): Approx. 5-8 yards.
- Petal Color (Bright Yellow): Approx. 12-15 yards.
- Border Color (Cream or White): Approx. 10-12 yards.
Tools
- 5.0 mm crochet hook.
- Tapestry needle for weaving in ends.
- Sharp embroidery scissors.
- Optional: Blocking board and pins for shaping.
Abbreviations
- ch: chain
- sl st: slip stitch
- sc: single crochet
- hdc: half double crochet
- dc: double crochet
- tr: treble crochet
- puff: puff stitch (suggested 5-loop pull through)
- cl: cluster stitch
- st(s): stitch(es)
- sp: space
Pattern — Step by Step
Core Construction
This square is worked in the round starting from the center. You will create a dense circular base, add the textured petals in a contrasting color, and finally “square off” the circle by using different stitch heights in the final round to create four distinct corners.
Instructions
- Round 1 (Brown): Create a magic ring (or ch 4 and join). Ch 2 (does not count as st), work 12 dc into the ring. Join with a sl st to the first dc. (12 sts)
- Round 2 (Brown): Ch 1, puff stitch in the first st and in each st around. Join with a sl st to the top of the first puff. Fasten off brown yarn. (12 puff sts)
- Round 3 (Yellow): Join yellow yarn in any space between puff stitches. Ch 2, work a 3-dc cluster in the same space. Ch 1. *Work a 3-dc cluster in the next space, ch 1; repeat from * around. Join with a sl st to the first cluster. Fasten off yellow yarn. (12 clusters)
- Round 4 (Border Color): Join cream yarn in any ch-1 space. Ch 4 (counts as tr). In the same space, work (2 tr, ch 2, 3 tr) to create the first corner. *3 dc in the next ch-1 space, 3 dc in the following ch-1 space, (3 tr, ch 2, 3 tr) in the next ch-1 space to create the corner. Repeat from * twice more. 3 dc in the final two spaces. Join with a sl st to the top of the ch-4.
- Finishing: Fasten off and weave in all yarn tails securely using a tapestry needle.
Assembly
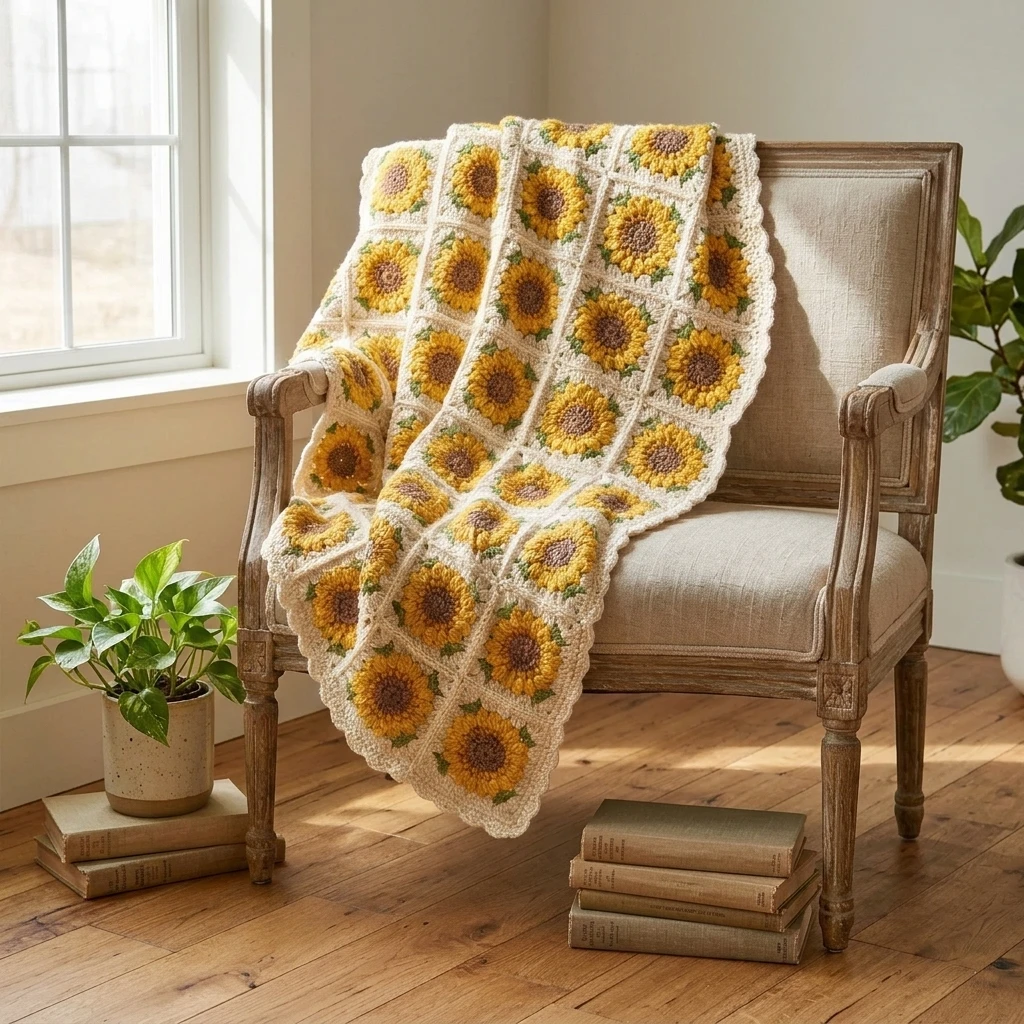
Once you have completed the desired number of sunflower squares, it is essential to prepare them for joining. Blocking each square ensures they are all the same size and that the corners are perfectly square, which makes the final assembly much cleaner and prevents the finished project from pulling unevenly.
- Block the Squares: Pin each square to a blocking mat, lightly mist with water, and let dry completely to set the shape.
- Choose a Layout: Lay your squares out in a grid pattern to ensure color distribution and orientation are consistent.
- Select a Join Method: Use a whip stitch for a flat, invisible seam, or a slip stitch join for a decorative, raised ridge between squares.
- Work Row by Row: Join the squares into long horizontal strips first, then join the strips together vertically.
- Final Border: Once all squares are joined, consider adding a final round of sc or hdc around the entire perimeter of the project to unify the design.
7 Technical Tips for a Better Crochet Sunflower Granny Square Pattern
- Puff Stitch Consistency: When pulling up loops for your puff stitches, ensure they are all the same height to avoid a lumpy sunflower center.
- Yarn Weight Match: Always use the same brand and line of yarn for all three colors; even small variations in Weight 4 yarns can cause squares to be different sizes.
- Avoid Corner Gaps: If your corners look too “holy,” try chaining only 1 instead of 2 in the corner spaces.
- Color Changing: Use the standing stitch method when joining new colors to eliminate the bulk of traditional turning chains.
- Tension Management: If your center circle is curling, your initial dc stitches may be too tight. Try going up half a hook size for Round 1.
- Secure Those Tails: Because of the color changes, there are many ends to weave. Weave them through the “bulkier” parts of the puff stitches for maximum security.
- Cotton vs. Acrylic: Use cotton for bags to prevent stretching, but choose acrylic for blankets for a softer, warmer drape.
Frequently Asked Questions
What is the best way to change colors without knots?
Use the “fasten off and join” method. Cut the yarn at the end of a round and use a standing stitch to start the next round. This creates a much cleaner finish than carrying yarn or tying knots.
Why is my square turning into a circle?
This usually happens if the stitch heights in Round 4 are not varied enough. Ensure you are using treble crochets in the corners and shorter double crochets on the sides to create the necessary height difference.
Can I make these squares larger?
Yes. You can add extra rounds of standard granny clusters (3 dc) or solid dc rounds around the border color to increase the size of the square without altering the sunflower center.
Is this pattern beginner-friendly?
It is best suited for an adventurous beginner or an intermediate crocheter. You should be comfortable with basic stitches and willing to learn the puff and cluster stitches.
How do I stop the center from bulging out?
The puff stitches naturally have volume, but if it’s bulging excessively, you may be adding too many stitches in Round 1. Double-check your count; 12 stitches is the standard base for most sunflower patterns.
Conclusion
The Crochet Sunflower Granny Square Pattern is a timeless design that brings texture and color to any crochet collection. By mastering the transition from the rich, puff-stitch center to the crisp, squared-off border, you can create professional-quality projects ranging from cozy blankets to stylish accessories. Don’t forget to block your squares for the best results!
Save this pattern to your Crochet Board on Pinterest so you can find it later!
What color will you choose for your border—classic cream or a bold, modern black?
Save This Crochet Pattern