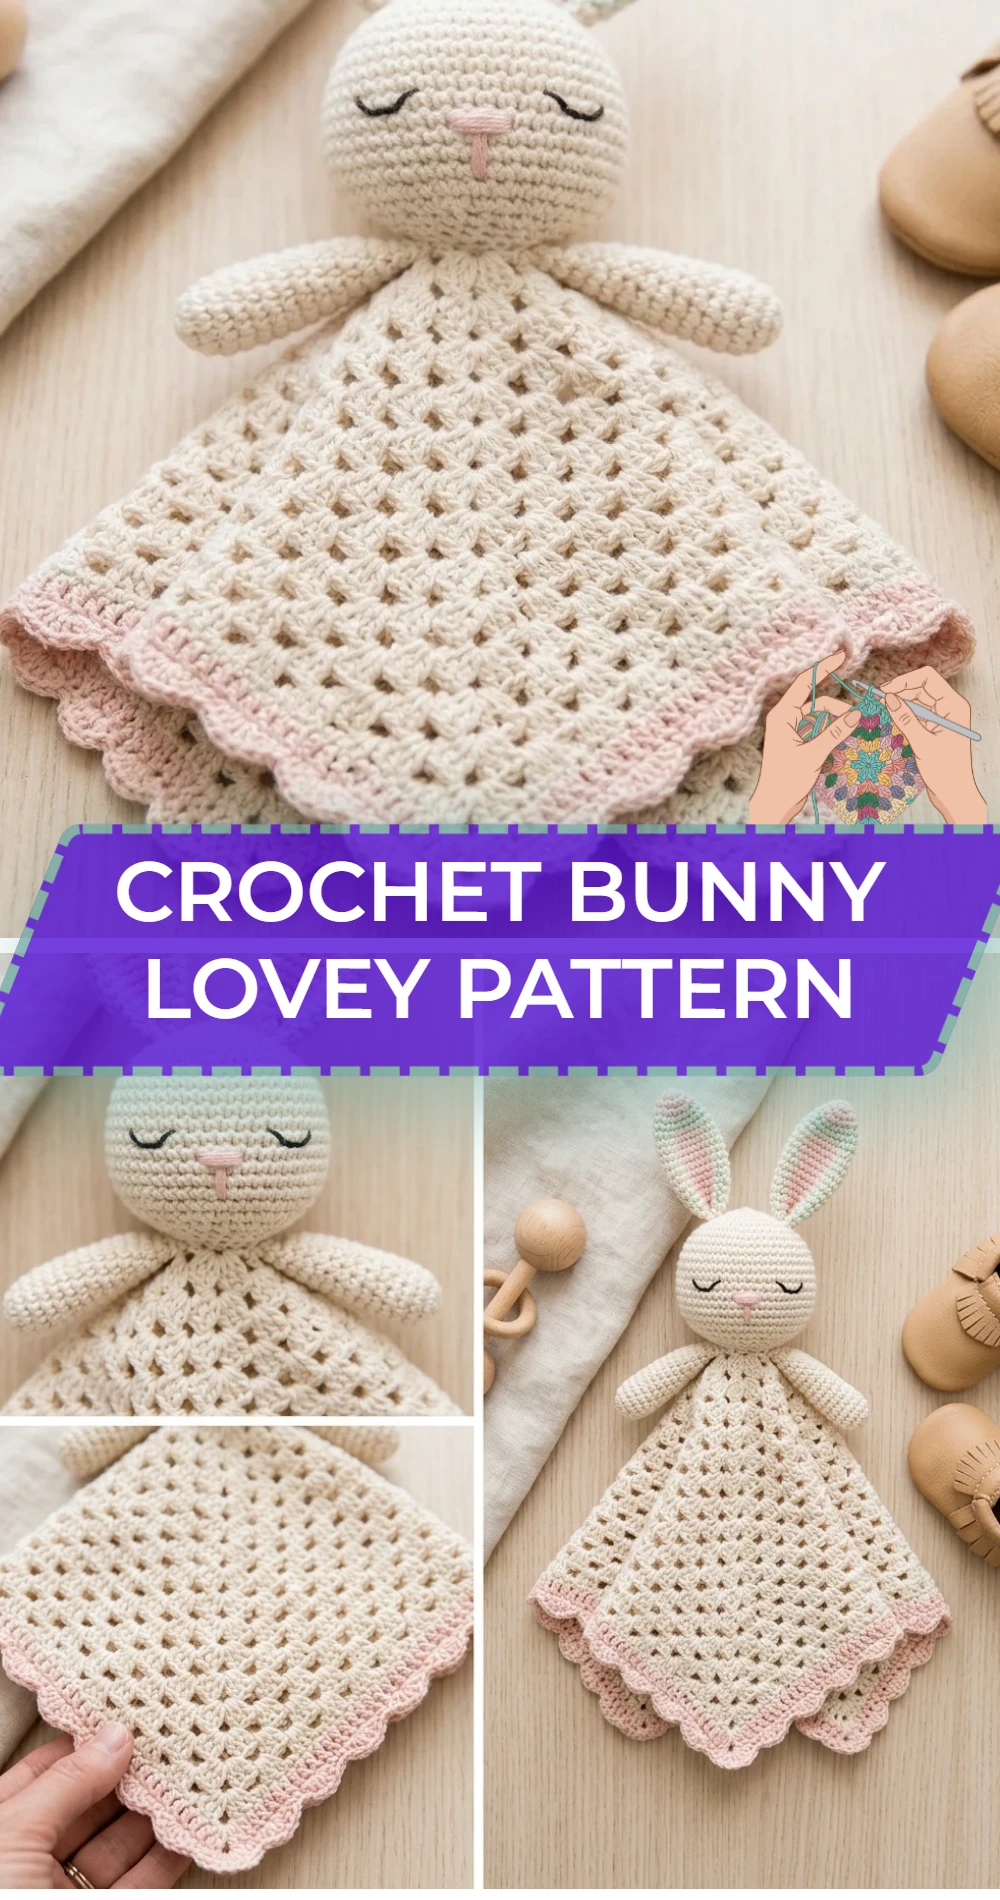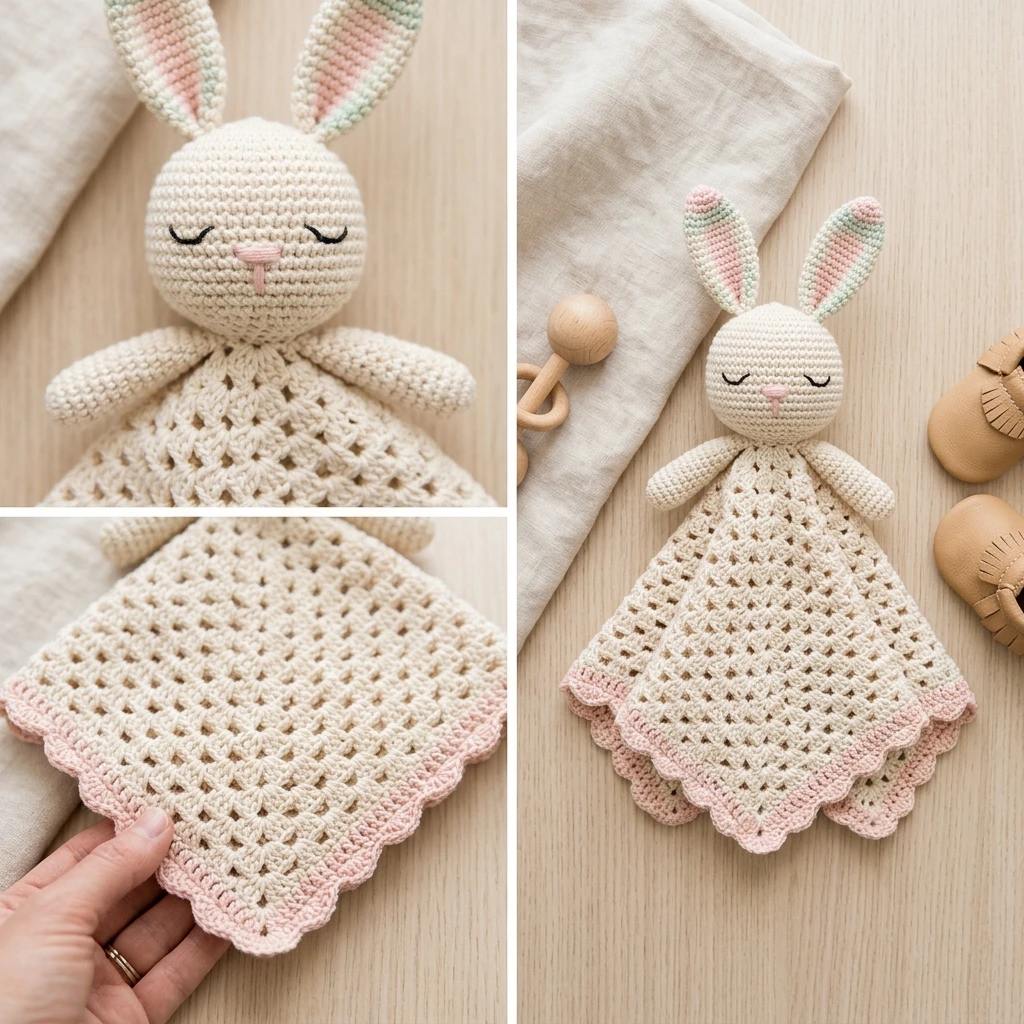
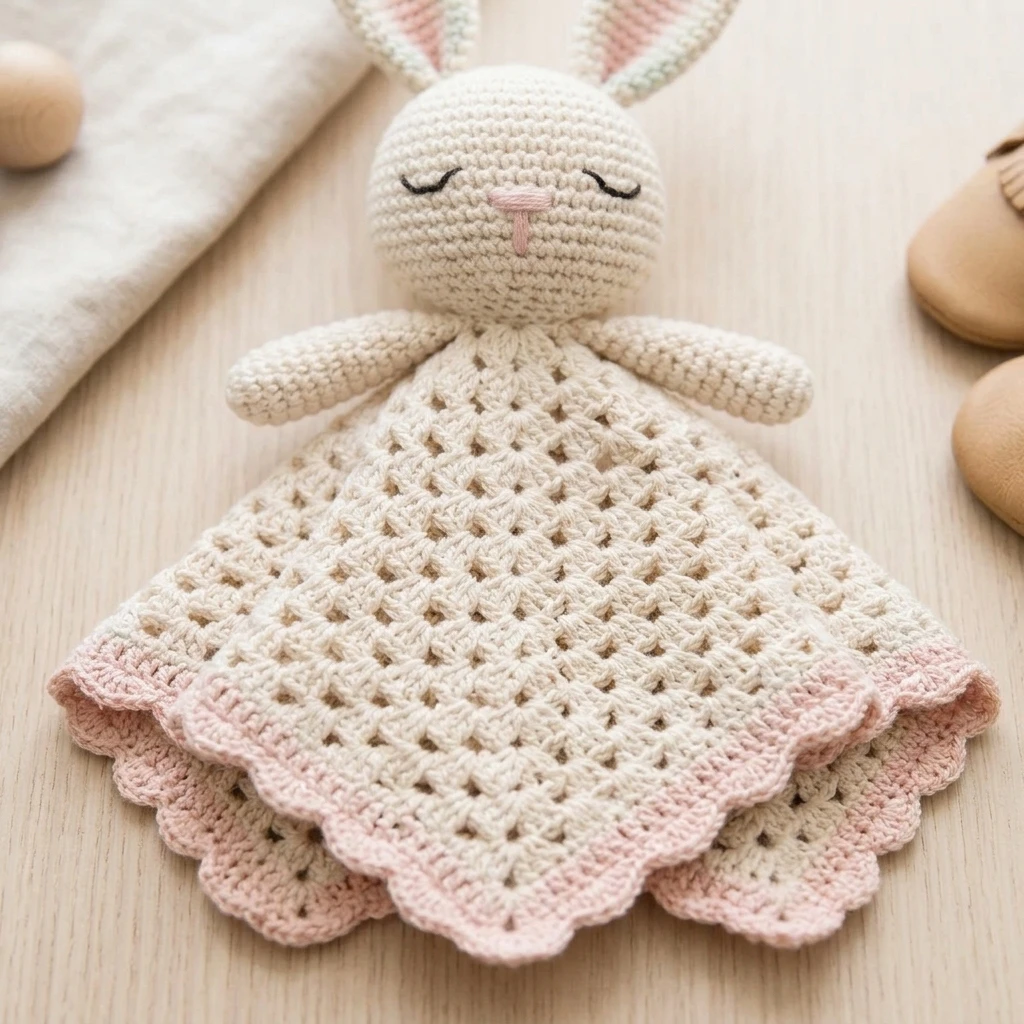
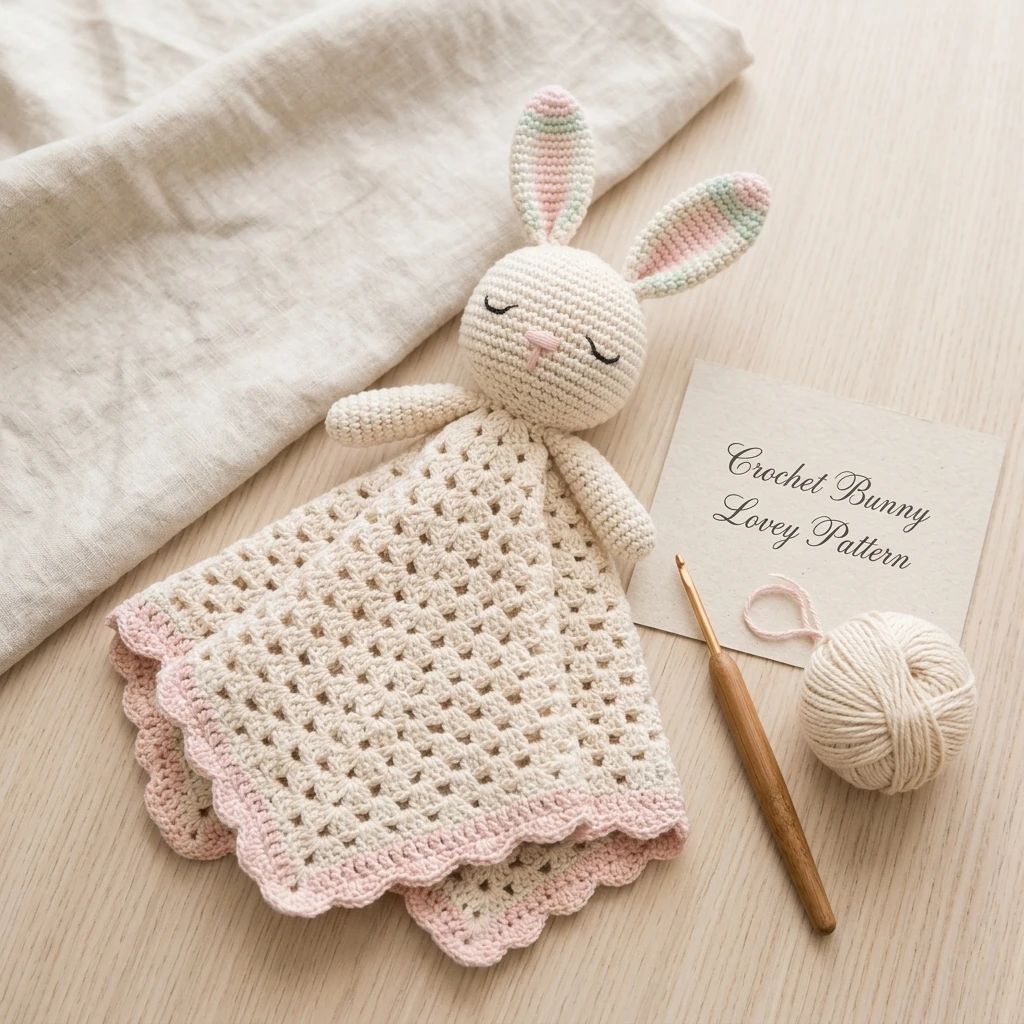
The Crochet Bunny Lovey Pattern creates the ultimate hybrid between a cuddly plush toy and a security blanket. Featuring a soft, amigurumi-style bunny head and floppy ears attached to a classic textured blanket, this project is a timeless gift for newborns and toddlers alike. The visual identity of this lovey is defined by its gentle drape and soothing textures, often worked in pastel or neutral tones to match modern nursery decor. Designed to be lightweight and portable, it provides the tactile comfort of a stuffed animal without the bulk of a full-sized quilt.
The Design: What Makes This Pattern Different
This design focuses on the structural integrity between the heavy amigurumi head and the lighter crochet blanket. Unlike some patterns that use a simple flat square, this version incorporates a star-shaped or classic granny stitch variation to ensure the blanket drapes naturally around a child’s hand. One common mistake to avoid is neglecting the tension on the head piece; if worked too loosely, the stuffing will peek through the stitches or leak out over time. To prevent this, we suggest using a smaller hook for the amigurumi elements and a larger hook for the blanket portion to achieve that perfect combination of firmness and flow.
Project Info at a Glance
| Feature | Details |
|---|---|
| Skill Level | Intermediate (requires amigurumi and flat-work skills) |
| Estimated Time | 4 to 6 hours |
| Finished Size | Blanket: 14″ diameter; Bunny Head: 3″ tall |
| Hook Size | 4.0mm (G) for head; 5.0mm (H) for blanket |
| Yarn Weight | Worsted (Medium / #4) |
| Gauge | 16 sc x 18 rows = 4″ (estimated for head) |
| Best For | Baby showers, nursery decor, and infant comfort |
Materials and Tools
Yarn
To achieve the softest finish, a high-quality cotton-acrylic blend or a premium anti-pilling acrylic is recommended. You will need approximately 150 yards of the main color (MC) for the blanket and head, and roughly 20 yards of a contrasting color (CC) for the inner ears or blanket border. A small amount of black embroidery floss is suggested for the facial details to ensure the item is baby-safe.
Tools
Beyond your crochet hooks, you will need a tapestry needle with a large eye for weaving in ends and assembling the bunny. High-loft polyester fiberfill is required for the head. Stitch markers are essential for tracking rounds in the amigurumi section, and a pair of sharp scissors is needed for finishing.
Abbreviations
Pattern — Step by Step
Part 1: The Bunny Head
The head is worked in continuous spiral rounds. Do not join with a slip stitch unless indicated. Use your 4.0mm hook.
- Rnd 1: 6 sc in a magic ring. (6)
- Rnd 2: 2 sc in each st around. (12)
- Rnd 3: [1 sc, inc] 6 times. (18)
- Rnd 4: [2 sc, inc] 6 times. (24)
- Rnd 5: [3 sc, inc] 6 times. (30)
- Rnd 6-10: sc in each st around. (30)
- Rnd 11: [3 sc, dec] 6 times. (24)
- Rnd 12: [2 sc, dec] 6 times. (18)
- Stuff the head firmly with fiberfill.
- Rnd 13: [1 sc, dec] 6 times. (12)
- Rnd 14: dec around. (6)
- Fasten off, leaving a long tail for sewing.
Part 2: The Floppy Ears (Make 2)
Worked in continuous rounds. Do not stuff the ears.
- Rnd 1: 6 sc in mr. (6)
- Rnd 2: [2 sc, inc] twice. (8)
- Rnd 3-8: sc in each st around. (8)
- Fasten off, leaving a tail for attachment. Flatten the ears before sewing.
Part 3: The Blanket Body
Switch to the 5.0mm hook. This portion is worked in joined rounds to create a classic star or granny square shape.
- Rnd 1: In a mr, ch 3 (counts as dc), 2 dc, ch 2, *3 dc, ch 2; repeat from * twice more. Join with sl st to top of ch 3.
- Rnd 2: Sl st to ch-2 sp. [Ch 3, 2 dc, ch 2, 3 dc] in sp. *Ch 1, [3 dc, ch 2, 3 dc] in next sp; repeat from * around. Join.
- Rnd 3-10: Continue in the granny square pattern, adding a [3 dc] shell in each ch-1 space and [3 dc, ch 2, 3 dc] in each corner.
- Rnd 11: (Optional Border) sc in each st around, with 3 sc in corner spaces. Fasten off and weave in ends.
Assembly
Assembly is the most critical stage for safety. Ensure all parts are attached with multiple passes of yarn to prevent them from detaching during play.
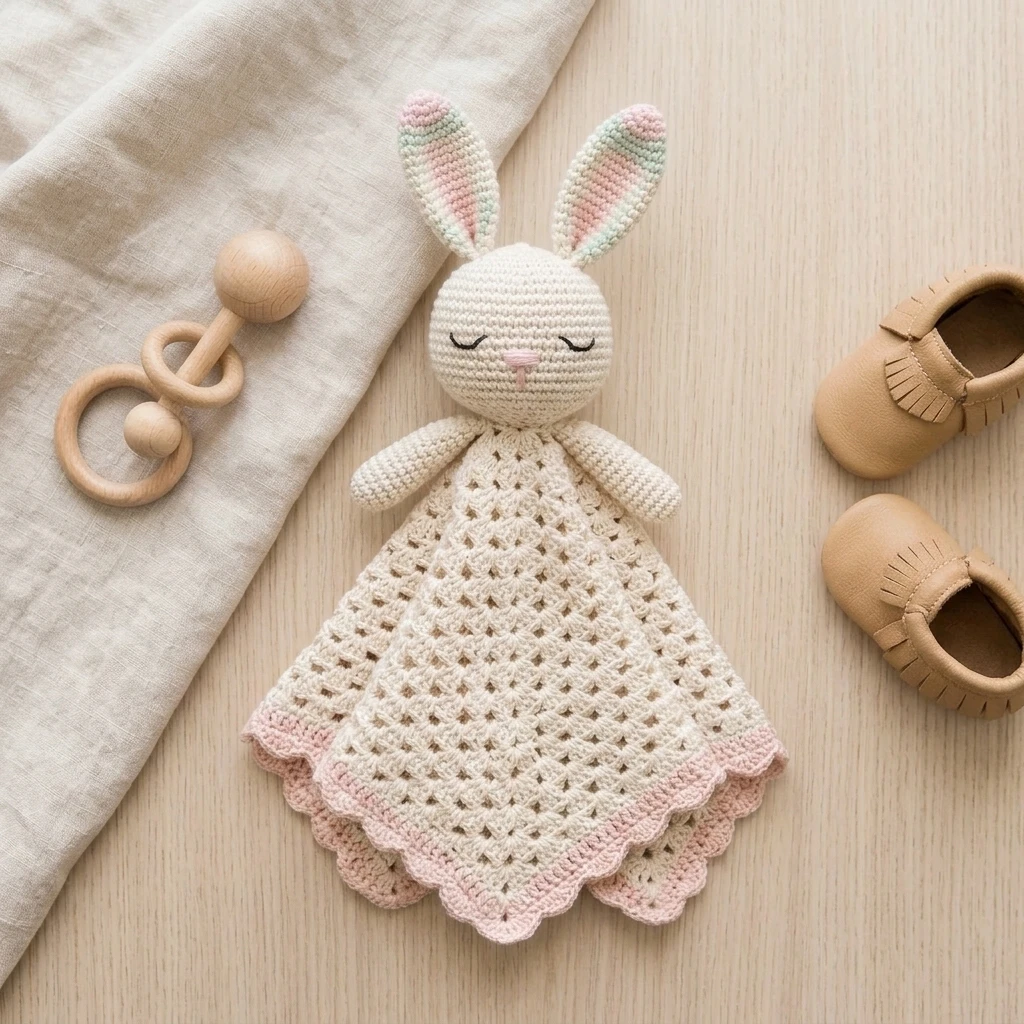
- Embroider the eyes and a small pink “Y” shape for the nose onto the head between rounds 7 and 9.
- Pin the floppy ears to the top of the head (around round 3) and sew securely in place.
- Position the stuffed head directly in the center of the blanket (the magic ring area).
- Using the long tail from the head, sew through the blanket stitches and the base of the head several times in a circular motion.
- Tie a secure knot on the underside of the blanket and hide the yarn tail inside the head.
7 Technical Tips for a Better Crochet Bunny Lovey Pattern
- Use the Invisible Decrease: In the head section, always use the invisible decrease method (working in front loops only) to prevent gaps in the fabric.
- Embroider for Safety: While plastic safety eyes are popular, embroidery is much safer for toys intended for infants who may chew on the project.
- Consistent Tension: Keep your tension tighter on the bunny head than on the blanket to ensure the stuffing stays put.
- The Magic Ring Lock: When starting the blanket, pull the magic ring tight and then use a needle to weave the tail in a circle twice to ensure it never comes undone.
- Weighted Center: If the head feels too floppy, sew it down to the blanket using a wider diameter of stitches rather than just the center point.
- Yarn Choice: Choose “breathable” yarns like cotton blends to prevent the baby from overheating while snuggling.
- Blocking: Lightly steam-block the blanket edges (avoiding the stuffed head) to make the granny square corners lay perfectly flat.
Frequently Asked Questions
Can I make the blanket larger?
Yes, simply continue the granny square rounds until you reach your desired diameter. Note that a very large blanket may make the bunny head look disproportionately small.
Is this project machine washable?
If you use high-quality acrylic or cotton yarn and secure your ends well, it should be machine washable on a gentle cycle. Placing it inside a mesh laundry bag is highly recommended.
How do I stop the head from drooping?
The key is a wide attachment point. Instead of sewing only the very bottom 6 stitches to the blanket, sew a circle roughly 1 inch in diameter between the head and the blanket center.
What is the best stuffing for a lovey?
Hypoallergenic polyester fiberfill is standard. Avoid using natural wool roving if you plan on frequent machine washing, as it can felt or clump.
Can I use a different blanket pattern?
Absolutely. Any circular or square pattern (like a ripple or a star) can serve as the base, provided the center hole is small enough to secure the head.
Conclusion
The Crochet Bunny Lovey Pattern is a rewarding project that combines technical amigurumi skills with the relaxing rhythm of blanket rounds. By following these steps and focusing on secure assembly, you create a durable, cherished keepsake for any little one. Don’t forget to pin this pattern to your crochet board for your next baby shower gift! What color combination are you planning to use for your bunny’s ears and blanket?
Save This Crochet Pattern