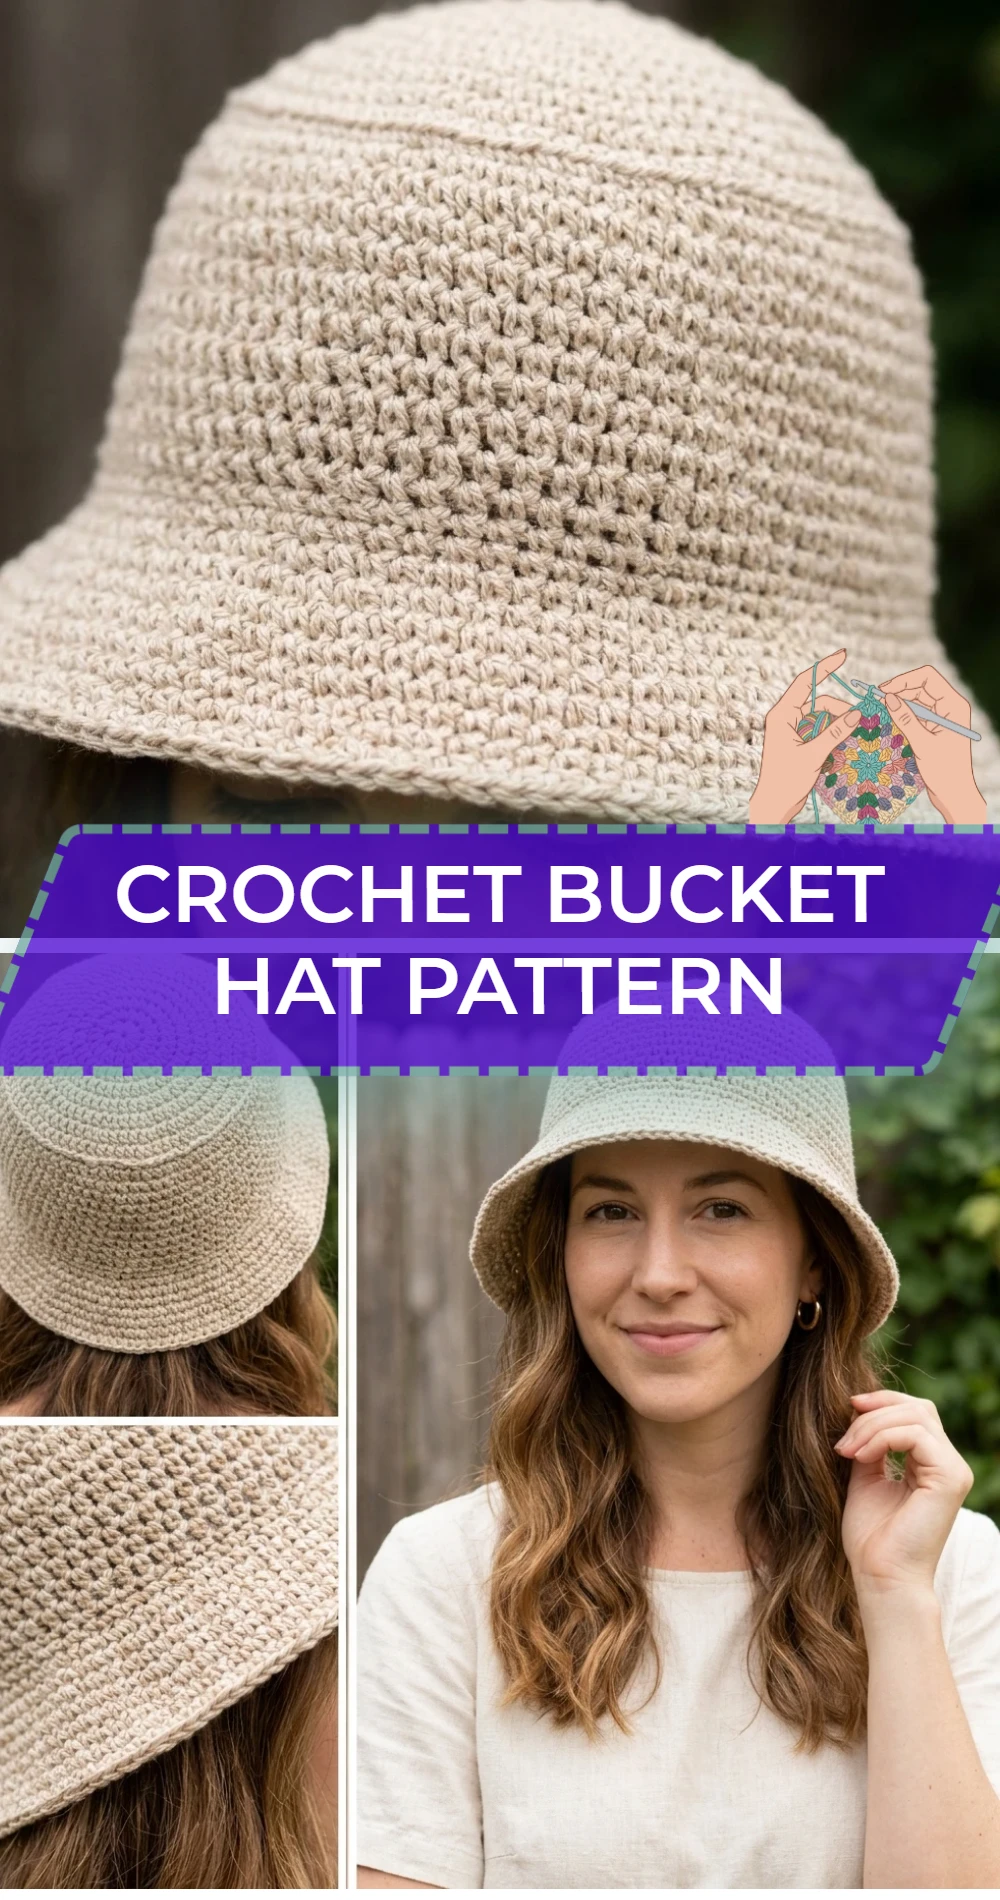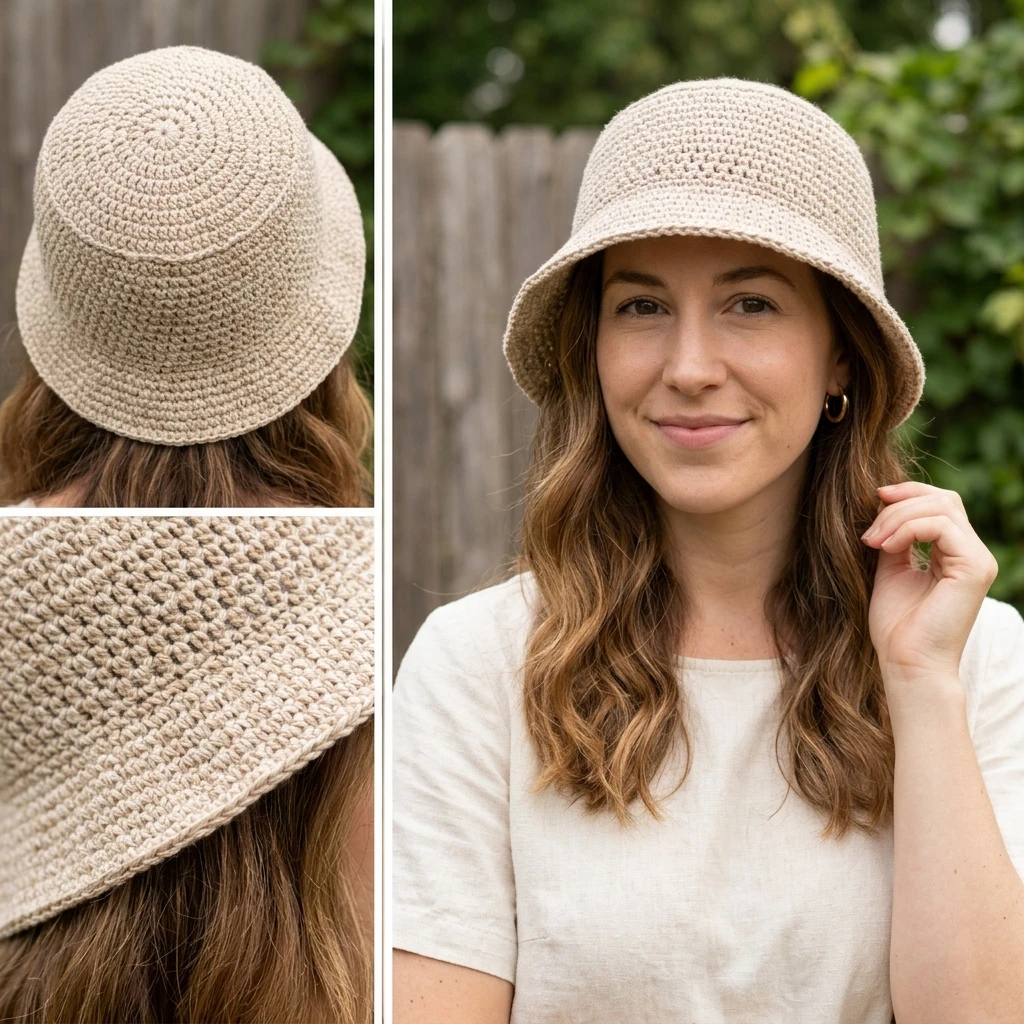
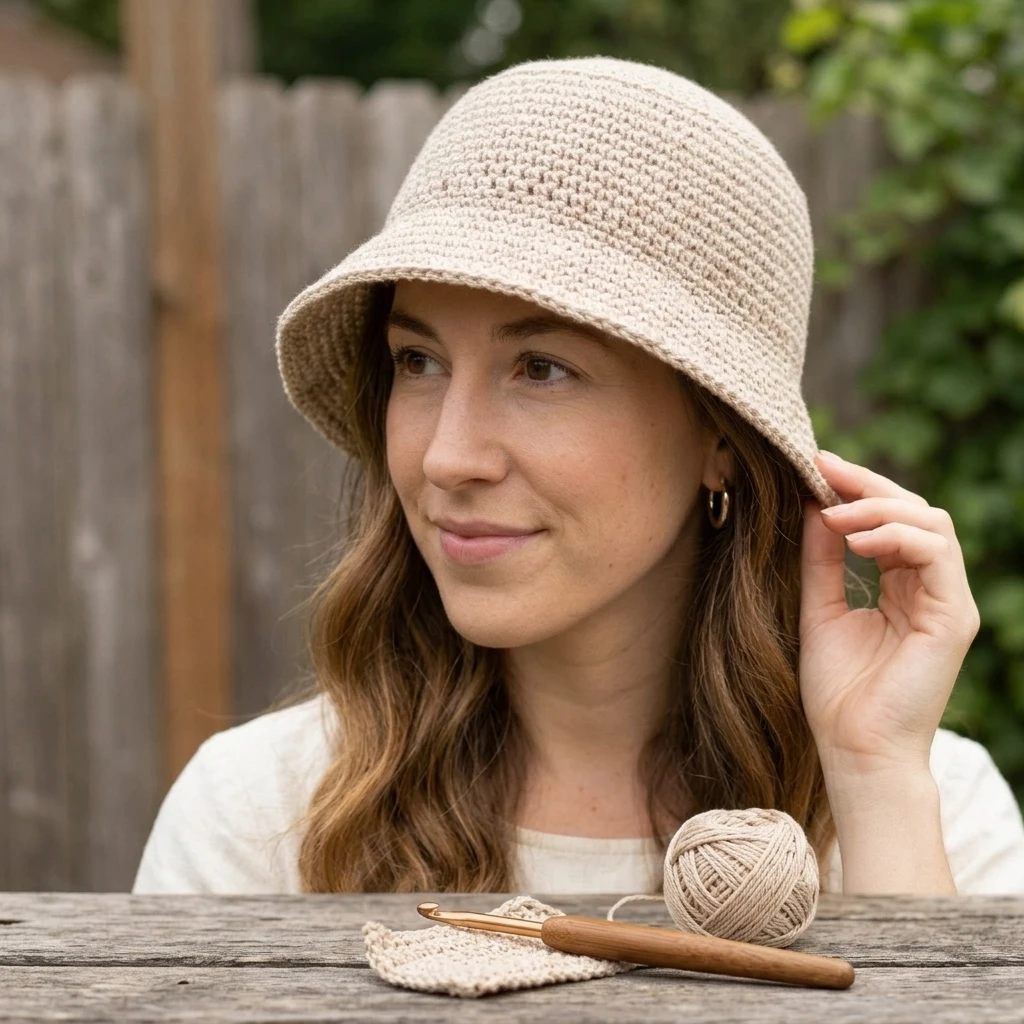
The crochet bucket hat has cemented its status as a timeless accessory, bridging the gap between retro 90s nostalgia and modern festival fashion. This particular design features a structured crown that transitions seamlessly into a comfortable side wall, finished with a classic flared brim that provides just the right amount of shade. Whether you are crafting this for a breezy summer day at the beach or as a bold statement piece for your streetwear wardrobe, the construction relies on simple geometric principles that make it accessible for advanced beginners while remaining a satisfying project for seasoned makers. This hat is worked in a continuous spiral to eliminate unsightly seams, resulting in a polished, professional-looking garment that suits all genders and styles.
The Design: What Makes This Pattern Different
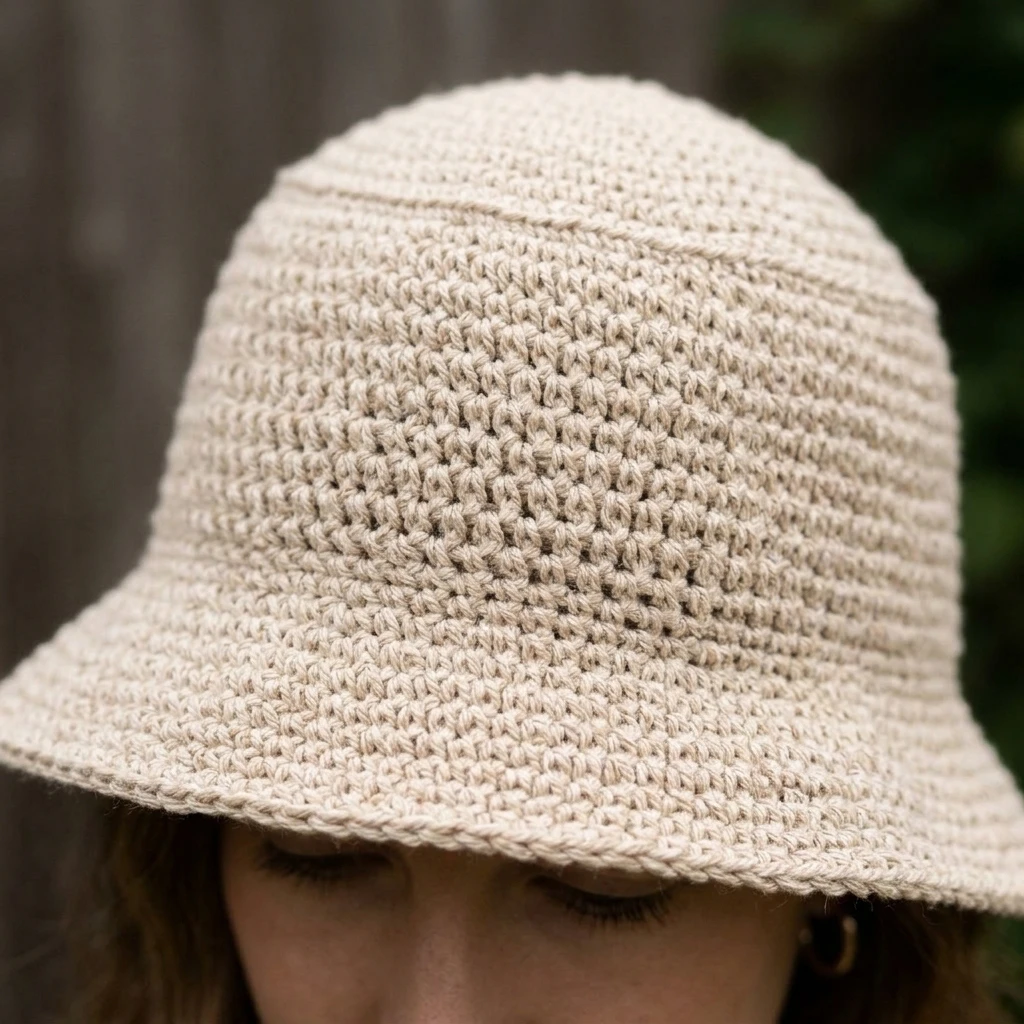
The architecture of a bucket hat depends entirely on the ratio between the crown diameter and the height of the sides. This design prioritizes a flat-top silhouette rather than a rounded “beanie” shape, which is achieved by utilizing specific increase rates in the early rounds. By using a sturdy cotton-based yarn, the brim maintains its shape without flopping into the wearer’s eyes, a common complaint with many lightweight crochet hat patterns.
One common mistake to avoid in bucket hat construction is neglecting the transition round between the crown and the body. Without a clear structural change—often achieved by working into the back loops or simply stopping the increases abruptly—the hat can lose its iconic “bucket” definition and look more like a cloche. This pattern ensures a crisp angle that distinguishes the top of the hat from the sides, providing that sought-after high-fashion structure.
Project Info at a Glance
| Feature | Details |
|---|---|
| Skill Level | Advanced Beginner |
| Estimated Time | 3–5 Hours |
| Finished Size | Adult Medium (approx. 22″ circumference) |
| Hook Size | 5.0 mm (H/8) |
| Yarn Weight | Medium Worsted (Weight 4) |
| Gauge | 14 sc x 16 rows = 4″ (estimated) |
| Best For | Summer outings, festivals, and gifts |
Materials and Tools
Yarn
For this project, a natural fiber like 100% cotton or a cotton-acrylic blend is highly recommended. Cotton offers the breathability required for a summer hat and the structural integrity to keep the brim from sagging. You will need approximately 150 to 200 yards of worsted weight yarn. If using a thinner yarn, consider holding two strands together to achieve the necessary stiffness.
Tools
A 5.0 mm crochet hook is the standard choice for this weight of yarn, but you should adjust based on your personal tension. You will also need a stitch marker to track the beginning of your spiral rounds, a pair of sharp yarn scissors, and a blunt-tipped tapestry needle for weaving in your ends securely.
Abbreviations
- ch: chain
- sc: single crochet
- inc: increase (2 sc in the same stitch)
- sl st: slip stitch
- st(s): stitch(es)
- BLO: back loop only
- MR: magic ring
Pattern — Step by Step
Part 1: The Crown
The crown is worked as a flat circle. Ensure your increases are spread out to maintain a perfect circle rather than a hexagon. We are working in a continuous spiral; do not join rounds unless specified.
- Round 1: Start with a MR, 6 sc into the ring. (6 sts)
- Round 2: 2 sc in each st around. (12 sts)
- Round 3: *1 sc, inc* repeat around. (18 sts)
- Round 4: *2 sc, inc* repeat around. (24 sts)
- Round 5: *3 sc, inc* repeat around. (30 sts)
- Round 6-12: Continue increasing by 6 sts per round (e.g., Round 6 is *4 sc, inc*) until the circle measures approximately 6.5 to 7 inches in diameter. Total stitch count will vary based on your gauge, but aiming for 72 sts is standard for an adult medium.
Part 2: The Body (Side Walls)
This section builds the height of the hat. We stop increasing and work even to create the downward “bucket” shape.
- Round 13 (Transition): Sc in the BLO of each st around. This creates a ridge that helps the hat turn downward. (72 sts)
- Round 14-25: Sc in both loops of each st around. Continue until the side wall measures roughly 3 to 3.5 inches from the transition ridge.
Part 3: The Brim
The brim requires a sudden increase in stitches to flare outward. For a subtle flare, increase every 3rd or 4th stitch in the first brim round.
- Round 26: *3 sc, inc* repeat around. (90 sts)
- Round 27: Sc in each st around.
- Round 28: *4 sc, inc* repeat around. (108 sts)
- Round 29-32: Sc in each st around. If you prefer a wider brim, add more rounds.
- Round 33 (Finishing): Sl st in each st around loosely to create a sturdy edge. Fasten off.
Assembly
Since this project is worked in a single piece, the assembly focuses on the refinement of the finished garment. Properly finishing the edges ensures the hat retains its shape through multiple wears and washes.
- Cut the yarn leaving a 6-inch tail.
- Thread the tail through a tapestry needle and perform an invisible join to the first stitch of the final round.
- Weave the tail ends securely through the back of the stitches on the inside of the brim, changing direction at least once to lock the yarn in place.
- Tighten the magic ring at the center of the crown and weave that tail in thoroughly.
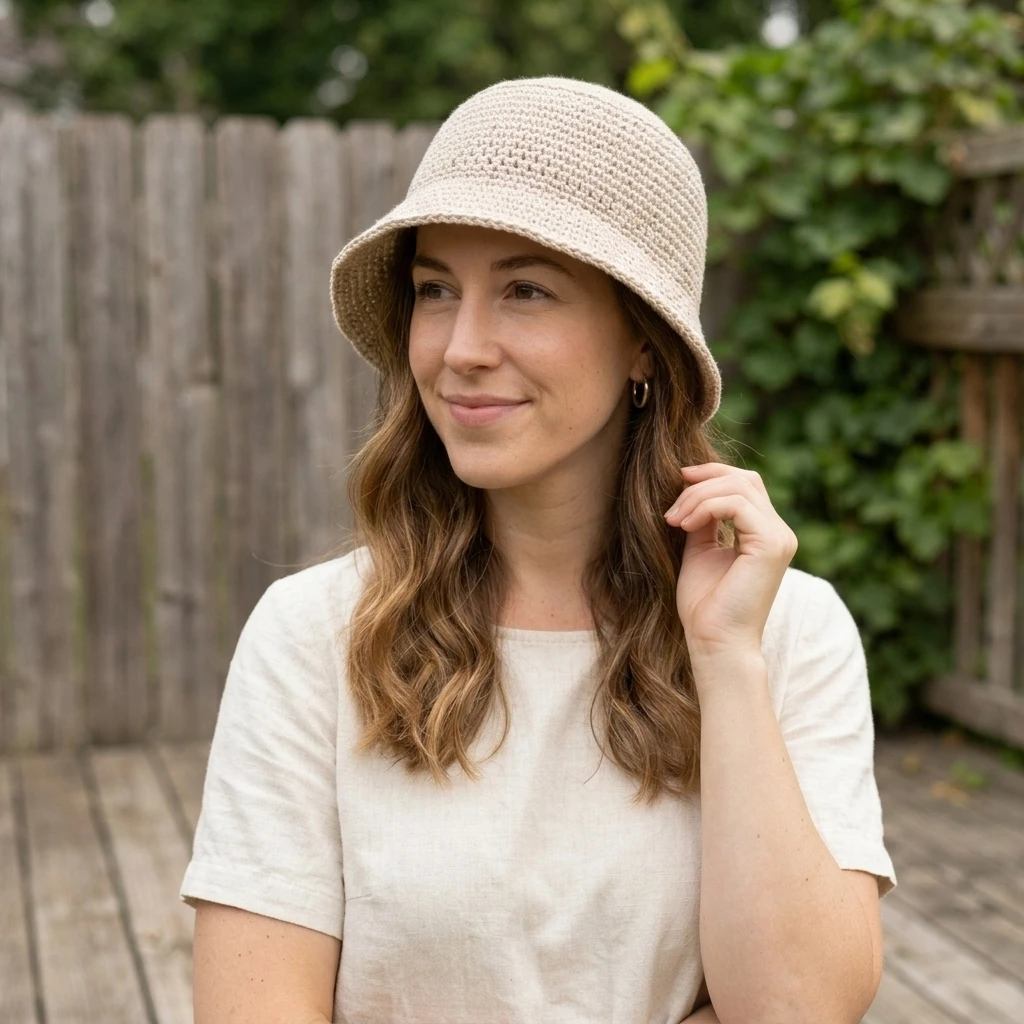
- Steam block the hat over a head-shaped form (or a bowl) to crisp up the edges and flatten the crown.
7 Technical Tips for a Better Crochet Bucket Hat Pattern
- Choose Cotton Over Acrylic: Cotton has less “memory” than acrylic, meaning it won’t stretch out and become floppy over time.
- Use a Stitch Marker: In spiral crochet, it is incredibly easy to lose your place. Mark the first stitch of every round without exception.
- Check Your Diameter: Before starting the side walls, ensure your crown diameter is correct. A crown that is too small will result in a hat that sits too high on the head.
- Tension is Key: Keep your tension consistent. If you tend to crochet loosely, drop down a hook size to ensure the fabric is dense enough to hold its shape.
- The “Invisible” Increase: To avoid visible holes at your increase points, ensure you are pulling your loops tight during the “inc” stitches.
- Brim Stiffness: If your brim is too floppy, try working the final round over a piece of millinery wire or a thin plastic cord.
- Count Your Stitches: Miscounting by even one stitch in the crown can lead to a lopsided brim. Verify your counts every 2–3 rounds.
Frequently Asked Questions
What is the best yarn for a bucket hat?
Worsted weight cotton is the gold standard. It is breathable, durable, and provides the necessary stiffness to keep the brim from collapsing.
How do I make the hat larger or smaller?
To change the size, simply add or subtract increase rounds in the crown section. Each additional increase round typically adds about an inch to the circumference.
Why is my brim curling up?
Brim curling usually happens if your tension is too tight or if you haven’t added enough increases in the first round of the brim section. Try blocking the hat with steam to relax the fibers.
Can I use a different stitch besides single crochet?
Yes, but keep in mind that taller stitches like double crochet will create a “holier” fabric that is less structured. Single crochet is preferred for that classic bucket hat density.
How do I clean my crochet bucket hat?
If you used 100% cotton, hand washing in cool water and laying flat to dry is best. Avoid the dryer, as it can cause the hat to shrink or lose its shape.
Conclusion
Creating your own crochet bucket hat is a rewarding project that combines technical skill with functional fashion. By mastering the transition from a flat crown to the flared brim, you can customize this accessory in endless colorways and sizes. Don’t forget to pin this tutorial to your crochet inspiration board on Pinterest so you can return to it for your next summer project! What color combination are you planning to use for your first hat?
Save This Crochet Pattern