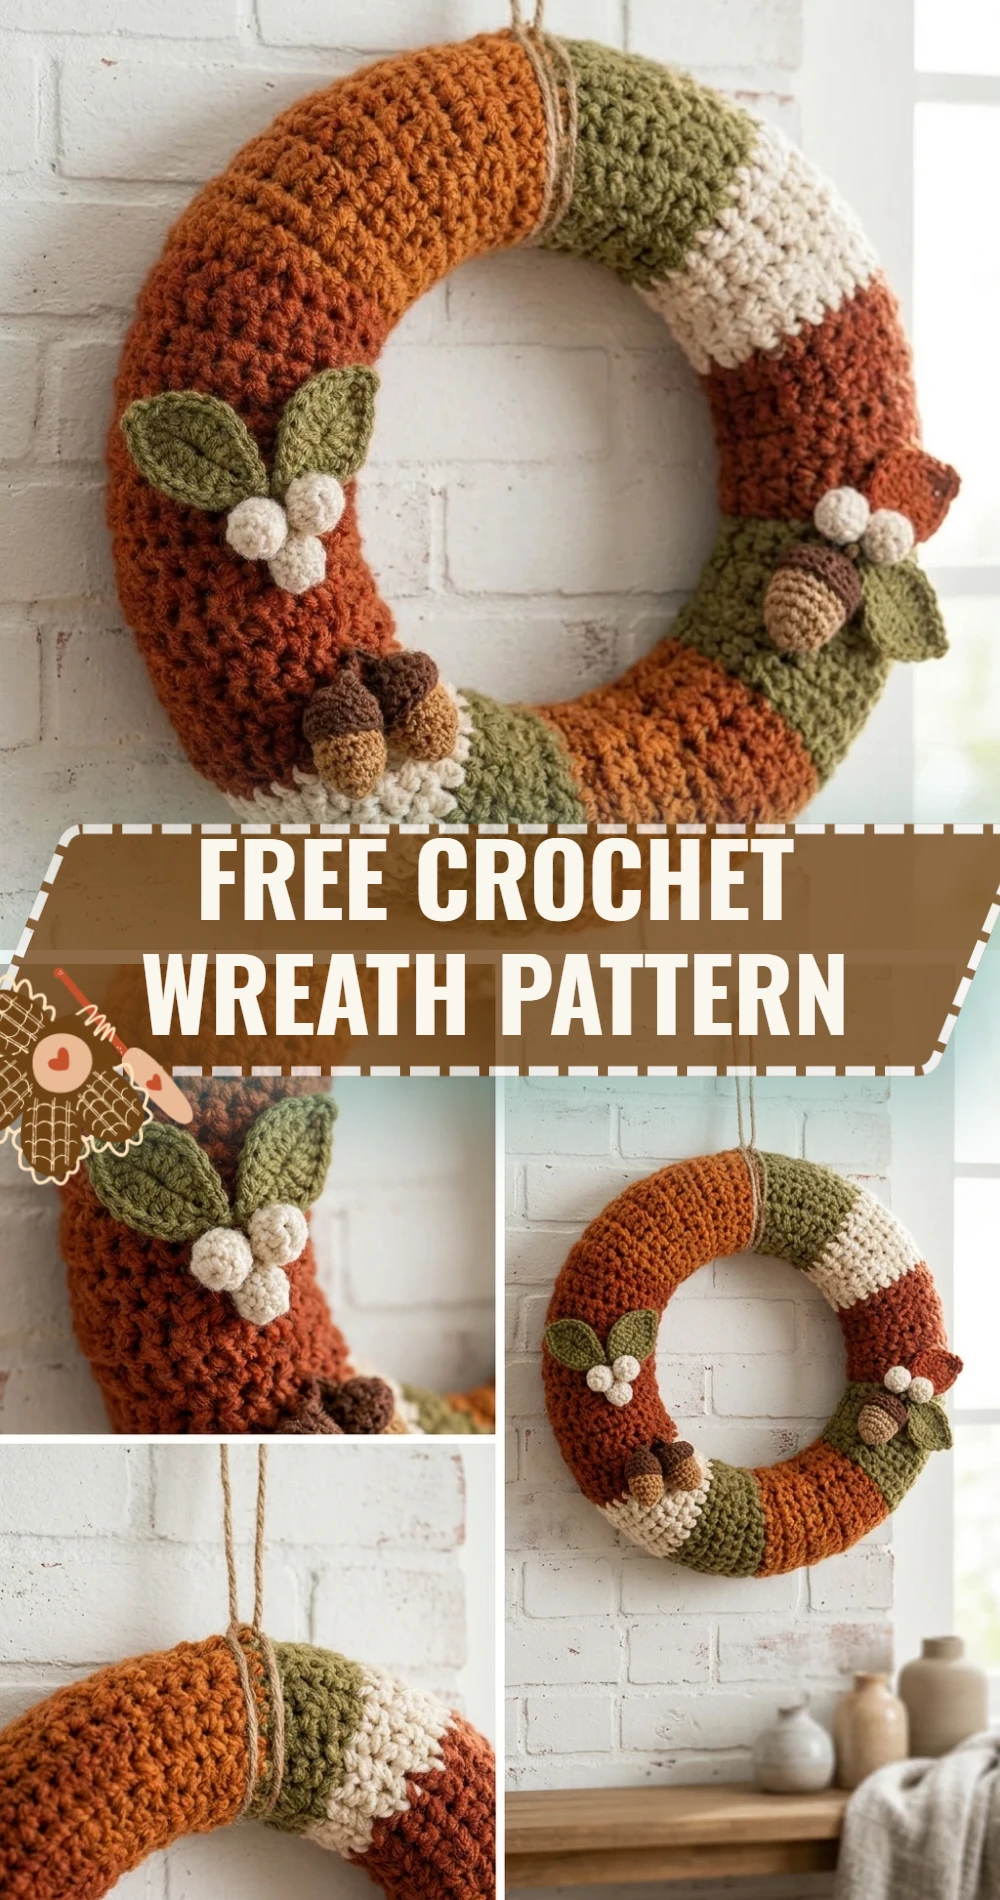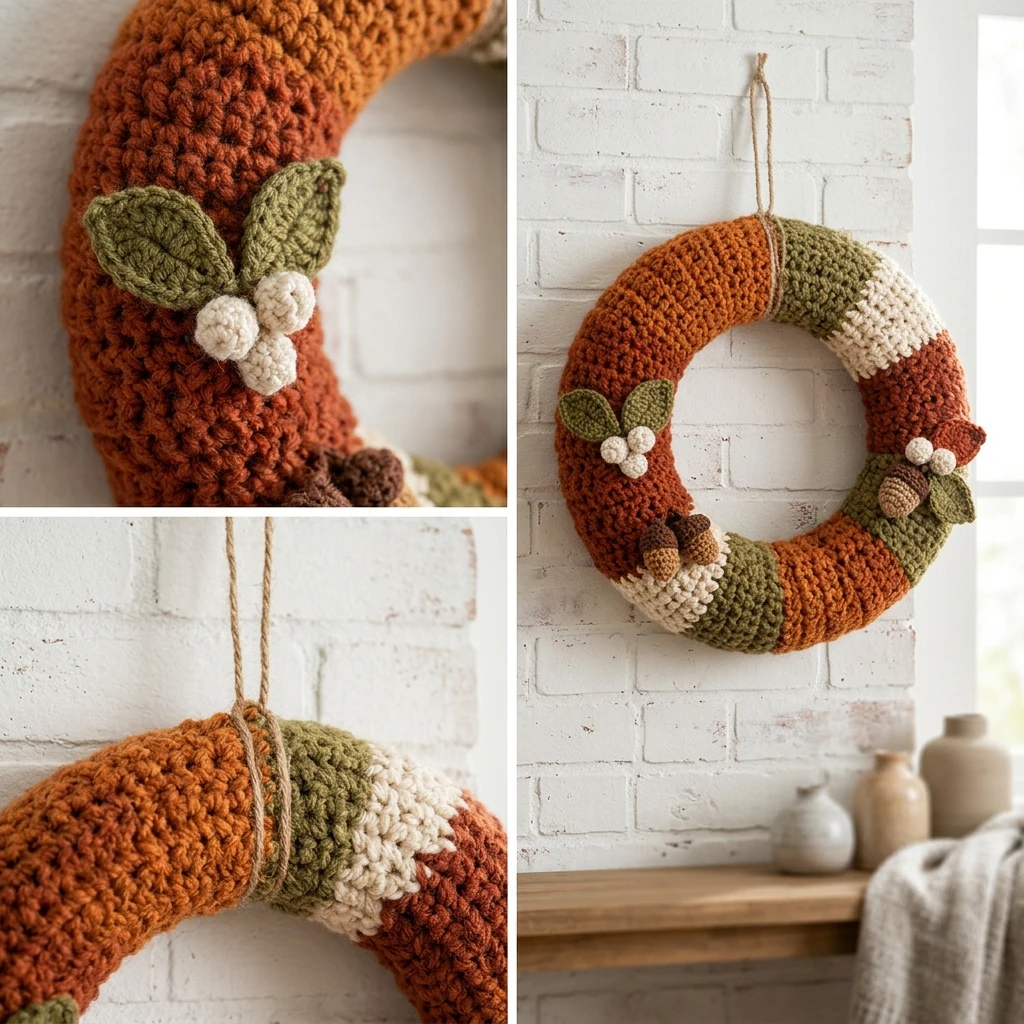
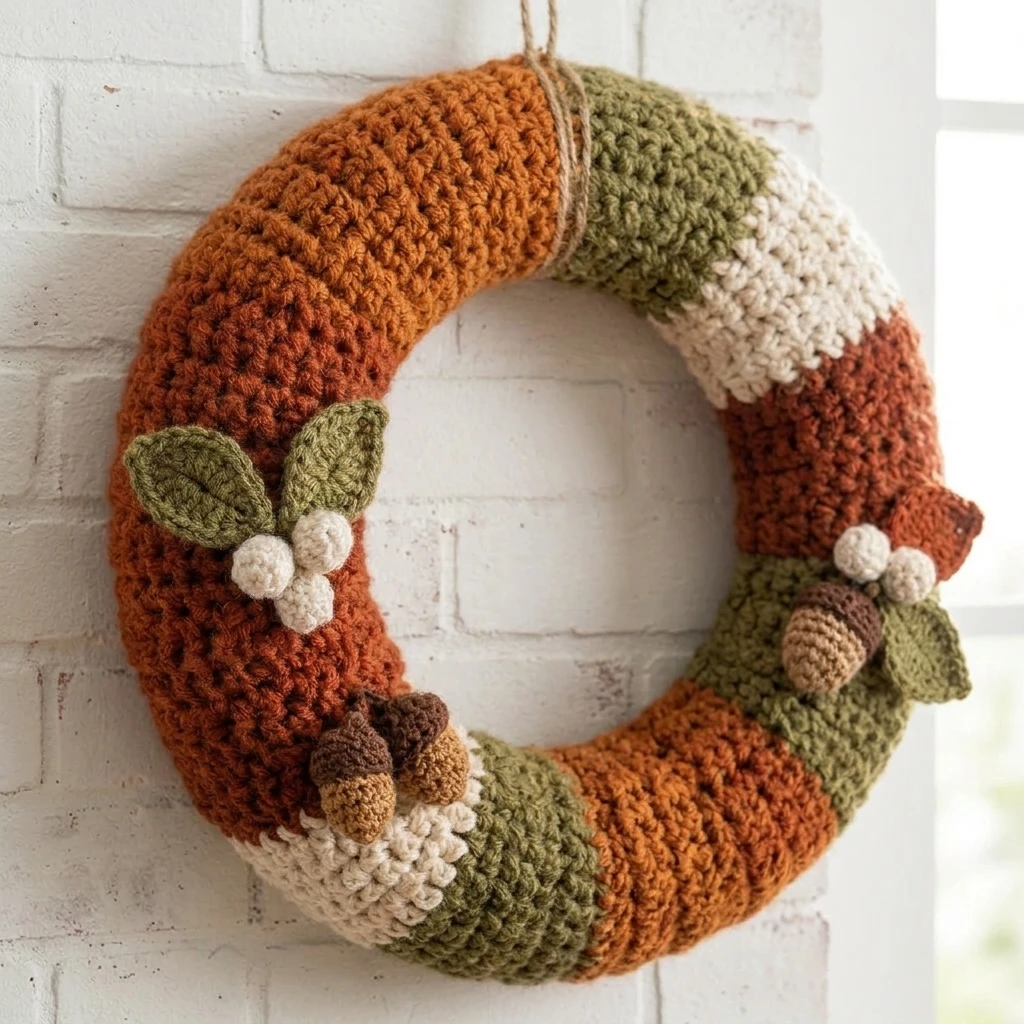
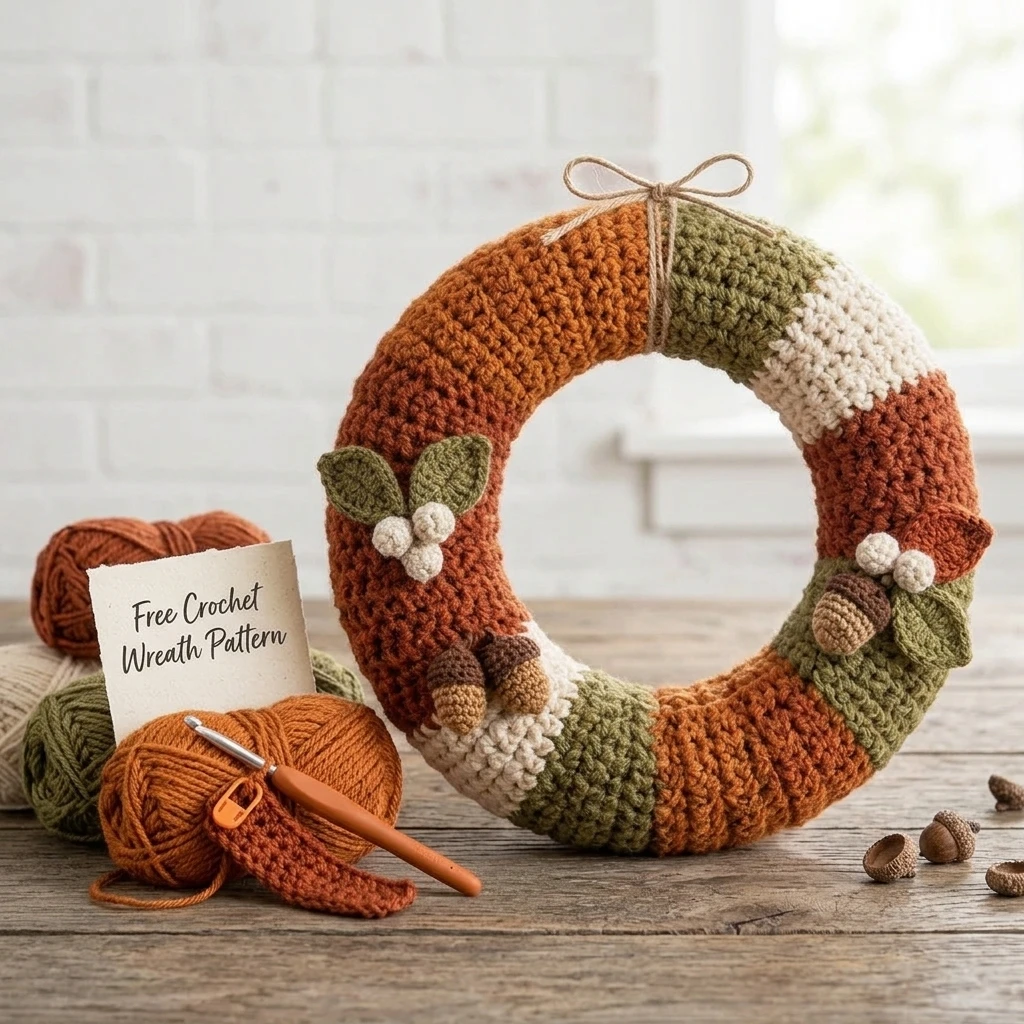
Imagine a front door that greets every visitor with the soft, inviting texture of a handmade decoration. This Free Crochet Wreath Pattern creates a sophisticated, seasonal accent that combines the rustic charm of yarn with the structural integrity of a classic floral form. Designed as a cozy cover that wraps around a standard foam ring, this project provides a clean, modern aesthetic that suits any interior or exterior decor style. The main construction involves creating a long, textured rectangle that is seamed around the wreath base, allowing for a perfectly fitted finish that hides the underlying frame entirely.
The Design: What Makes This Pattern Different
Unlike traditional floral wreaths that rely on messy adhesives or wire, this crochet design focuses on the tactile beauty of the stitch itself. The visual identity of this piece is defined by a repetitive ribbing effect that mimics the look of high-end knitwear, providing a neutral yet interesting backdrop for seasonal add-ons like holly berries, autumnal leaves, or spring blooms. One structural decision made for this pattern is the use of a slightly smaller hook than the yarn label suggests; this creates a denser fabric that prevents the white or green foam of the wreath form from peeking through the stitches.
A common mistake to avoid when making a crochet wreath is overestimating the width of the cover. Many makers crochet a piece that is too wide, resulting in “buckling” or loose fabric on the inner diameter of the ring. Because the inner circle of a wreath form is significantly smaller than the outer circle, the crochet fabric must be stretched slightly to achieve a smooth, professional-grade fit.
Project Info at a Glance
| Feature | Details |
|---|---|
| Skill Level | Easy / Advanced Beginner |
| Estimated Time | 4 – 6 Hours |
| Finished Size | Fits a standard 12-inch (30 cm) wreath form |
| Hook Size | 5.0 mm (H-8) |
| Yarn Weight | Medium / Worsted (Weight 4) |
| Gauge | 14 sts x 10 rows = 4″ in Half Double Crochet (Suggested) |
| Best For | Home Decor, Housewarming Gifts, Seasonal Porch Displays |
Materials and Tools
Yarn
To complete this project as shown, you will need approximately 250 to 300 yards of a sturdy worsted weight yarn. An acrylic or wool blend is recommended for its elasticity, which helps the cover snap into place around the foam form. Cotton is less recommended as it lacks the necessary “give” for a tight fit.
Tools
- 5.0 mm crochet hook (or size needed to obtain a dense fabric)
- 12-inch extruded polystyrene foam wreath ring (flat or rounded back)
- Tapestry needle for seaming
- Large-headed quilting pins (essential for holding the piece in place during assembly)
- Scissors
Abbreviations
- ch: Chain
- st(s): Stitch(es)
- hdc: Half Double Crochet
- sl st: Slip Stitch
- blo: Back Loop Only
- yo: Yarn Over
Pattern — Step by Step
Construction Overview
This wreath cover is worked in one continuous flat piece. You will create a long rectangle where the length matches the outer circumference of your wreath form, and the width matches the girth (the distance around the foam tube itself). Once the rectangle is finished, it is wrapped around the foam and joined using a whip stitch.
The Main Wreath Cover
- Foundation Row: Ch 22 (or a number of chains that wraps snugly around the thickness of your foam form).
- Row 1: Hdc in 2nd ch from hook and in each ch across. Turn. (21 sts)
- Row 2: Ch 1 (does not count as a stitch). Hdc in the blo of each st across. Turn.
- Rows 3–75 (Estimated): Repeat Row 2 until your piece, when slightly stretched, reaches all the way around the outer edge of the wreath form.
- Finishing: Fasten off, leaving a very long tail (at least 60 inches) for seaming.
Embellishment: Simple Leaf (Make 3)
- Ch 10.
- Sl st in 2nd ch from hook, sc in next, hdc in next, dc in next 3 sts, hdc in next, sc in next, 3 sc in the last ch to turn the corner.
- Working along the opposite side of the chain: sc in next, hdc in next, dc in next 3 sts, hdc in next, sc in next, sl st in last.
- Fasten off, leaving a tail for attachment.
Assembly
The assembly phase is where the crochet fabric transforms into a structured piece of decor. Precise pinning is the secret to ensuring the ribbing lines up perfectly across the seam.
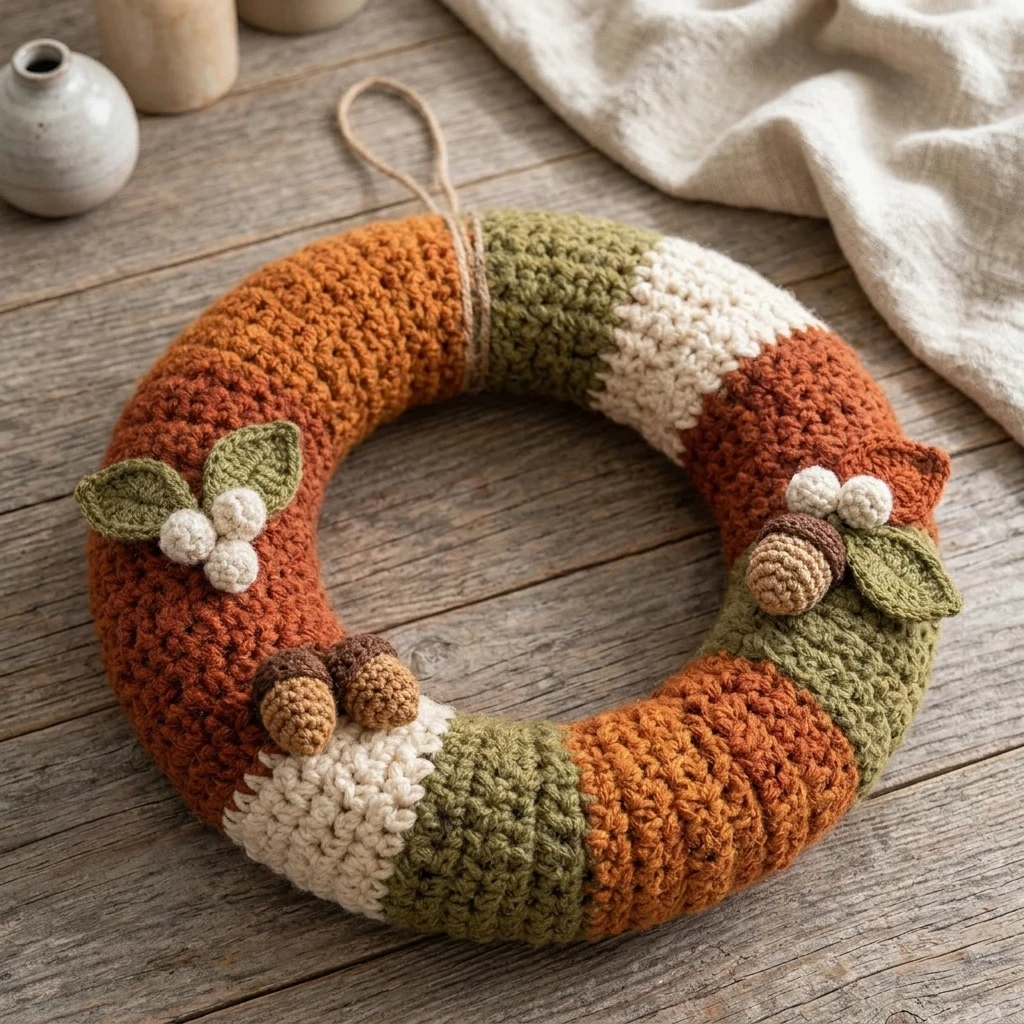
- Wrap the crochet rectangle around the foam wreath form.
- Use quilting pins to secure the short ends together. Ensure the starting chain and the final row meet evenly.
- Using the long tail and a tapestry needle, whip-stitch the short ends together to create a continuous loop.
- Begin pinning the long edges of the rectangle together along the inner circumference of the wreath.
- Whip-stitch the long seam closed. Pull the yarn firmly every few stitches to ensure the seam remains tight and the fabric is taut against the foam.
- Once the cover is secure, weave in all ends deeply into the foam to hide them.
- Pin your leaves (and any other desired decorations) onto the front and sew them into the crochet fabric.
7 Technical Tips for a Better Free Crochet Wreath Pattern
- Check the Girth Frequently: Every few rows, wrap your work around the foam. It should be tight enough that you have to pull slightly to make the edges meet.
- Use the “Hidden Seam” Placement: Always position your long seam on the back-inner edge of the wreath. This ensures that even if your stitching isn’t perfect, it remains invisible when the wreath is hung.
- Manage Your Tension: If your tension is loose, the wreath will look saggy over time. Aim for a firm, consistent tension throughout the body of the project.
- Choose the Right Foam: Extruded (smooth) foam is easier to work with than white crunchy (expanded) foam, as the needle passes through it more smoothly if you accidentally catch the base.
- Steam Block the Rectangle: Before assembly, lightly steam block your crochet piece. This relaxes the stitches and makes the seaming process much more manageable.
- UV Protection: If hanging the wreath on an exterior door, consider spraying the finished piece with a fabric UV protectant to prevent the yarn colors from fading in the sun.
- Weight Distribution: If adding heavy embellishments, sew them through the crochet fabric and slightly into the foam base to prevent the fabric from stretching downward.
Frequently Asked Questions
Can I use this pattern for a different sized wreath?
Yes! To adjust the size, simply change your foundation chain to match the thickness of your new form, and add or subtract rows until the length wraps around the outer diameter. The “stretch test” is your best guide for sizing.
What is the best way to hang the finished wreath?
You can crochet a simple loop of chains and attach it to the back, or use a decorative ribbon looped through the center. For a “floating” look, a standard metal wreath hanger works perfectly over the top of the crochet fabric.
Will the yarn get ruined if I hang it outside?
If your porch is covered, the wreath will last for several seasons. In direct rain or snow, wool yarn may felt or hold moisture, so a 100% acrylic yarn is the best choice for high-moisture environments.
How do I clean my crochet wreath?
Since the cover is sewn onto a foam form, it cannot be machine washed. Spot clean only with a damp cloth and mild detergent, and use a lint roller periodically to remove dust.
Can I make this without a foam form?
You can crochet a tube and stuff it with polyester fiberfill, but it will be difficult to maintain a perfect circle. A foam or wire frame is highly recommended for the professional “store-bought” look this pattern provides.
Conclusion
This Free Crochet Wreath Pattern is a rewarding project that offers endless opportunities for customization through color choice and seasonal embellishments. By mastering the wrap-and-seam technique, you can create a high-quality home accent that looks far more complex than it is to construct. Don’t forget to save this pattern to your “Crochet Home Decor” board on Pinterest so you can find it for every holiday season! Which color palette are you planning to use for your first wreath?
Save This Crochet Pattern