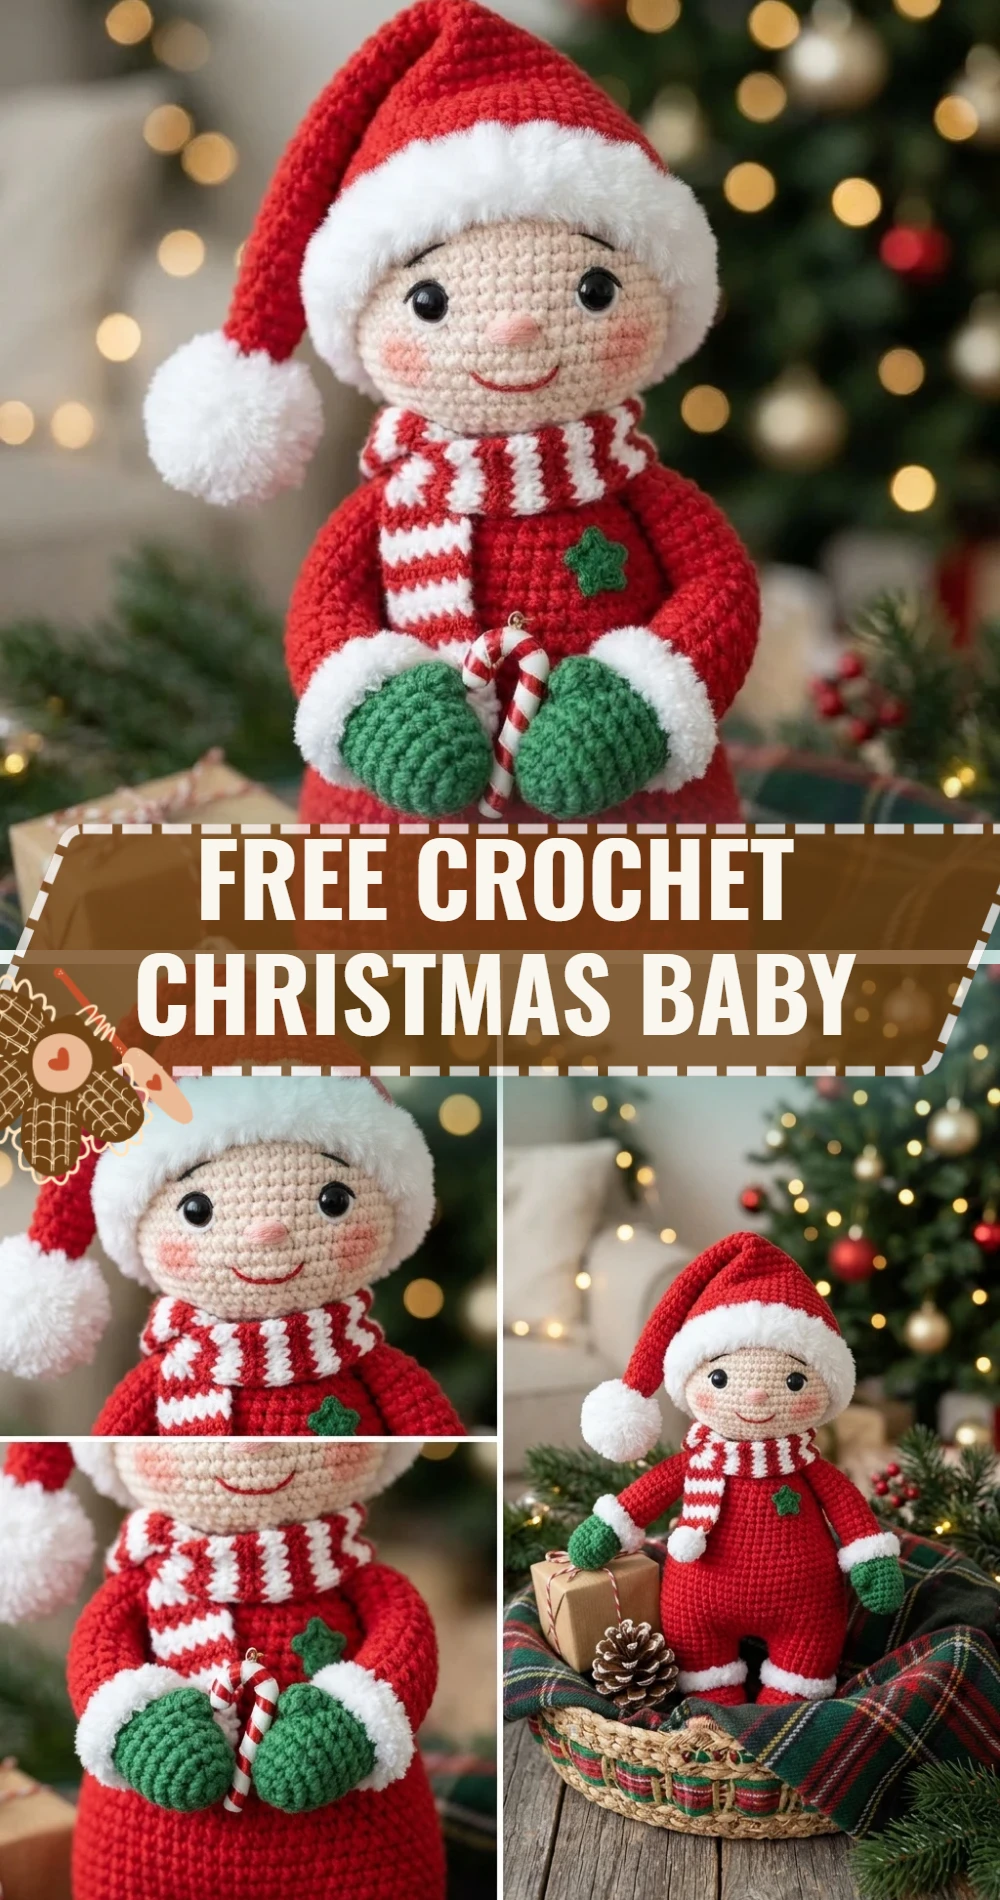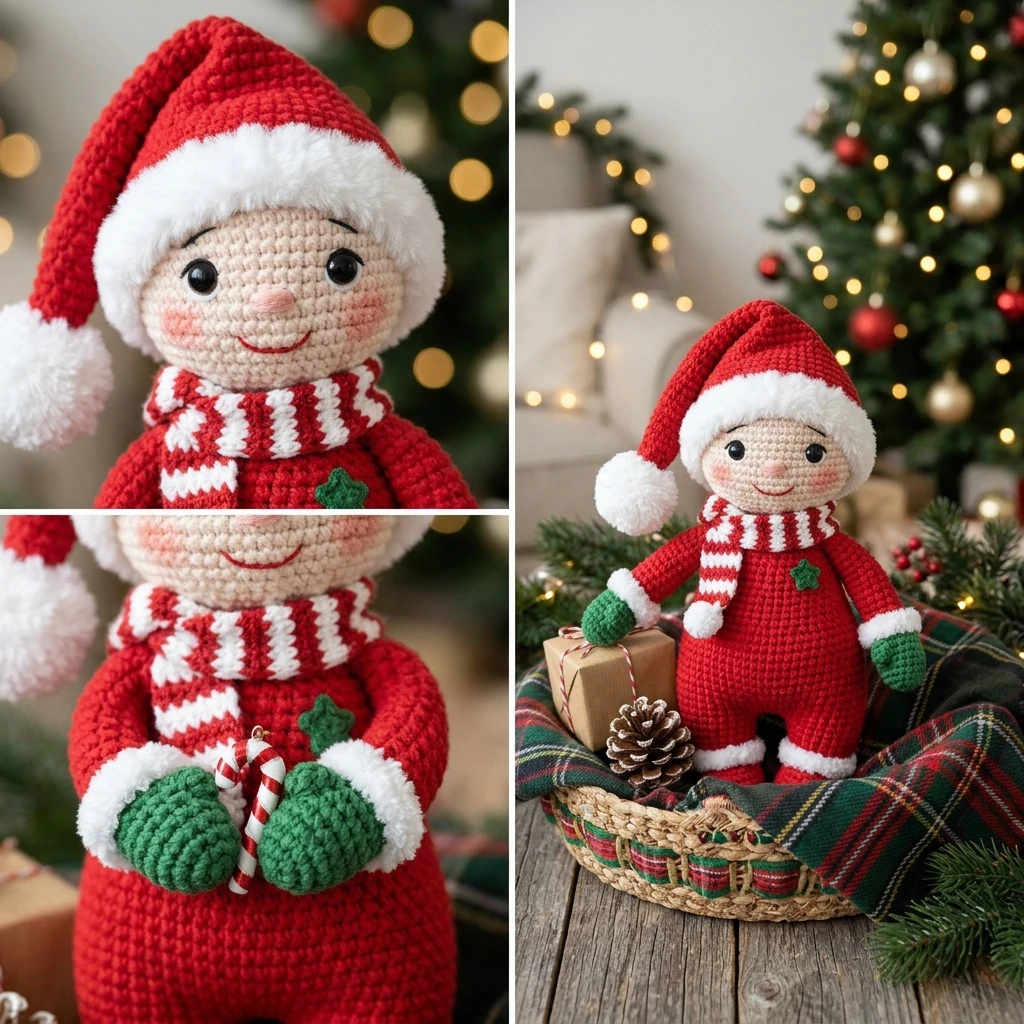
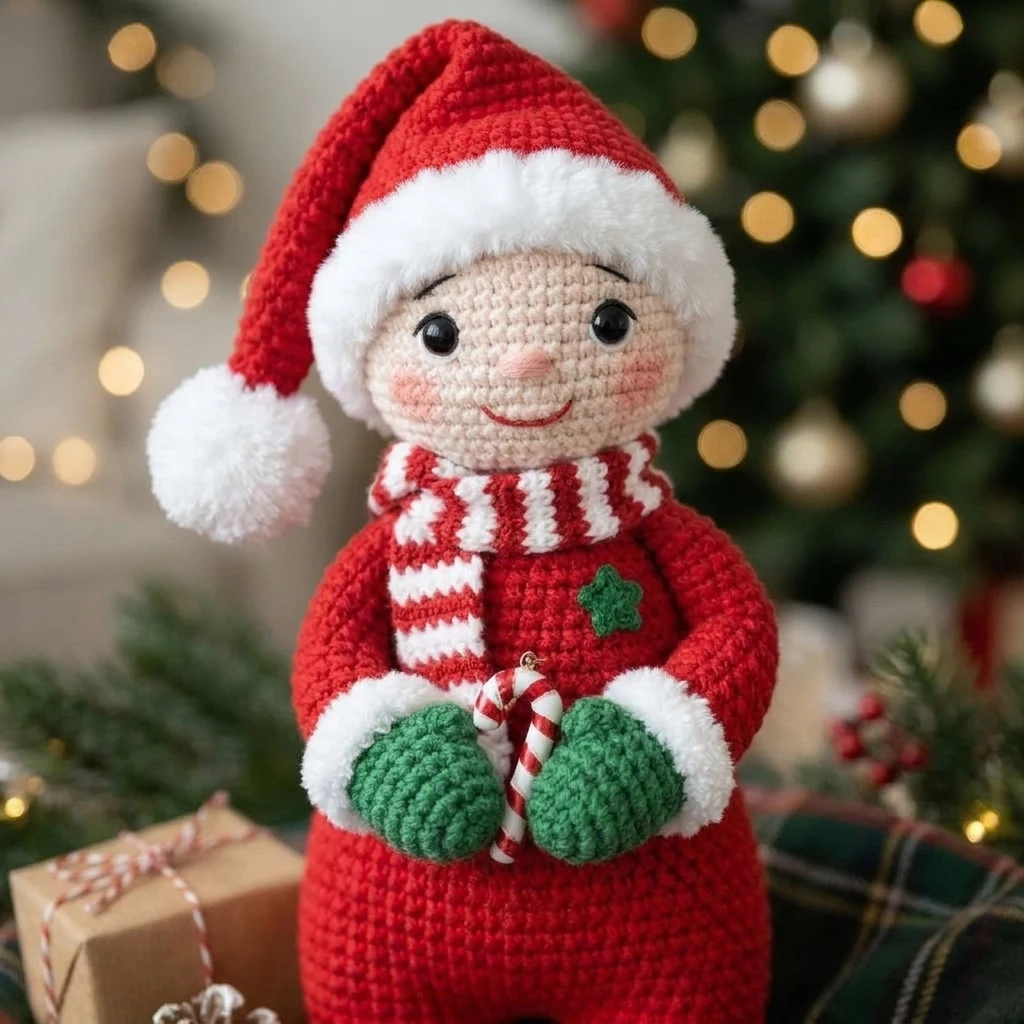
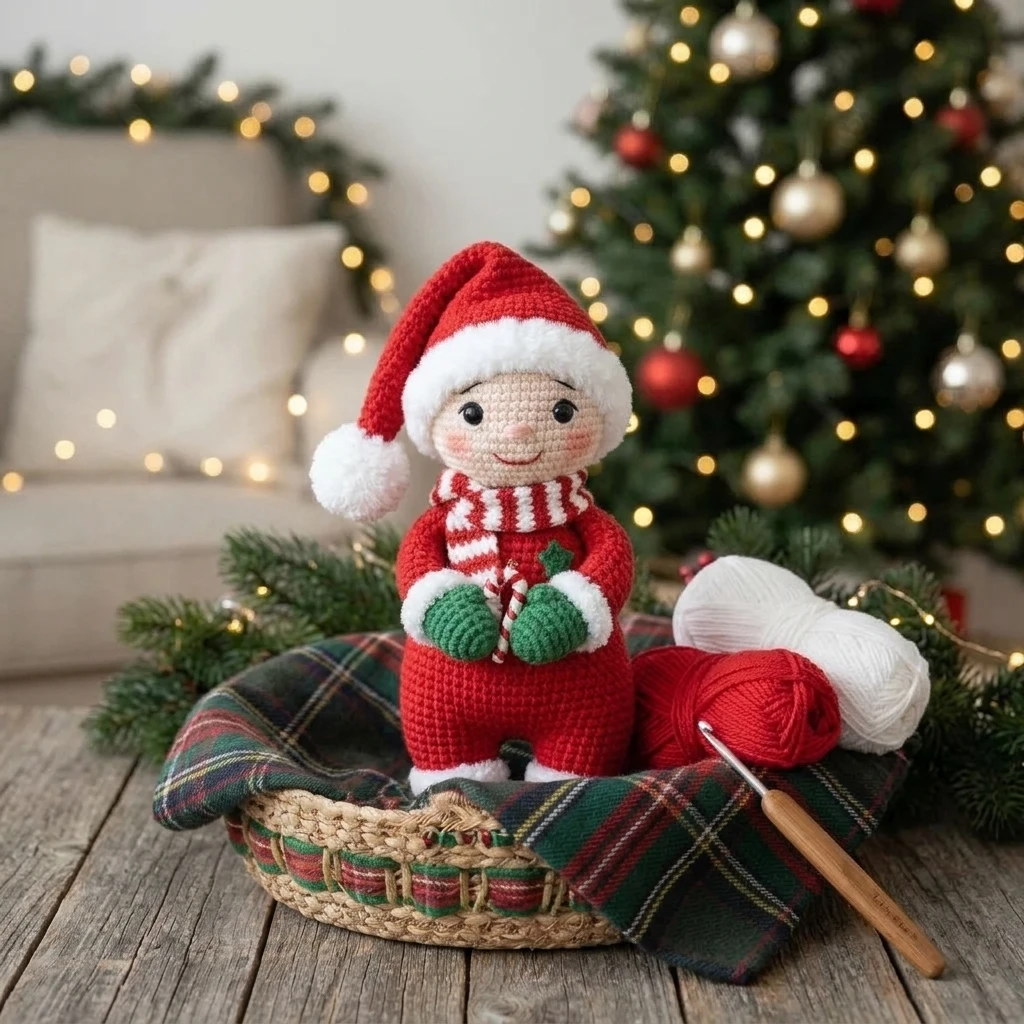
The Free Crochet Christmas Baby is a delightful miniature amigurumi that captures the essence of holiday magic in every stitch. Dressed in a festive Santa-style swaddle or bunting, this project features a sweet, sleeping face and a classic pom-pom hat. It serves as an ideal heirloom ornament for a family tree, a charming gift topper, or a gentle toy for little hands. The construction is primarily worked in the round, using basic increases and decreases to create a rounded, huggable shape that fits perfectly in the palm of your hand. This festive doll is designed to be sturdy yet soft, making it a versatile holiday craft for various decorative purposes.
The Design: What Makes This Pattern Different
Visually, this pattern relies on the high contrast between the soft, neutral skin tones and the iconic Christmas red and white palette. Structurally, the baby is designed with a “bunting” style body, which means the legs are tucked inside a decorative sack, simplifying the lower-body construction while adding to the cozy aesthetic. We have chosen a slightly oversized head proportion to lean into the “kawaii” or “cute” style often found in modern amigurumi. One common mistake to avoid with this specific design is under-stuffing the neck area. Because the head is larger than the body join, failing to pack the fiberfill firmly at the junction will result in a “wobbly head” effect that ruins the doll’s silhouette.
Project Info at a Glance
| Feature | Details |
|---|---|
| Skill Level | Intermediate (due to small-scale shaping) |
| Estimated Time | 2 – 4 Hours |
| Finished Size | Approximately 5.5 inches tall (photo-inspired) |
| Hook Size | 2.5 mm or 3.25 mm (D) |
| Yarn Weight | DK or Worsted weight cotton/acrylic blend |
| Gauge | Not critical, but stitches must be tight enough to hide stuffing |
| Best For | Christmas Ornaments, Stocking Stuffers, Nursery Decor |
Materials and Tools
Yarn
For this project, the yarn amounts are suggested based on standard amigurumi proportions. You will need approximately 40 yards of Red yarn for the bunting and hat, 20 yards of Skin Tone yarn for the head and hands, and 15 yards of White yarn for the trim and pom-pom. A small amount of Black or Brown embroidery floss is needed for the facial features.
Tools
- Crochet hook suited for your yarn (usually 0.5mm smaller than suggested on the label)
- Polyester fiberfill stuffing
- Stitch markers (essential for working in rounds)
- Yarn needle for assembly and embroidery
- Scissors
- Optional: 6mm safety eyes (if not embroidering the face)
Abbreviations
- MR: Magic Ring
- Ch: Chain
- Sc: Single Crochet
- Inc: Increase (2 sc in one stitch)
- Dec: Invisible Decrease (sc 2 together using front loops)
- Sl st: Slip Stitch
- St(s): Stitch(es)
- Rnd: Round
Pattern — Step by Step
The Head
The head is worked from the top down in continuous rounds using the skin tone yarn. Use a stitch marker to keep track of the start of each round.
- Rnd 1: 6 sc in MR (6)
- Rnd 2: Inc in each st around (12)
- Rnd 3: [sc, inc] x 6 (18)
- Rnd 4: [2 sc, inc] x 6 (24)
- Rnd 5: [3 sc, inc] x 6 (30)
- Rnd 6-12: sc in each st around (30)
- Rnd 13: [3 sc, dec] x 6 (24)
- Rnd 14: [2 sc, dec] x 6 (18). Start stuffing firmly.
- Rnd 15: [sc, dec] x 6 (12)
- Rnd 16: Dec x 6 (6). Fasten off, leaving a long tail for sewing.
The Bunting (Body)
Using the Red yarn, we will create the swaddled body shape. This part is worked from the bottom up.
- Rnd 1: 6 sc in MR (6)
- Rnd 2: Inc in each st around (12)
- Rnd 3: [sc, inc] x 6 (18)
- Rnd 4: [2 sc, inc] x 6 (24)
- Rnd 5-14: sc in each st around (24)
- Rnd 15: [2 sc, dec] x 6 (18)
- Rnd 16: sc in each st around (18). Fasten off and stuff firmly.
The Santa Hat
Start with Red yarn, switching to White for the brim. This is worked in continuous rounds.
- Rnd 1: 4 sc in MR (4)
- Rnd 2: [sc, inc] x 2 (6)
- Rnd 3: sc in each st around (6)
- Rnd 4: [sc, inc] x 3 (9)
- Rnd 5: sc in each st around (9)
- Rnd 6: [2 sc, inc] x 3 (12)
- Rnd 7: [sc, inc] x 6 (18)
- Rnd 8: [2 sc, inc] x 6 (24)
- Rnd 9: [3 sc, inc] x 6 (30)
- Rnd 10-12: sc in each st around (30). Change to White yarn.
- Rnd 13: sc in each st around (30). Fasten off.
Assembly
Assembling your Free Crochet Christmas Baby requires patience to ensure the features are symmetrical and the doll is structurally sound. Ensure all ends are woven in securely as you go.
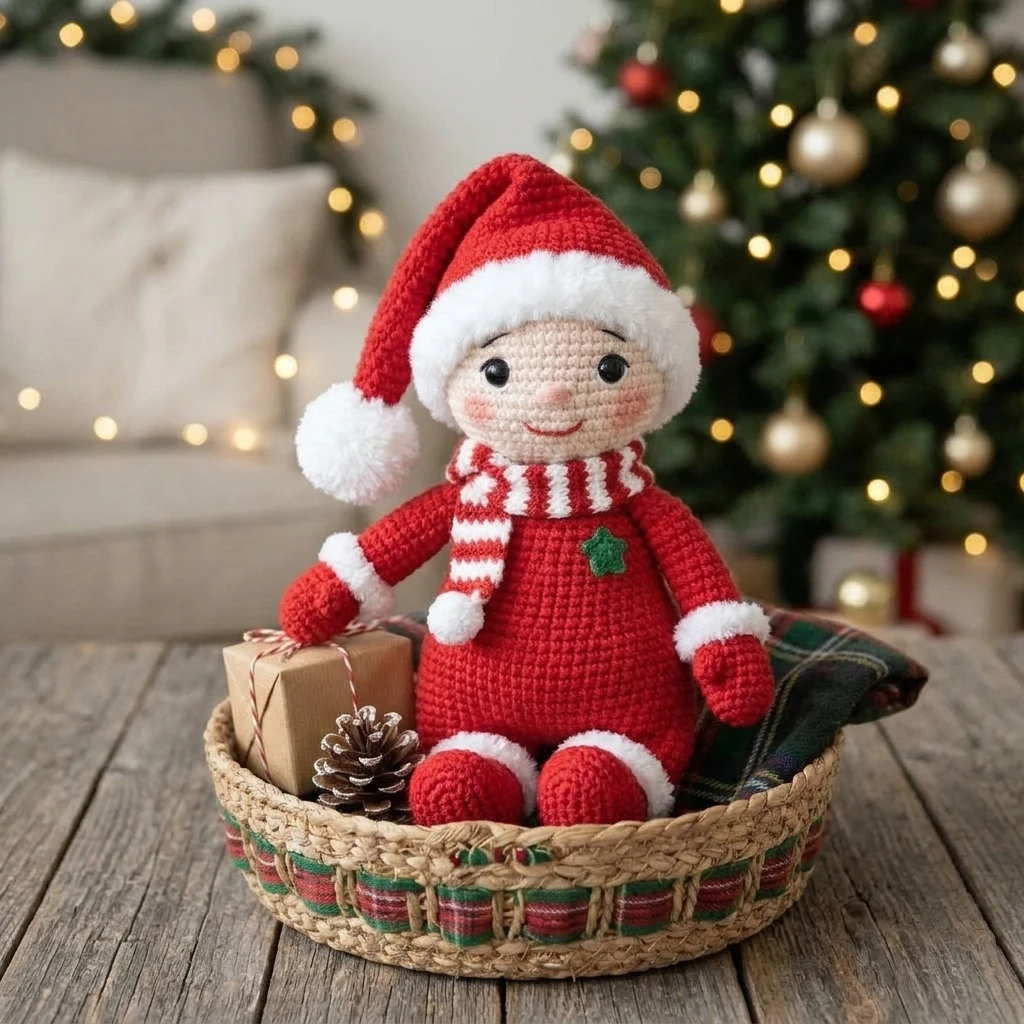
- Join Head to Body: Using the yarn tail from the head or body, sew the head onto the opening of the bunting body. Ensure you add a little extra stuffing at the neck joint before closing completely.
- Embroider Face: Using black embroidery floss, create two small “V” shapes or horizontal lines on Round 10 of the head to represent sleeping eyes. Add a tiny pink stitch for cheeks if desired.
- Attach Hat: Place the Santa hat on top of the head, tilting it slightly to one side for a whimsical look. Sew it in place around the white brim.
- Add Pom-Pom: Create a small white pom-pom or crochet a small ball (6 sc in MR, fasten off) and sew it to the tip of the hat.
- Arms (Optional): If you want visible arms, crochet two small tubes (4 sc in MR, 4 rounds) in red and sew them to the sides of the bunting.
7 Technical Tips for a Better Free Crochet Christmas Baby
- Use the Invisible Decrease: To prevent gaps in your amigurumi where stuffing might show through, always use the invisible decrease method (working only through the front loops).
- Tighten Your Tension: If you see holes between your stitches, drop down half a hook size. Amigurumi requires a denser fabric than garments.
- Yarn Under Technique: Try “yarn under” instead of “yarn over” for your single crochets. This creates a sharper “X” shape and a tighter weave.
- Secure the Magic Ring: After pulling your magic ring tight, use a needle to weave the tail through the first round of stitches to ensure it never pulls open.
- Facial Symmetry: Use pins to mark where the eyes and mouth will go before you start embroidering. This allows you to check alignment from all angles.
- Stuffing Consistency: Break your fiberfill into small tufts rather than one large clump. This prevents the “lumpy” look and allows for smoother shaping.
- Seamless Color Changes: When switching from Red to White on the hat, pull the new color through the last two loops of the previous stitch for a clean transition.
Frequently Asked Questions
What is the best yarn for this project?
A mercerized cotton or a high-quality cotton/acrylic blend is best. These yarns offer excellent stitch definition and don’t pill as easily as pure acrylic, keeping your Christmas baby looking new for years.
Is this pattern safe for infants?
If the doll is intended for a baby, please embroider the eyes instead of using plastic safety eyes, which can pose a choking hazard. Also, ensure the pom-pom is sewn on extremely securely.
How do I make the doll larger?
To scale up the project, simply use a bulkier yarn (like Chunky or Velvet yarn) and a larger hook (5.0mm or 6.0mm). The proportions will remain the same, but the finished toy will be significantly bigger.
How do I keep the hat from falling off?
While the pattern suggests sewing the hat on, you can also add a small amount of stuffing inside the hat before sewing to help it maintain its shape and sit firmly on the head.
Can I wash my crochet Christmas baby?
Yes, if you use acrylic or cotton yarn, you can hand wash the doll in cool water with mild soap. Air dry thoroughly to ensure the stuffing inside doesn’t retain moisture.
Conclusion
Creating a Free Crochet Christmas Baby is a wonderful way to practice amigurumi shaping while making something truly festive and heartfelt. Whether you keep it as a holiday keepsake or gift it to a loved one, this little doll is sure to bring a smile. Don’t forget to experiment with different shades of green or sparkly yarns for a unique twist! If you enjoyed this project, please save it to your Christmas Crochet board on Pinterest. What color will you choose for your baby’s bunting this year?
Save This Crochet Pattern