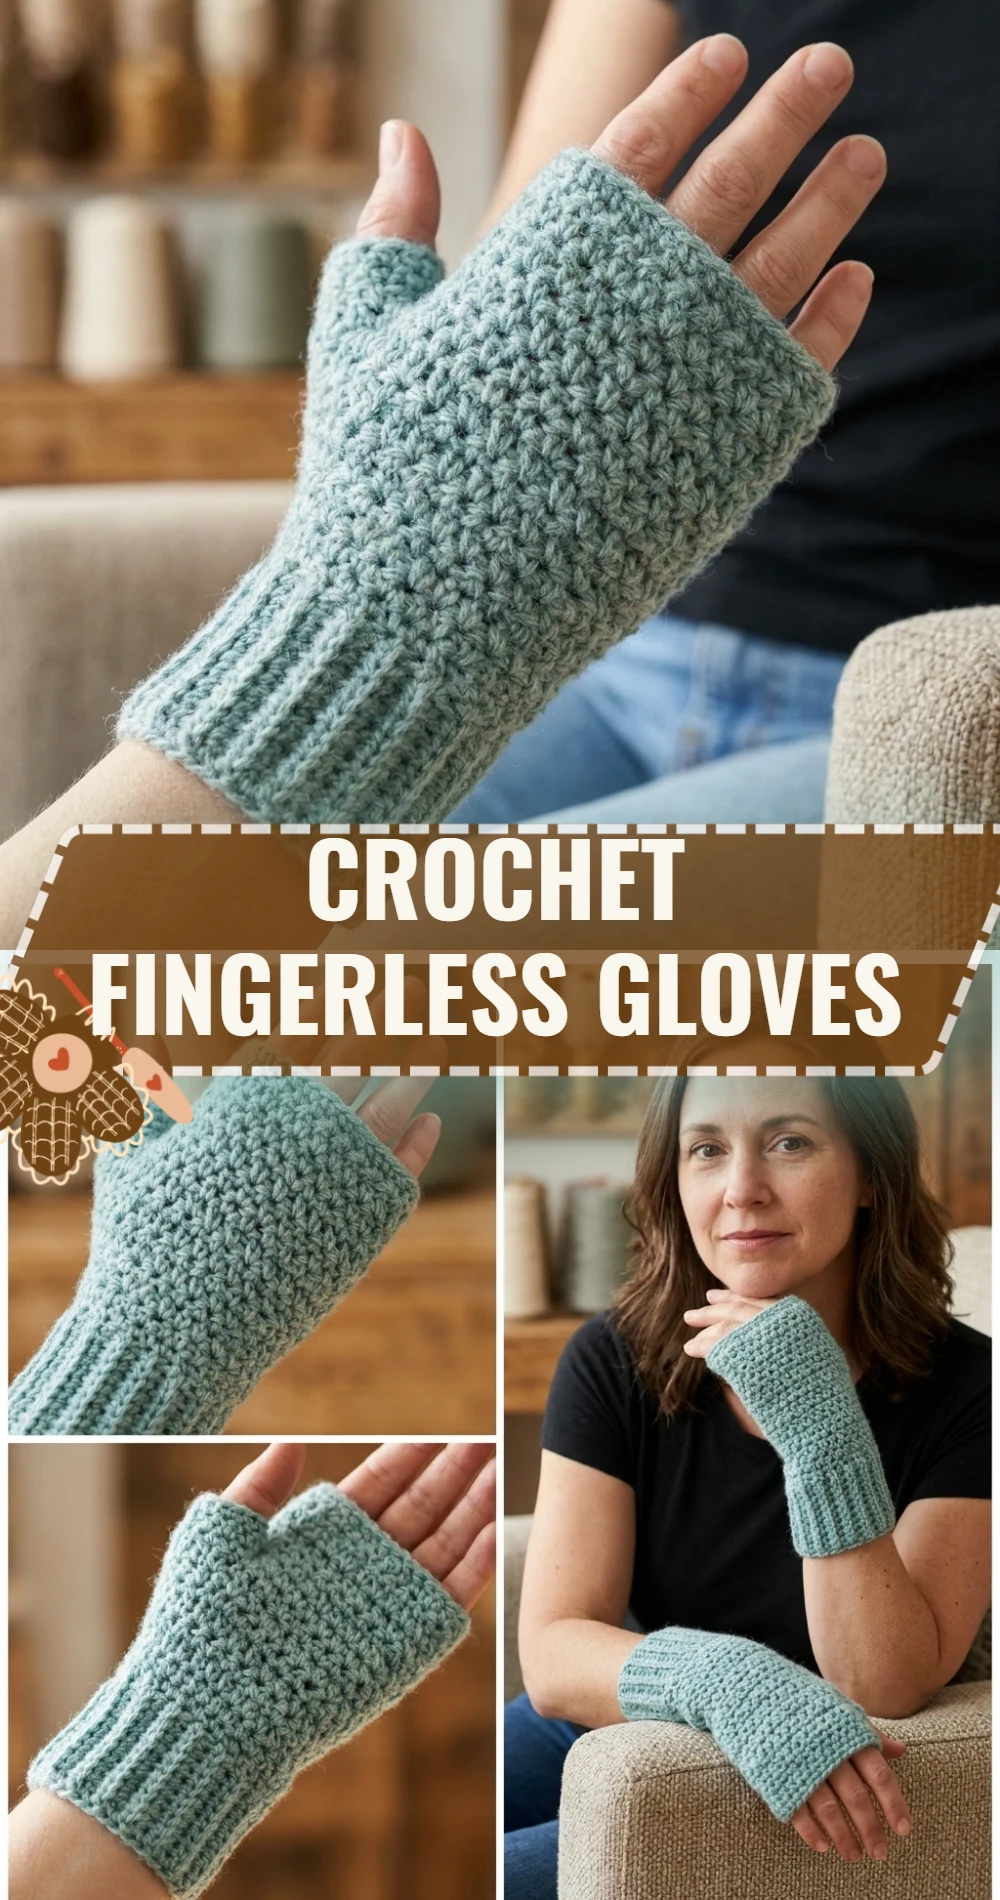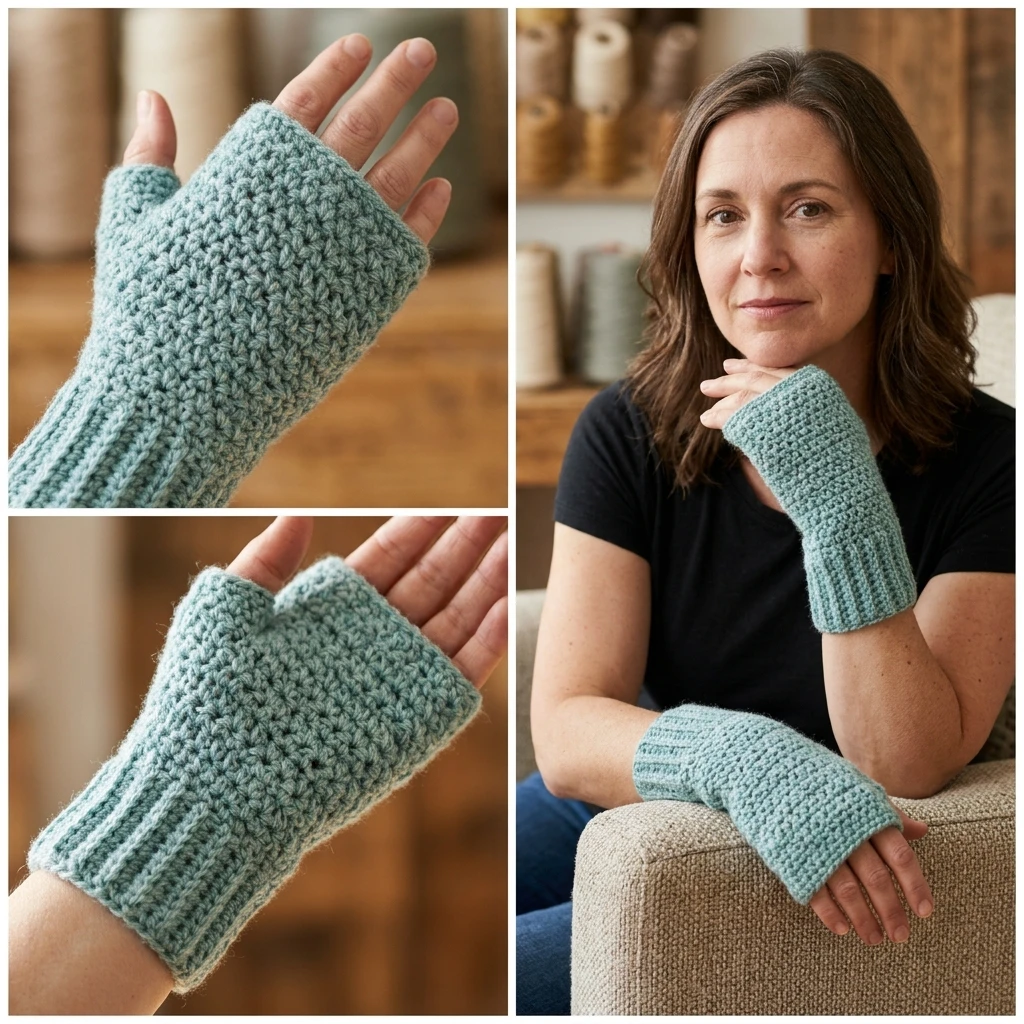
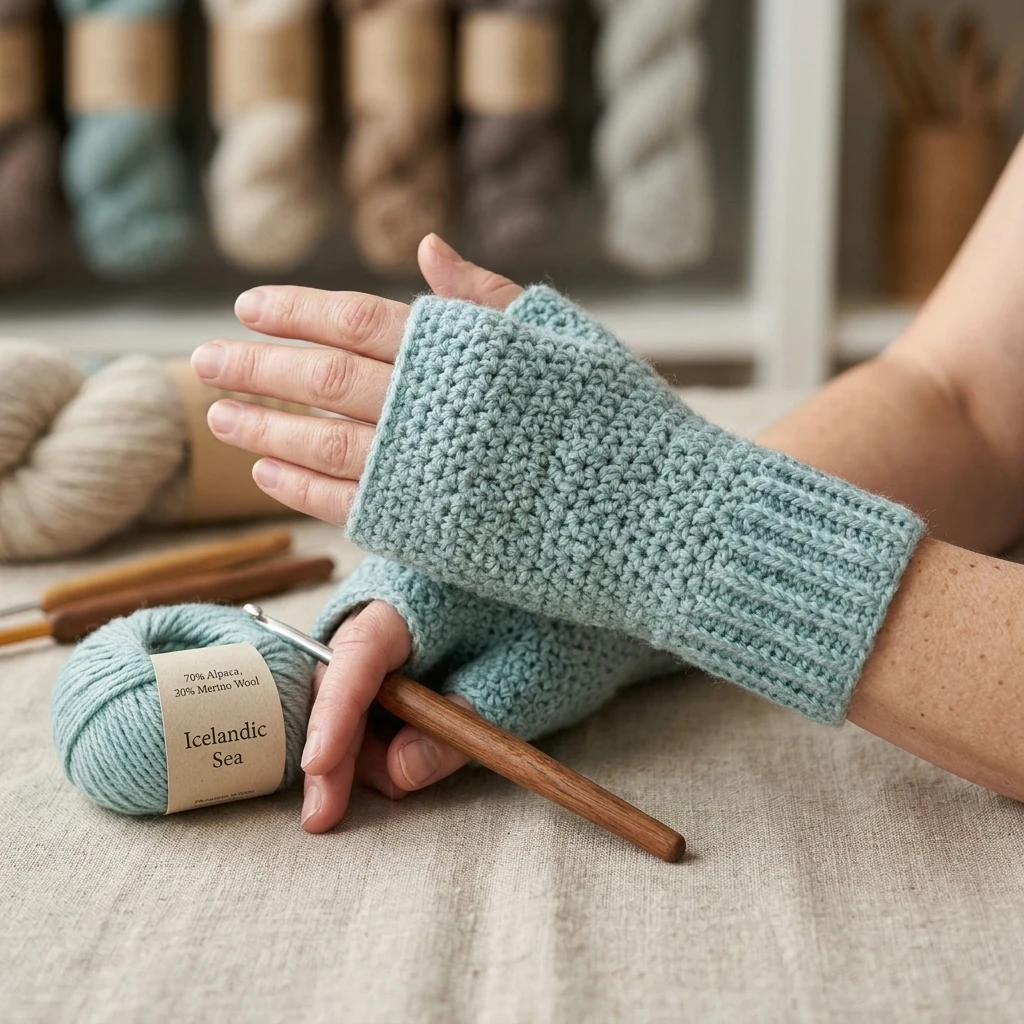
Crochet fingerless gloves represent the perfect intersection of cozy warmth and modern functionality. Designed for the active individual who needs their fingertips free for texting, typing, or driving, these accessories offer a stylish way to ward off the seasonal chill without sacrificing dexterity. This particular design features a sophisticated ribbed cuff for a snug fit at the wrist, transitioning into a textured body that provides ample insulation. Whether you are crafting a pair for a thoughtful handmade gift or updating your own autumn wardrobe, these gloves are a versatile project that works up quickly and looks professionally tailored.
The Design: What Makes This Pattern Different
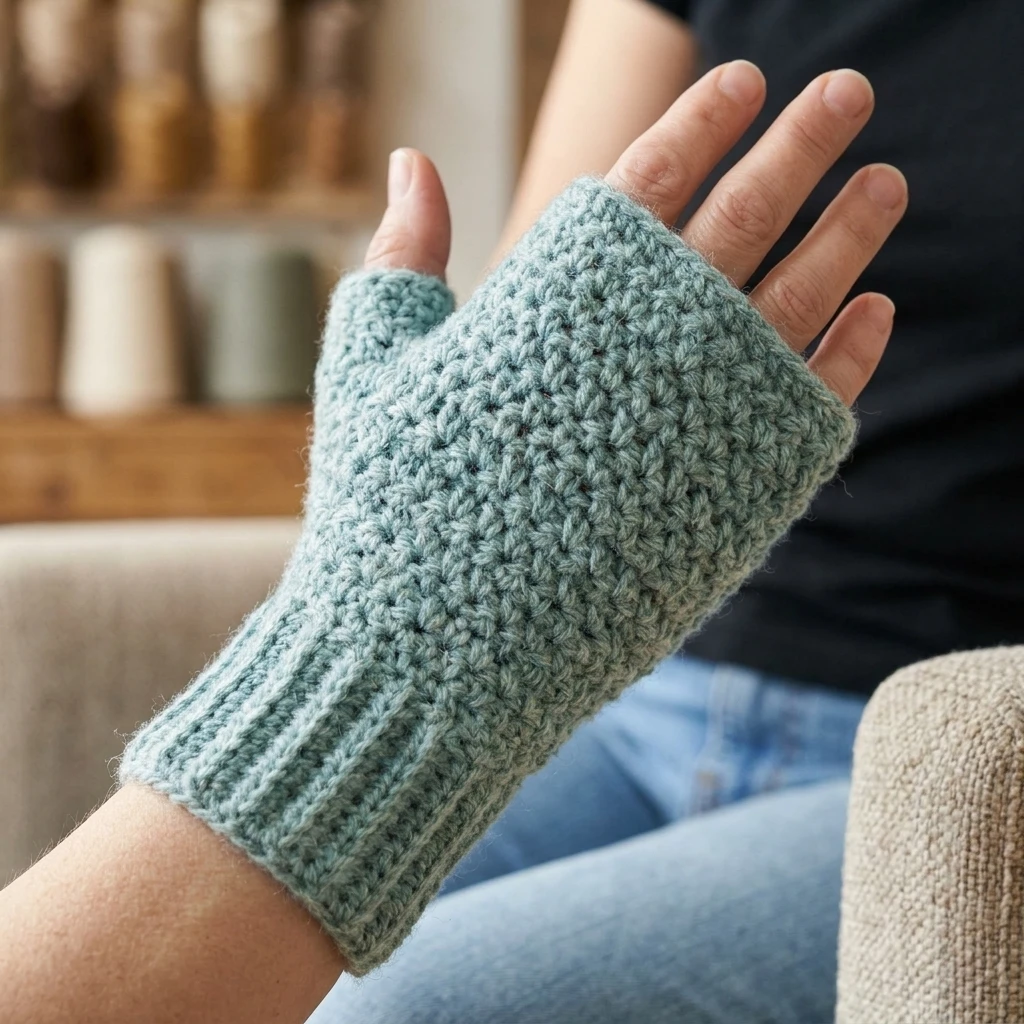
The structural integrity of this pattern relies on a “hand-mapped” approach. Unlike basic tube-style mitts that can feel bulky or ill-fitting, this design incorporates a dedicated thumb opening created through strategic stitch skipping rather than complex gusset increases, making it accessible for advanced beginners while maintaining a sleek silhouette. We utilize back-loop-only (BLO) stitching for the cuffs to simulate a knit-look ribbing that retains its elasticity over time.
One common mistake to avoid in fingerless glove construction is neglecting the “negative ease” required for a good fit. Many crocheters work the hand portion too loosely, resulting in a glove that slides down or bunches at the palm. To prevent this, ensure your gauge is consistent and that the cuff is slightly smaller than your actual wrist circumference; the crochet fabric will naturally stretch to form a custom fit as you wear it.
Project Info at a Glance
| Metric | Details |
|---|---|
| Skill Level | Advanced Beginner |
| Estimated Time | 3–5 Hours per pair |
| Finished Size | Adult Medium (approx. 7.5″ long) |
| Hook Size | 5.0 mm (US H/8) |
| Yarn Weight | Medium / Worsted (Weight 4) |
| Gauge | 14 sts x 10 rows = 4″ in HDC |
| Best For | Commuters, office workers, and gift-giving |
Materials and Tools
Yarn
For this project, you will need approximately 150 to 180 yards of a soft worsted-weight yarn. A wool blend is highly recommended for its natural elasticity and warmth, though a high-quality acrylic will offer better durability for frequent washing. Choose a solid or heathered color to best showcase the texture of the stitches.
Tools
The primary tool is a 5.0 mm (H) crochet hook, which provides the necessary drape without leaving large gaps between stitches. You will also require a blunt-tipped tapestry needle for weaving in ends and a sharp pair of scissors. If you are a beginner, using two locking stitch markers to identify the start of your rounds can be incredibly helpful.
Abbreviations
- ch: Chain
- st(s): Stitch(es)
- sl st: Slip stitch
- sc: Single crochet
- hdc: Half double crochet
- blo: Back loop only
- sk: Skip
- yo: Yarn over
Pattern — Step by Step
1. The Ribbed Cuff
The cuff is worked flat in rows and then joined to form a circle. This ensures maximum stretch around the wrist.
- Ch 11 (or length desired for cuff height).
- Row 1: Sc in 2nd ch from hook and in each ch across. Turn. (10 sts)
- Row 2: Ch 1, sc in BLO of each st across. Turn. (10 sts)
- Rows 3–24: Repeat Row 2 until the ribbing fits snugly around your wrist when slightly stretched.
- Joining: Bring the two short ends together. Sl st through both layers to form a tube. Do not fasten off.
2. The Hand Body
We will now work in rounds along the edge of the cuff ribbing.
- Round 1: Ch 1, work 26 hdc evenly around the edge of the ribbing. Join with a sl st to the first hdc. (26 sts)
- Round 2–6: Ch 1, hdc in each st around. Join with sl st.
3. Creating the Thumb Hole
This section creates the opening for the thumb without adding extra bulk.
- Round 7: Ch 1, hdc in first 2 sts. Ch 4, sk 4 sts (this creates the thumb opening). Hdc in the remaining sts around. Join.
- Round 8: Ch 1, hdc in each st and each of the 4 chains from the previous round. Join. (26 sts)
4. Finishing the Top
- Round 9–12: Ch 1, hdc in each st around. Join.
- Round 13: Ch 1, sc in each st around to create a clean, sturdy edge. Join and fasten off.
Assembly
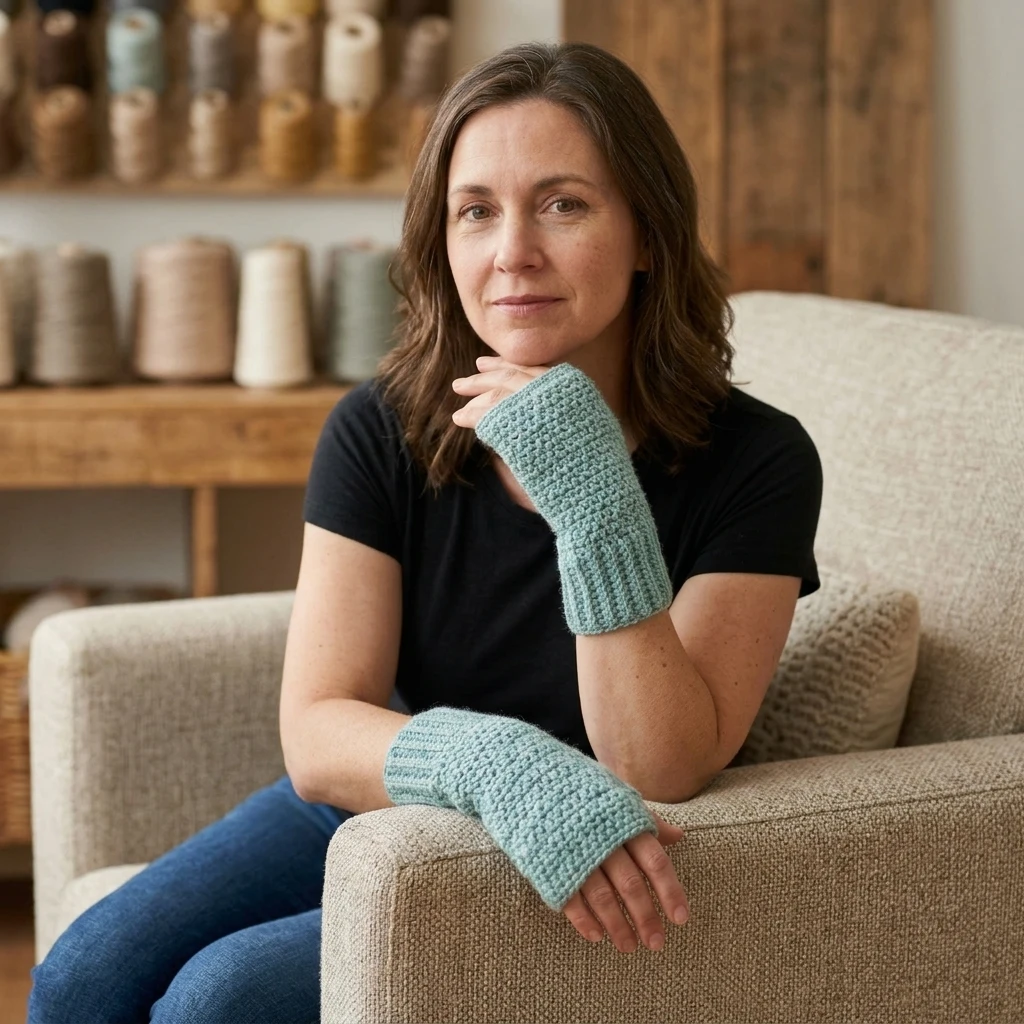
The assembly for these gloves is minimal because the body is worked in the round directly from the cuff. This construction eliminates bulky side seams that can be uncomfortable against the skin.
- Turn the glove inside out to locate the seam where the cuff was joined.
- Using your tapestry needle, weave in the starting yarn tail along the inside of the ribbing to hide it completely.
- Weave in the final yarn tail at the top of the glove, ensuring you go back and forth through the stitches at least three times to prevent unraveling during wear.
- Repeat the entire pattern for the second glove; this pattern is symmetrical, so the same instructions work for both the left and right hands.
7 Technical Tips for a Better Crochet Fingerless Gloves
- Check Your Stretch: When working the cuff, ensure your BLO single crochets are not too tight. The ribbing must be able to expand over the widest part of your hand.
- Mind the Gap: When working the first round into the ribbing edge, try to insert your hook into the “meat” of the stitch rather than under just one loop to avoid creating holes.
- Consistency is Key: Count your stitches after every round of the hand section. It is very easy to accidentally drop or add a stitch at the join.
- Custom Sizing: For a larger hand, add 2 rows to the cuff and 2 stitches to the hand rounds. Always work in multiples of two for the best symmetry.
- Steam Blocking: Give your finished gloves a light steam block. This relaxes the fibers and helps the hdc stitches lay flat and uniform.
- Yarn Selection: Avoid “splitty” yarns. Since gloves take a lot of friction, a tightly twisted plied yarn will look newer for longer.
- The Thumb Finish: If you find the thumb hole too loose, you can join yarn to the opening and work one round of sc around the hole to tighten and reinforce it.
Frequently Asked Questions
Can I make these longer to cover more of my arm?
Yes! Simply add more rows to the cuff section before joining. This will extend the glove further down your forearm for extra warmth.
What if my thumb doesn’t fit through the hole?
If you have a wider thumb, increase the number of skipped stitches in Round 7 (e.g., skip 5 and ch 5). Just ensure your total stitch count remains consistent in the following round.
Is this pattern suitable for wool-allergic users?
Absolutely. You can substitute the wool with a high-quality cotton or bamboo blend for a lighter, vegan-friendly version that is perfect for spring weather.
How do I make a matching pair without them looking different?
Try to crochet both gloves in the same sitting or use a row counter. Variations in your mood or tension throughout the week can slightly change your stitch size.
Are these gloves machine washable?
This depends entirely on your yarn choice. If you used “Superwash” wool or acrylic, they can be machined washed on cold. Always air dry to maintain the shape.
Conclusion
Crochet fingerless gloves are a rewarding project that combines quick gratification with a highly practical result. By mastering the ribbed cuff and the simple thumb-hole skip, you’ve created a pair of accessories that are as functional as they are beautiful. Don’t forget to save this tutorial to your Crochet Accessories board on Pinterest so you can find it the next time you need a quick gift! What color yarn will you choose for your first pair?
Save This Crochet Pattern