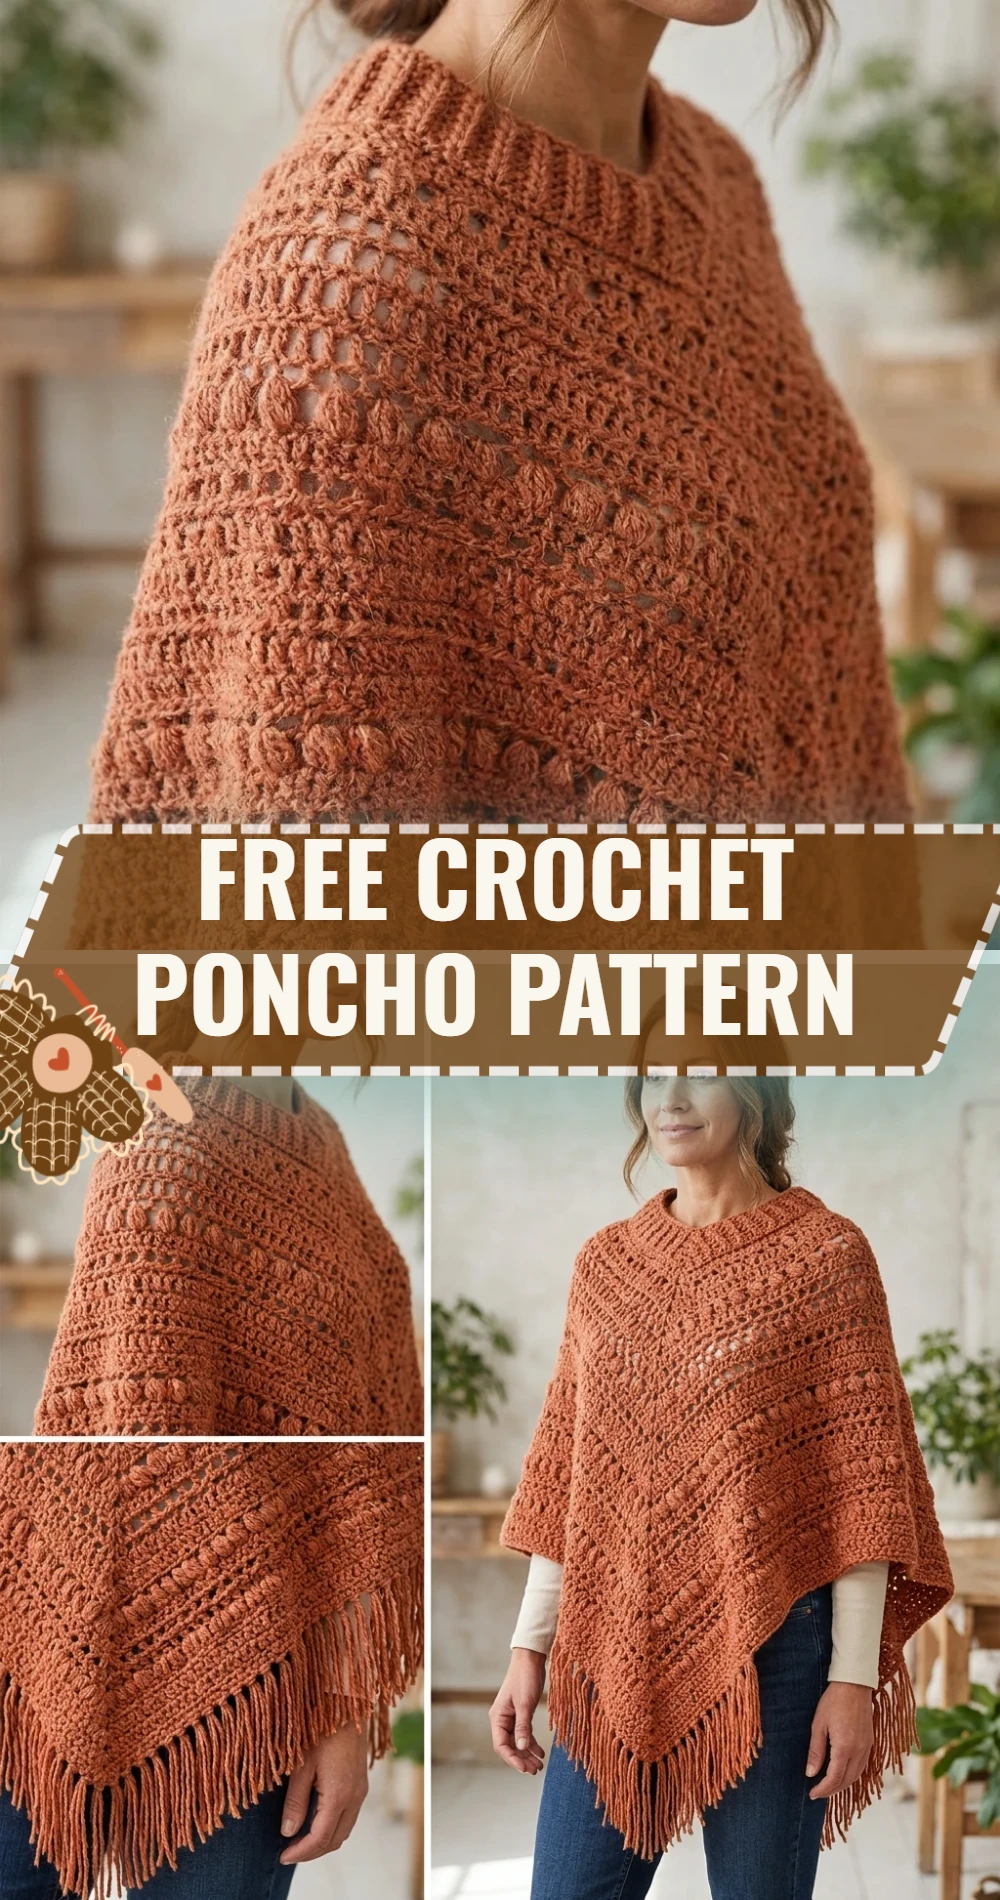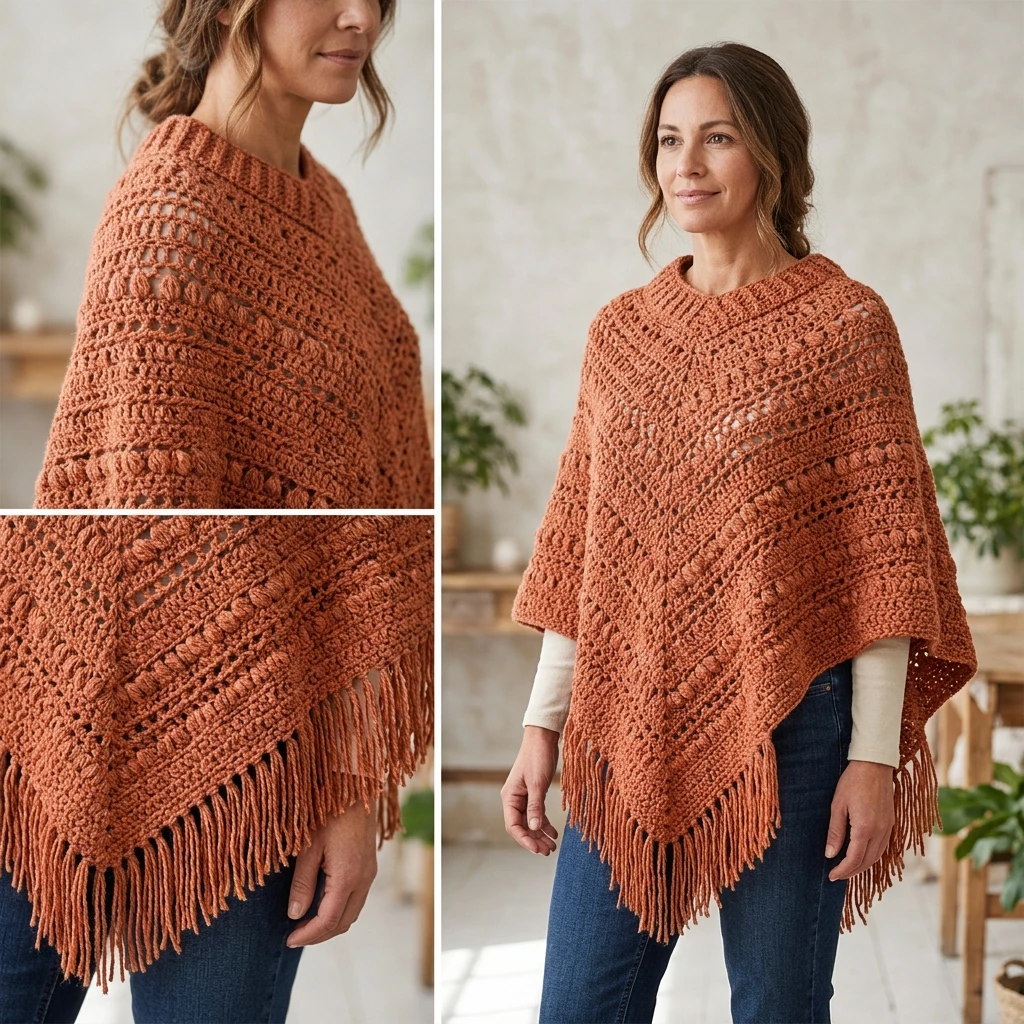
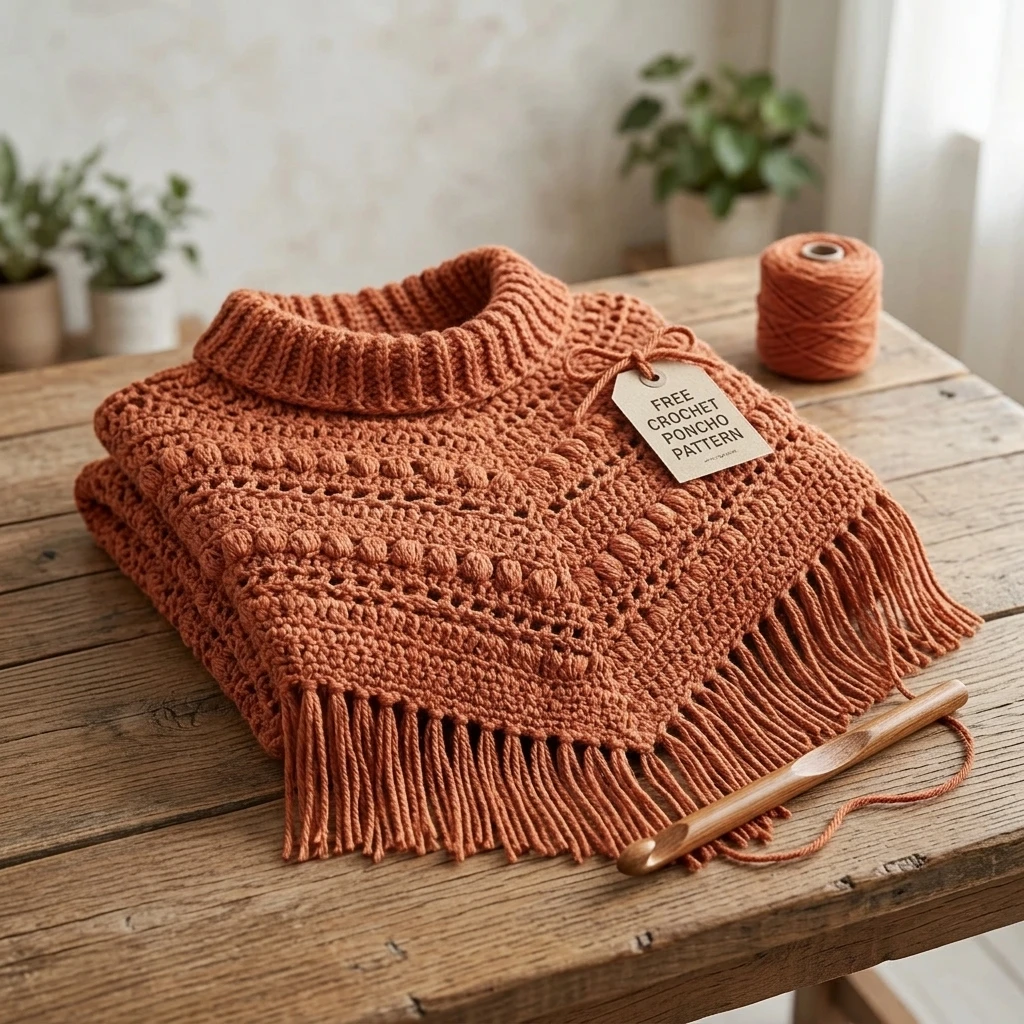
Embrace the effortless elegance of a handmade layer with this versatile Free Crochet Poncho Pattern. This project creates a stunning, drapey garment that balances bohemian flair with modern comfort, making it the perfect companion for crisp autumn walks or breezy spring evenings. Designed with a generous silhouette that flatters various body types, the construction relies on two simple rectangles joined to create a classic asymmetrical point. Whether you are looking for a mindful repetitive project or a stylish addition to your handmade wardrobe, this poncho offers a sophisticated look without the complexity of traditional garment shaping.
The Design: What Makes This Pattern Different
While many poncho patterns can feel heavy or boxy, this design focuses on fluid movement. We utilize a combination of basic stitches and rhythmic spacing to ensure the fabric remains breathable and soft rather than stiff. Structurally, this pattern avoids the “stuck in a circle” feeling of top-down ponchos by using the two-rectangle method. This allows you to easily adjust the length and width simply by adding rows or increasing your starting chain. A common mistake to avoid is working your foundation chain too tightly; because the neck opening is formed by the seam of these rectangles, a tight starting edge can cause the neckline to pucker or sit unevenly on the shoulders.
Project Info at a Glance
| Feature | Details |
|---|---|
| Skill Level | Easy / Advanced Beginner |
| Estimated Time | 12 – 16 Hours |
| Finished Size | Adult One Size (Approx. 24″ x 30″ per panel) |
| Hook Size | 5.5 mm (US I-9) |
| Yarn Weight | Worsted (Medium #4) |
| Gauge | Photo-inspired: 14 sts x 8 rows in pattern = 4″ |
| Best For | Layering, Gift Gifting, Festival Wear |
Materials and Tools
Yarn
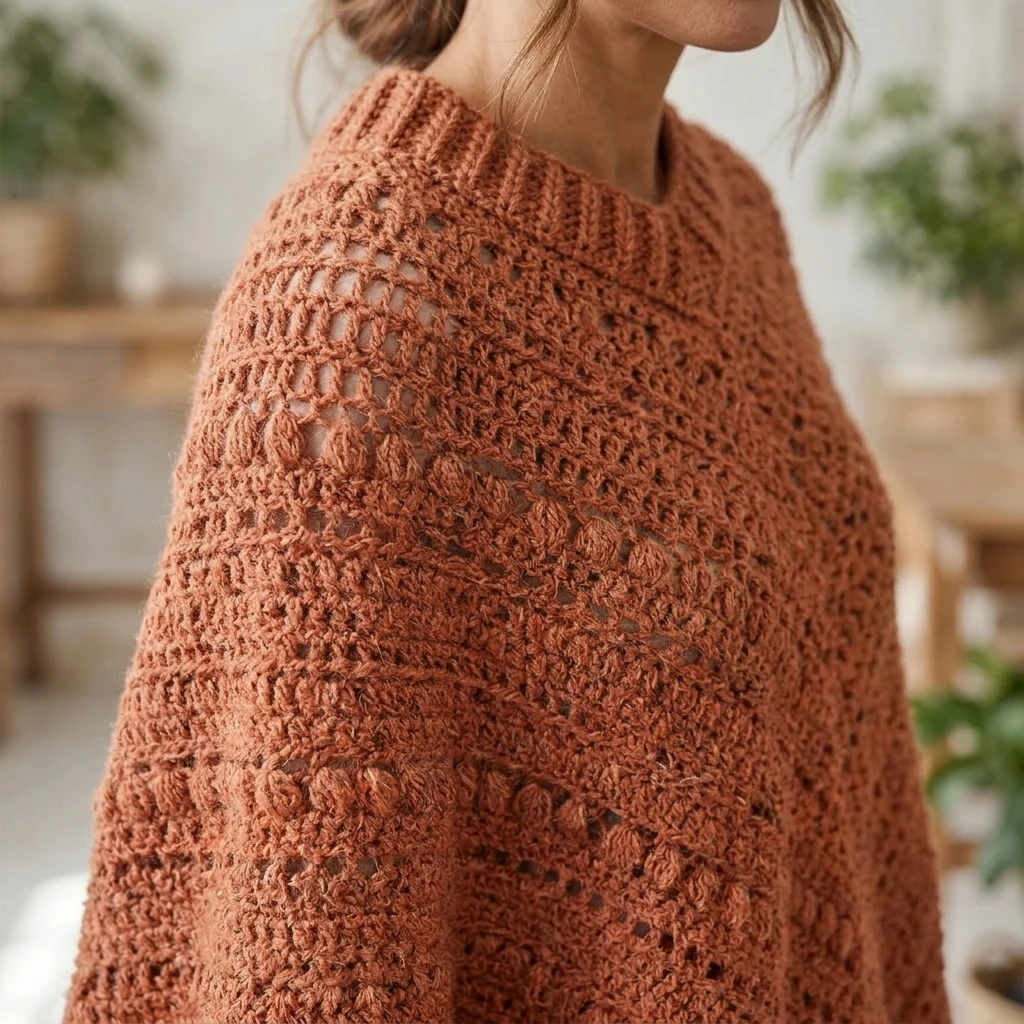
To achieve the drape shown in the photo, you will need approximately 1,200 to 1,500 yards of a soft worsted weight yarn. Natural fibers like wool blends or high-quality acrylics work best to maintain the structure of the stitch work over time. If you choose to add fringe, ensure you have an additional 150 yards available.
Tools
- 5.5 mm crochet hook (or size needed to obtain gauge)
- Large-eye yarn needle for weaving in ends and seaming
- Measuring tape
- Stitch markers
- Sharp scissors
Abbreviations
All instructions use standard US crochet terminology:
- ch: chain
- st(s): stitch(es)
- sc: single crochet
- dc: double crochet
- sk: skip
- sp: space
- rep: repeat
Pattern — Step by Step
Construction Strategy
This poncho is constructed by creating two identical rectangles. Once completed, the short end of one rectangle is sewn to the long edge of the second rectangle, creating a “L” shape that is then folded and seamed again to create the neck hole. This “fold-and-seam” method provides the classic pointed hemline without needing to work in the round or decrease stitches.
The Rectangles (Make 2)
1. Foundation: Ch 82 (or a multiple of 2 to reach approximately 24 inches).
2. Row 1: Sc in 2nd ch from hook and in each ch across. Turn. (81 sts)
3. Row 2: Ch 3 (counts as dc), sk first st, *dc in next st, ch 1, sk next st; rep from * across to last st, dc in last st. Turn.
4. Row 3: Ch 1, sc in first dc, *sc in ch-1 sp, sc in next dc; rep from * across, finishing with a sc in the top of the turning ch. Turn.
5. Row 4: Ch 3, sk first st, dc in each st across. Turn.
6. Rows 5–60 (Estimated): Repeat Rows 2 through 4 until the piece measures approximately 30 inches (or your desired length, ensuring the length is 6–8 inches longer than the width).
7. Finishing: Fasten off, leaving a long tail for seaming (approx. 20 inches).
Assembly
Before beginning the assembly, it is highly recommended to steam block your rectangles. This opens up the stitches and ensures the edges are straight, making the seaming process significantly easier and the final drape much more professional.
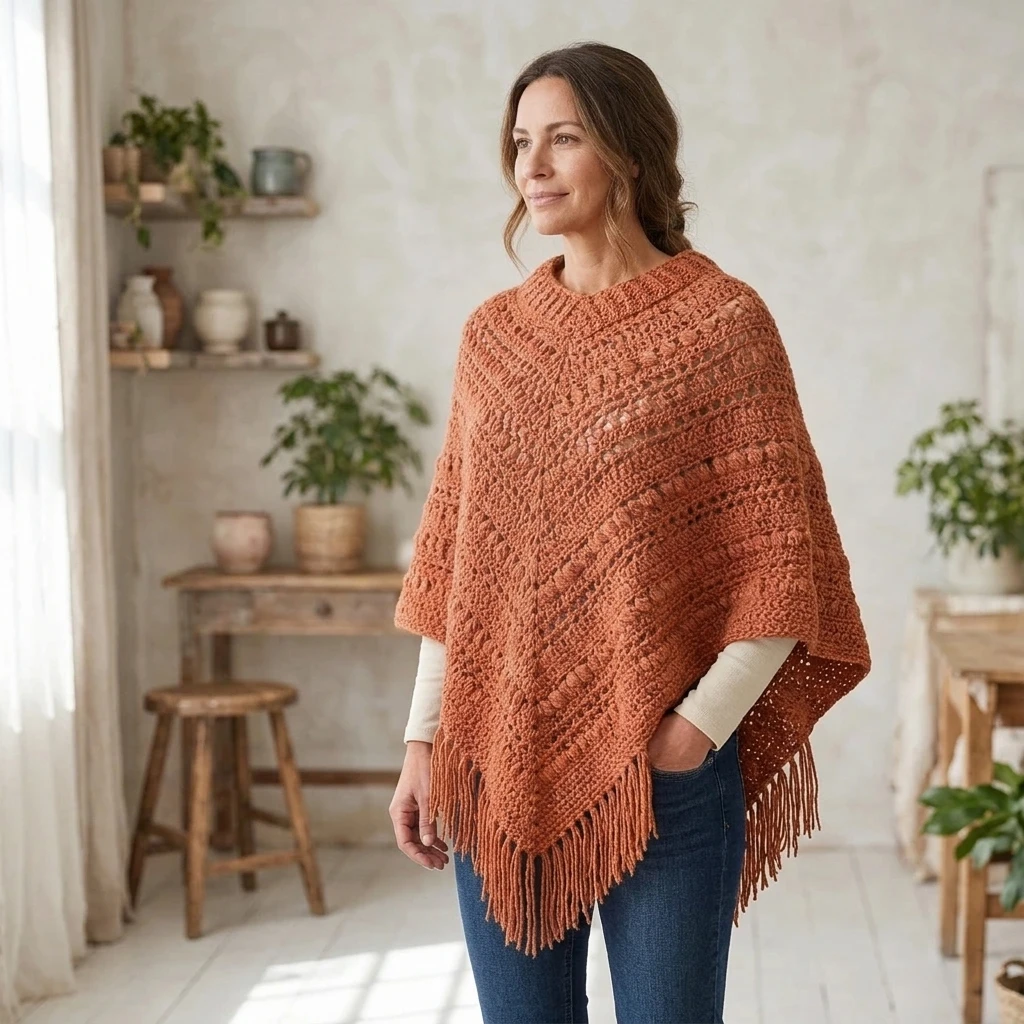
- Lay the first rectangle horizontally on a flat surface.
- Place the second rectangle vertically, aligning its short edge (the foundation or top edge) with the right-hand side of the first rectangle’s long edge.
- Using a whip stitch or mattress stitch, sew the short edge of the second rectangle to the long edge of the first.
- Take the remaining free short edge of the first rectangle and bring it toward the long edge of the second rectangle.
- Sew this short edge to the long edge of the second rectangle, leaving a hole in the center for the head.
- Verify the neck opening is centered and the points of the poncho hang evenly at the front and back.
7 Technical Tips for a Better Free Crochet Poncho Pattern
- Watch Your Tension: If your rectangles are differing in size, your tension may be fluctuating. Measure your work every 10 rows to ensure consistency.
- Fiber Choice Matters: Avoid 100% cotton for this specific design as it can become heavy and “grow” (stretch out) significantly when worn. A wool or acrylic blend retains its shape better.
- The Mattress Stitch: For an invisible seam, use the mattress stitch rather than a whip stitch. This keeps the join flat and prevents a bulky ridge on the shoulder.
- Check the Neckline: Before doing the final fasten-off on your seams, try the poncho on. If the neck is too wide, simply extend your seam a few more stitches.
- Fringe Finish: To prevent fringe from fraying, use a sharp pair of fabric shears and consider knotting the ends of the yarn if using a roving-style thread.
- Edging Polish: For a more structured look, work one round of single crochet around the entire bottom hem and the neckline after assembly.
- Blocking is Mandatory: Because this is a garment made of geometric shapes, blocking is the only way to ensure the corners don’t curl and the rectangles hang straight.
Frequently Asked Questions
Can I make this poncho larger?
Yes. Simply increase the starting chain (width) and the number of rows (length). Just remember that the length of the rectangle should be roughly 6 to 10 inches longer than the width to ensure a proper fit around the shoulders.
What if I don’t want to add fringe?
Fringe is entirely optional! You can leave the edges clean, add a pom-pom trim, or work a crab stitch (reverse single crochet) around the border for a textured, corded look.
Is this pattern suitable for beginners?
Absolutely. If you can crochet a rectangle and sew a straight line, you can make this poncho. There are no complex increases or decreases to worry about.
How do I wash my finished poncho?
Follow the care instructions on your yarn label. Generally, hand-washing in cold water and laying flat to dry is the safest way to prevent stretching or pilling of the crochet fabric.
Can I use a different yarn weight?
You can use bulky yarn for a winter version or fingering weight for a summer wrap. Just be sure to adjust your hook size accordingly and follow the measurements (24″ x 30″) rather than the specific stitch counts provided.
Conclusion
The beauty of this Free Crochet Poncho Pattern lies in its simplicity and the high-end look of the finished garment. By using the two-rectangle construction method, you’ve created a piece that is as enjoyable to make as it is to wear. This project is a fantastic way to experiment with different yarn textures or variegated colorways while building your garment-making confidence. If you enjoyed this tutorial, be sure to save it to your “Crochet Wearables” board on Pinterest so you can find it for your next gift project. What color yarn are you planning to use for your first poncho?
Save This Crochet Pattern