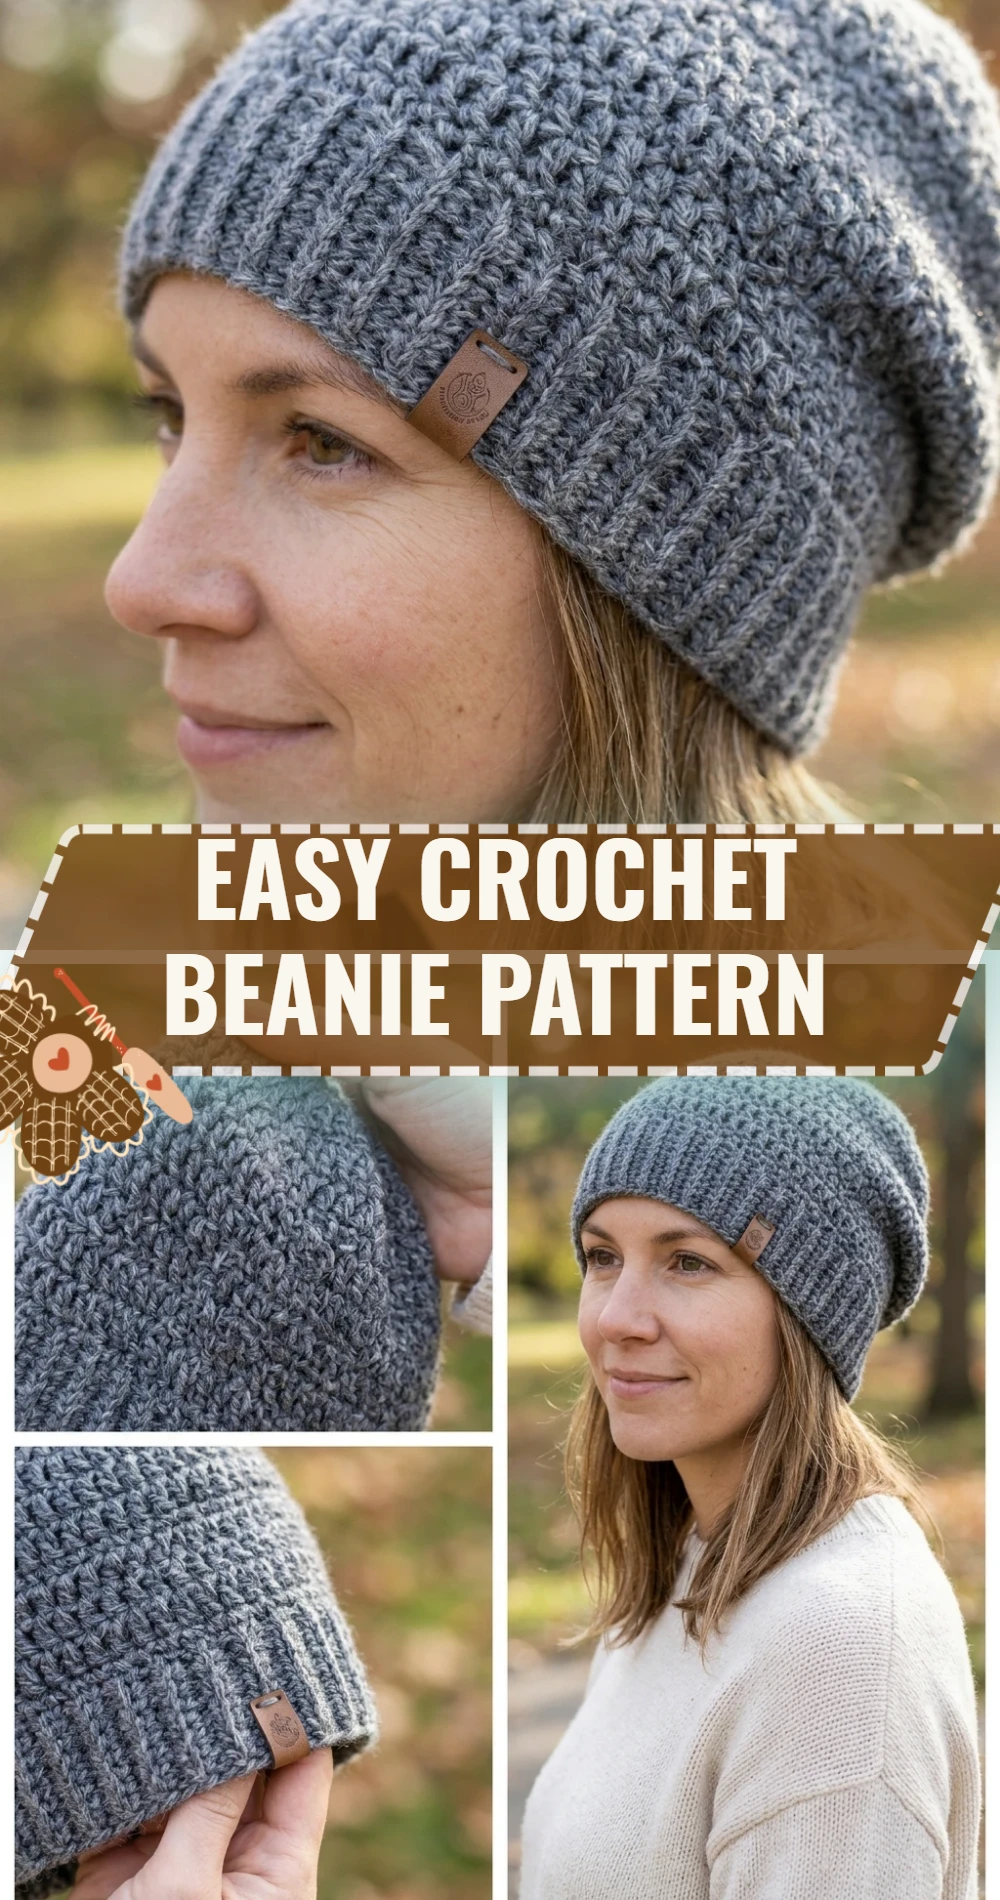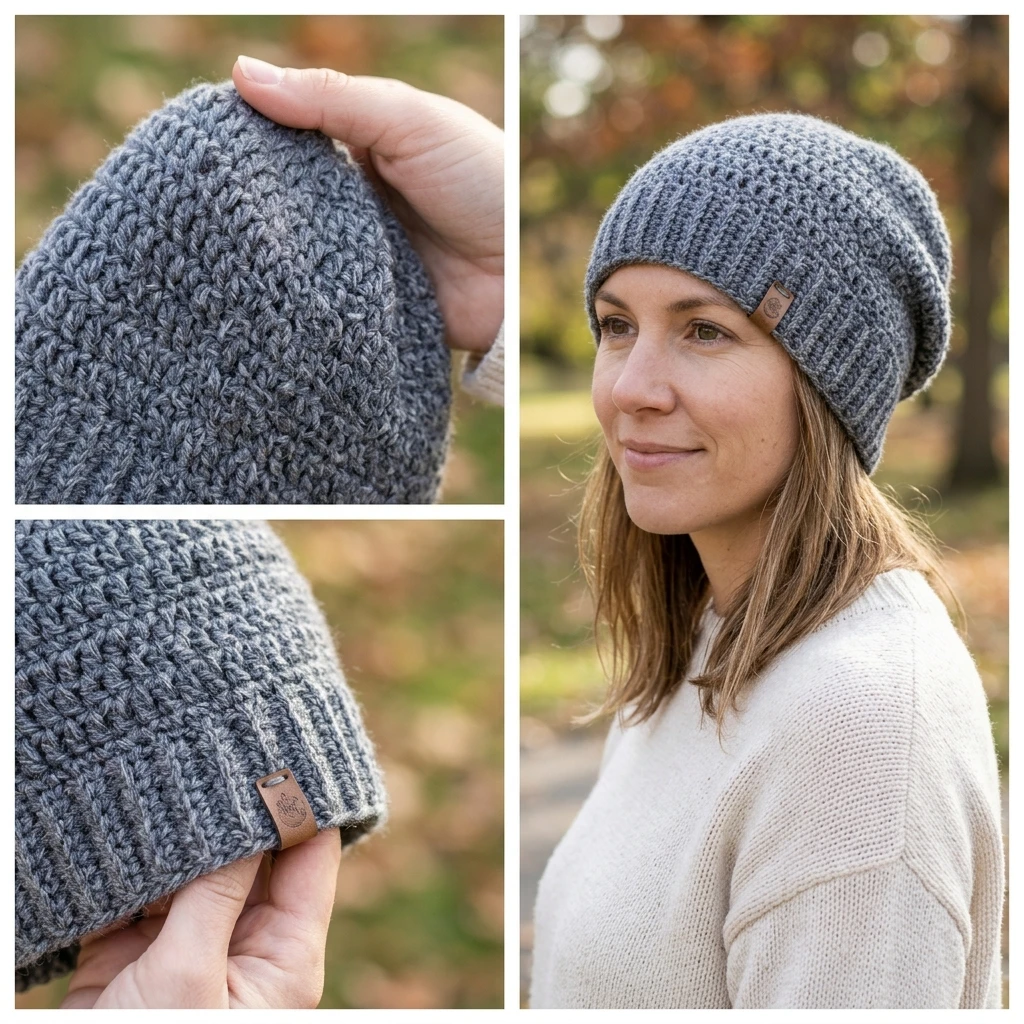
The classic beanie is an essential staple in any handmade wardrobe, offering a perfect blend of warmth and minimalist style. This Easy Crochet Beanie Pattern creates a soft, snug-fitting hat with a subtle texture that suits everyone from toddlers to adults. Constructed from the top down using basic stitches, this project is designed for speed and comfort, making it an ideal choice for last-minute gifts or charity donations. Whether you are looking for a sleek, modern look in a neutral tone or a vibrant, chunky accessory, this pattern serves as the ultimate canvas for your creativity.
The Design: What Makes This Pattern Different
The beauty of this design lies in its seamless top-down construction, which allows you to try on the hat as you go to ensure a perfect fit. Unlike flat-rectangles that require bulky seaming at the end, this beanie uses a continuous spiral or joined-round method that results in a smoother finish. We have selected the half double crochet (HDC) stitch for this project because it provides more height than a single crochet but offers a denser, warmer fabric than a double crochet.
One common mistake to avoid with top-down beanies is failing to measure the “crown diameter” before moving into the straight sides. If the flat circle at the top is too small, the hat will be tight; if it is too large, the hat will look wavy. Always measure the diameter of your flat circle against a standard size chart to ensure the sizing is correct before you stop increasing.
Project Info at a Glance
| Feature | Details |
|---|---|
| Skill Level | Beginner / Easy |
| Estimated Time | 2–4 Hours |
| Finished Size | Adult Medium (Suggested) |
| Hook Size | 5.5 mm (US I-9) |
| Yarn Weight | Medium / Worsted (Weight 4) |
| Gauge | 12 HDC x 9 rows = 4 inches (Photo-inspired) |
| Best For | Daily Wear, Winter Gifts, Charity Toting |
Materials and Tools
Yarn
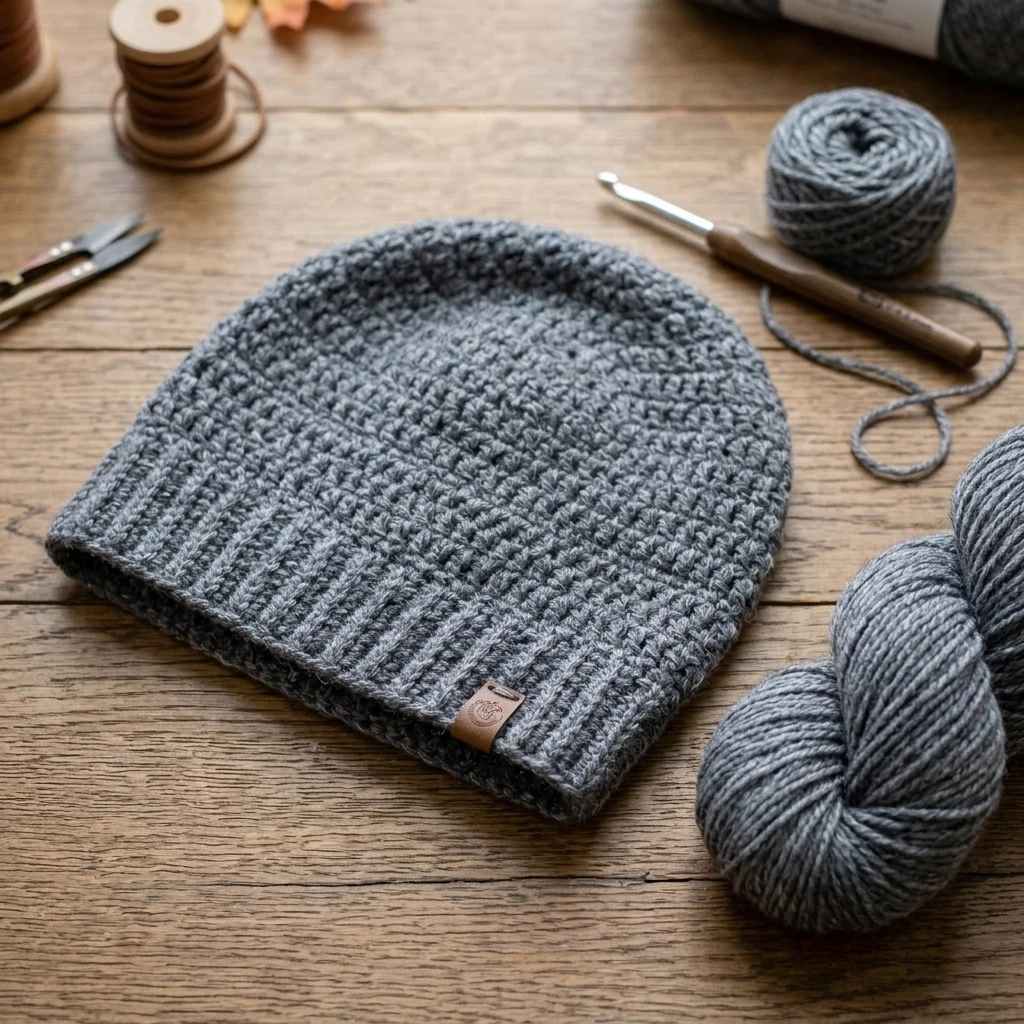
For this project, you will need approximately 150 to 200 yards of a Medium (Weight 4) yarn. A soft acrylic or a wool-blend is suggested for maximum elasticity and warmth. If you are making a larger adult slouchy version, consider having a second skein on hand just in case.
Tools
- 5.5 mm (US I-9) crochet hook
- Stitch markers (essential for tracking the start of rounds)
- Yarn needle for weaving in ends
- Measuring tape
- Sharp scissors
Abbreviations
- ch: chain
- st(s): stitch(es)
- sl st: slip stitch
- hdc: half double crochet
- inc: increase (2 hdc in the same stitch)
- rnd: round
- mr: magic ring
Pattern — Step by Step
Construction Overview
This beanie is worked in the round from the crown (top) down to the brim. You will begin by creating a flat circle using a series of increase rounds. Once the diameter of the circle matches your desired head size, you will stop increasing and work straight rounds to create the height of the hat.
The Crown (Increases)
- Rnd 1: Start with a magic ring. Ch 1 (does not count as a stitch), work 8 hdc into the ring. Join with a sl st to the first hdc. (8 sts)
- Rnd 2: Ch 1, 2 hdc in each st around. Join with a sl st. (16 sts)
- Rnd 3: Ch 1, *1 hdc in next st, inc in next st; repeat from * around. Join with a sl st. (24 sts)
- Rnd 4: Ch 1, *1 hdc in next 2 sts, inc in next st; repeat from * around. Join with a sl st. (32 sts)
- Rnd 5: Ch 1, *1 hdc in next 3 sts, inc in next st; repeat from * around. Join with a sl st. (40 sts)
- Rnd 6: Ch 1, *1 hdc in next 4 sts, inc in next st; repeat from * around. Join with a sl st. (48 sts)
- Rnd 7: Ch 1, *1 hdc in next 5 sts, inc in next st; repeat from * around. Join with a sl st. (56 sts)
- Rnd 8: Ch 1, *1 hdc in next 6 sts, inc in next st; repeat from * around. Join with a sl st. (64 sts)
The Body (Straight Rounds)
- Rnd 9–20 (or until desired length): Ch 1, 1 hdc in each st around. Join with a sl st. (64 sts)
- Final Rnd: To create a clean edge, ch 1 and sl st loosely in each stitch around. Fasten off.
Assembly
Because this beanie is worked in one continuous piece from the top down, there is no sewing required for the main structure. Assembly focuses on securing the beginning and end of your work to ensure longevity.

- Tighten the magic ring at the top of the crown until the center hole is completely closed.
- Thread the yarn tail through a yarn needle and weave it through the stitches of the first round at least three times to ensure it won’t come loose during washing.
- Weave in the final yarn tail at the brim, following the direction of the stitches to hide the join.
- (Optional) Attach a faux fur or yarn pom-pom to the center of the crown for a classic winter look.
7 Technical Tips for a Better Easy Crochet Beanie Pattern
- Master the Magic Ring: Using a magic ring instead of a chain-3 loop eliminates the hole at the very top of your hat, providing a more professional look.
- Check Your Gauge: If your beanie looks more like a dinner plate than a hat after 8 rounds, your tension may be too loose. Adjust your hook size down if necessary.
- Count Your Stitches: It is incredibly easy to accidentally add or lose a stitch at the join of the round. Use a stitch marker in the first hdc of every round.
- Measure the Diameter: For an average adult head, the flat crown circle should measure approximately 6.5 to 7 inches in diameter before you stop increasing.
- Avoid the “Cone” Shape: If your hat starts looking like a cone, you may be increasing too slowly. Ensure you are following the increase math (8 sts per round) precisely.
- Control the Seam: To keep the join line straight, ensure you are not accidentally working into the slip stitch from the previous round.
- Choose the Right Fiber: Acrylic yarn has “memory,” meaning it will snap back to shape. Cotton has very little stretch and may lead to a saggy beanie over time.
Frequently Asked Questions
Can I make this beanie slouchier?
Yes! Simply continue working the straight rounds (Rnd 9 and beyond) for an additional 2 to 4 inches before fastening off.
How do I change the size for a child?
To make a smaller hat, stop the increase rounds earlier (for example, at Round 5 or 6) and then proceed to the straight rounds until the height is appropriate for the child’s head.
What if my seam is spiraling?
A slight spiral is natural when joining rounds. To minimize this, ensure you are inserting your hook into the very first stitch of the round and pulling your joining slip stitch tight.
Is this pattern suitable for bulky yarn?
You can use bulky yarn, but you will need a larger hook and significantly fewer increase rounds. Always use the diameter measurement (approx 7″ for adults) as your guide rather than the row count.
My brim is too loose, what can I do?
For the last two rounds of the brim, you can switch to a hook that is 0.5mm smaller. This will pull the stitches in slightly and create a more secure fit around the forehead.
Conclusion
This easy crochet beanie pattern is a versatile foundation for any crocheter’s library. By mastering the simple top-down construction and half double crochet increases, you can create custom headwear for the entire family. Don’t forget to experiment with different yarn textures or add a ribbed brim for extra detail. If you enjoyed making this project, save it to your “Crochet Projects” board on Pinterest! What color will you choose for your first beanie?
Save This Crochet Pattern