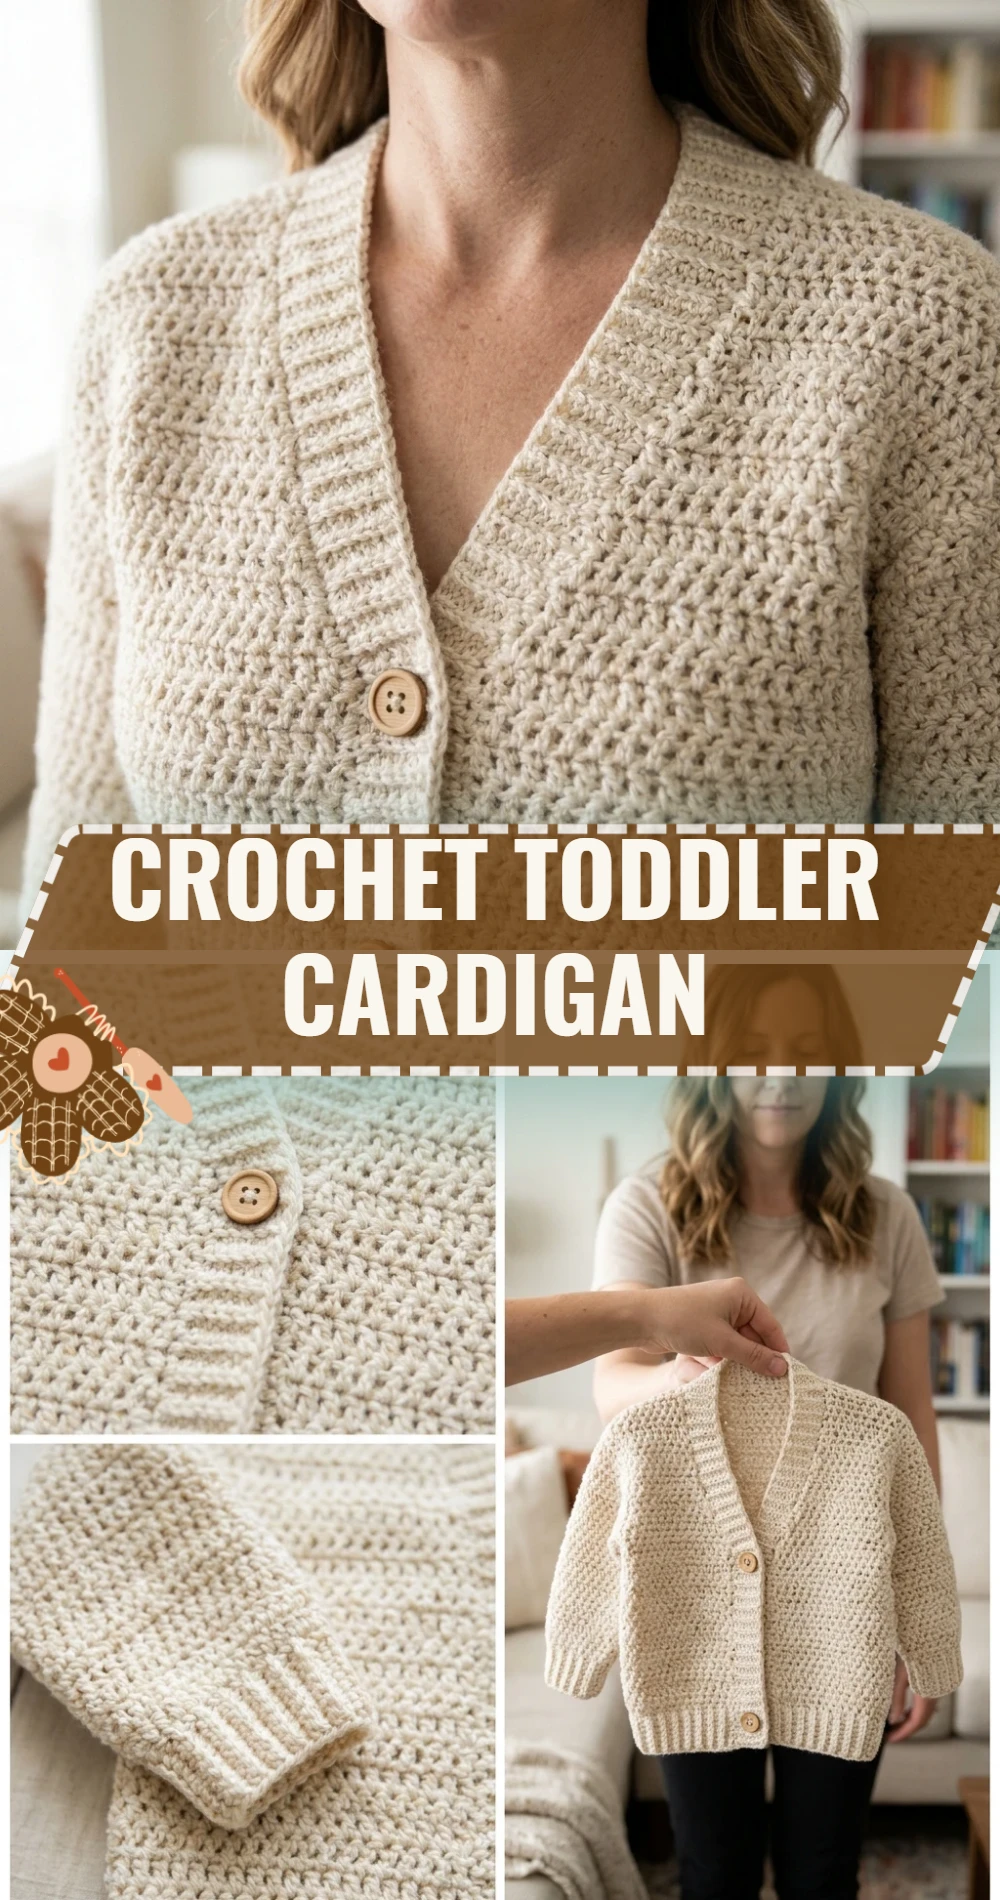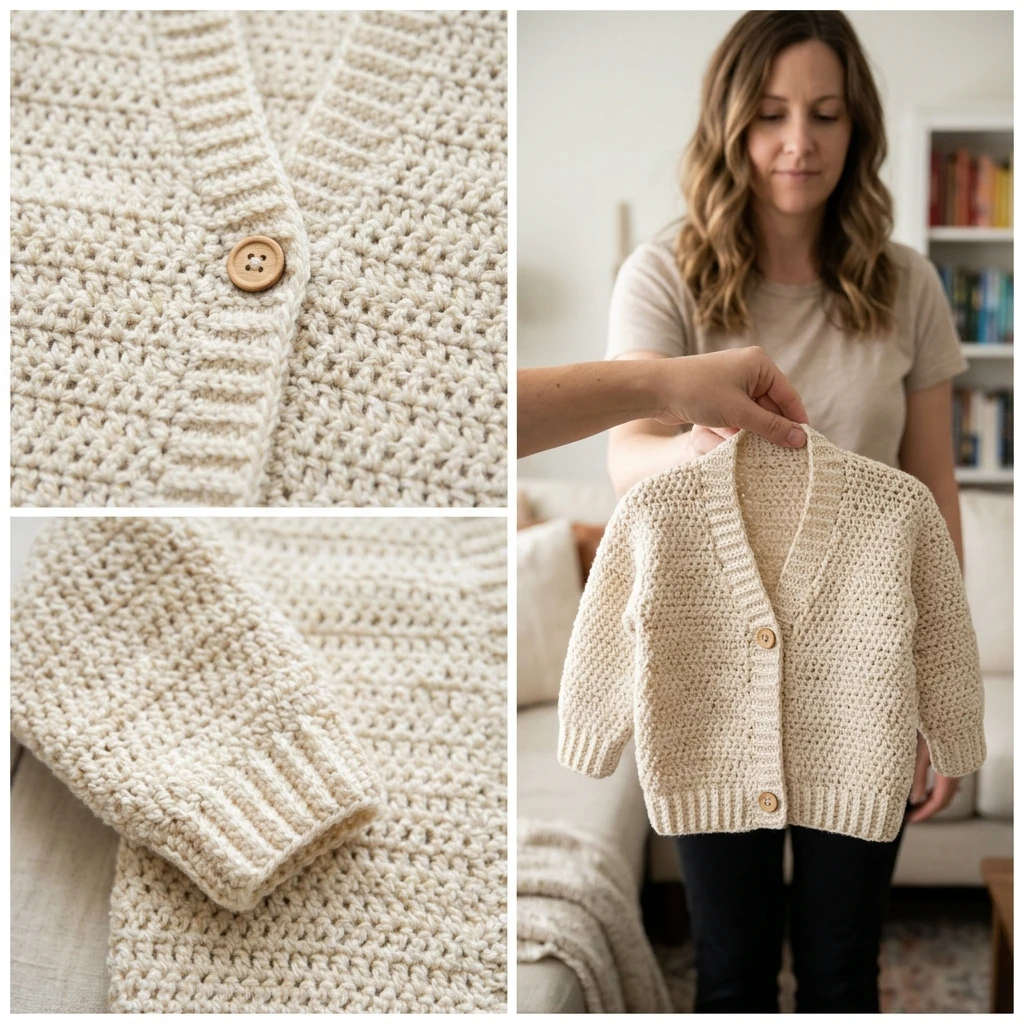
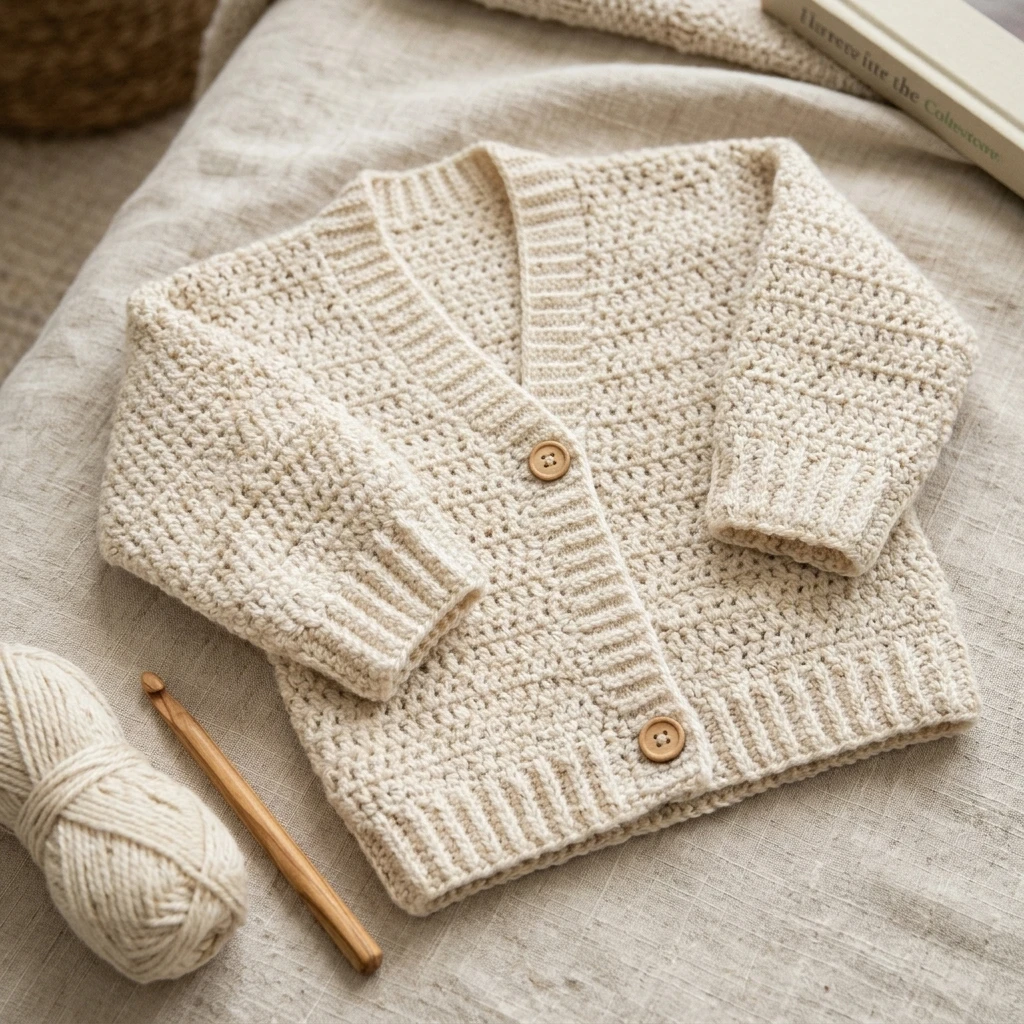
A cozy, handmade cardigan is a foundational piece for any toddler’s wardrobe, offering both warmth and a touch of heirloom charm. This Crochet Toddler Cardigan is designed with a classic raglan construction, worked from the top down to ensure a custom fit and minimal finishing work. Its silhouette is intentional—slightly oversized to allow for easy movement during play, with tapered sleeves and a sturdy ribbed collar that holds its shape. Whether you are crafting this for a brisk autumn walk or as a comfortable layer for indoor play, the result is a soft, durable garment that stands up to the high-energy lifestyle of a busy two-year-old.
The Design: What Makes This Pattern Different
The beauty of this toddler cardigan lies in its seamless raglan design. By starting at the neckline and increasing at four specific corner points, you create the front panels, the back, and the sleeves simultaneously. This eliminates the need for bulky side seams that can sometimes irritate sensitive skin. We have opted for a classic double crochet stitch for the main body to provide a balance of drape and speed, while the ribbing is worked in back-loop-only stitches to mimic a traditional knit look.
One common mistake to avoid when working this design is neglecting the tension of the raglan increases. Because these corners create the entire structure of the garment, working them too tightly can cause the yoke to “bowl” or curve upwards, rather than lying flat against the chest. Always use a stitch marker at each corner to ensure your increases stay perfectly aligned row after row.
Project Info at a Glance
| Feature | Details |
|---|---|
| Skill Level | Intermediate |
| Estimated Time | 8 to 12 hours |
| Finished Size | 2T (suggested for 32-34″ height) |
| Hook Size | 5.0 mm (H/8) or size needed to meet gauge |
| Yarn Weight | Worsted / Weight 4 |
| Gauge | 14 sts x 8 rows = 4″ in double crochet |
| Best For | Layering, everyday wear, and gifts |
Materials and Tools
Yarn
For a toddler-sized cardigan, you will need an estimated 450 to 550 yards of a soft, washable worsted weight yarn. Acrylic-wool blends or high-quality microfibers are recommended for their durability and ease of care. Photo-inspired samples often use a solid, earthy tone to highlight the stitch definition, but variegated yarns also work well with this simple construction.
Tools
- 5.0 mm crochet hook (or size needed to obtain gauge)
- 4 stitch markers (to track raglan corners)
- Tapestry needle for weaving in ends
- Sharp scissors
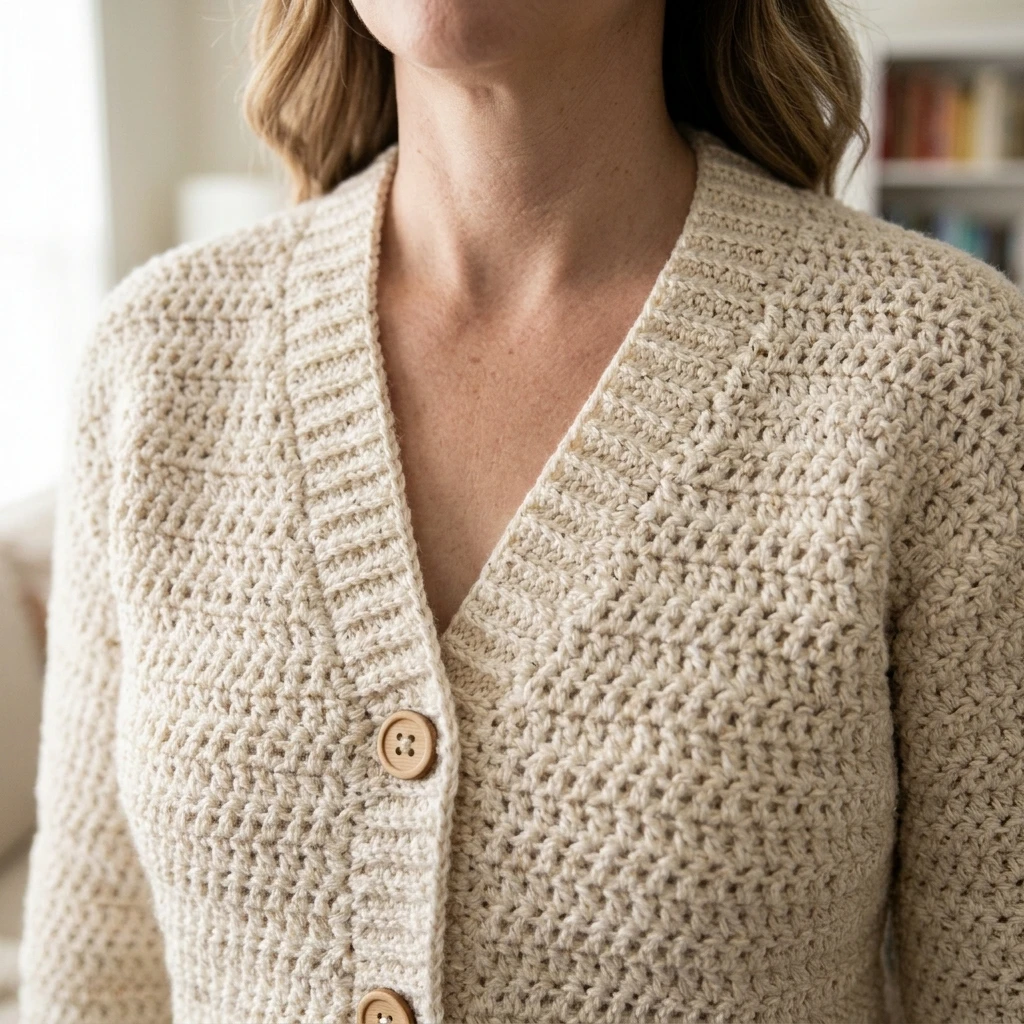
- 3 to 4 buttons (approx. 20mm diameter)
Abbreviations
- ch: chain
- sc: single crochet
- dc: double crochet
- sl st: slip stitch
- st(s): stitch(es)
- inc: increase (two stitches in the same space)
- blo: back loop only
- rs: right side
- ws: wrong side
Pattern — Step by Step
This cardigan is worked from the neck down in one piece, then divided at the armholes. The sleeves are worked directly into the armhole openings in joined rounds.
The Yoke
- Foundation: Chain a suggested 52 sts (or count required for neck circumference).
- Row 1: Dc in the third ch from hook. Work dc across, placing 2 dc, ch 2, 2 dc in the four designated raglan corner points. Turn.
- Row 2: Ch 2 (does not count as st). Dc in each st across, working [2 dc, ch 2, 2 dc] in each ch-2 corner space.
- Repeat Row 2 until the yoke reaches the desired depth (usually 5-6 inches for a 2T size), ensuring the front panels meet comfortably at the center.
Dividing for Sleeves
- In the next row, work dc across the first front panel.
- Skip the sleeve stitches entirely.
- Ch 2 (armhole gap), then dc into the next corner space to join to the back panel.
- Work dc across the back, ch 2, skip the second sleeve, and dc into the last corner space.
- Dc across the remaining front panel. You now have a vest-like structure.
The Body
- Continue working dc rows back and forth across the combined front and back panels.
- Maintain a consistent stitch count until the body reaches approximately 8 inches from the armhole join.
- Switch to sc in the BLO for the last 4 rows to create a bottom ribbing effect. Fasten off.
The Sleeves
- Attach yarn at the center of the armhole gap.
- Work dc in rounds, decreasing by 1 stitch every 3rd round to taper the sleeve toward the wrist.
- Finish with 5 rounds of sc in the BLO for the cuff. Repeat for the second sleeve.
Assembly
Once the crochet work is complete, the final steps involve adding the functional elements that turn a crochet piece into a wearable garment.
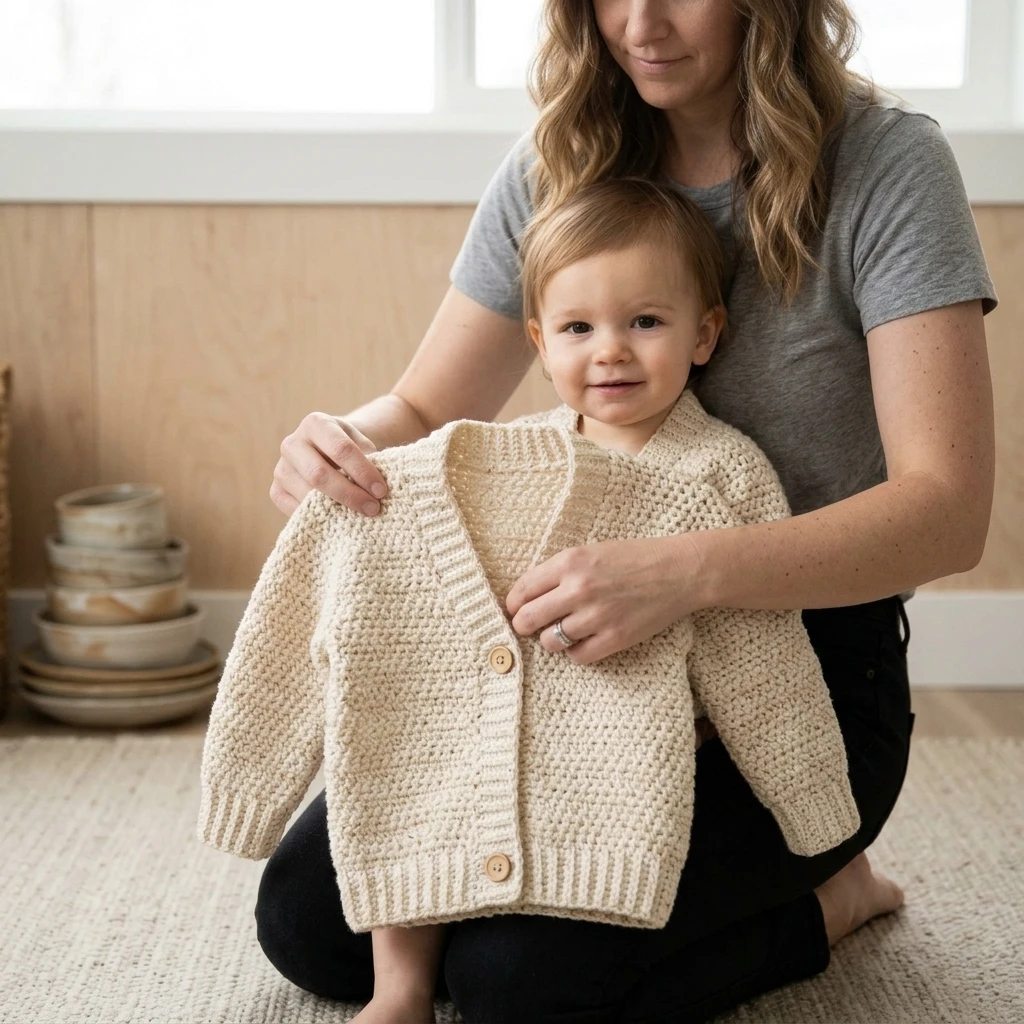
- Button Band: Join yarn at the bottom front corner. Work 3 rows of sc up the front panel, around the neck, and down the other side. On the second row, create buttonholes by chaining 2 and skipping 2 sts at even intervals on the right-hand side (for girls) or left-hand side (for boys).
- Button Placement: Align your buttons with the holes created in the previous step. Sew them securely using a tapestry needle and a strand of matching yarn.
- Weaving Ends: Use a tapestry needle to weave in all loose ends on the wrong side of the garment, following the direction of the stitches to hide the yarn tails.
- Blocking: Lightly steam block the cardigan, especially the ribbing and raglan lines, to help the stitches settle into their final shape.
7 Technical Tips for a Better Crochet Toddler Cardigan
- Check Your Gauge: Toddler sizes are small; being off by just one stitch per inch can result in a cardigan that is either way too tight or swimming on the child.
- Use Flexible Yarn: Choose a yarn with a bit of “bounce.” Stiff cotton can make the raglan corners feel sharp and uncomfortable.
- Secure Your Markers: Use locking stitch markers in the raglan corners. If they slip out, it is very difficult to find the exact increase point in dc stitches.
- Mind the Armholes: When joining the body, ensure the chain stitches under the arm aren’t too tight, or the sleeves will pull uncomfortably.
- Reinforce Buttons: Toddlers are notoriously rough on clothes. Sew a small scrap of fabric or a tiny “anchor button” on the inside of the cardigan for extra durability.
- Uniform Ribbing: When working BLO ribbing, maintain consistent tension so the cuffs don’t flare out wider than the sleeves.
- Wash Before Wear: Always wash the finished garment using a gentle, baby-safe detergent to remove any oils from your hands or dust from the yarn.
Frequently Asked Questions
What is the best yarn for a toddler cardigan?
A “Level 4” Worsted weight yarn that is machine washable is best. Look for blends like 75% acrylic and 25% wool for warmth without the itchiness of pure wool.
How do I make the cardigan larger for a 4T size?
Continue the raglan increase rows for an additional 2-3 rows before dividing for the sleeves. This increases the width of the chest and the depth of the armholes.
Can I add a hood to this pattern?
Yes. Instead of finishing the neckline with ribbing, attach yarn to the neck edge and work dc rows upward until the piece measures about 9 inches, then fold and seam the top.
How do I prevent the front panels from curling?
Curling usually happens if your tension is too tight. Adding a sturdy sc border (the button band) around the entire edge usually solves this problem by adding weight and structure.
Why are my raglan lines diagonal?
If your raglan lines are shifting, check that you are placing your increases exactly inside the ch-2 space from the row below. Missing the space and working into the dc sts instead will cause the line to drift.
Conclusion
The Crochet Toddler Cardigan is a rewarding project that combines structural logic with cozy aesthetics. By mastering the raglan technique and focusing on soft, durable materials, you can create a garment that is as functional as it is beautiful. This timeless design is perfect for gifting or for keeping your own little one warm throughout the changing seasons.
If you enjoyed this tutorial, be sure to save it to your Crochet Patterns board on Pinterest for your next weekend project. Have you ever tried a top-down raglan construction before, or do you prefer seaming your garments?
Save This Crochet Pattern