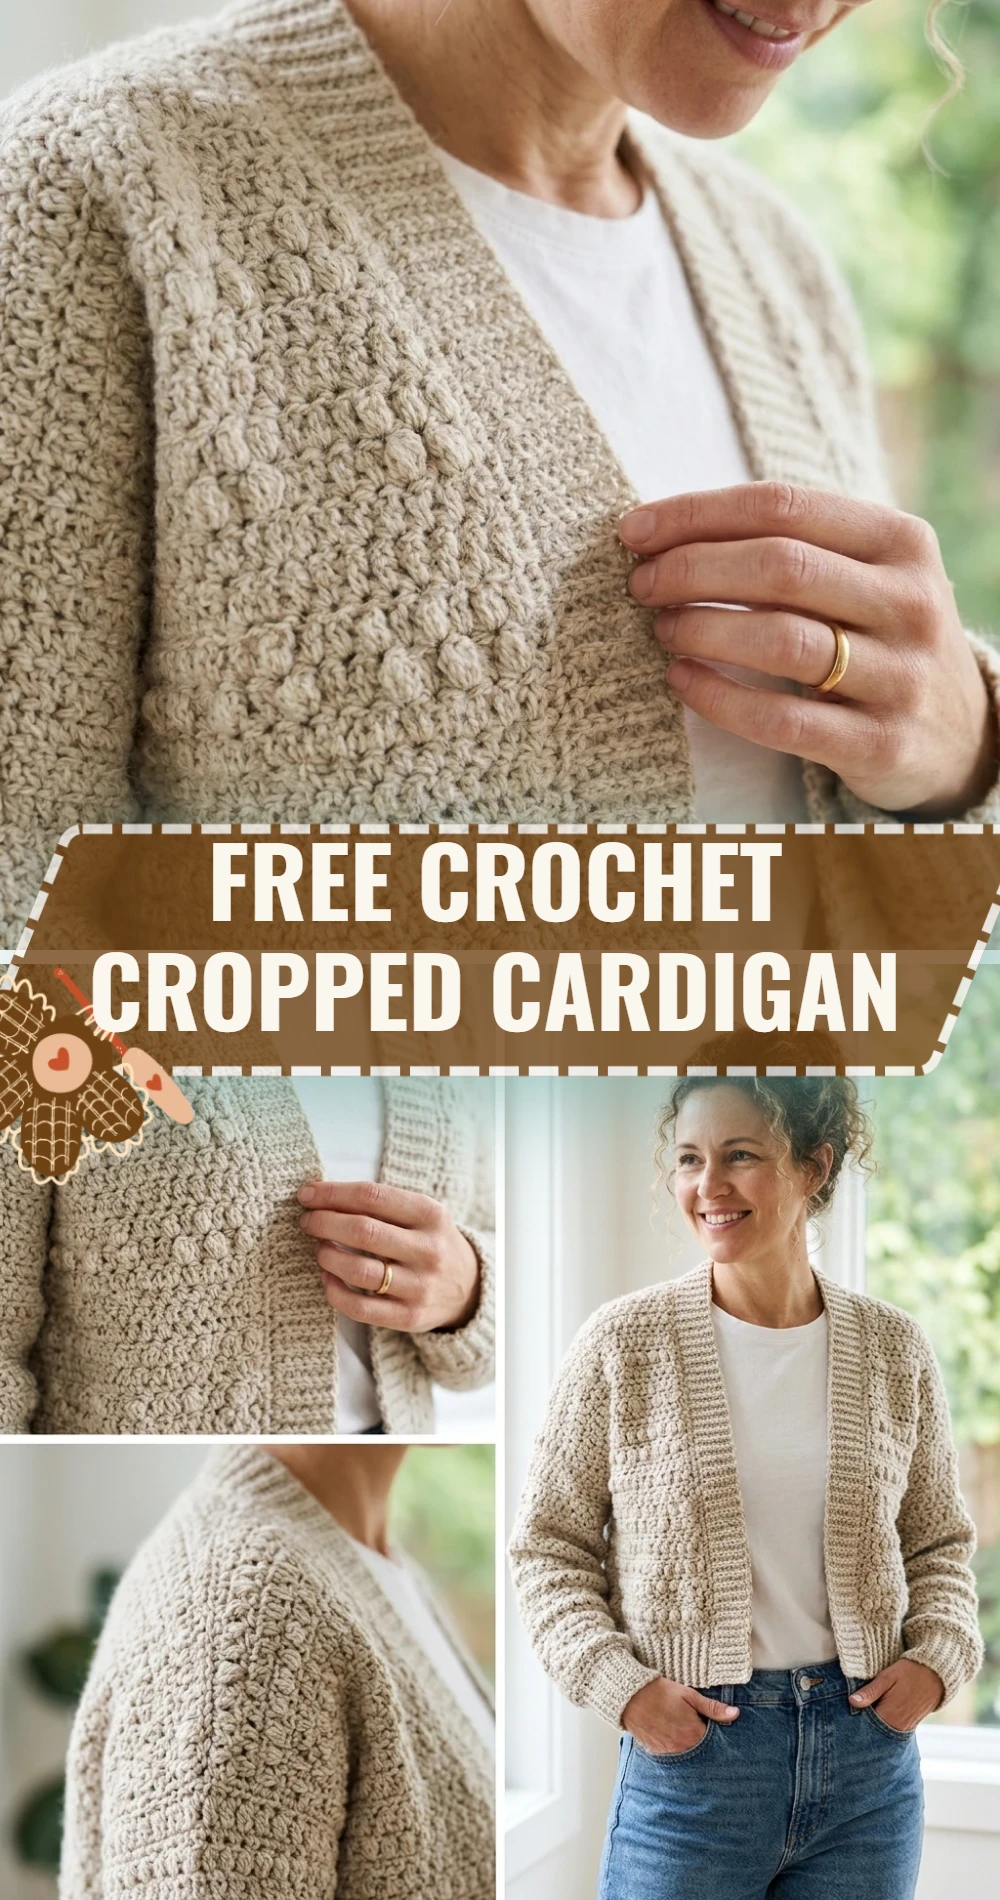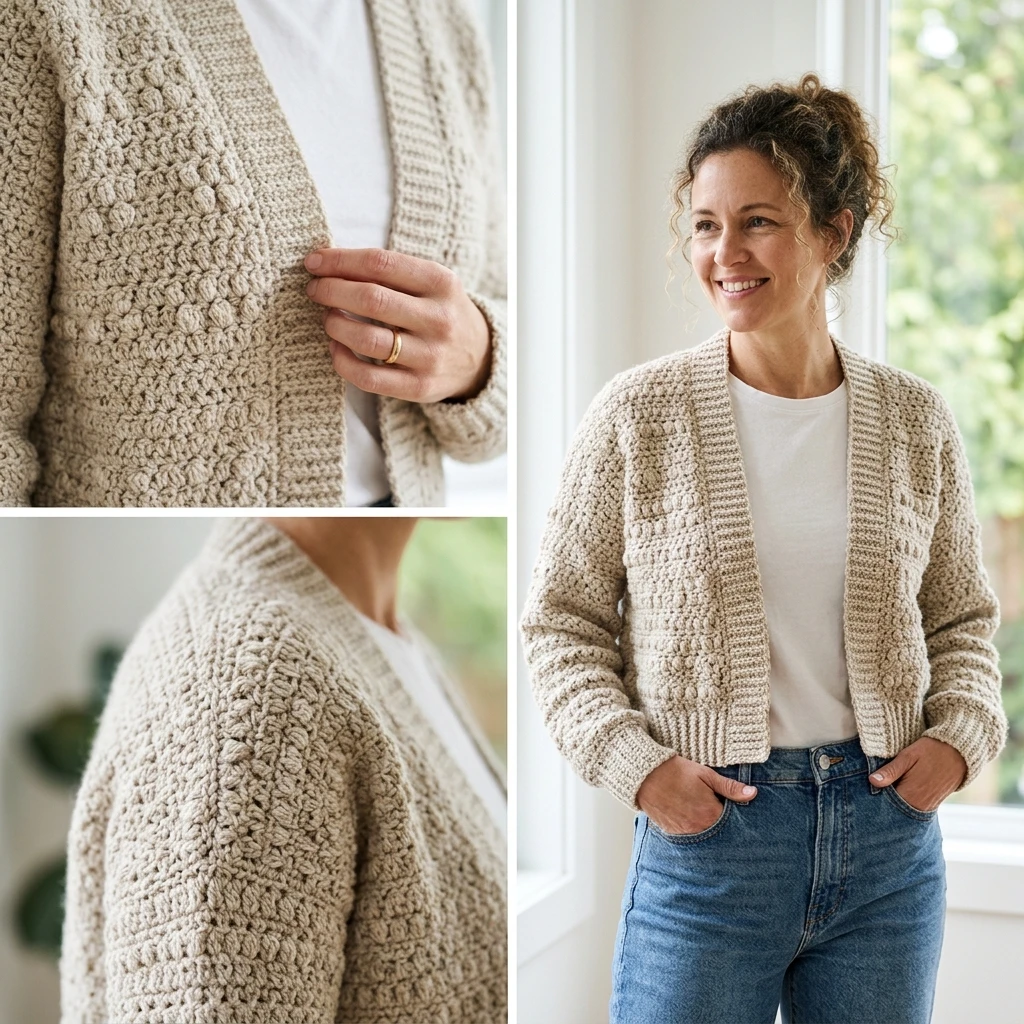
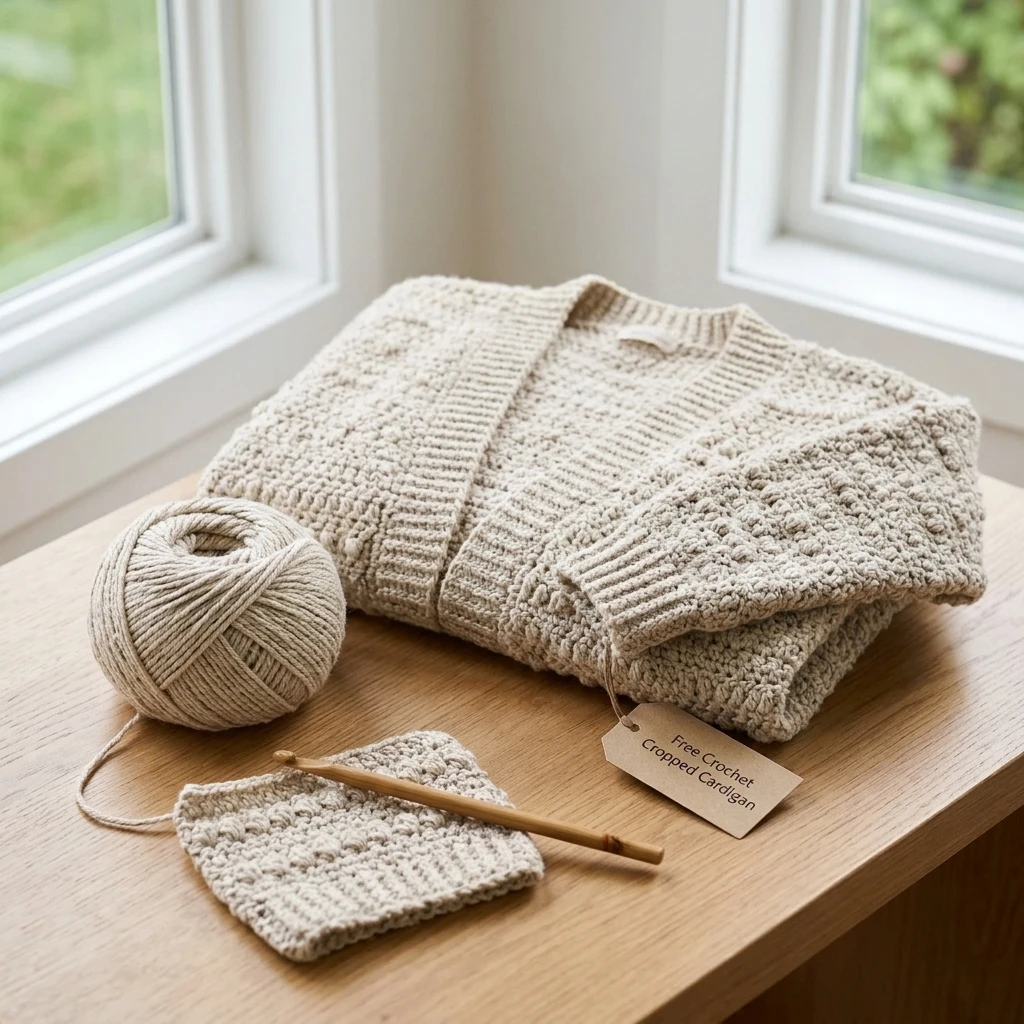
Effortlessly chic and surprisingly versatile, the Free Crochet Cropped Cardigan is a staple piece designed for the modern maker. This garment features a flattering waist-length silhouette, a slightly boxy fit, and relaxed dropped shoulders that make it perfect for layering over high-waisted jeans or sundresses. Constructed using five flat panels—a back, two fronts, and two sleeves—this pattern prioritizes simple geometric shapes over complex shaping, making it an ideal project for those transitioning from accessories to their first sweater. The finished result is a cozy, tactile piece that feels high-end but retains the soulful charm of a handmade item.
The Design: What Makes This Pattern Different
The design of this cropped cardigan focuses on structural simplicity and texture. Unlike traditional sweaters that require intricate armhole decreases, this pattern utilizes a “drop-shoulder” construction. This means the front and back panels are essentially rectangles, creating a modern, oversized look that drapes naturally. A common mistake to avoid is neglecting the “positive ease.” Because this is a cropped, boxy design, ensuring your panels are slightly wider than your actual body measurements is crucial for achieving that trendy, relaxed silhouette rather than a tight, ill-fitting one.
Project Info at a Glance
| Feature | Details |
|---|---|
| Skill Level | Easy / Advanced Beginner |
| Estimated Time | 12–18 Hours |
| Finished Size | Small/Medium (Adjustable) |
| Hook Size | 5.5 mm (US I-9) or size needed to obtain gauge |
| Yarn Weight | Medium / Worsted (Weight 4) |
| Gauge (Estimated) | 13 sts x 9 rows = 4″ in Half Double Crochet |
| Best For | Layering, everyday wear, beginner garment making |
Materials and Tools
Yarn
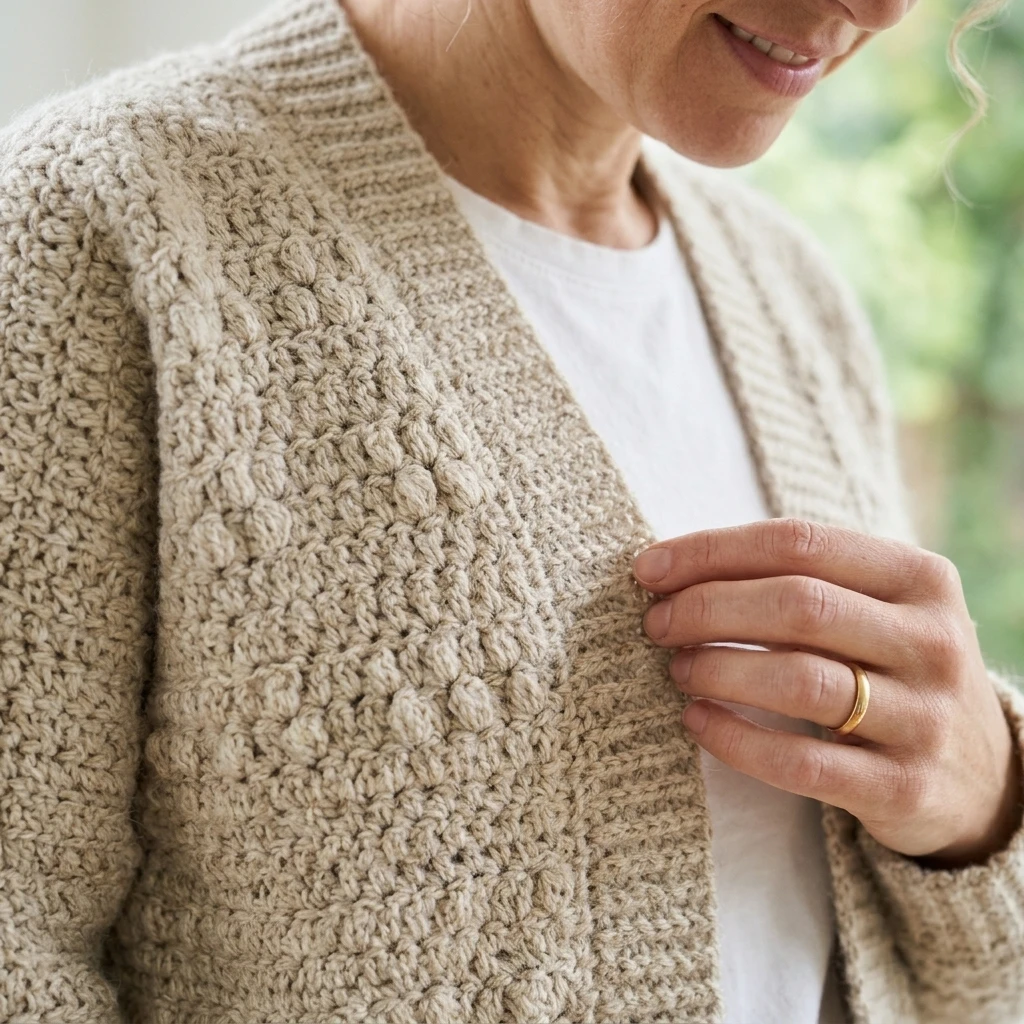
For this project, we suggest using a soft acrylic or wool-blend worsted weight yarn (Category 4). To achieve the cropped length for a standard S/M size, you will need approximately 950 to 1,100 yards. This estimated quantity allows for the body panels, sleeves, and the thick ribbed border around the neckline. Choosing a yarn with good stitch definition will highlight the texture of the half-double crochet rows.
Tools
- 5.5 mm (US I-9) crochet hook for the body
- 5.0 mm (US H-8) crochet hook for the ribbing (optional, for tighter cuffs)
- Large-eye yarn needle for seaming panels
- Measuring tape to track panel dimensions
- 4–6 stitch markers to help with sleeve placement
- Sharp scissors
Abbreviations
- ch: Chain
- st(s): Stitch(es)
- sl st: Slip stitch
- sc: Single crochet
- hdc: Half double crochet
- blo: Back loop only
- rem: Remaining
- rep: Repeat
Pattern — Step by Step
Construction Overview
This cardigan is worked in five separate pieces: a large rectangular back panel, two identical rectangular front panels, and two tapered sleeve panels. Once the body is seamed at the shoulders and sides, the sleeves are attached. Finally, a bottom ribbing and a front-opening border are added to pull the look together.
Back Panel
1. Foundational Row: Ch 62 (or a width of approx 19 inches).
2. Row 1: Hdc in 2nd ch from hook and in each ch across. Turn. (61 sts)
3. Row 2: Ch 1 (does not count as st), hdc in each st across. Turn.
4. Rows 3–36: Rep Row 2 until the piece measures approximately 16 inches (or desired cropped length). Fasten off.
Front Panels (Make 2)
1. Foundational Row: Ch 26.
2. Row 1: Hdc in 2nd ch from hook and in each ch across. Turn. (25 sts)
3. Row 2: Ch 1, hdc in each st across. Turn.
4. Rep Row 2 until the front panel matches the length of the back panel. Fasten off.
Sleeves (Make 2)
1. Foundational Row: Ch 31 (cuff end).
2. Rows 1–5: Hdc across.
3. Row 6 (Increase): Ch 1, 2 hdc in first st, hdc across to last st, 2 hdc in last st. Turn.
4. Rows 7–30: Rep a pattern of 3 rows of standard hdc and 1 row of increases until the sleeve is the desired length and width for the armhole. Fasten off.
Assembly
Before beginning the assembly, it is highly recommended to steam block your panels to ensure they lie flat and meet the correct dimensions. This makes seaming significantly easier and professional-looking.
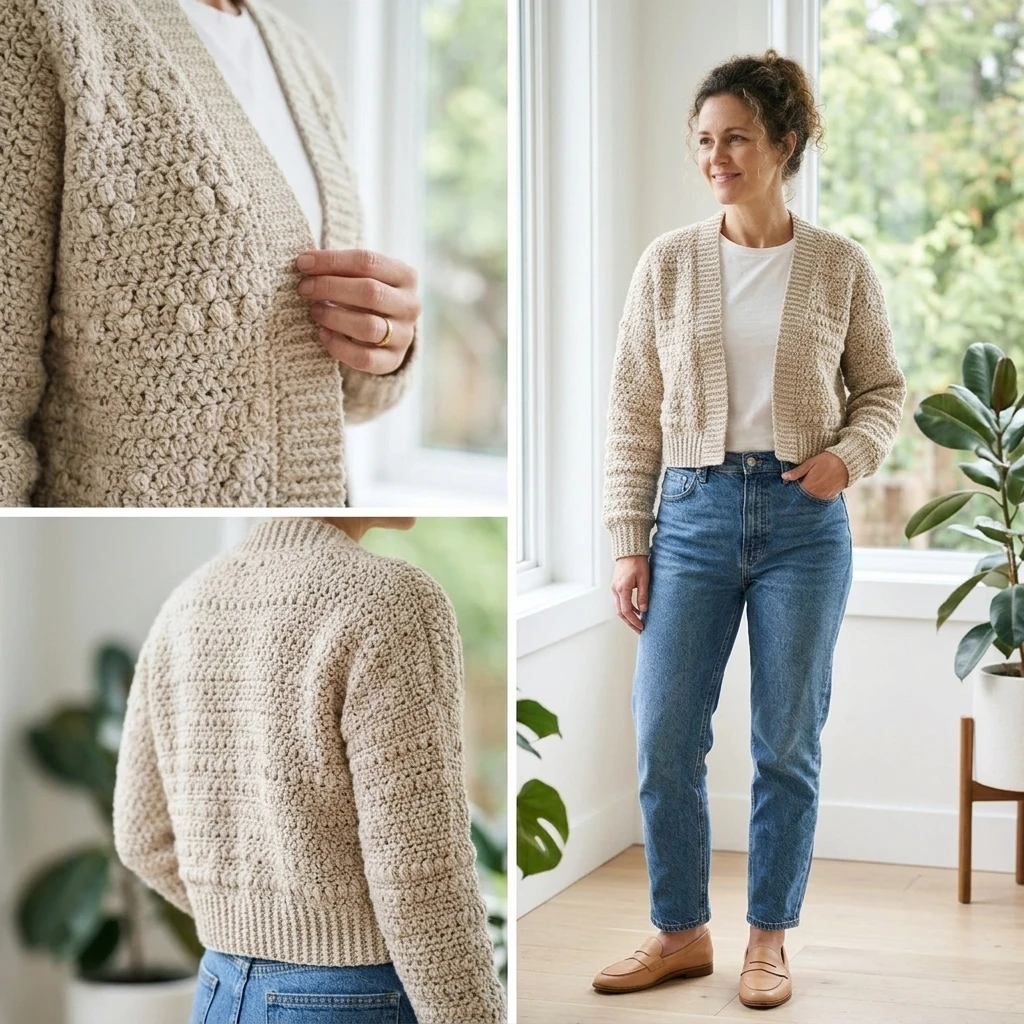
1. Shoulder Seams: Lay the back panel flat and place the two front panels on top, aligning the outer edges. Use the mattress stitch to sew the top of the front panels to the back panel, leaving the center open for the neck.
2. Sleeve Placement: Open the body flat. Find the center of the sleeve top and align it with the shoulder seam. Pin in place and sew the sleeve to the body.
3. Side and Sleeve Seams: Fold the cardigan so the right sides are facing. Sew from the bottom of the side seam up to the armpit, and then continue down the sleeve to the cuff.
4. Bottom Ribbing: Join yarn at the bottom corner. Ch 9. Sc in 2nd ch and across. *Sl st into the next 2 sts of the cardigan body, turn, sc in blo across the 8 ribbing sts. Turn, ch 1, sc in blo across.* Repeat around the entire bottom edge.
5. Front Border: Repeat the ribbing process along the inner front edges and around the back of the neck to create a finished collar.
7 Technical Tips for a Better Free Crochet Cropped Cardigan
- Check Your Gauge: Since this is a garment, being off by just one stitch per inch can result in a cardigan that is 4 inches too small or too large.
- Use Stitch Markers for Sleeves: Mark the exact center of your sleeve panel before seaming it to the shoulder to ensure the “drop” is even on both sides.
- Maintain Consistent Tension: Cropped sweaters can show tension variations easily. Try to keep your hdc stitches uniform, especially at the edges.
- The Mattress Stitch is King: For a professional finish, avoid the whip stitch. The mattress stitch creates an invisible join that looks like a store-bought seam.
- Adjusting Length: To make the cardigan longer, simply add more rows to the front and back panels before starting the sleeves.
- Ribbing Hook Size: If your ribbing feels too loose or “wavy,” switch to a 0.5mm smaller hook for the sc-blo sections.
- Secure Your Ends: Garments experience a lot of movement. Weave in your ends for at least 4 inches, changing directions twice to ensure they never pop out.
Frequently Asked Questions
Can I use a different yarn weight?
Yes, but you will need to recalculate your starting chains and row counts. Using a bulkier yarn will result in a much larger cardigan if the stitch counts remain the same.
How do I make the sleeves more fitted?
To make the sleeves tighter, decrease the frequency of increase rows or start with a shorter foundation chain for the cuff.
Does this pattern require blocking?
While not strictly mandatory for acrylic, steam blocking is highly recommended to relax the stitches and ensure the panels align perfectly during assembly.
Can I add buttons?
Absolutely! You can add buttonholes into the front border ribbing by replacing two sc stitches with two chains, then working back into those chains on the next row.
Is this pattern suitable for a total beginner?
If you can work a foundation chain and a half-double crochet, you can make this. The hardest part is the seaming, which is a great skill to learn!
Conclusion
The Free Crochet Cropped Cardigan is a rewarding project that combines modern style with classic crochet techniques. By working in flat panels and focusing on clean seaming, you can create a high-quality garment that looks beautiful and fits perfectly. If you enjoyed this tutorial, be sure to save it to your “Crochet Wearables” board on Pinterest so you can find it when you’re ready to start your next project. What color are you planning to use for your cardigan? Let us know in the comments!
Save This Crochet Pattern