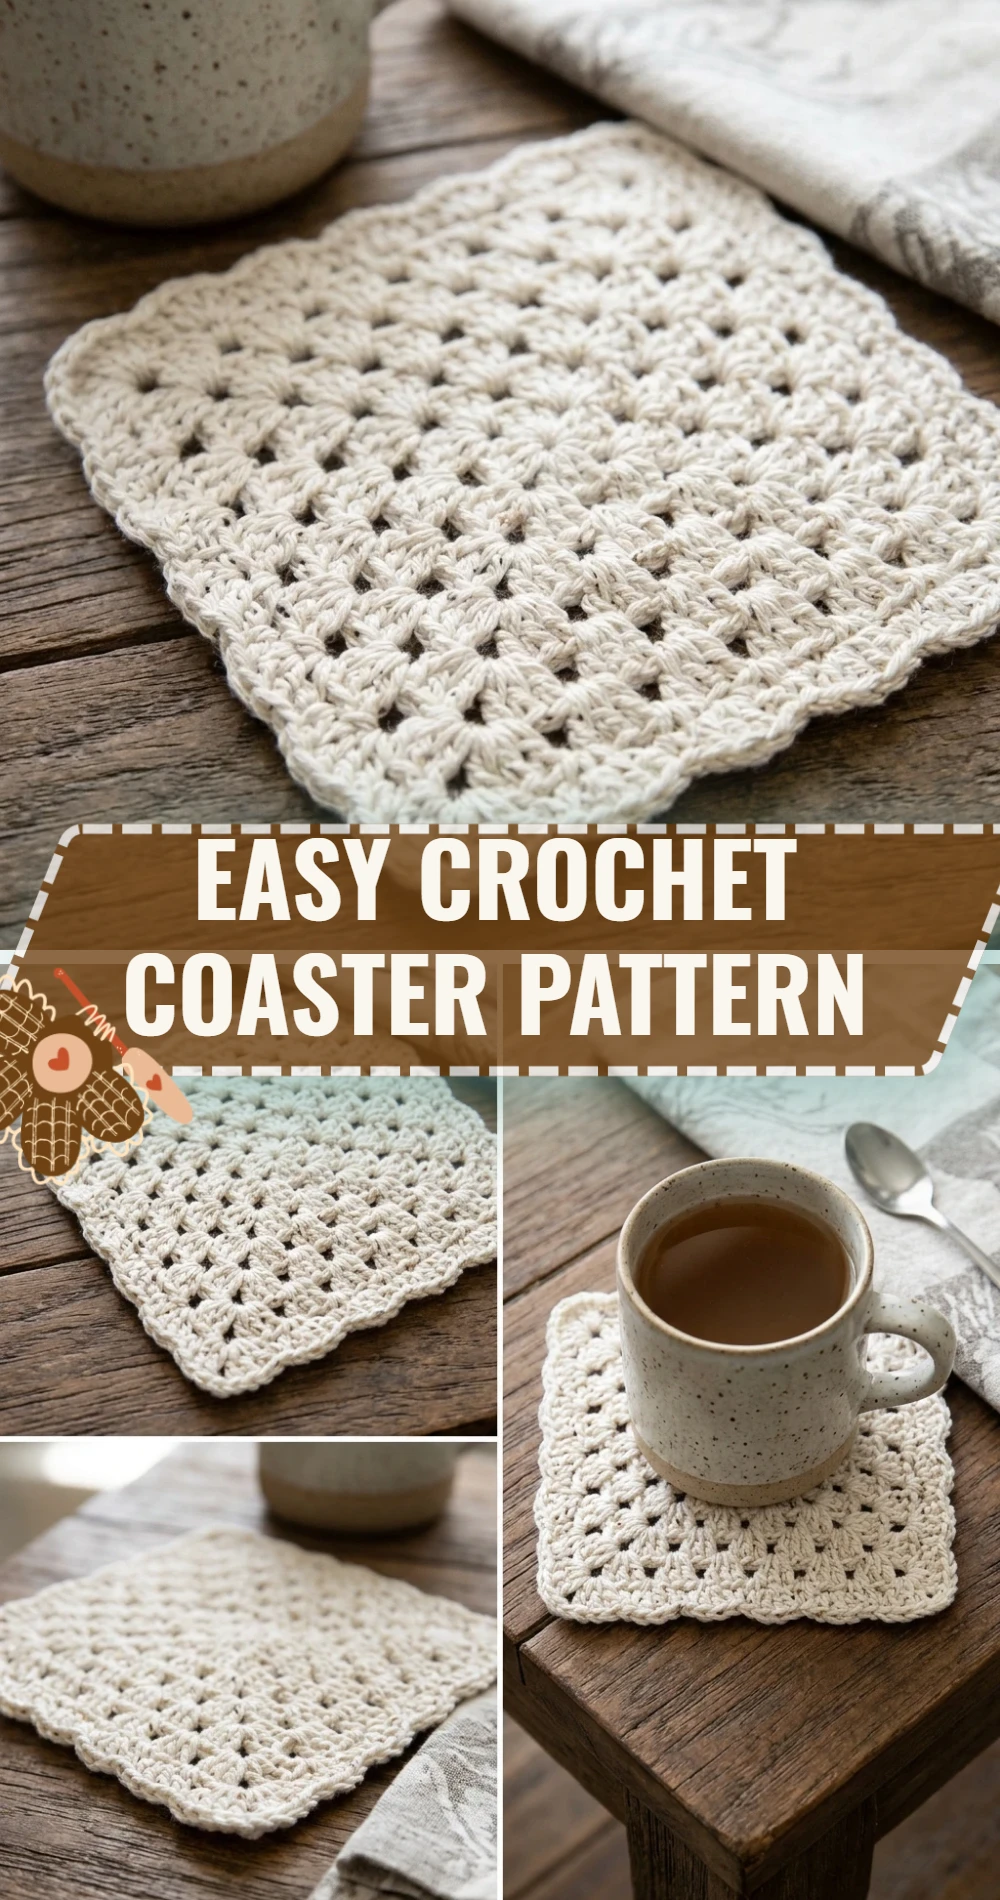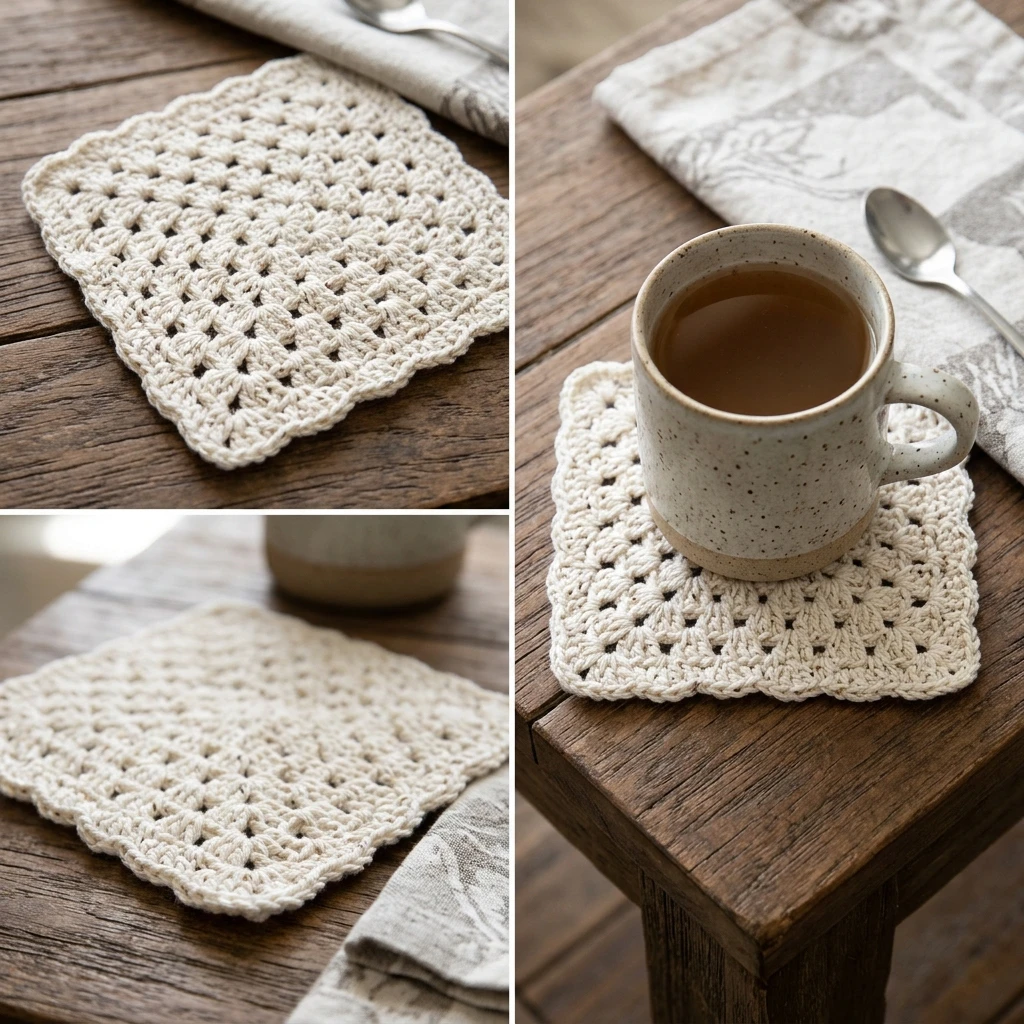
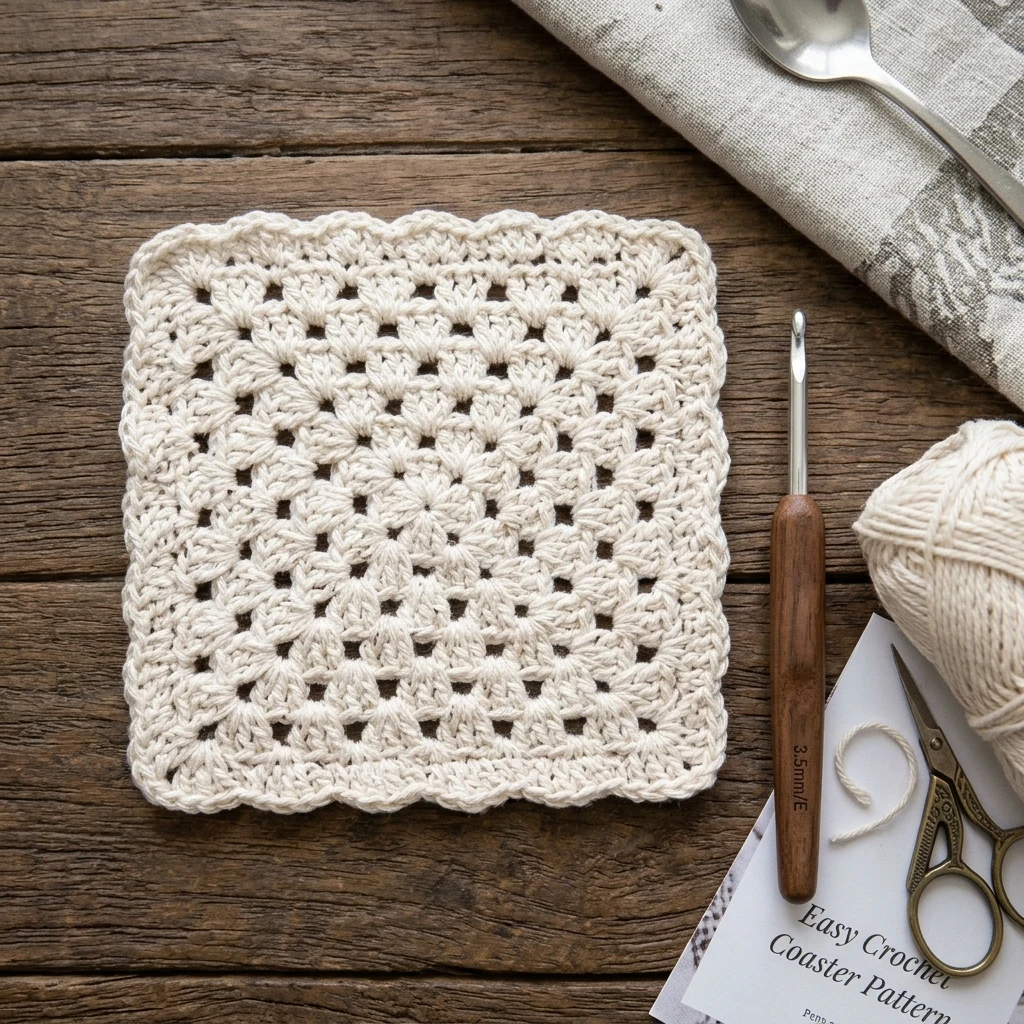
Elevate your home decor with this Easy Crochet Coaster Pattern, a project designed to blend functional utility with a modern, minimalist aesthetic. These coasters feature a dense, absorbent texture that protects surfaces while providing a sophisticated, handmade touch to any coffee table or nightstand. Perfect for beginners looking to master working in the round, the construction follows a classic circular expansion that results in a perfectly flat, sturdy disc. Whether you are crafting a quick housewarming gift or refreshing your own living space, these coasters offer a satisfying, quick-win project that showcases the beauty of simple stitches.
The Design: What Makes This Pattern Different
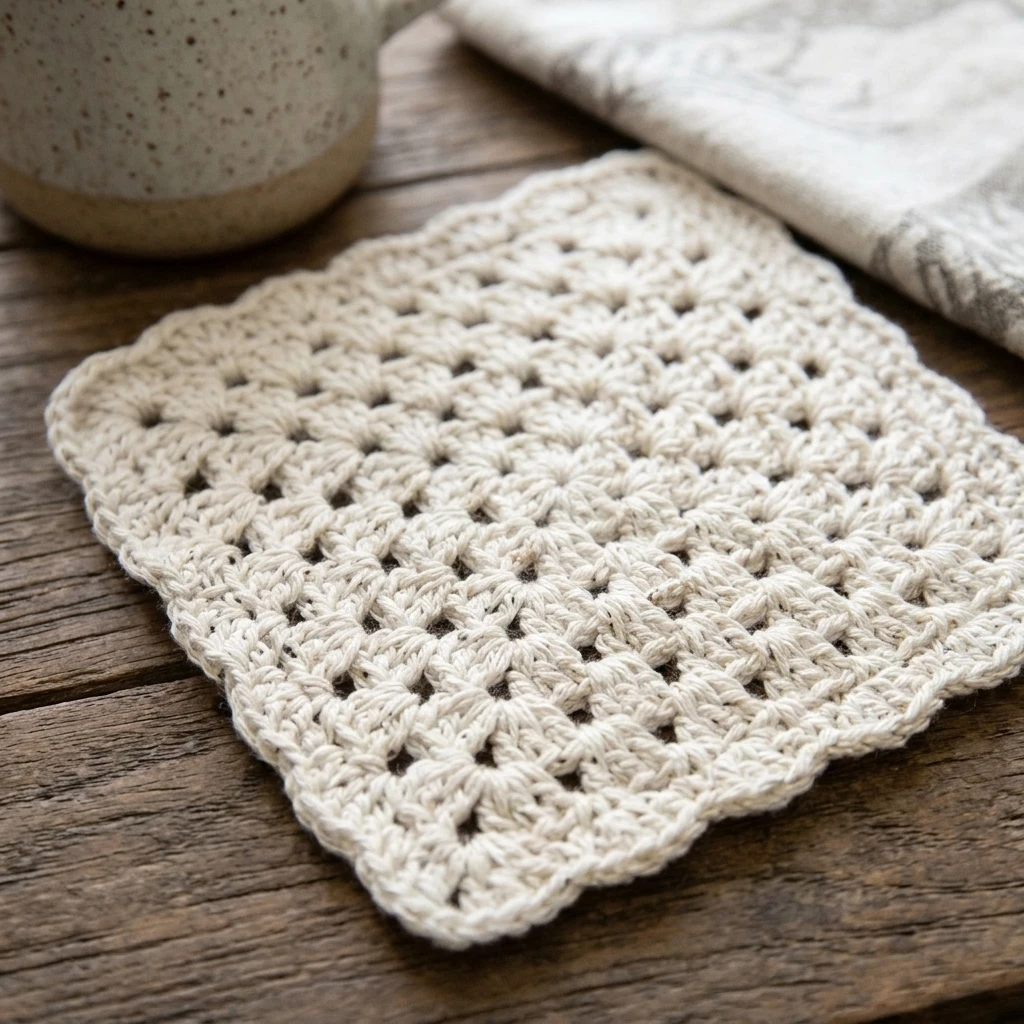
The visual identity of this coaster relies on clean lines and a lack of excessive decorative gaps, ensuring it remains highly functional for catching condensation. Unlike many lacey patterns, this design prioritizes a “closed” stitch structure using standard double crochet stitches. The structural secret lies in the specific rate of increase; we utilize a standard mathematical formula to ensure the circle stays flat rather than curling into a bowl or waving at the edges. A common mistake to avoid is placing your final slip stitch too tightly, which can create a visible “seam” or a slight indentation in the circle’s silhouette. By focusing on consistent tension, you achieve a professional-grade finish that mimics high-end boutique home goods.
Project Info at a Glance
| Feature | Details |
|---|---|
| Skill Level | Beginner |
| Estimated Time | 20–30 minutes per coaster |
| Finished Size | Approximately 4 inches (10 cm) in diameter |
| Hook Size | 5.0 mm (H-8) |
| Yarn Weight | Medium / Worsted (Weight 4) |
| Gauge | Photo-inspired; first 2 rounds = 2.5 inches |
| Best For | Home Decor, Gifting, Scrap Busting |
Materials and Tools
Yarn
For the best results, use a 100% mercerized cotton yarn. Cotton is the gold standard for coasters because it is heat-resistant and highly absorbent. You will need approximately 15–20 yards (estimated) per coaster. Using a “kitchen cotton” will result in a more rustic look, while mercerized cotton offers a slight sheen and better stitch definition.
Tools
A standard 5.0 mm crochet hook is recommended to maintain a firm but flexible fabric. You will also need a tapestry needle for weaving in ends and a sharp pair of scissors. Stitch markers are highly recommended for beginners to identify the start of each round.
Abbreviations
- ch: chain
- dc: double crochet
- sl st: slip stitch
- st(s): stitch(es)
- rnd: round
- [ ]: repeat instructions within brackets
Pattern — Step by Step
Foundation and Center
The coaster is worked in concentric circles starting from the center and expanding outward. We use a magic ring to ensure the center hole is completely closed, providing a polished look.
- Round 1: Start with a magic ring. Ch 2 (does not count as a st). Work 12 dc into the ring. Pull the tail to close the ring tightly. Join with a sl st to the first dc. (12 dc)
- Round 2: Ch 2. Work 2 dc in each st around. Join with a sl st to the first dc. (24 dc)
- Round 3: Ch 2. [1 dc in next st, 2 dc in next st] repeat 12 times around. Join with a sl st to the first dc. (36 dc)
- Round 4 (Optional Border): Ch 1. Sc in each st around to create a firm, rounded edge. Join with a sl st to the first sc. (36 sc)
Finishing
Fasten off your yarn, leaving a 6-inch tail for weaving. Pull the yarn through the final loop to secure the work.
Assembly
Because this project is worked in a single piece, the assembly focuses on securing the structure and ensuring the coaster sits perfectly flat on a surface.
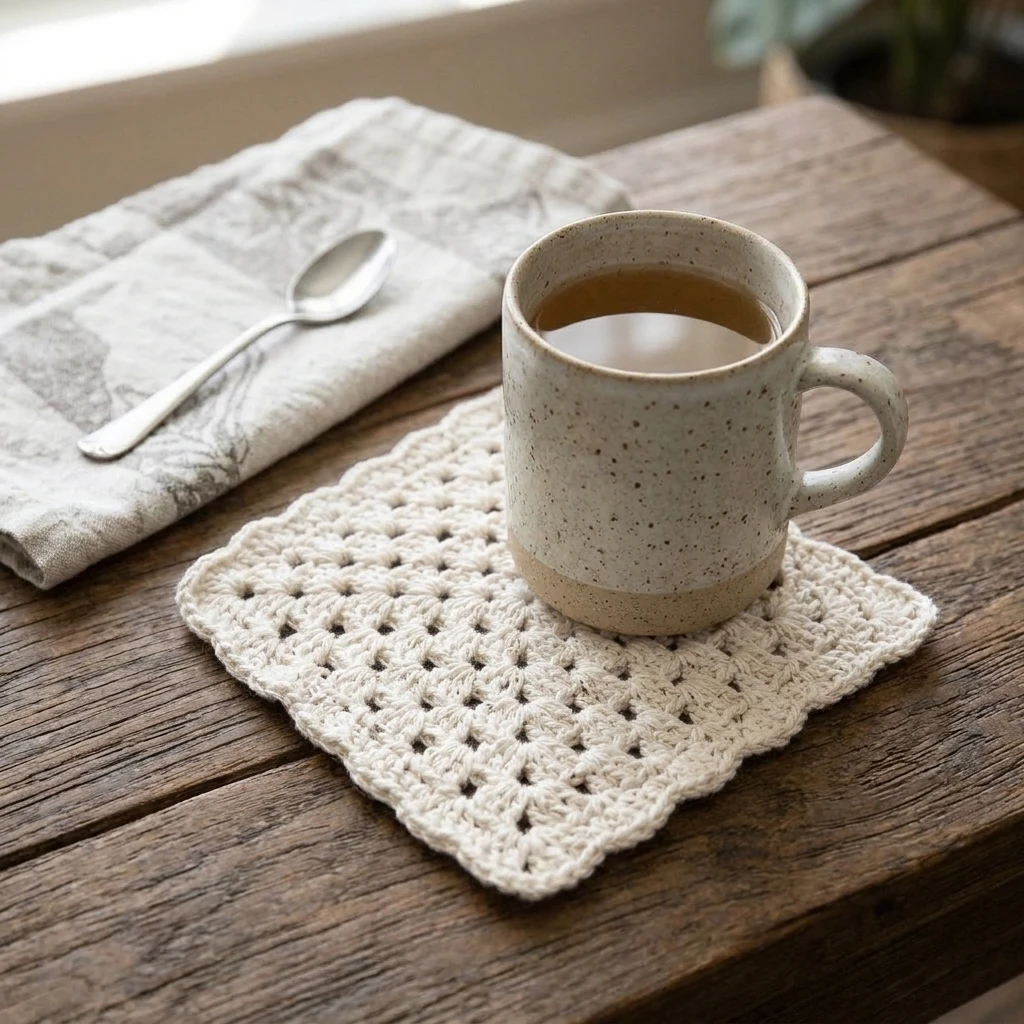
- Tighten the center magic ring tail one last time to ensure no gap remains in the middle.
- Thread the starting tail onto a tapestry needle and weave it through the base of the Round 1 stitches in a circular motion.
- Thread the finishing tail onto the needle. Use an invisible join method if possible, or simply weave the tail through the back of the stitches in Round 4.
- Cut the excess yarn close to the fabric, ensuring the ends are completely hidden.
- Steam block the finished coaster to ensure it lies perfectly flat.
7 Technical Tips for a Better Easy Crochet Coaster Pattern
- Use Cotton Only: Avoid acrylic yarn, as it does not absorb moisture and can melt if a very hot mug is placed on it.
- Master the Magic Ring: This technique is superior to the “chain-3 and join” method because it leaves zero gap in the center of your coaster.
- Count Every Round: Even a single missing stitch in the increase pattern will cause the coaster to ruffle or bowl.
- Check Your Gauge: If your coaster is curling upward like a bowl, your tension is likely too tight; try moving up half a hook size.
- Invisible Join: For the final round, instead of a slip stitch, use an invisible join to create a seamless edge that is indistinguishable from the other stitches.
- Steam Blocking: Gently steam your finished coasters with an iron (do not touch the iron to the yarn) to settle the stitches and ensure a professional, flat shape.
- Consistent Tension: Ensure your “ch 2” at the start of rounds is not too tall, or it will create a visible gap in the circle.
Frequently Asked Questions
Can I use a smaller hook for a denser coaster?
Yes, using a 4.0 mm or 4.5 mm hook will create a stiffer, denser fabric, but you may need to add an extra round of increases to reach the desired 4-inch diameter.
Why is my coaster waving at the edges?
Waving usually means you have too many stitches. Double-check your Round 3 count to ensure you only have 36 stitches.
Is this pattern washable?
If made with 100% cotton, these coasters are machine washable. Reshaping them while damp is recommended to maintain their circular form.
How many coasters can I make with one ball of yarn?
A standard 50g ball of worsted cotton typically yields 4 to 6 coasters, making this an excellent budget-friendly project.
Can I add a decorative scalloped edge?
Absolutely. In a final 5th round, you can work [5 dc in one st, skip 1 st, sl st in next st, skip 1 st] around for a shell-stitch border.
Conclusion
Creating these easy crochet coasters is a fantastic way to practice basic stitch increases while producing a practical item for your home. By choosing quality cotton and maintaining consistent tension, you can create a set that looks professionally manufactured. If you enjoyed this tutorial, be sure to save it to your Crochet Home Decor board on Pinterest so you can find it for your next gift-making session. Which color of cotton yarn will you choose for your first set of coasters?
Save This Crochet Pattern