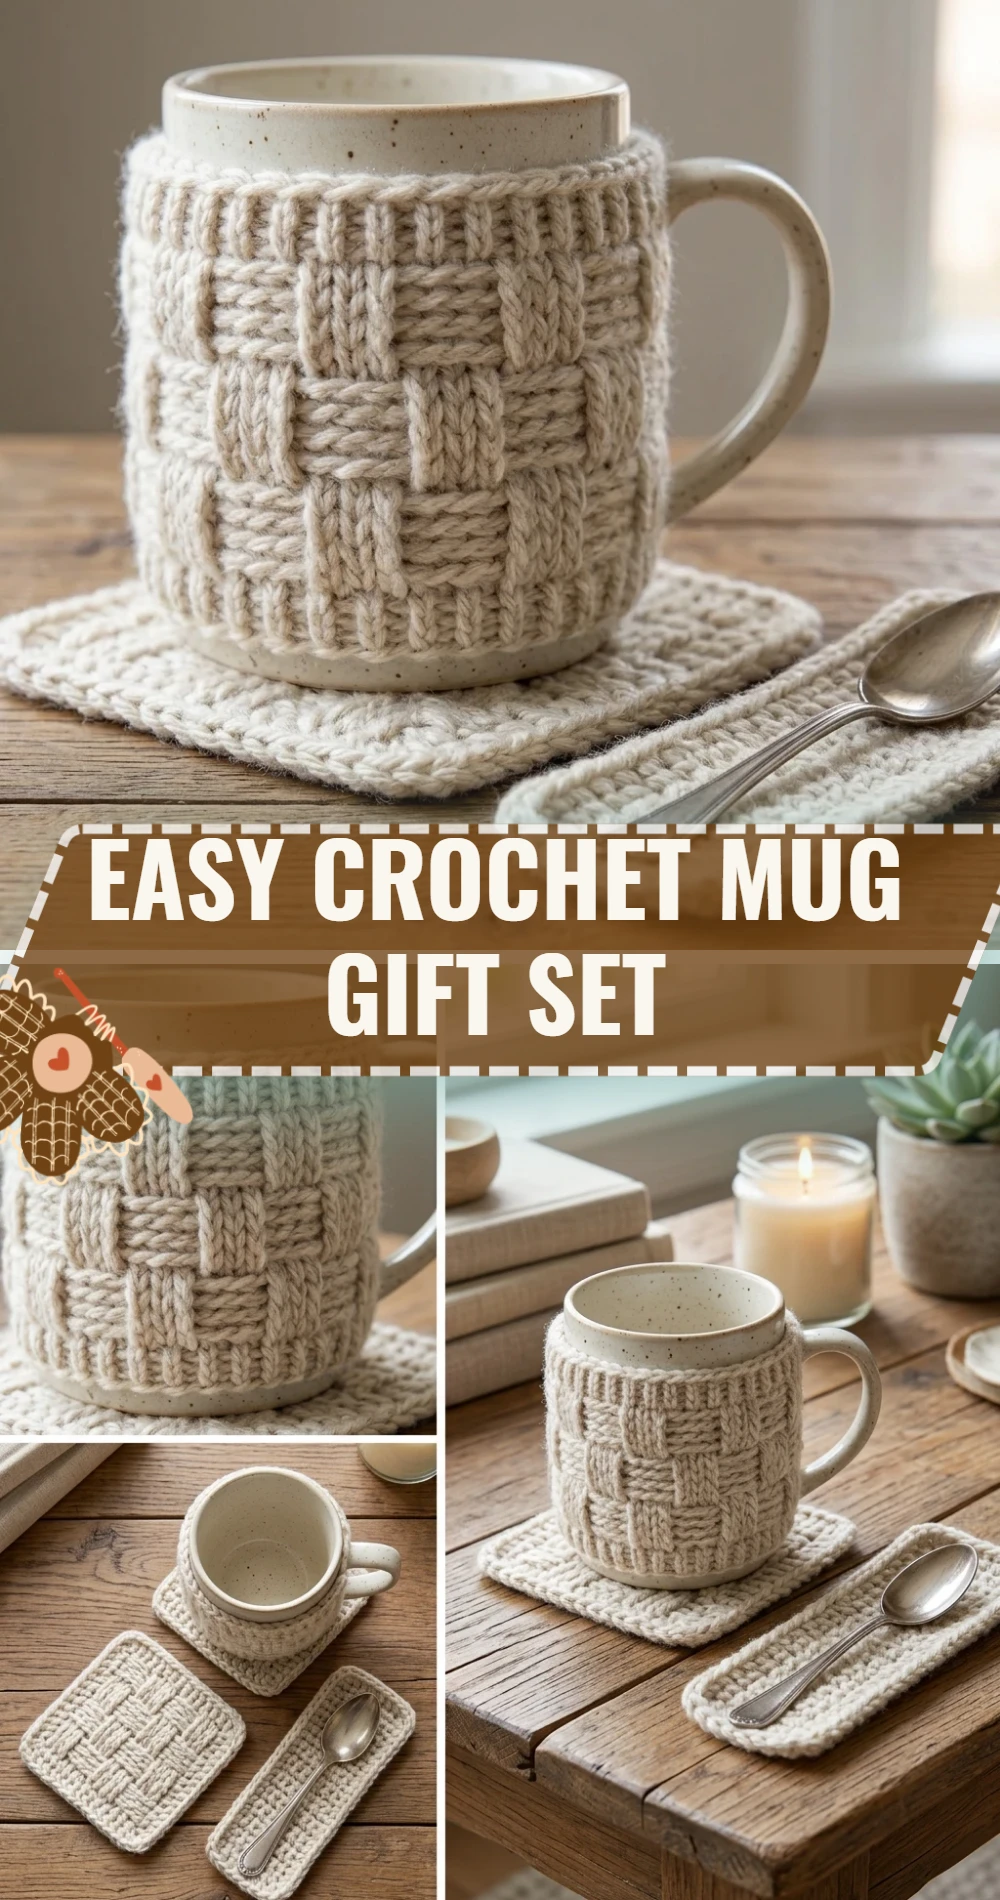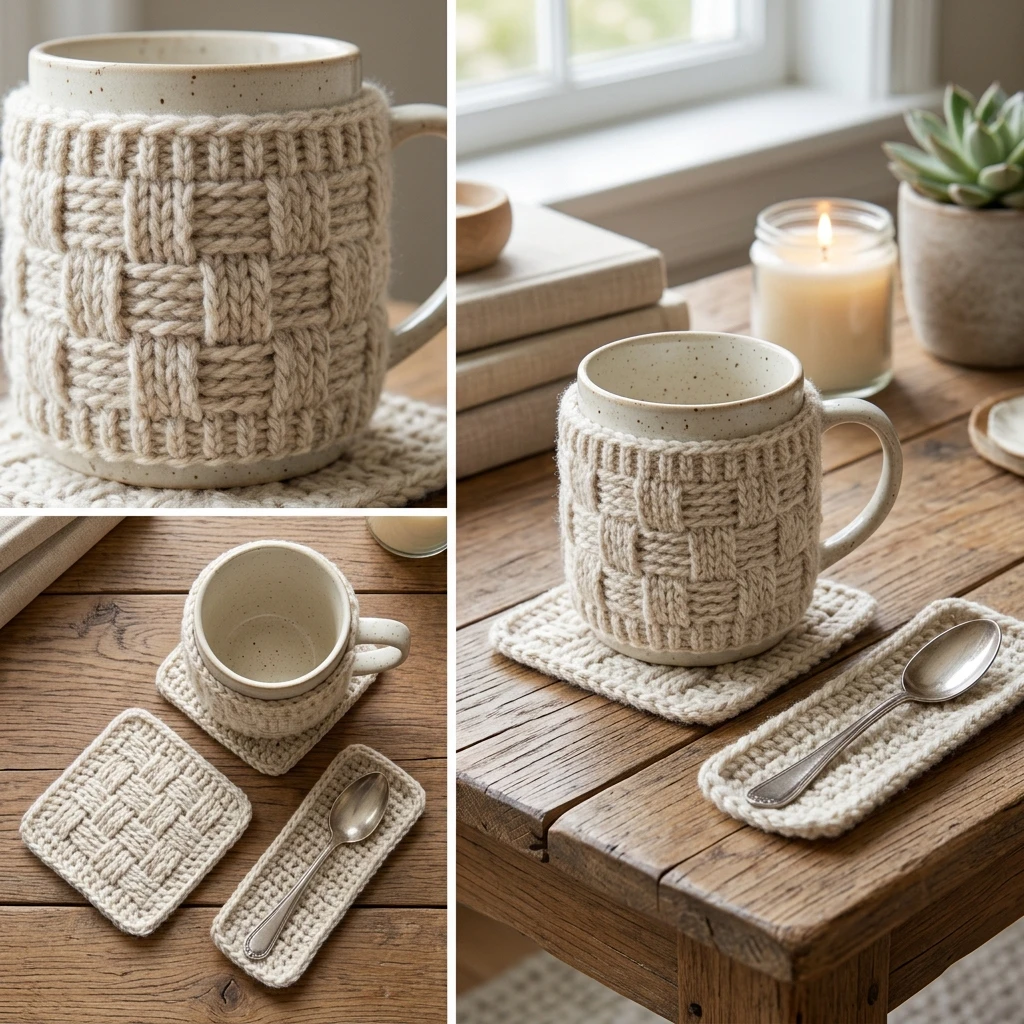
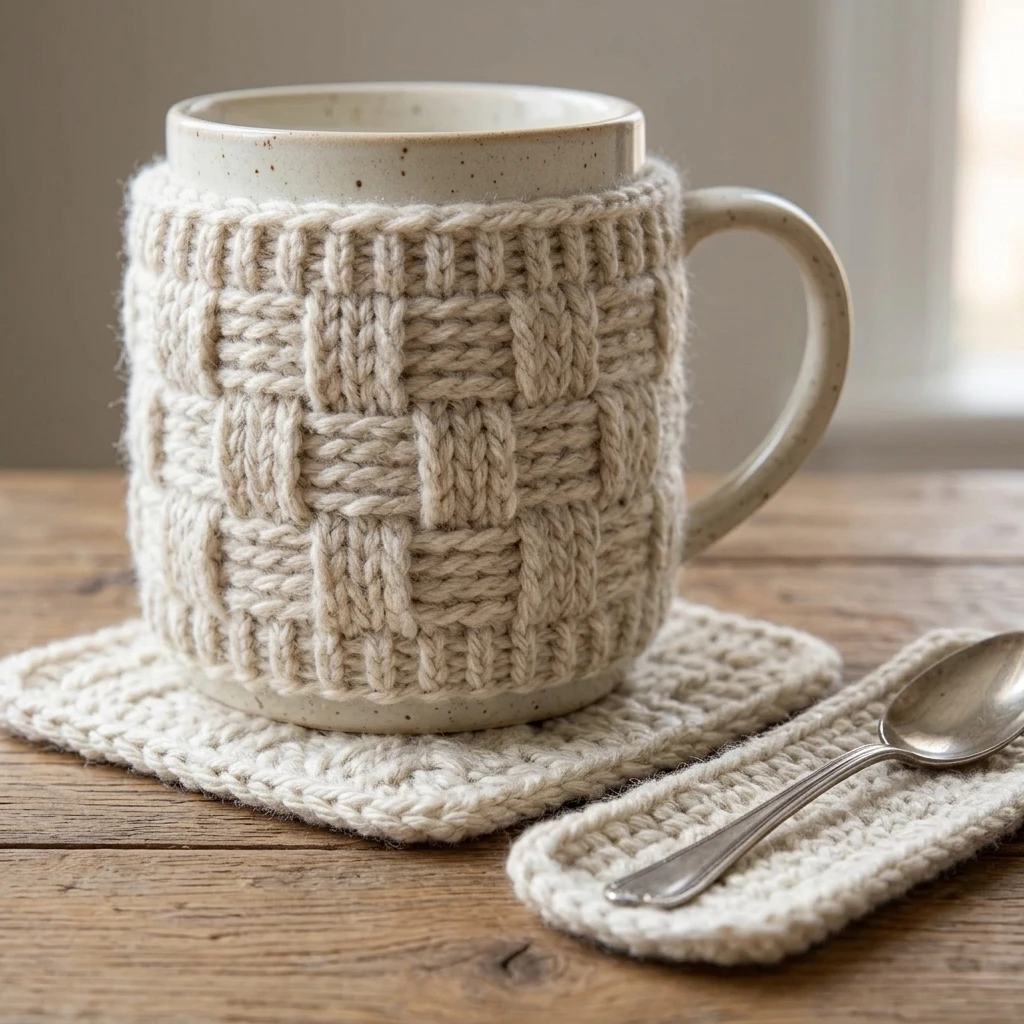
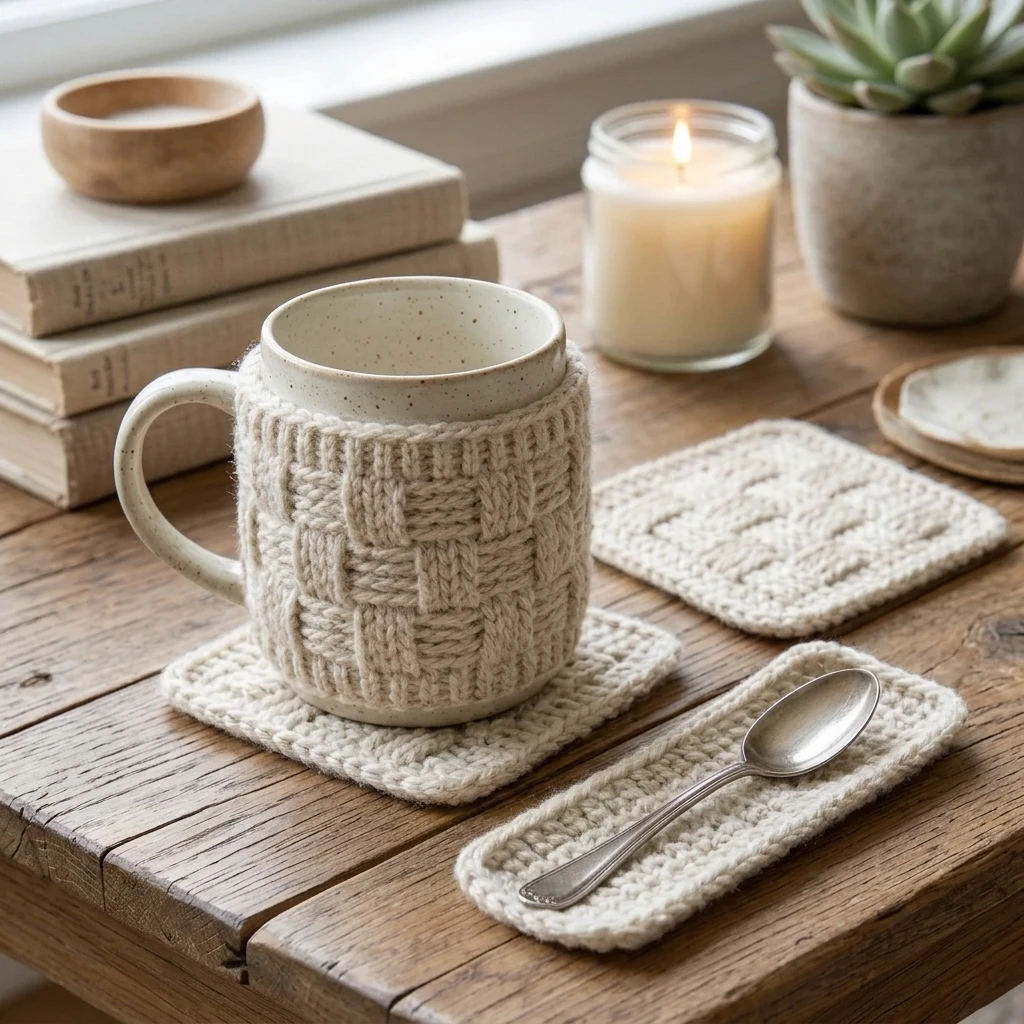
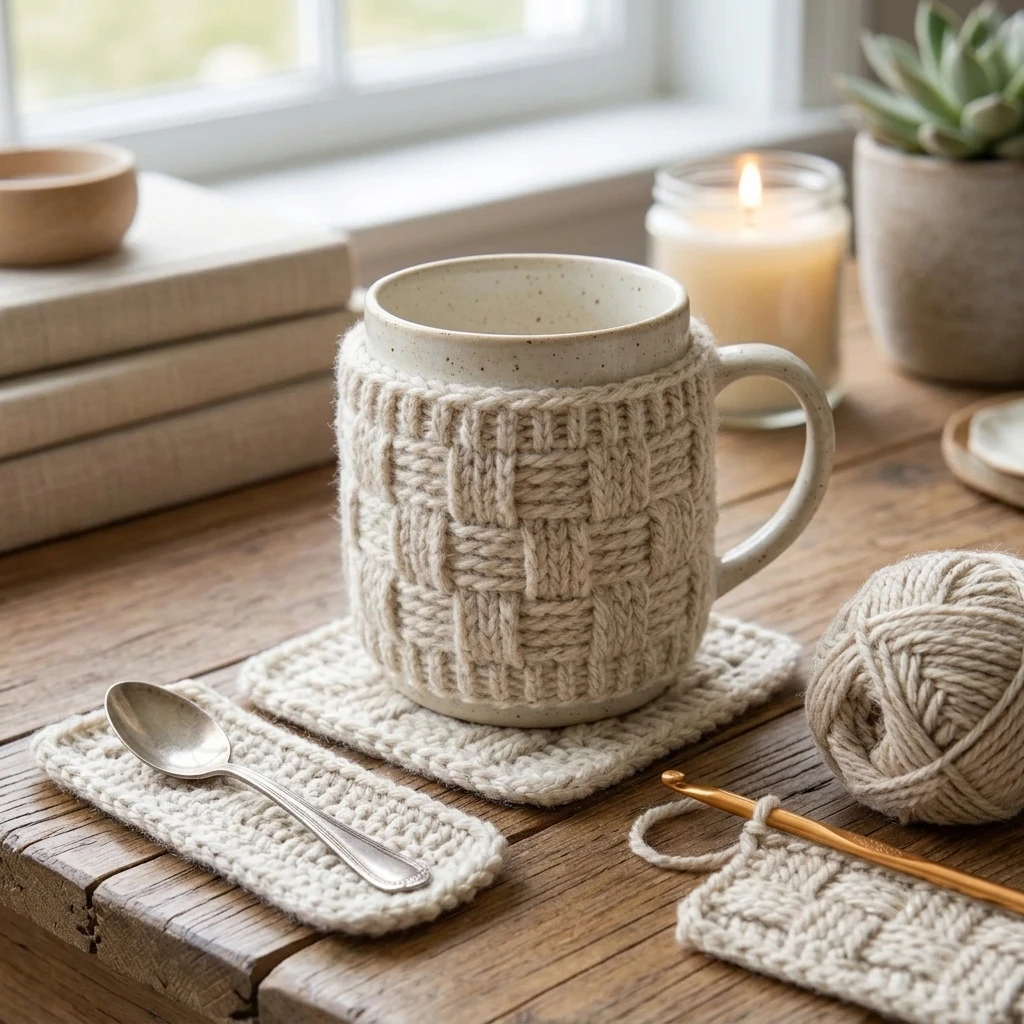
The Easy Crochet Mug Gift Set is the quintessential project for crafters looking to create a thoughtful, handmade gift in a single afternoon. This set features a textured mug cozy designed to wrap snugly around a standard ceramic vessel, paired with a matching “mug rug” coaster that provides ample space for both the mug and a small treat or spoon. Crafted using durable cotton yarn and simple stitches, the finished pieces exude a modern, rustic aesthetic that fits perfectly in any kitchen or office. The construction relies on basic geometric shapes—a rectangular wrap for the sleeve and a classic square for the rug—making it an accessible project for beginners while remaining a satisfyingly quick finish for seasoned makers.
The Design: What Makes This Pattern Different
Visually, this gift set prioritizes clean lines and functional texture. Unlike flimsy cozies, this design uses the Half Double Crochet (HDC) stitch worked in the back loops only to create a ribbed effect that mimics knitwear and provides extra insulation. The mug sleeve is designed with a button-loop closure, allowing it to fit various handle heights without sagging. One common mistake to avoid is over-sizing the cozy; crochet fabric naturally expands with use, so designing the sleeve to be slightly shorter than the mug’s circumference ensures a “stay-put” tension that won’t slip when the mug is lifted.
Project Info at a Glance
| Feature | Details |
|---|---|
| Skill Level | Beginner / Easy |
| Estimated Time | 1.5 to 2 hours for the full set |
| Finished Size | Sleeve: 3″ x 9.5″; Mug Rug: 5″ x 5″ (Estimated) |
| Hook Size | 5.0 mm (H/8) |
| Yarn Weight | Worsted Weight (Category 4) |
| Gauge | 14 sts x 10 rows = 4″ in HDC (Photo-inspired) |
| Best For | Housewarming gifts, teacher appreciation, or holiday stocking stuffers |
Materials and Tools
Yarn
For this project, a 100% cotton yarn is highly recommended due to its heat resistance and absorbency. You will need approximately 80–100 yards (about one 50g ball) of worsted weight cotton to complete both the cozy and the rug. Cotton blends are acceptable, but avoid 100% acrylic as it can melt or lose shape when exposed to high heat from a hot beverage.
Tools
- 5.0 mm crochet hook
- Large eye tapestry needle for weaving in ends
- One 1-inch (25mm) wooden or plastic button
- Sharp scissors
- Measuring tape
Abbreviations
- ch: chain
- st(s): stitch(es)
- sl st: slip stitch
- sc: single crochet
- hdc: half double crochet
- blo: back loop only
- yo: yarn over
Pattern — Step by Step
Part 1: The Mug Sleeve (Cozy)
The sleeve is worked in rows to create a long rectangle. The ribbing is created by working in the back loops of the stitches.
- Foundation: Ch 11.
- Row 1: Hdc in 2nd ch from hook and in each ch across. Turn. (10 sts)
- Row 2: Ch 1 (does not count as st), hdc in blo of each st across. Turn. (10 sts)
- Rows 3–22: Repeat Row 2 until the piece measures approximately 9 inches or until it is 1 inch shorter than the circumference of your mug.
- Button Loop Row: Ch 1, sc in first 4 sts. Ch 6 (or length needed to fit your button), skip 2 sts, sc in last 4 sts.
- Finishing: Fasten off, leaving a short tail for weaving.
Part 2: The Mug Rug (Coaster)
The mug rug is worked in a solid block to ensure stability for the mug.
- Foundation: Ch 17.
- Row 1: Hdc in 2nd ch from hook and in each ch across. Turn. (16 sts)
- Row 2: Ch 1, hdc in each st across. Turn.
- Rows 3–12: Repeat Row 2 until the piece is square (approx. 5 inches tall).
- Border: Ch 1, sc evenly around the entire edge of the square, placing 3 sc in each corner. Join with a sl st to the first sc.
- Finishing: Fasten off and weave in all ends.
Assembly
Proper assembly ensures the mug cozy is functional and stays securely attached to the handle during use.
- Lay the mug sleeve flat with the button loop on the right side.
- Position your button on the opposite end (the left side) of the sleeve.
- Thread your tapestry needle with a 10-inch strand of matching yarn.
- Sew the button securely to the center of the first row, ensuring it aligns perfectly with the ch-6 loop when the cozy is wrapped.
- Double-knot the yarn on the “wrong” side of the fabric and weave the ends deeply into the stitches to prevent loosening.
- Place the sleeve around the mug, threading the loop through the mug handle and over the button.
7 Technical Tips for a Better Easy Crochet Mug Gift Set
- Check Your Stretch: Cotton yarn has very little “spring.” Ensure your sleeve is tight enough that it requires a slight pull to reach the button.
- Tighten Your Loops: If the button loop feels flimsy, work a row of slip stitches around the chain loop to reinforce it.
- Use Seamless Joins: When finishing the mug rug border, use an invisible join for a professional, store-bought look.
- Manage Tension: Keep a consistent tension on the mug rug so the surface remains flat; if the edges curl, your hook may be too small.
- Steam Block: Lightly steam your finished set to relax the cotton fibers and ensure the mug rug lies perfectly flat.
- Button Selection: Choose a button with large holes so the yarn or a needle can pass through easily.
- Color Play: Use a variegated yarn for the mug rug and a solid matching color for the sleeve to create a curated “set” feel.
Frequently Asked Questions
Can I use acrylic yarn for this set?
While possible, acrylic doesn’t absorb condensation and can lose its shape when heated. Cotton is the gold standard for kitchen and dining accessories.
What if my mug handle is very low?
You can adjust the position of the button or the width of the sleeve (by changing the starting chain) to sit lower on the mug base.
Is this pattern adjustable for larger travel mugs?
Yes. Simply add more rows to the sleeve until it wraps around your specific tumbler, leaving a 1-inch gap for the button closure stretch.
How do I wash the crochet mug set?
Since it is cotton, you can machine wash on a cold, gentle cycle. Lay flat to dry to maintain the square shape of the mug rug.
My mug rug is more of a rectangle than a square. What happened?
Check your row count. Different yarns and tensions change the height of HDC stitches. Use a ruler to ensure the height matches the width before starting the border.
Conclusion
The Easy Crochet Mug Gift Set is a delightful project that combines utility with handmade charm. By mastering the ribbed HDC stitch and simple shaping, you can create a high-quality accessory set that protects surfaces and keeps beverages warm. Don’t forget to pin this tutorial to your Crochet Gift Ideas board on Pinterest for your next crafting session. Who will you be making this cozy set for first?
Save This Crochet Pattern