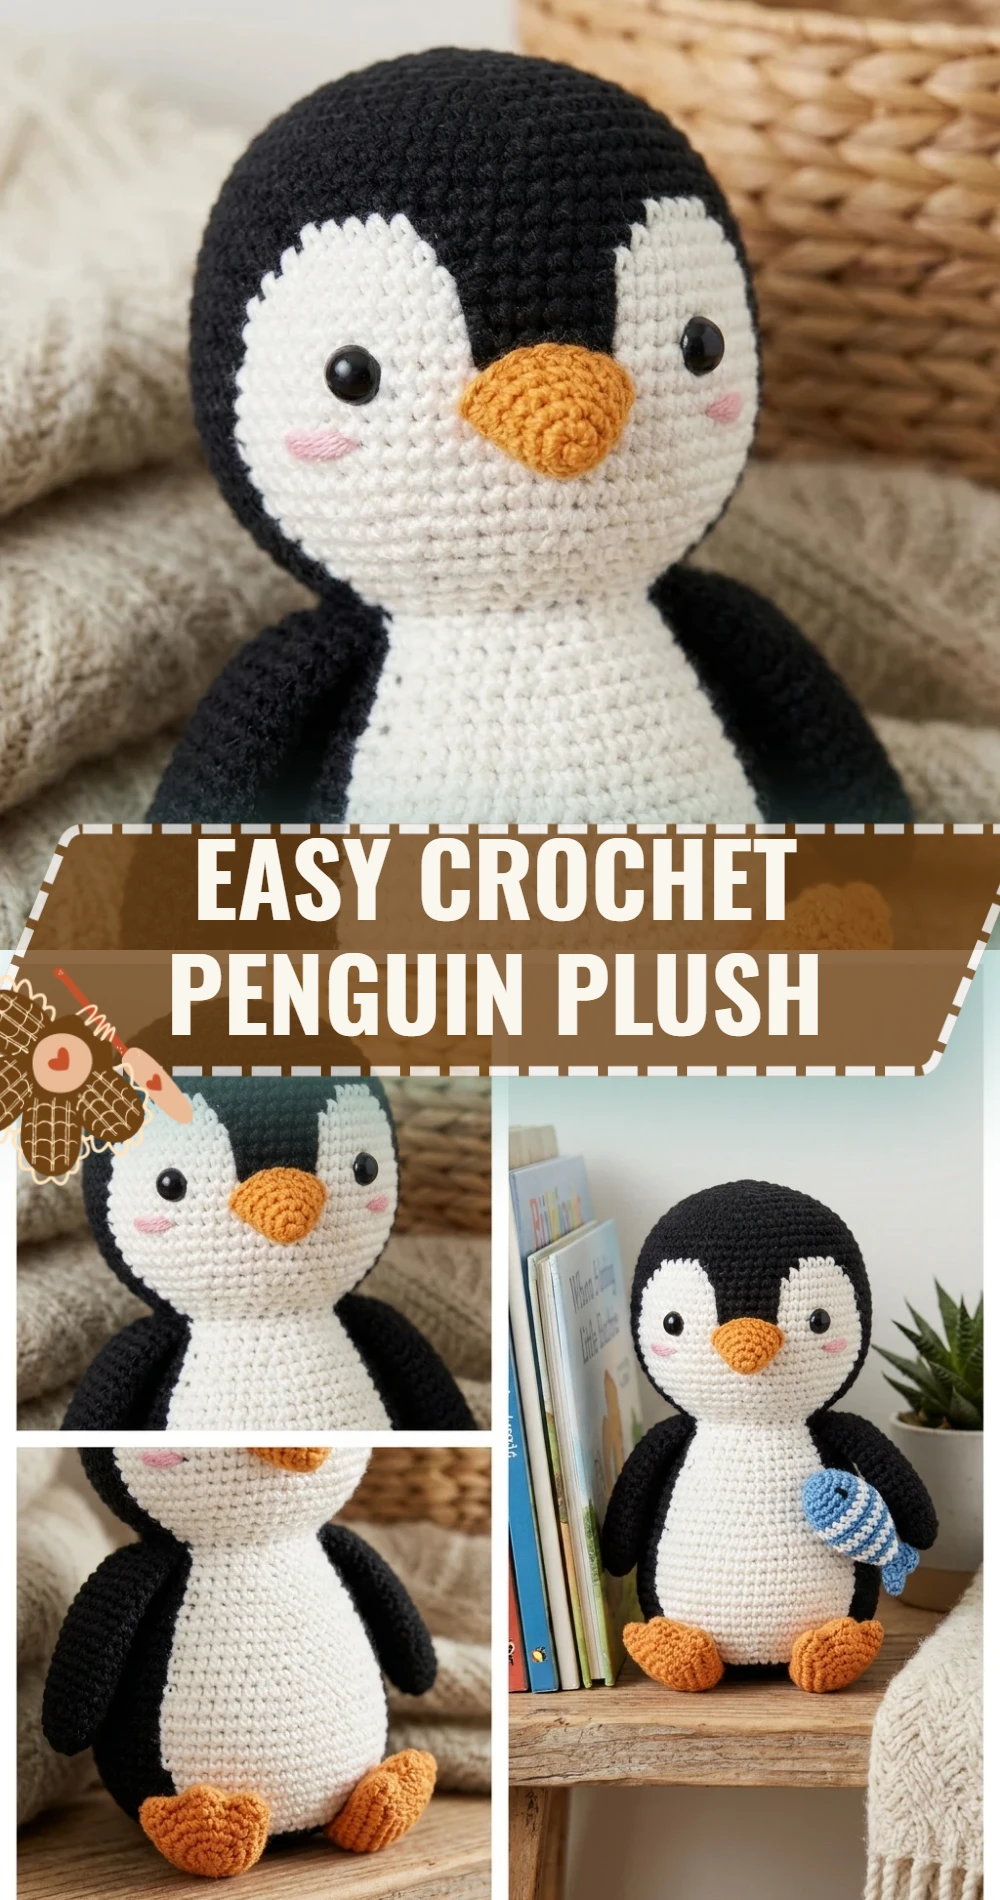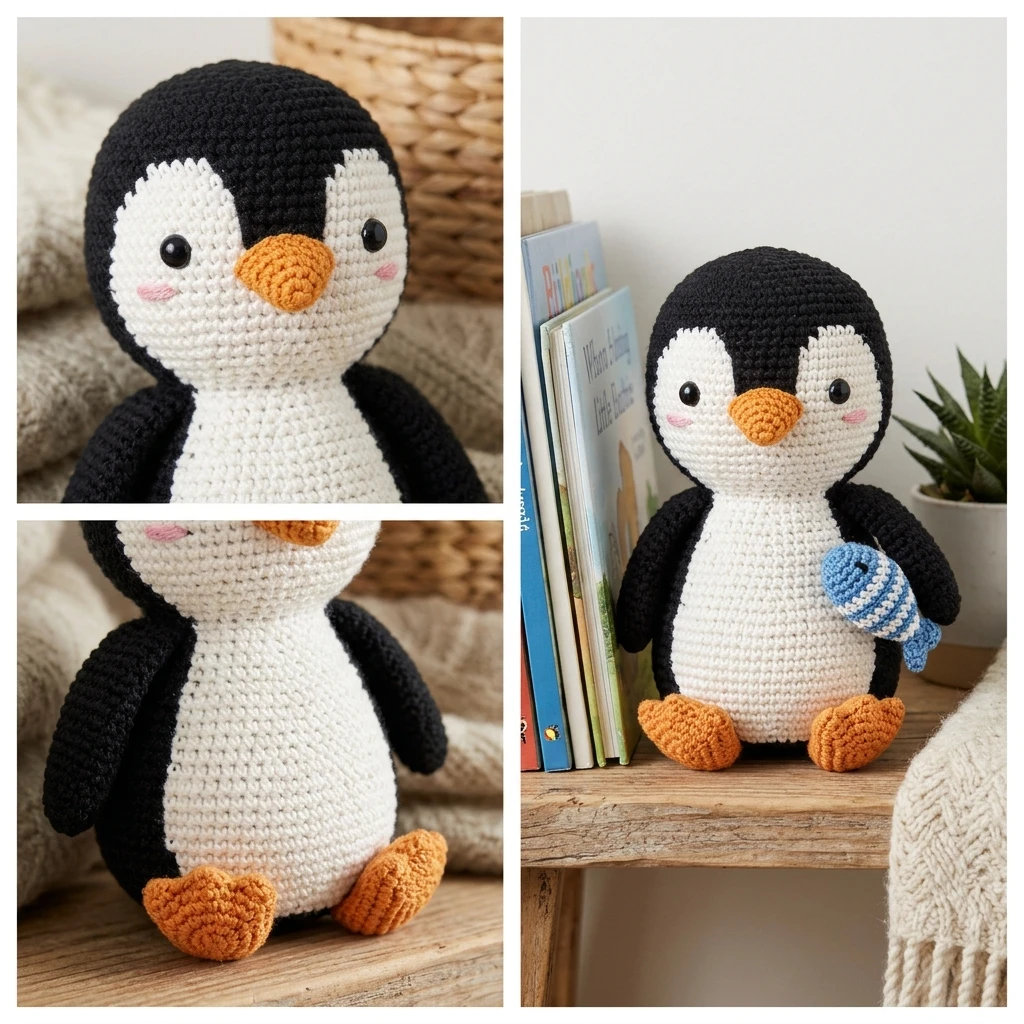
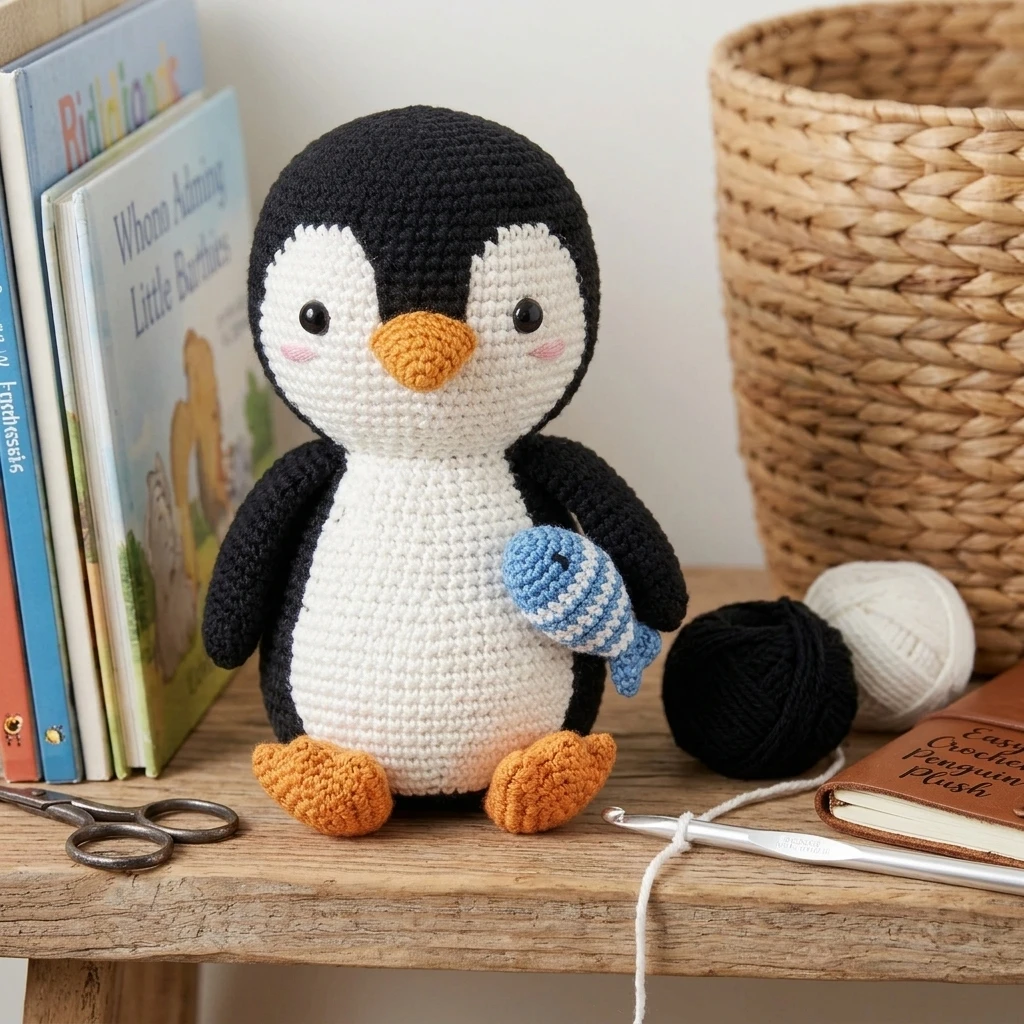
Meet your new favorite feathered friend: the Easy Crochet Penguin Plush. This adorable amigurumi project features a classic round “egg” shape that makes it incredibly stable for shelf display and perfectly palm-sized for little hands. Designed with a minimalist aesthetic, this penguin relies on a bold contrast between its dark body and bright white belly to create an instantly recognizable and charming character. Whether you are looking for a quick handmade gift, a winter-themed nursery accent, or a stress-free project to practice your increases and decreases, this pattern provides a straightforward construction process that yields professional-looking results every time.
The Design: What Makes This Pattern Different
The design of this penguin focuses on a “one-piece” primary body construction. Unlike traditional stuffed animals that require complex neck joins, this pattern uses a continuous teardrop shape to form both the head and body simultaneously. This structural choice ensures the penguin remains sturdy and minimizes the amount of fiddly sewing required at the end. We have also opted for a flat-back belly patch which adds dimension without the bulk of a secondary spherical piece.
One common mistake to avoid when making this penguin is using a hook size that is too large for your yarn weight. Because amigurumi requires a dense fabric to prevent the white fiberfill from peeking through the black stitches, “lacy” tension will compromise the visual identity of the project. Always aim for a firm, tight stitch to maintain that crisp, clean finish.
Project Info at a Glance
| Skill Level | Beginner / Intermediate |
| Estimated Time | 2–3 Hours |
| Finished Size | Approximately 4.5 inches tall (estimated based on worsted weight yarn) |
| Hook Size | 3.5mm (E) or 4.0mm (G) |
| Yarn Weight | Worsted (Weight 4) or Bulky (Weight 5) for a larger plush |
| Gauge | Not critical, but stitches must be tight enough to contain stuffing |
| Best For | Gifts, Winter decor, or Beginner Amigurumi practice |
Materials and Tools
Yarn
For this project, you will need approximately 60–80 yards of Medium Worsted Weight yarn. We recommend an acrylic or cotton blend for better stitch definition and durability. You will need:
- Primary Color: Black or Navy Blue (Approx. 50 yards)
- Accent Color: White (Approx. 20 yards)
- Detail Color: Orange or Yellow for the beak and feet (Scrap amounts)
Tools
- Crochet hook (3.5mm or 4.0mm)
- 10mm or 12mm Safety Eyes
- Polyester fiberfill stuffing
- Tapestry needle for assembly
- Stitch markers
- Scissors
Abbreviations
- CH: Chain
- SC: Single Crochet
- INC: Increase (2 sc in the same stitch)
- DEC: Decrease (Sc 2 stitches together – invisible decrease recommended)
- MR: Magic Ring (Magic Circle)
- ST(S): Stitch(es)
- SL ST: Slip Stitch
Pattern — Step by Step
Main Body (Head and Torso)
Worked in continuous rounds from the top down using Black yarn. Do not join rounds unless specified.
- Rnd 1: 6 SC into a Magic Ring (6)
- Rnd 2: INC in each st around (12)
- Rnd 3: [1 SC, INC] x6 (18)
- Rnd 4: [2 SC, INC] x6 (24)
- Rnd 5: [3 SC, INC] x6 (30)
- Rnd 6: [4 SC, INC] x6 (36)
- Rnd 7-15: SC in each st around (36)
- Rnd 16: [4 SC, DEC] x6 (30)
- Rnd 17: [3 SC, DEC] x6 (24) – Insert safety eyes between rounds 10 and 11, about 6 sts apart. Begin stuffing firmly.
- Rnd 18: [2 SC, DEC] x6 (18)
- Rnd 19: [1 SC, DEC] x6 (12)
- Rnd 20: DEC around (6)
- Fasten off, weave the tail through the final 6 stitches to close the hole, and hide the end inside the body.
Belly Patch
Worked in a flat oval using White yarn.
- CH 5. Starting in the second ch from hook:
- Rnd 1: 3 SC, 3 SC in the last ch. Working down the other side of the chain: 2 SC, INC in the last ch (10)
- Rnd 2: INC, 2 SC, [INC] x3, 2 SC, [INC] x2 (16)
- Rnd 3: 1 SC, INC, 3 SC, INC, 1 SC, INC, 3 SC, INC, 1 SC, INC (21)
- Fasten off, leaving a long tail for sewing.
Wings (Make 2)
Worked in Black yarn.
- Rnd 1: 6 SC in MR (6)
- Rnd 2: [1 SC, INC] x3 (9)
- Rnd 3-6: SC in each st around (9)
- Flatten the wing and SC through both layers to close (4 SC). Fasten off with a long tail.
Beak
Using Orange yarn.
- CH 3. Sl st in 2nd ch from hook, SC in next ch. Fasten off with a tail.
Assembly
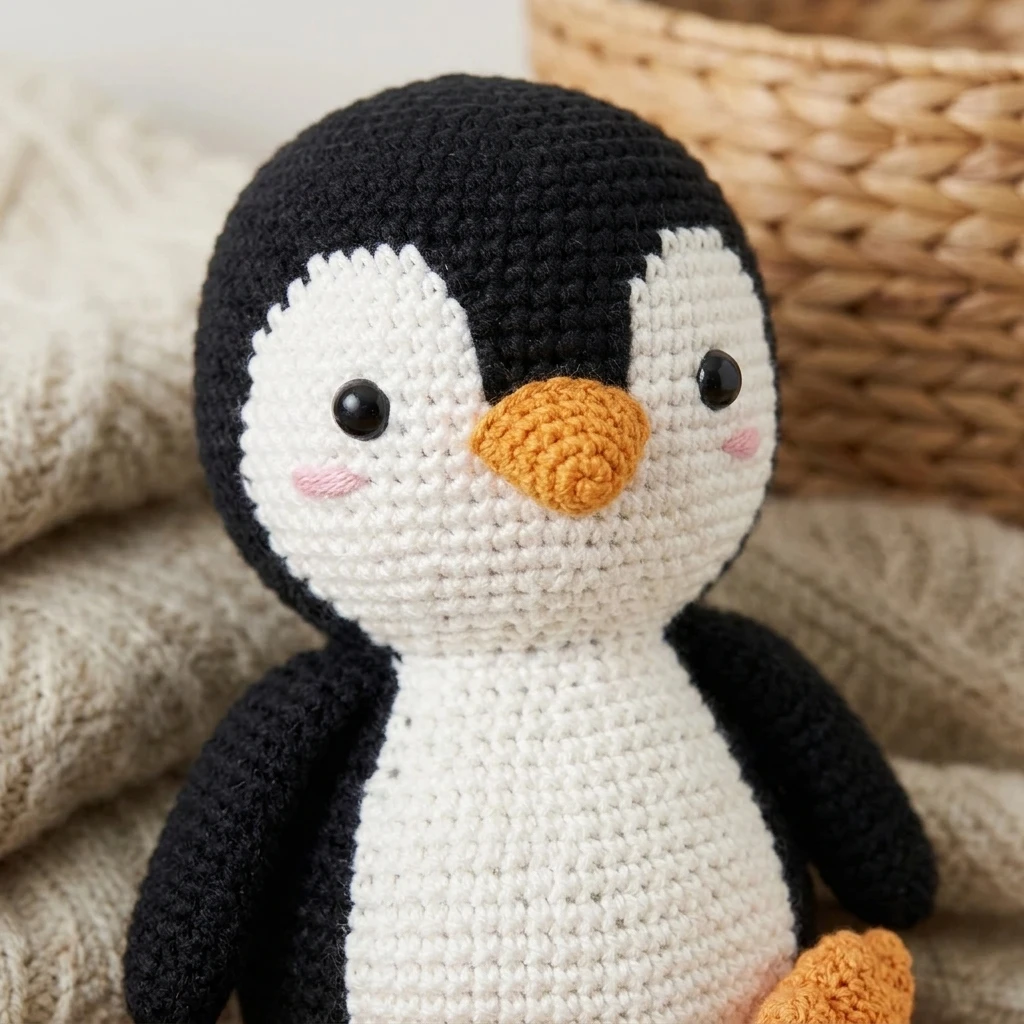
The key to a cute penguin is the placement of the facial features. Ensure the belly patch is centered perfectly below the eyes before you begin stitching to avoid a lopsided look.
- Belly Patch: Position the white oval on the front of the body, starting just below the eyes. Use pins to hold it in place and sew around the edges using the long tail and a whip stitch.
- Beak: Sew the beak centered between the eyes, overlapping the top edge of the white belly patch slightly.
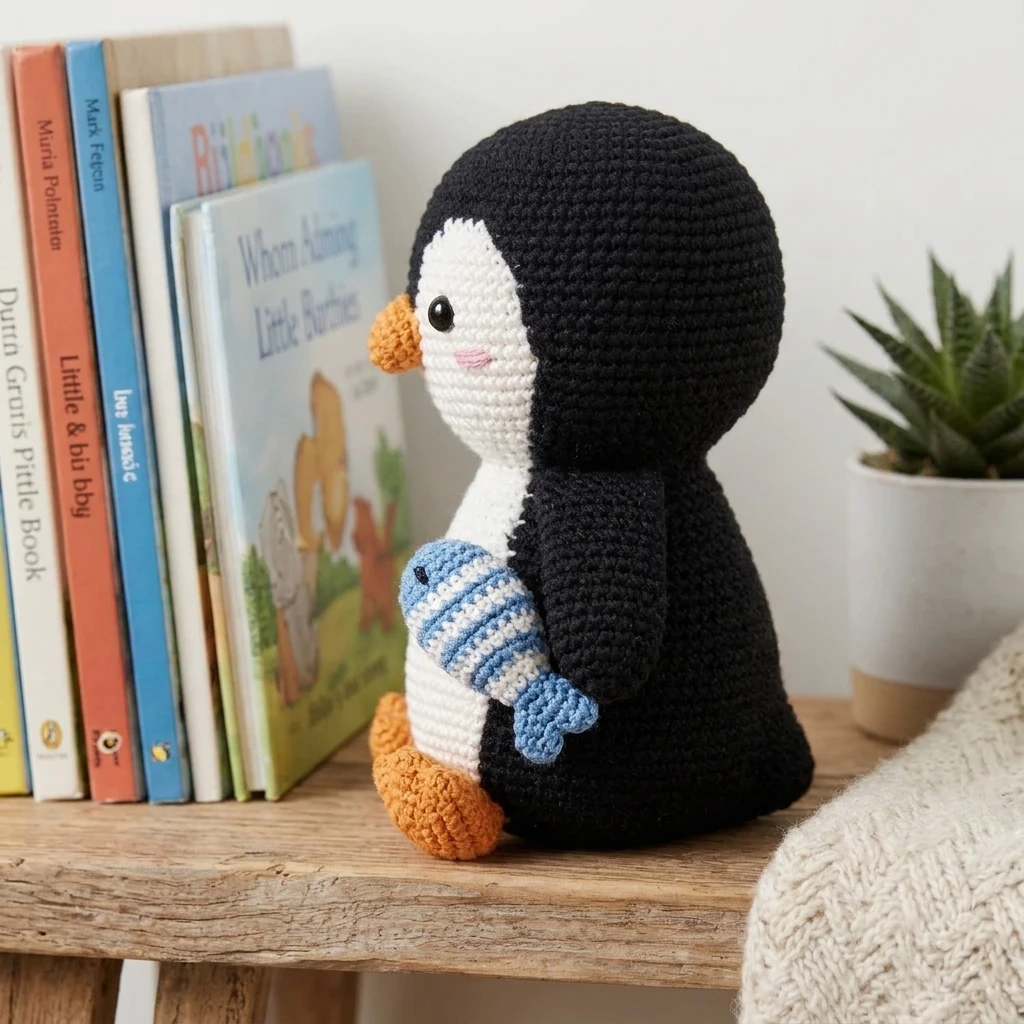
- Wings: Attach the wings to the sides of the body at approximately round 11. Angle them slightly forward so the penguin looks like it is ready for a hug.
- Feet (Optional): You can embroider two small “V” shapes in orange yarn at the base of the body to represent feet, or crochet two small circles (6 sc in MR) and sew them to the bottom.
7 Technical Tips for a Better Easy Crochet Penguin Plush
- Use the Invisible Decrease: In amigurumi, a standard decrease can leave small gaps. Use the front-loop-only invisible decrease method for a smoother surface.
- Check Tension Consistency: Since you are switching between black and white yarn, ensure your tension remains the same so the belly patch fits the body curvature perfectly.
- Secure Safety Eyes: Always double-check the washers on your safety eyes. Once the body is closed, they cannot be fixed without restarting.
- Stuffing is Art: Use small tufts of fiberfill rather than one large clump. This prevents the “lumpy” look and helps the penguin keep its round shape.
- Managing Dark Yarn: Black yarn can be difficult to see. Work under a bright, direct light or use a light-colored hook to help distinguish your stitches.
- Whip Stitch for Sewing: When attaching the belly patch, the whip stitch creates a flatter, more seamless join than a running stitch.
- The “Squish” Test: After finishing, give your penguin a firm squish to distribute the stuffing evenly and round out the base so it stands upright.
Frequently Asked Questions
What is the best yarn for a beginner penguin?
A smooth acrylic worsted weight yarn is best. Avoid “fuzzy” or “eyelash” yarns for your first attempt, as they make it very difficult to see your stitch counts.
Can I make this penguin larger?
Yes! Simply use a larger hook (like 6.0mm) and a bulky chenille or blanket yarn. You do not need to change the pattern; the thicker yarn will naturally result in a jumbo plush.
How do I prevent the stuffing from showing?
The secret is to go down 1 or 2 hook sizes from what the yarn label recommends. This creates a tight fabric that keeps the white stuffing hidden inside the dark yarn.
Is this pattern safe for babies?
Safety eyes can be a choking hazard. If making this for a child under three, it is highly recommended to embroider the eyes using black yarn or embroidery floss instead.
Why is my penguin leaning to one side?
This usually happens if the stuffing is uneven or if the wings are not placed symmetrically. Massage the stuffing inside to redistribute it, or check your wing placement with a ruler.
Conclusion
The Easy Crochet Penguin Plush is a rewarding project that proves you don’t need complex shapes to create a character full of personality. By mastering the basic amigurumi sphere and focusing on clean assembly, you’ve created a durable, adorable companion. If you enjoyed this tutorial, be sure to save it to your Crochet Animals board on Pinterest! What color will you make your next penguin—classic black or a fun pastel blue?
Save This Crochet Pattern