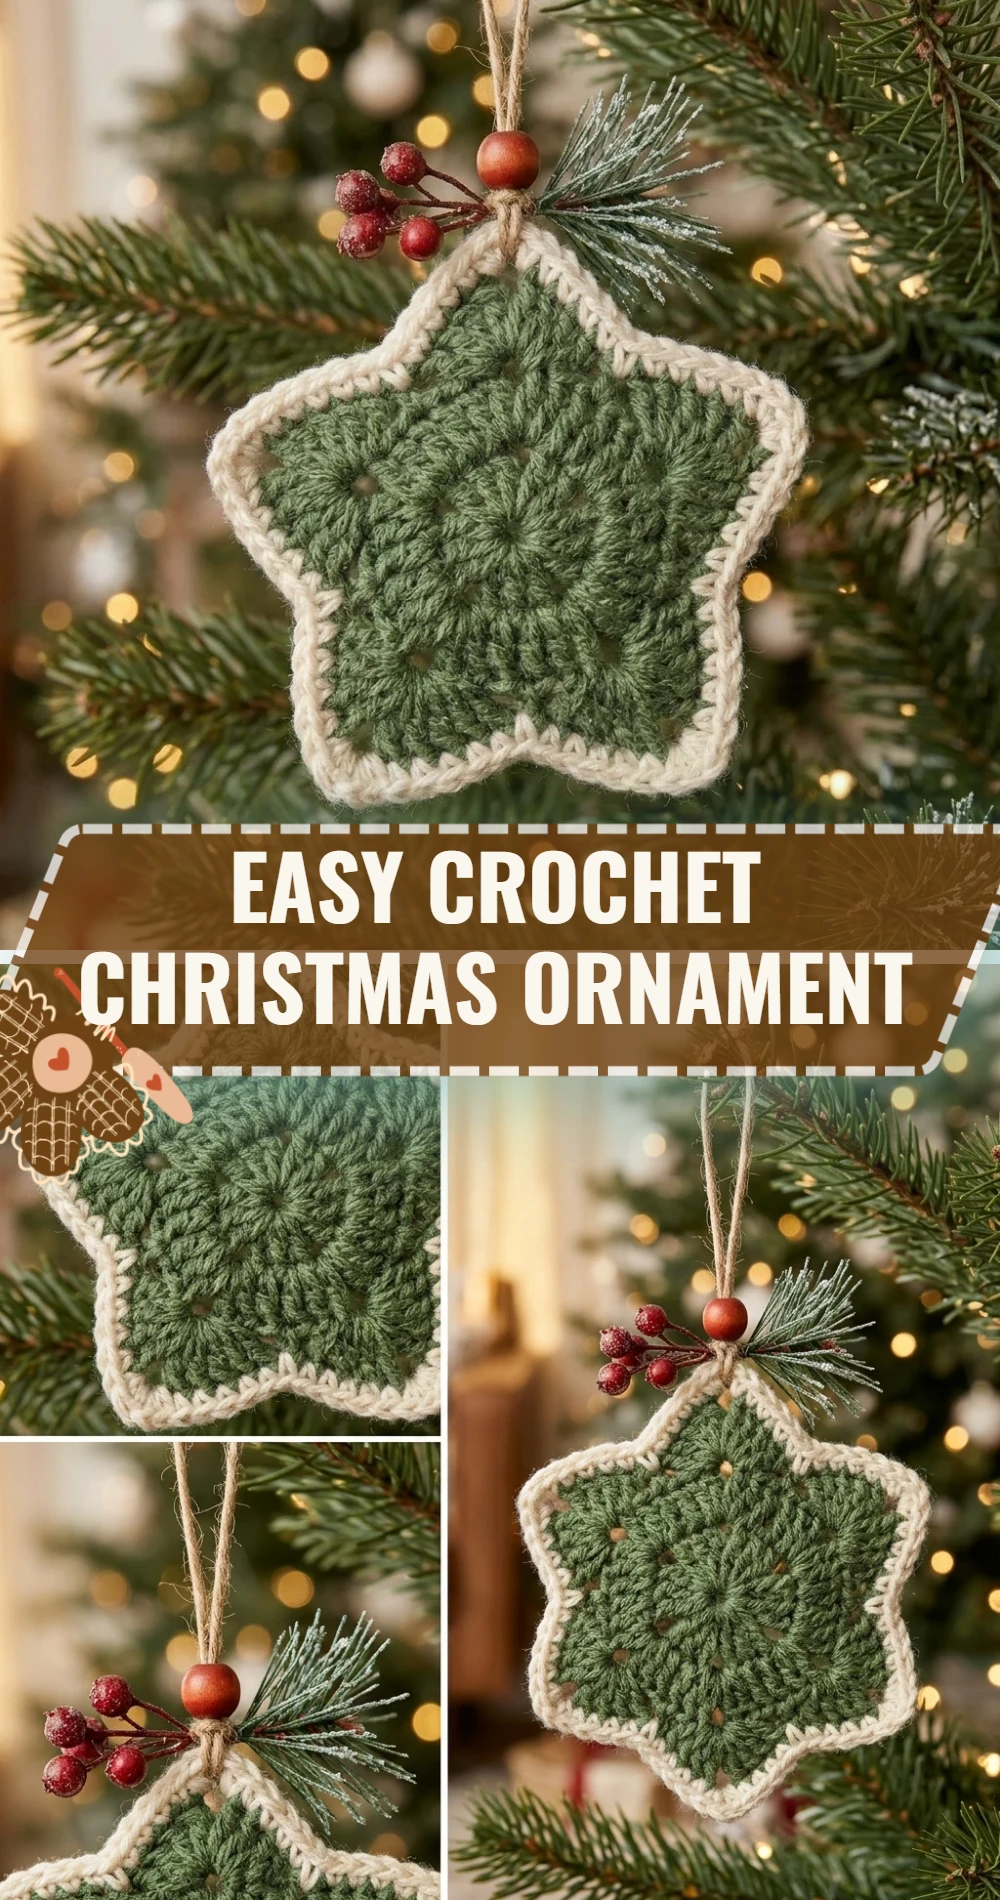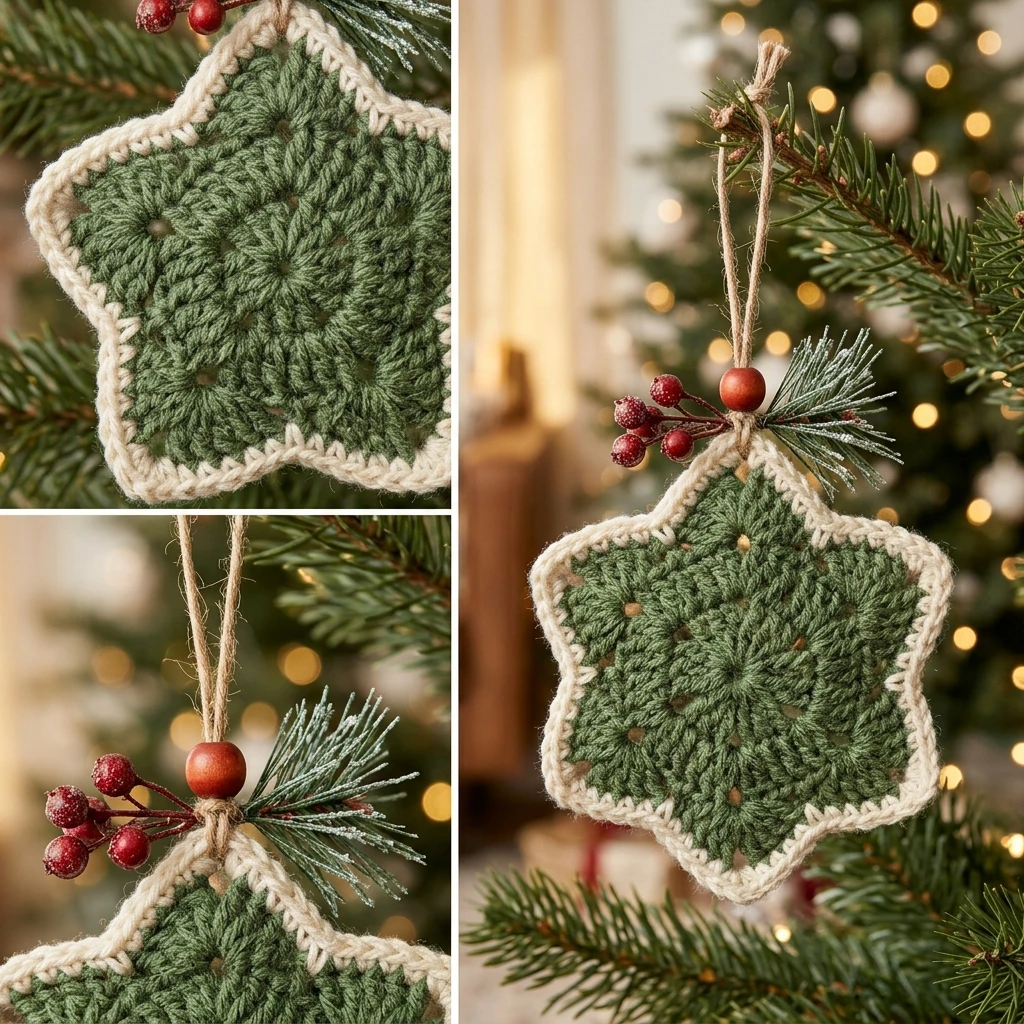
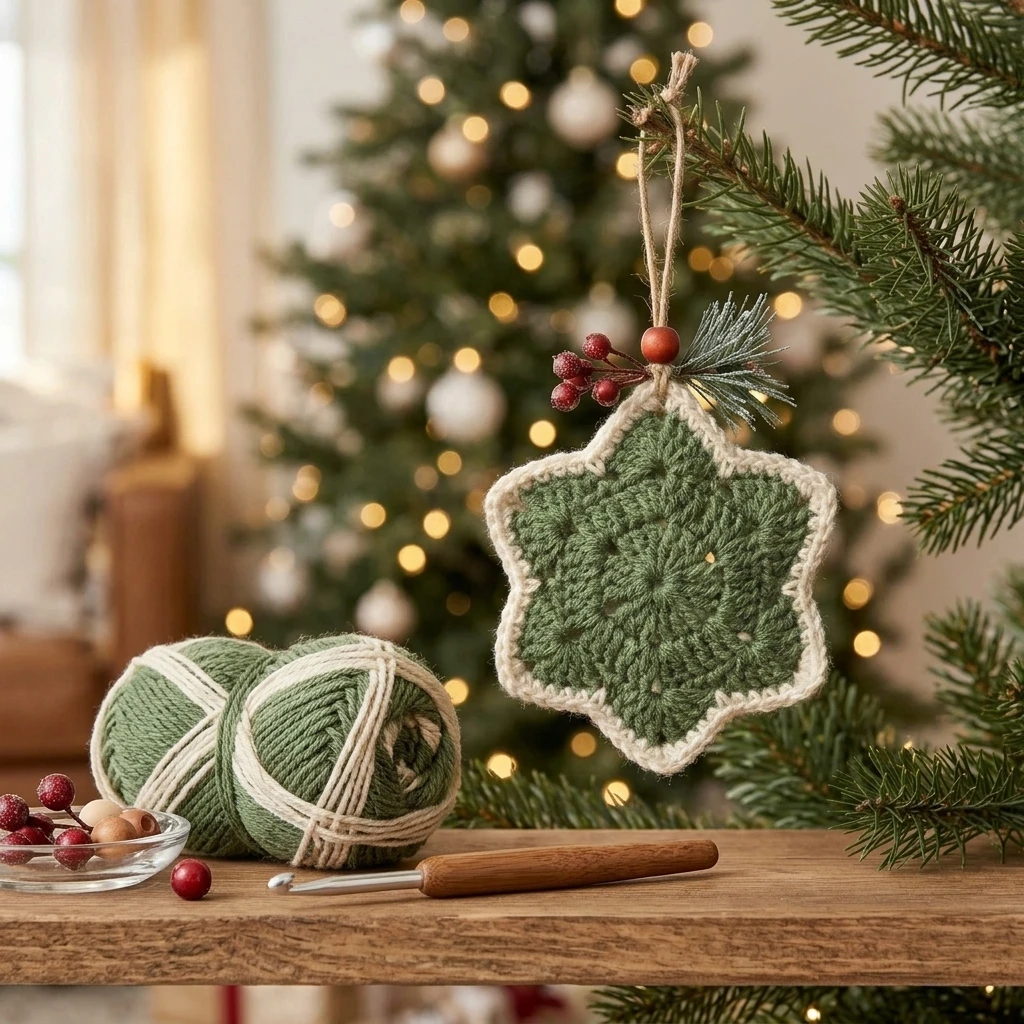
Transform your holiday tree into a gallery of handmade charm with this Easy Crochet Christmas Ornament. This project creates a classic, spherical bauble that captures the nostalgic essence of a cozy winter home. Designed for simplicity and speed, the ornament is worked in continuous rounds using basic stitches, making it an ideal choice for beginners or seasoned crafters looking to churn out a dozen gifts in a single weekend. The finished piece is lightweight, durable, and infinitely customizable, allowing you to match your festive decor through endless color combinations or sparkly yarn choices.
The Design: What Makes This Pattern Different
The visual appeal of this ornament lies in its clean, seamless construction. Unlike traditional flat ornaments, this design utilizes amigurumi-style shaping to create a perfect 3D sphere that holds its shape year after year. By working in a spiral rather than joined rounds, we eliminate the unsightly vertical seam often found in crochet spheres. A common mistake to avoid in this project is over-stuffing the ornament too early; if you add the fiberfill before reaching the final reduction rounds, your hook may snag the stuffing, pulling white fibers through your colorful stitches and ruining the “clean” look of the finish.
Project Info at a Glance
| Feature | Details |
|---|---|
| Skill Level | Beginner |
| Estimated Time | 30–45 Minutes |
| Finished Size | Approximately 3 inches in diameter (suggested) |
| Hook Size | 3.5mm (E-4) or 4.0mm (G-6) |
| Yarn Weight | Medium / Worsted Weight (Weight 4) |
| Gauge | 5 sts x 5 rounds = 1 inch (photo-inspired) |
| Best For | Tree Decor, Gift Toppers, and Holiday Bazaars |
Materials and Tools
Yarn
To achieve the look shown in the tutorial, you will need approximately 25 to 30 yards of any worsted-weight acrylic or cotton yarn. Vibrant reds, forest greens, or metallic-flecked whites work best for holiday visibility. Because this is a photo-inspired design, quantities are estimated based on a standard 3-inch sphere.
Tools
- Crochet Hook: 3.5mm or 4.0mm to ensure tight stitches.
- Stuffing: Small amount of polyester fiberfill.
- Tapestry Needle: For weaving in ends and closing the sphere.
- Stitch Marker: Essential for tracking the start of continuous rounds.
- Scissors: For trimming yarn.
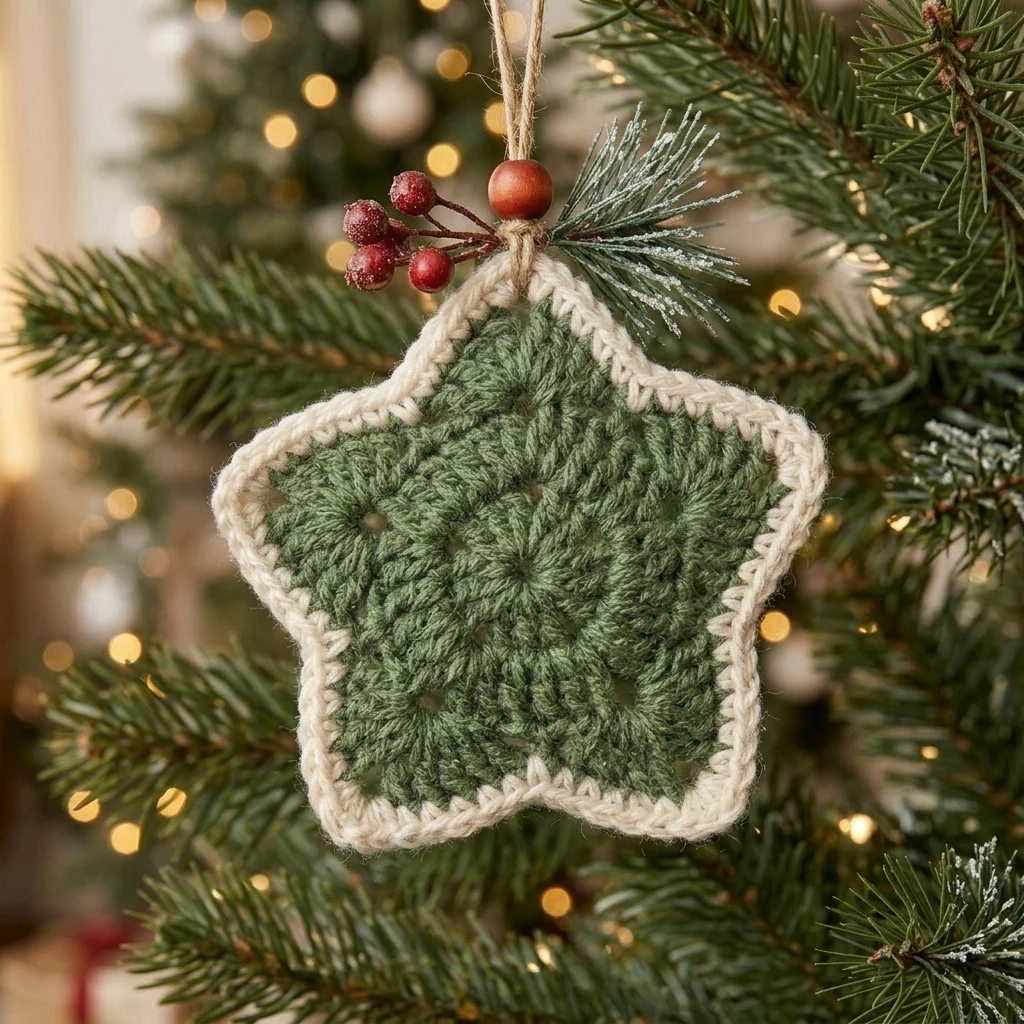
Abbreviations
- ch: chain
- sc: single crochet
- inc: increase (2 sc in the same stitch)
- dec: decrease (sc 2 together, invisible decrease recommended)
- st(s): stitch(es)
- sl st: slip stitch
- MR: Magic Ring
Pattern — Step by Step
This ornament is worked from the top down in a continuous spiral. Do not join rounds with a slip stitch unless specifically instructed. Use a stitch marker to move up with every round to keep your place.
The Sphere Body
- Round 1: Start with a MR, place 6 sc into the ring. (6 sts)
- Round 2: 2 sc in each st around. (12 sts)
- Round 3: [1 sc, inc] repeat around. (18 sts)
- Round 4: [2 sc, inc] repeat around. (24 sts)
- Round 5-9: sc in each st around. (24 sts per round)
- Round 10: [2 sc, dec] repeat around. (18 sts)
- Round 11: [1 sc, dec] repeat around. (12 sts)
Finishing the Shape
Before proceeding to the final round, pause to firmly stuff the ornament with fiberfill. Ensure it is round and plump but not so overstuffed that the stitches stretch open.
- Round 12: dec in every st around. (6 sts)
- Fasten off, leaving a 10-inch tail for assembly and hanging.
Assembly
The assembly process involves securing the bottom of the sphere and creating a functional loop so the ornament can hang elegantly from a branch. Ensure your tension is consistent during the closing phase to avoid a “pointed” bottom.
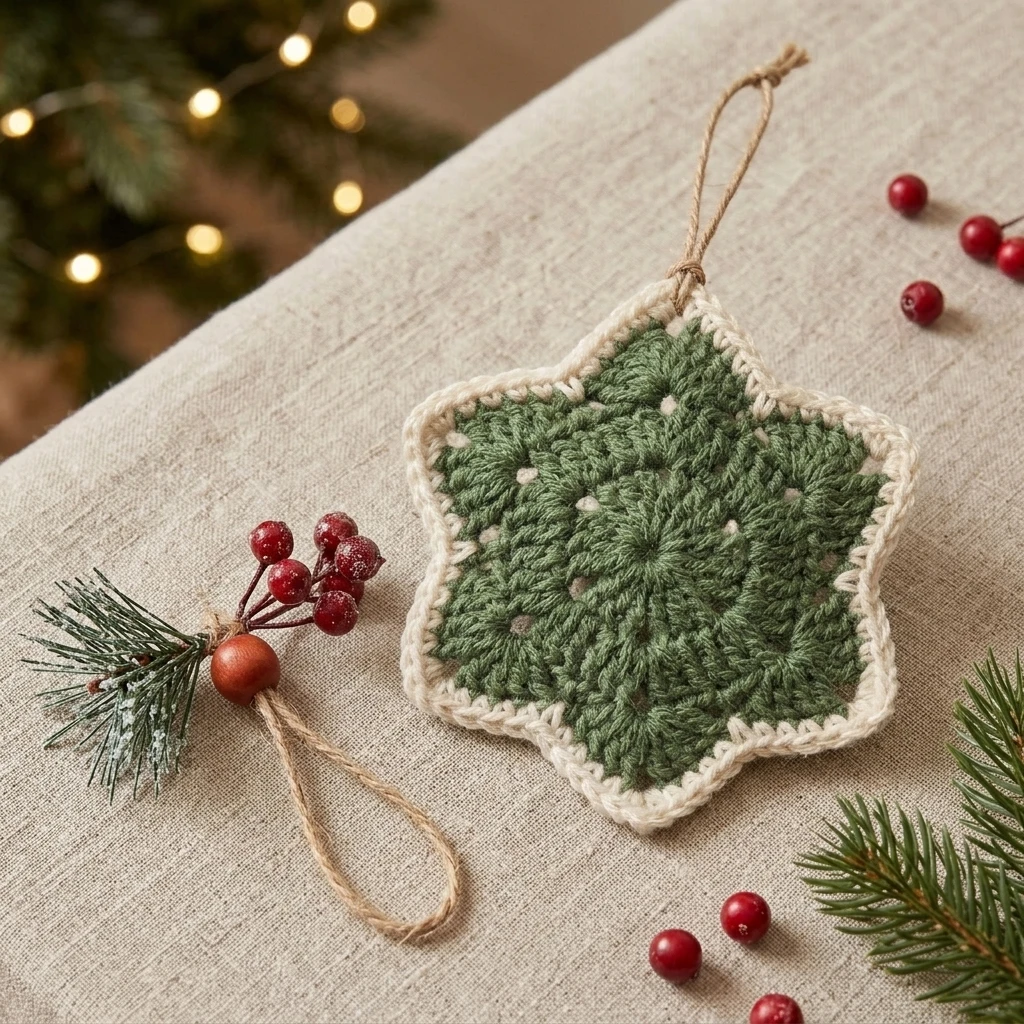
- Thread the yarn tail onto a tapestry needle.
- Weave the needle through the front loops of the remaining 6 stitches at the bottom and pull tight to close the hole.
- Insert the needle through the center of the closed hole and push it straight up through the middle of the ornament, exiting at the very top (the Magic Ring center).
- Create a hanging loop by pulling a loop of yarn through the top, or by chaining 20 and securing it back into the top of the sphere.
- Knot the yarn securely at the base of the loop and hide the remaining tail inside the body of the ornament.
7 Technical Tips for a Better Easy Crochet Christmas Ornament
- Use Invisible Decreases: When working the reduction rounds, use the invisible decrease technique (working in front loops only) to prevent gaps in the fabric.
- Downsize Your Hook: If you see stuffing peeking through your stitches, switch to a hook 0.5mm smaller to tighten the tension.
- The Magic Ring is Vital: Ensure your starting MR is pulled very tight so there is no hole at the top of your ornament.
- Even Stuffing: Roll the ornament between your palms after stuffing to distribute the fiberfill evenly and remove any lumps.
- Color Transitions: If making a striped ornament, change colors in the last yarn-over of the previous stitch for a sharp, clean line.
- Embellish Before Closing: If you plan to add embroidery or beads, it is much easier to do so before you finish the final decrease rounds.
- Steam Shaping: A light steam from a distance can help soften the yarn and settle the stitches into a perfect circle.
Frequently Asked Questions
What is the best yarn for Christmas ornaments?
Cotton yarn provides excellent stitch definition and keeps its shape well, while acrylic is lightweight and comes in a wider variety of festive, sparkly textures. Both are great choices for this pattern.
How can I make the ornament larger?
To increase the size, continue the increase rounds (e.g., Round 5: [3 sc, inc]) and add an equal number of even sc rounds in the middle before starting your decreases.
Why is my ornament looking like a cone instead of a sphere?
This usually happens if your tension is too tight on the increase rounds or if you missed a middle round. Ensure you have 5 full rounds of “sc in each st” to give the sphere its height.
Can I wash these ornaments?
If you use acrylic or cotton and standard fiberfill, they are generally machine washable on a delicate cycle, though hand-washing is recommended to preserve the shape of the hanging loop.
How do I make a hanging loop without a yarn tail?
You can attach a piece of festive twine, a metal ornament hook, or a length of ribbon through the top stitches if you prefer a different aesthetic than a crocheted loop.
Conclusion
The Easy Crochet Christmas Ornament is a delightful way to add a personal touch to your holiday season. With its simple construction and quick completion time, you can easily create a coordinated set for your tree or unique toppers for your gift wrapping. This pattern is a great foundation for experimentation with color and texture. Don’t forget to save this project to your holiday Pinterest board! Which color yarn will you use for your first batch of ornaments?
Save This Crochet Pattern