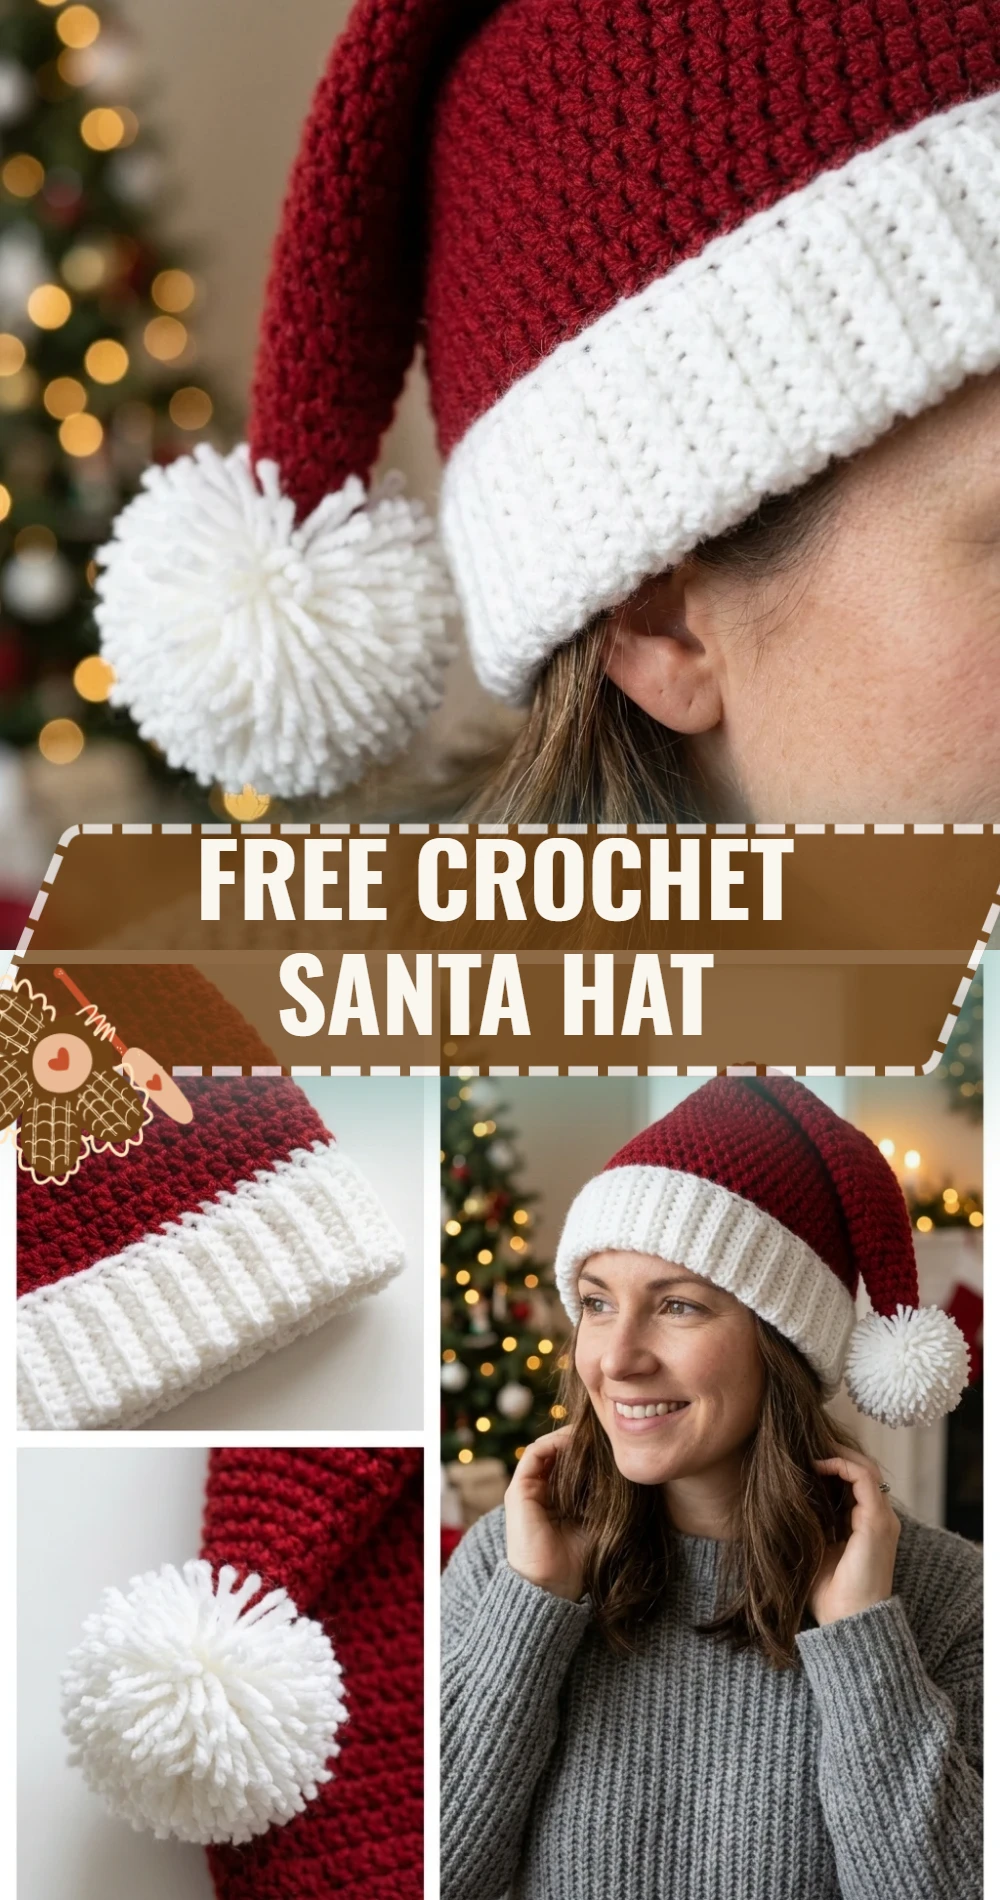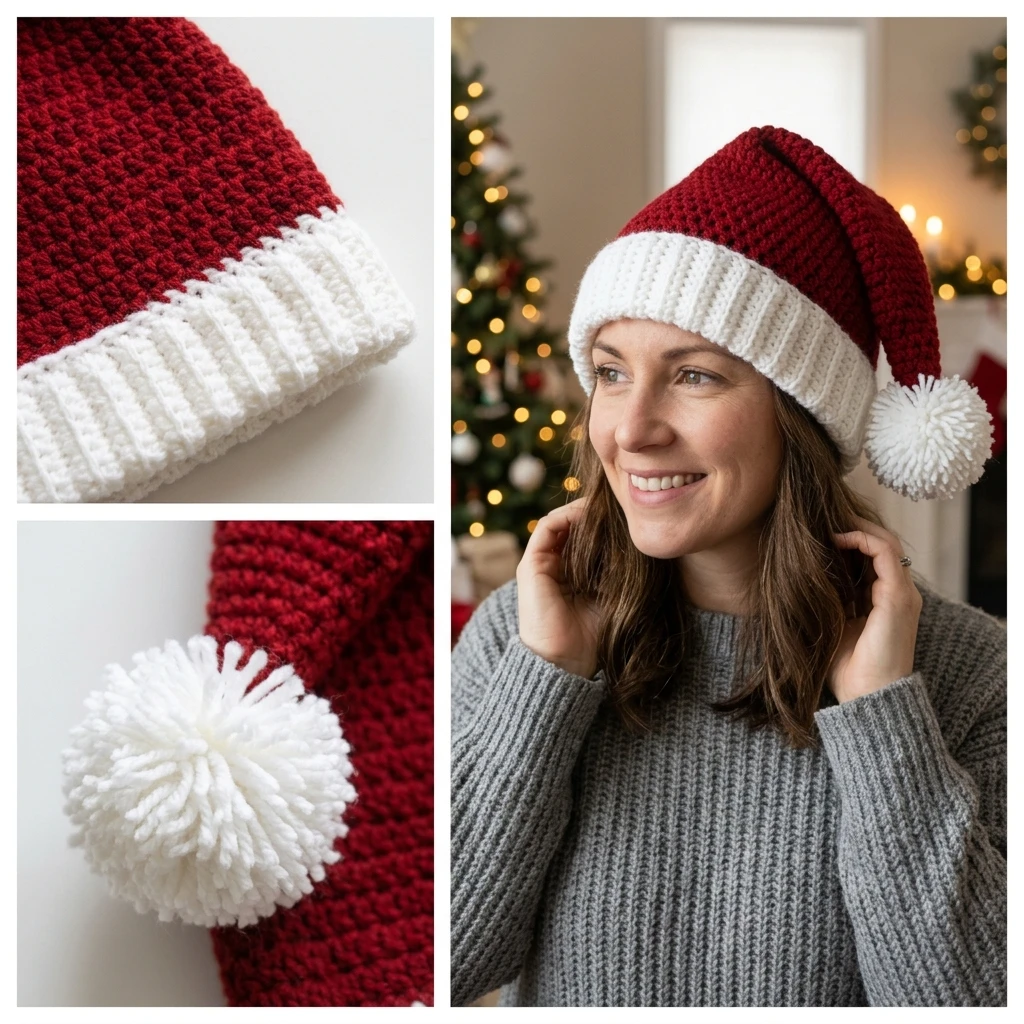
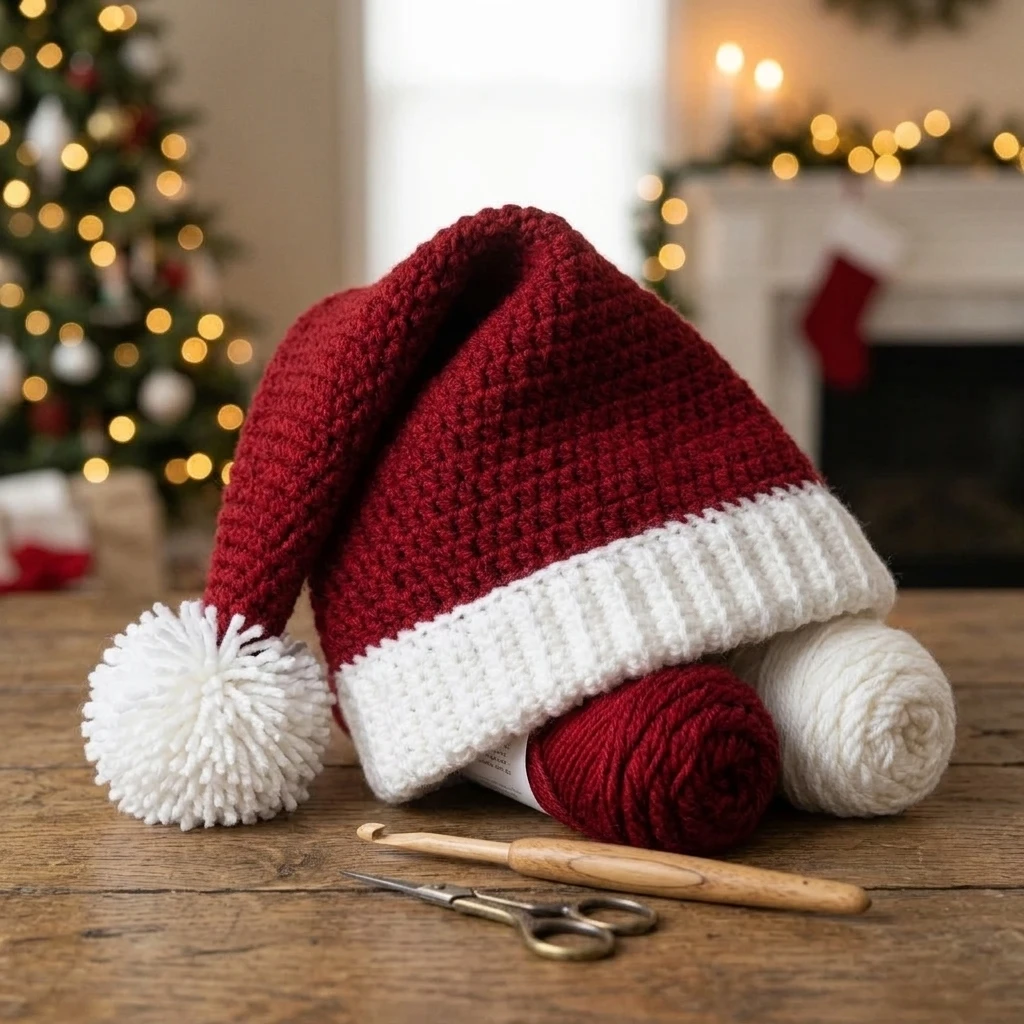
Imagine the soft glow of Christmas lights reflecting off a handmade holiday classic. This Free Crochet Santa Hat is the quintessential festive accessory, blending traditional charm with the cozy texture of hand-stitched crochet. Designed with a gentle taper and a plush, snowy-white brim, it fits comfortably on adults and teens alike. The construction follows a top-down method, beginning with a narrow point that gradually expands into a standard hat circumference, allowing for a natural drape that looks fantastic in holiday photos or while caroling.
The Design: What Makes This Pattern Different
While many Santa hat patterns result in a stiff, perfectly triangular cone, this design focuses on a “relaxed taper.” By alternating increase rounds with non-increase rounds in the early stages, the hat achieves a graceful slouch rather than a rigid peak. Structurally, we transition from standard double crochet stitches in the body to a textured ribbed brim using front and back post stitches. This ensures the hat stays securely on the head without needing an elastic band.
A common mistake to avoid is working the initial increase rounds too quickly. If you add too many stitches at the start, the “tail” of the Santa hat will look bulky rather than sleek. Follow the staggered increase schedule closely to maintain that iconic silhouette.
Project Info at a Glance
| Attribute | Details |
|---|---|
| Skill Level | Easy / Advanced Beginner |
| Estimated Time | 3 – 5 Hours |
| Finished Size | Adult (21-23″ head circumference) |
| Hook Size | 5.5mm (I-9) |
| Yarn Weight | Worsted (Medium / #4) |
| Gauge | 13 dc and 7 rows = 4″ (photo-inspired estimate) |
| Best For | Holiday parties, family photos, and beginner gifts |
Materials and Tools
Yarn
To achieve the classic look, you will need two colors of medium-weight yarn. Based on a standard adult size, these quantities are suggested estimates:
- Primary Color: Approximately 200 yards of Red worsted weight yarn (acrylic or wool blends work best for structure).
- Accent Color: Approximately 60 yards of White worsted weight yarn. For a fluffier look, a “bouclé” or “velvet” yarn can be substituted for the brim.
Tools
- 5.5mm (I-9) crochet hook.
- Large eye yarn needle for weaving in ends.
- Stitch markers (highly recommended for tracking the start of rounds).
- Large pom-pom maker (or a sturdy piece of cardboard).
- Sharp scissors.
Abbreviations
This pattern uses standard US crochet terminology:
- ch: chain
- st: stitch
- sl st: slip stitch
- sc: single crochet
- dc: double crochet
- fpdc: front post double crochet
- bpdc: back post double crochet
- dc2tog: double crochet two together (decrease)
- MR: Magic Ring (or Magic Circle)
Pattern — Step by Step
Section 1: The Pointed Tail
The hat begins at the very tip where the pom-pom will eventually be attached. We work in joined rounds, but you may choose to work in a continuous spiral if you prefer a seamless look (use a marker if you do).
- Round 1: Using Red yarn, create a MR. Ch 2 (does not count as a st), work 6 dc into the ring. Sl st to the first dc to join. (6 sts)
- Round 2: Ch 2, dc in each st around. Join. (6 sts)
- Round 3: Ch 2, *dc in next st, 2 dc in next st; repeat from * around. Join. (9 sts)
- Round 4: Ch 2, dc in each st around. Join. (9 sts)
- Round 5: Ch 2, *dc in next 2 sts, 2 dc in next st; repeat from * around. Join. (12 sts)
- Round 6: Ch 2, dc in each st around. Join. (12 sts)
- Round 7-15: Continue increasing by 3 sts every other round (e.g., Round 7 increase to 15 sts, Round 9 increase to 18 sts) until you reach 30 stitches.
Section 2: The Main Body
Now we will increase more rapidly to reach the width required for an adult head.
- Round 16: Ch 2, *dc in next 2 sts, 2 dc in next st; repeat from * around. Join. (40 sts)
- Round 17: Ch 2, *dc in next 3 sts, 2 dc in next st; repeat from * around. Join. (50 sts)
- Round 18: Ch 2, *dc in next 4 sts, 2 dc in next st; repeat from * around. Join. (60 sts)
- Round 19-28: Ch 2, dc in each st around. Join. (60 sts) Note: Add or subtract rows here to adjust the depth of the hat. Fasten off Red.
Section 3: The Ribbed Brim
Switching to White yarn, we create the textured cuff.
- Round 29: Join White yarn with a sl st. Ch 2, dc in each st around. Join. (60 sts)
- Round 30-33: Ch 2, *fpdc in next st, bpdc in next st; repeat from * around. Join. This creates the elastic ribbing.
- Final Round: Ch 1, sc in each st around for a clean edge. Fasten off and weave in all ends.
Assembly
The assembly phase transforms the crocheted cone into the iconic Santa silhouette. Ensure all knots are double-secured, especially if the hat will be worn by children.
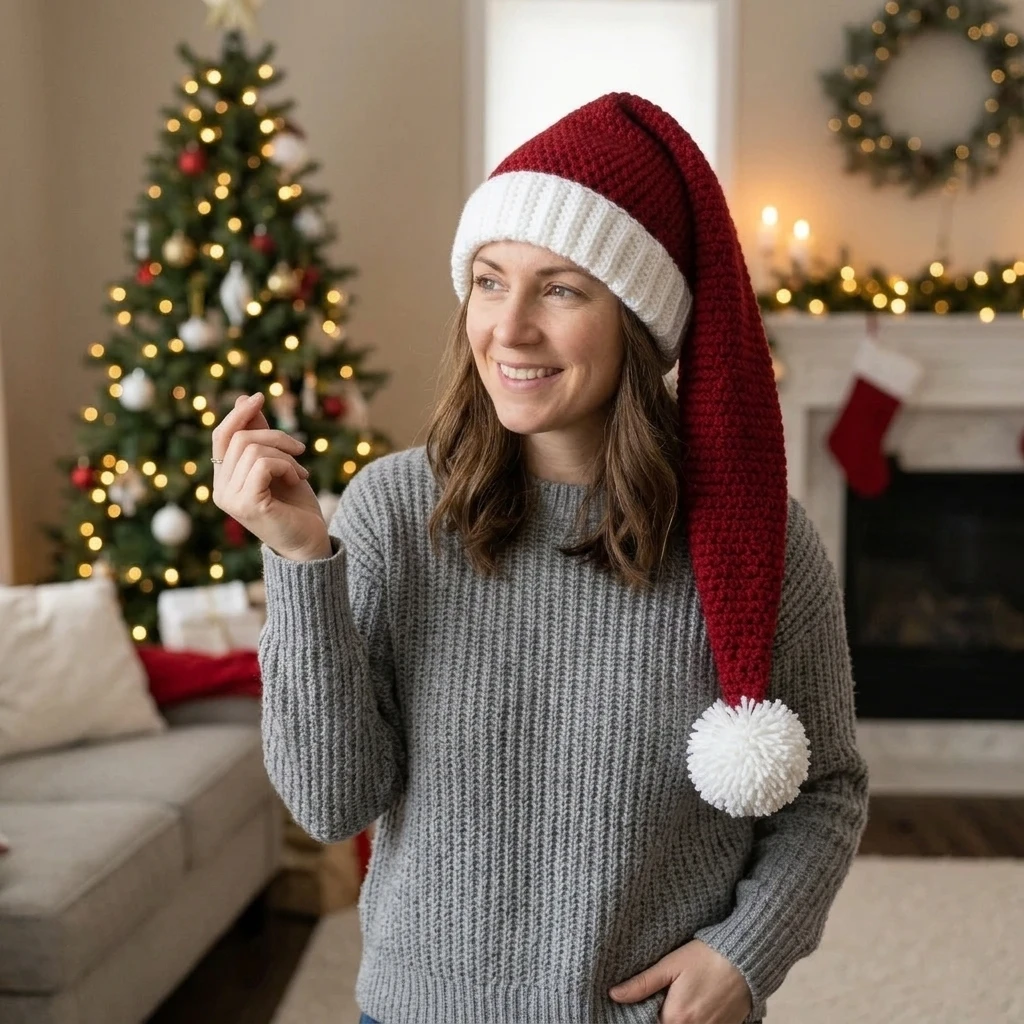
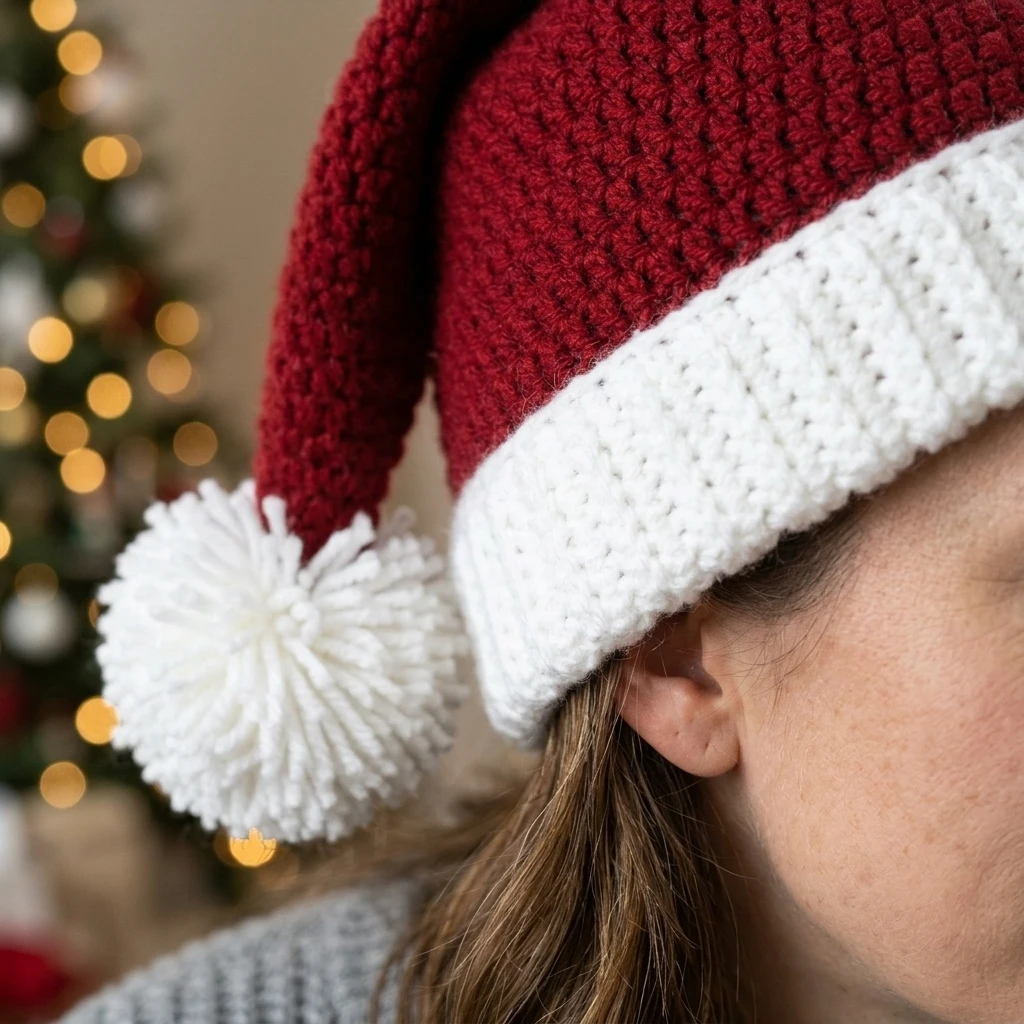
- Create the Pom-Pom: Using the White yarn and a large pom-pom maker, create a dense, 3-inch or 4-inch pom-pom. Wrap the yarn at least 100 times for a “store-bought” fullness.
- Secure the Tail: Use the long tail from the pom-pom to sew it through the center of the Magic Ring at the top of the hat. Tie it securely on the inside and weave the ends through the first two rounds of dc.
- Final Weaving: Check the inside of the hat for the color change transition. Use your yarn needle to weave the red and white tails into their respective color sections to keep them invisible.
7 Technical Tips for a Better Free Crochet Santa Hat
- Check Your Gauge: Santa hats are meant to be slightly loose. If your stitches are too tight, the hat will stand straight up like a cone rather than folding over.
- Use a Magic Ring: Starting with a ch-3 loop often leaves a hole at the top. A Magic Ring allows you to pull the tip tight so no stuffing or yarn shows through under the pom-pom.
- The “Jogless” Join: When joining rounds, pull your sl st very tight. This minimizes the visible seam running down the back of the hat.
- Pom-Pom Weight: If your pom-pom is too heavy, it may pull the hat off the head. If this happens, use a smaller pom-pom or use a lighter-weight fiber like roving for the puff.
- Floppy vs. Stiff: For a floppier “Long Tail” Santa hat, add more “dc in each st” rounds between your increase rounds in Section 1.
- The Brim Stretch: If the brim feels too tight, switch to a hook one size larger (6.0mm) just for the white ribbed section.
- Steam Blocking: Lightly steam the red portion of the hat (avoiding the white brim if it is synthetic) to help the stitches settle and improve the drape.
Frequently Asked Questions
Can I use chunky yarn for this pattern?
Yes, but you will need to reach the final stitch count much faster. For chunky yarn, you would likely stop increasing once you reach 40-45 stitches for an adult head.
How do I make this for a child?
Stop the increases in Section 2 once the hat measures approximately 18-19 inches in circumference, then proceed to the brim instructions.
Why is my brim curling upward?
Curling usually happens if your post stitches (fpdc/bpdc) are significantly tighter than your body stitches. Try loosening your tension or increasing your hook size for the brim.
Can I use faux fur yarn for the white part?
Absolutely! However, it is very hard to see stitches in fur yarn. Instead of fpdc/bpdc, simply work 3-4 rounds of sc with the fur yarn for a similar aesthetic.
What is the best way to wash the hat?
If using acrylic, hand wash in cold water and lay flat to dry. Avoid the dryer, as it can make the pom-pom look “frizzy” or matted.
Conclusion
Crafting a handmade Santa hat is a wonderful way to bring a personal touch to the holiday season. Whether you are making this for a Christmas morning surprise or a festive office party, the classic red and white design never goes out of style. Don’t forget to experiment with different textures for the brim to make your project truly unique!
Found this pattern helpful? Pin it to your Holiday Crochet board on Pinterest!
Will you be making your Santa hat with a classic yarn pom-pom or a trendy faux-fur attachment this year?
Save This Crochet Pattern