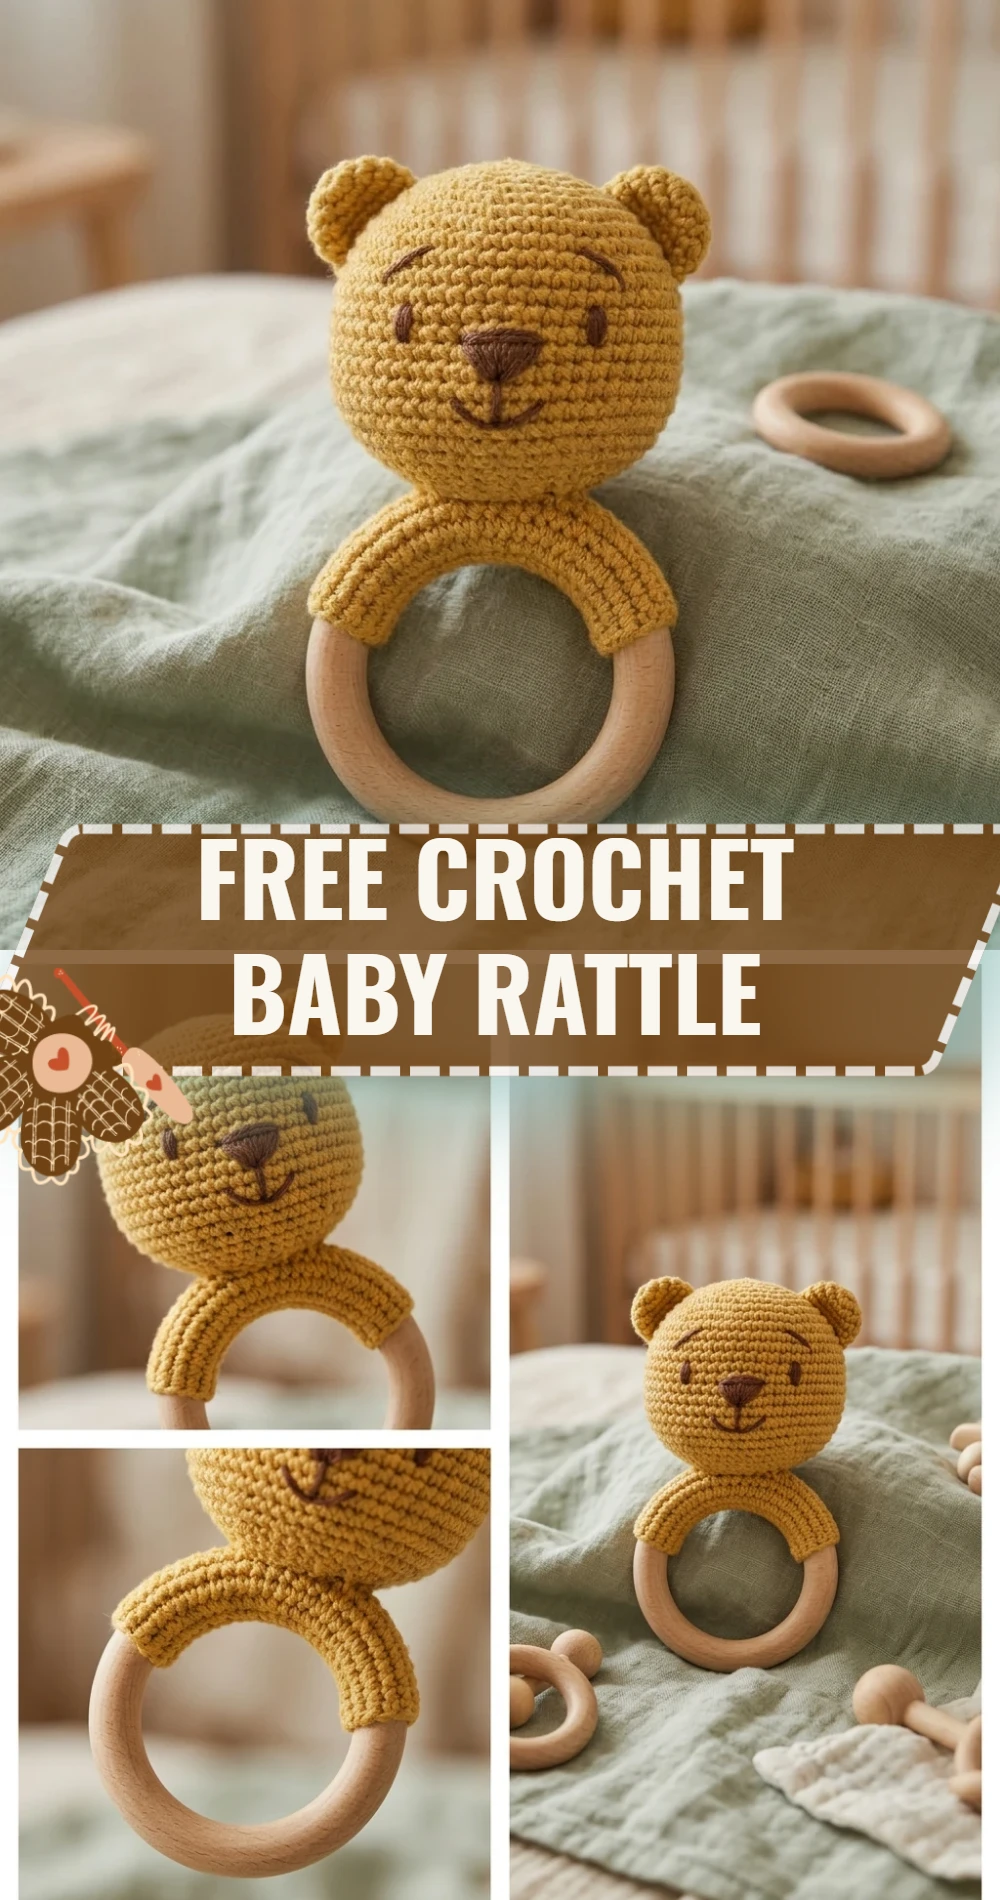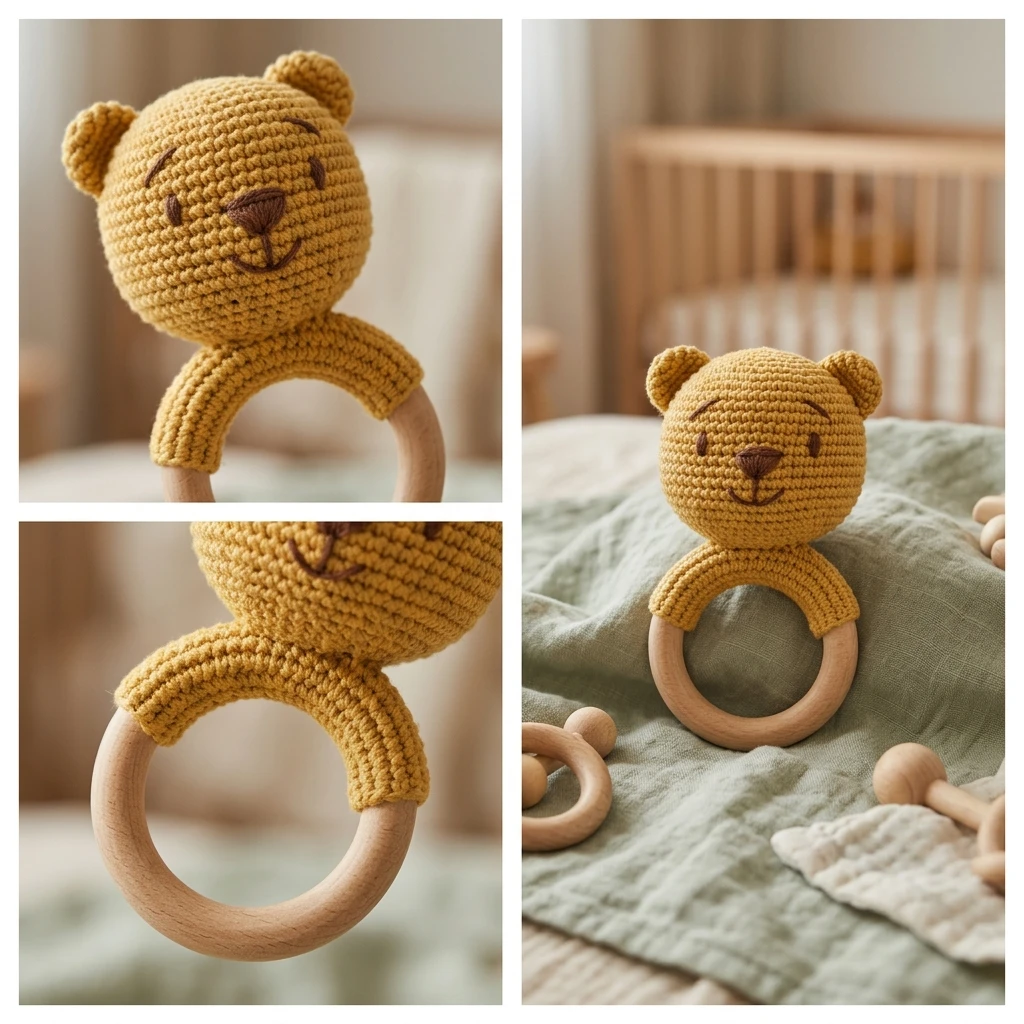
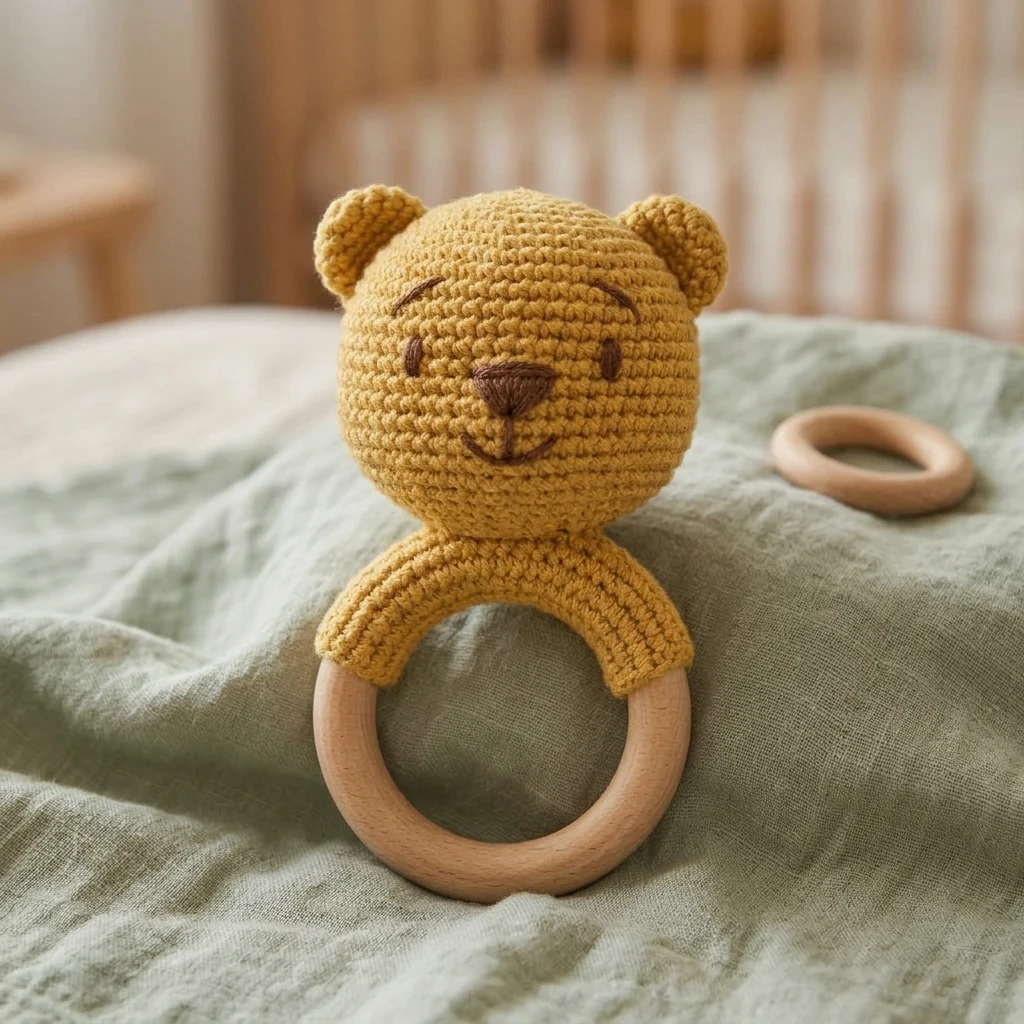
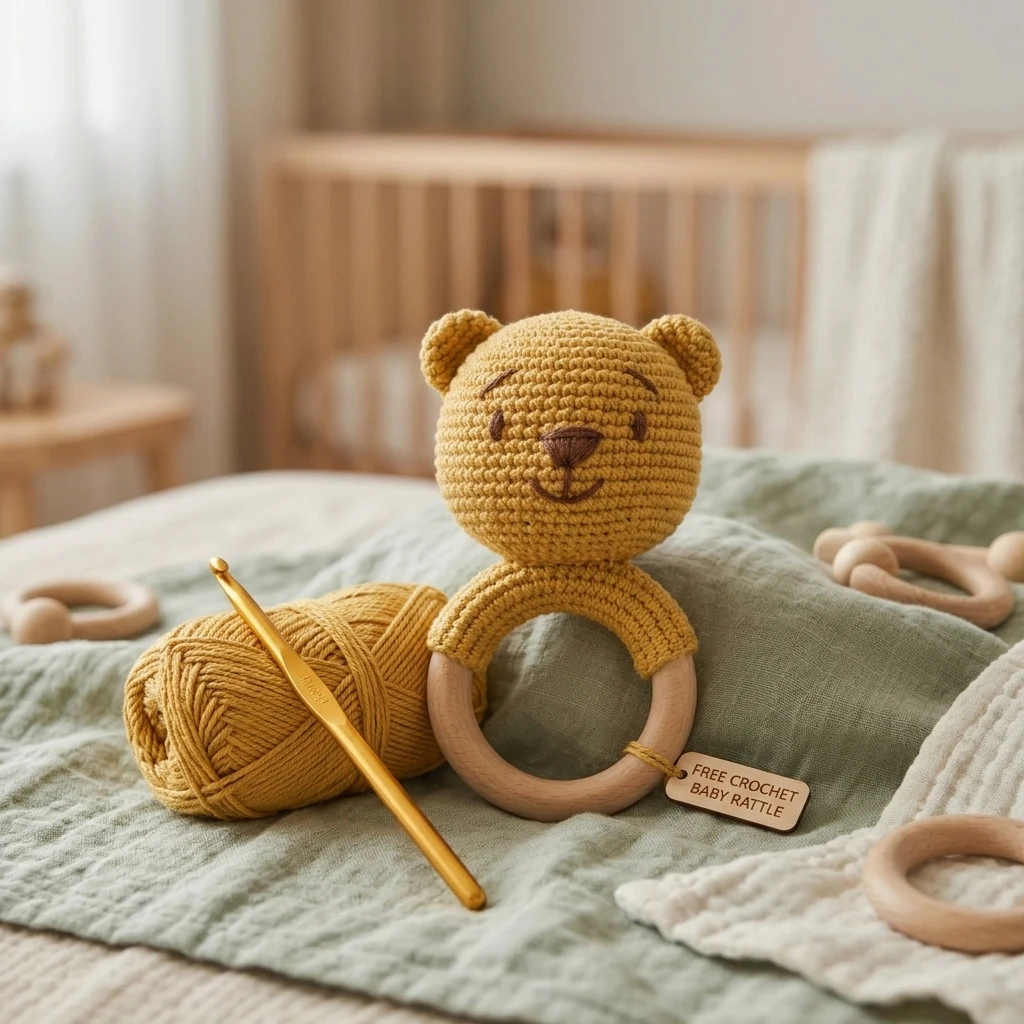
A handmade baby rattle is more than just a toy; it is a sensory milestone that combines soft textures, gentle sounds, and the comforting grip of natural materials. This Free Crochet Baby Rattle pattern is designed with both safety and aesthetics in mind, featuring a classic amigurumi sphere mounted on a smooth, natural wooden ring. The project utilizes cotton yarn for breathability and durability, making it an ideal gift for newborns and teething infants. Constructed using basic amigurumi techniques, this rattle is worked in a continuous spiral to ensure a seamless finish that is gentle on tiny hands.
The Design: What Makes This Pattern Different
The design of this rattle focuses on ergonomic proportions. Unlike top-heavy rattles that can be difficult for a baby to coordinate, this pattern balances the weight of the stuffed head with a lightweight wooden ring or a slim crocheted handle. We have opted for embroidered details rather than plastic safety eyes to ensure the toy is 100% choke-proof. A common mistake to avoid is using a hook that is too large for your yarn weight. If the stitches are too loose, the polyfill and the rattle insert may peek through or even escape, posing a safety risk and a messy appearance.
Project Info at a Glance
| Feature | Details |
|---|---|
| Skill Level | Easy / Advanced Beginner |
| Estimated Time | 1.5 to 2 hours |
| Finished Size | Approximately 5 inches (13 cm) in height |
| Hook Size | 3.25mm (D) or 3.5mm (E) |
| Yarn Weight | Sport (Category 2) or DK (Category 3) Cotton |
| Gauge | Estimated 6 sts x 6 rows = 1 inch in single crochet |
| Best For | Baby Showers, Newborn Gifts, Sensory Play |
Materials and Tools
Yarn
For this project, we suggest using a high-quality 100% mercerized cotton yarn. Cotton is preferred over acrylic because it does not pill, it is machine washable, and it is safe for babies to chew on. You will need approximately 40–60 yards of the main color and small scraps of a contrasting color for facial embroidery.
Tools
You will need a crochet hook suited to your yarn to create a tight fabric (usually one size smaller than suggested on the yarn label). Essential tools include a tapestry needle for assembly, sharp scissors, a handful of hypoallergenic polyester fiberfill, a 22mm or 24mm plastic rattle insert, and a 2.5-inch (70mm) natural, unfinished wooden ring.
Abbreviations
- MR: Magic Ring (or Magic Circle)
- ch: Chain
- sc: Single Crochet
- inc: Increase (2 sc in the same stitch)
- dec: Invisible Decrease (sc 2 together using front loops)
- st(s): Stitch(es)
- sl st: Slip Stitch
Pattern — Step by Step
The Rattle Head
The head is worked in a continuous spiral. Do not join rounds with a slip stitch unless specified. Use a stitch marker to keep track of the first stitch of each round.
- Round 1: Start with a MR, 6 sc into the ring. (6 sts)
- Round 2: 2 sc in each st around. (12 sts)
- Round 3: [1 sc, inc] repeat 6 times. (18 sts)
- Round 4: [2 sc, inc] repeat 6 times. (24 sts)
- Round 5: [3 sc, inc] repeat 6 times. (30 sts)
- Rounds 6-11: Sc in each st around. (30 sts)
- Round 12: [3 sc, dec] repeat 6 times. (24 sts)
- Round 13: [2 sc, dec] repeat 6 times. (18 sts)
- Round 14: [1 sc, dec] repeat 6 times. (12 sts)
- Round 15: Dec around. (6 sts)
- Fasten off, leaving a long tail for sewing. Use a needle to weave the tail through the front loops of the last 6 stitches and pull tight to close.
Begin stuffing firmly with fiberfill. Place the rattle insert in the center, surrounded by stuffing so it doesn’t rattle against the yarn directly.
The Ring Connector
This piece covers a section of the wooden ring to provide a soft place to attach the head.
- Row 1: Ch 11. Sc in 2nd ch from hook and in each ch across. (10 sts)
- Rows 2-8: Ch 1, turn. Sc in each st across. (10 sts)
- Fasten off, leaving a long tail for sewing. The number of rows may vary; ensure the piece fits snugly around the circumference of your wooden ring.
Assembly
The assembly process is the most critical step for ensuring the longevity and safety of the rattle. You must ensure all pieces are joined with reinforced stitching to withstand tugging.
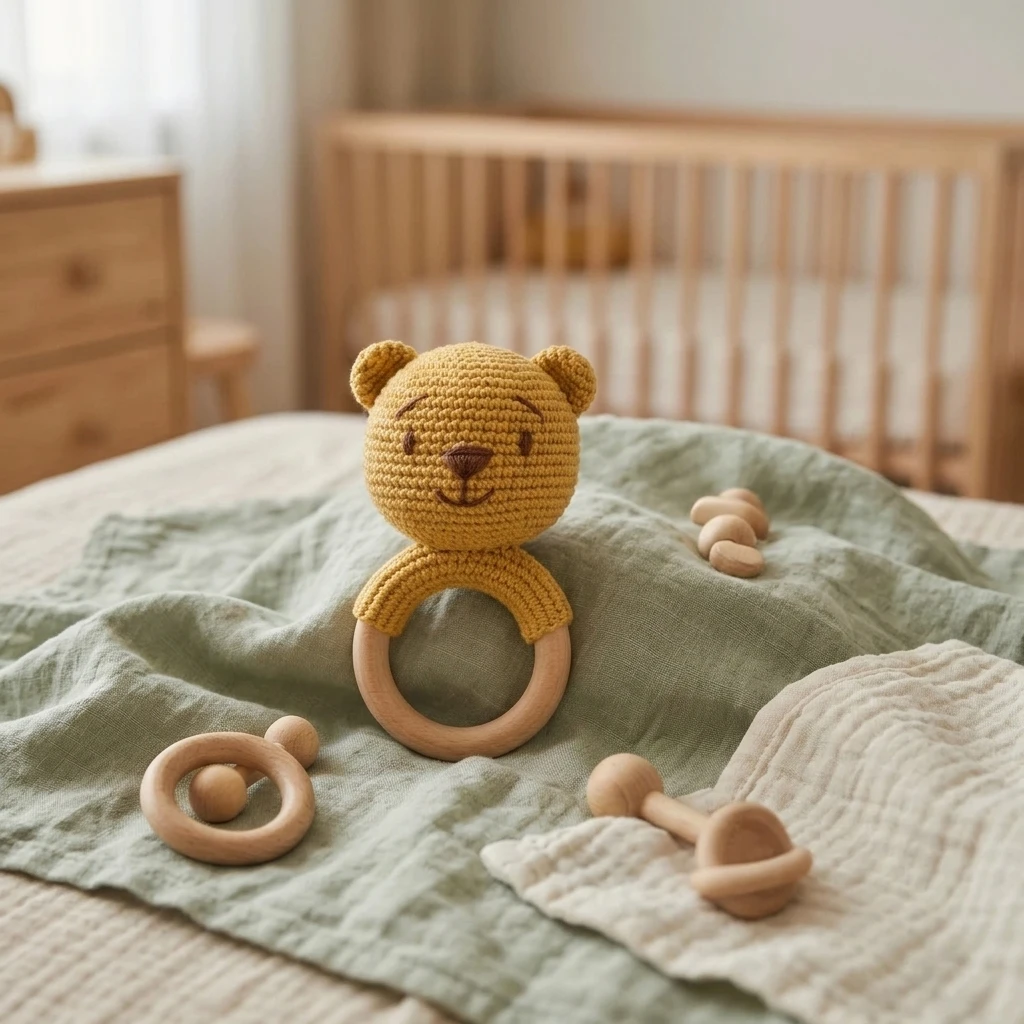
- Place the Ring Connector around the wooden ring. Using a tapestry needle and the long tail, whipstitch the foundation chain row to the final row to secure the “sleeve” around the wood.
- Position the Rattle Head onto the center of the Ring Connector sleeve.
- Using the tail from the head, sew the bottom of the sphere to the connector. Go through the stitches of the head and the sleeve multiple times in a circular motion to ensure it doesn’t wobble.
- Embroider a simple face (eyes and a small nose) using black or dark grey embroidery floss or yarn scraps. Ensure the embroidery is knotted securely inside the head.
- Weave in all remaining ends deeply into the stuffing to hide them.
7 Technical Tips for a Better Free Crochet Baby Rattle
Creating a toy for an infant requires a higher standard of construction. Follow these tips to ensure your project is professional and safe.
- Tighten Your Gauge: If you see holes between stitches, drop down half a hook size. The fabric must be dense to keep stuffing contained.
- Use the Invisible Decrease: This technique prevents the small “gaps” or bumps that standard decreases can create in amigurumi.
- Secure the Rattle: Wrap the rattle insert in a thin layer of stuffing before placing it in the head to prevent it from shifting or making a dull thud.
- Choose Unfinished Wood: If using a wooden ring, ensure it is natural, splinter-free, and hasn’t been treated with harsh chemicals or paints.
- Embroider with Care: Avoid using long loops of thread when embroidering the face, as tiny fingers can snag them. Keep stitches short and tight.
- Double Knotting: When finishing a piece, pull the yarn through a stitch to create a knot, then hide the tail. For baby items, double-knotting provides extra security.
- Test the “Pull”: Once finished, give the rattle a firm tug. If you see any gaps opening up between the head and the ring, add more reinforcement stitches.
Frequently Asked Questions
Can I use acrylic yarn instead of cotton?
While you can use acrylic, it is not recommended for baby items that will likely end up in a child’s mouth. Acrylic can “fuzz” or pill, and those fibers can be swallowed. Cotton is much safer and more durable for frequent washing.
How do I clean the crochet rattle?
Because of the wooden ring, do not soak the rattle. Spot clean the crochet portion with a damp cloth and mild soap. If the wooden ring gets wet, dry it immediately to prevent cracking.
What is the best size for a rattle insert?
For this specific sphere size, a 22mm to 24mm disc rattle is ideal. It provides enough noise without being too bulky for the stuffing.
Can I make this without the wooden ring?
Yes! You can crochet a long cylinder (approx 4 inches long), stuff it firmly, and attach the head to the top of that cylinder to create a fully soft “dumbell” style rattle.
Is this pattern safe for newborns?
Yes, provided you have used tight stitches, secure embroidery, and no small parts like plastic eyes or buttons. Always supervise infants during play.
Conclusion
Creating a Free Crochet Baby Rattle is a rewarding way to use your skills to make something functional and cherished. By focusing on tight tension and safe materials, you produce a toy that is both beautiful and resilient. This design is easily customizable—try changing the colors or adding small “ears” to the sphere to turn it into a bear or bunny! If you enjoyed this pattern, don’t forget to save it to your crochet board on Pinterest. What color combination are you planning to use for your next baby shower gift?
Save This Crochet Pattern