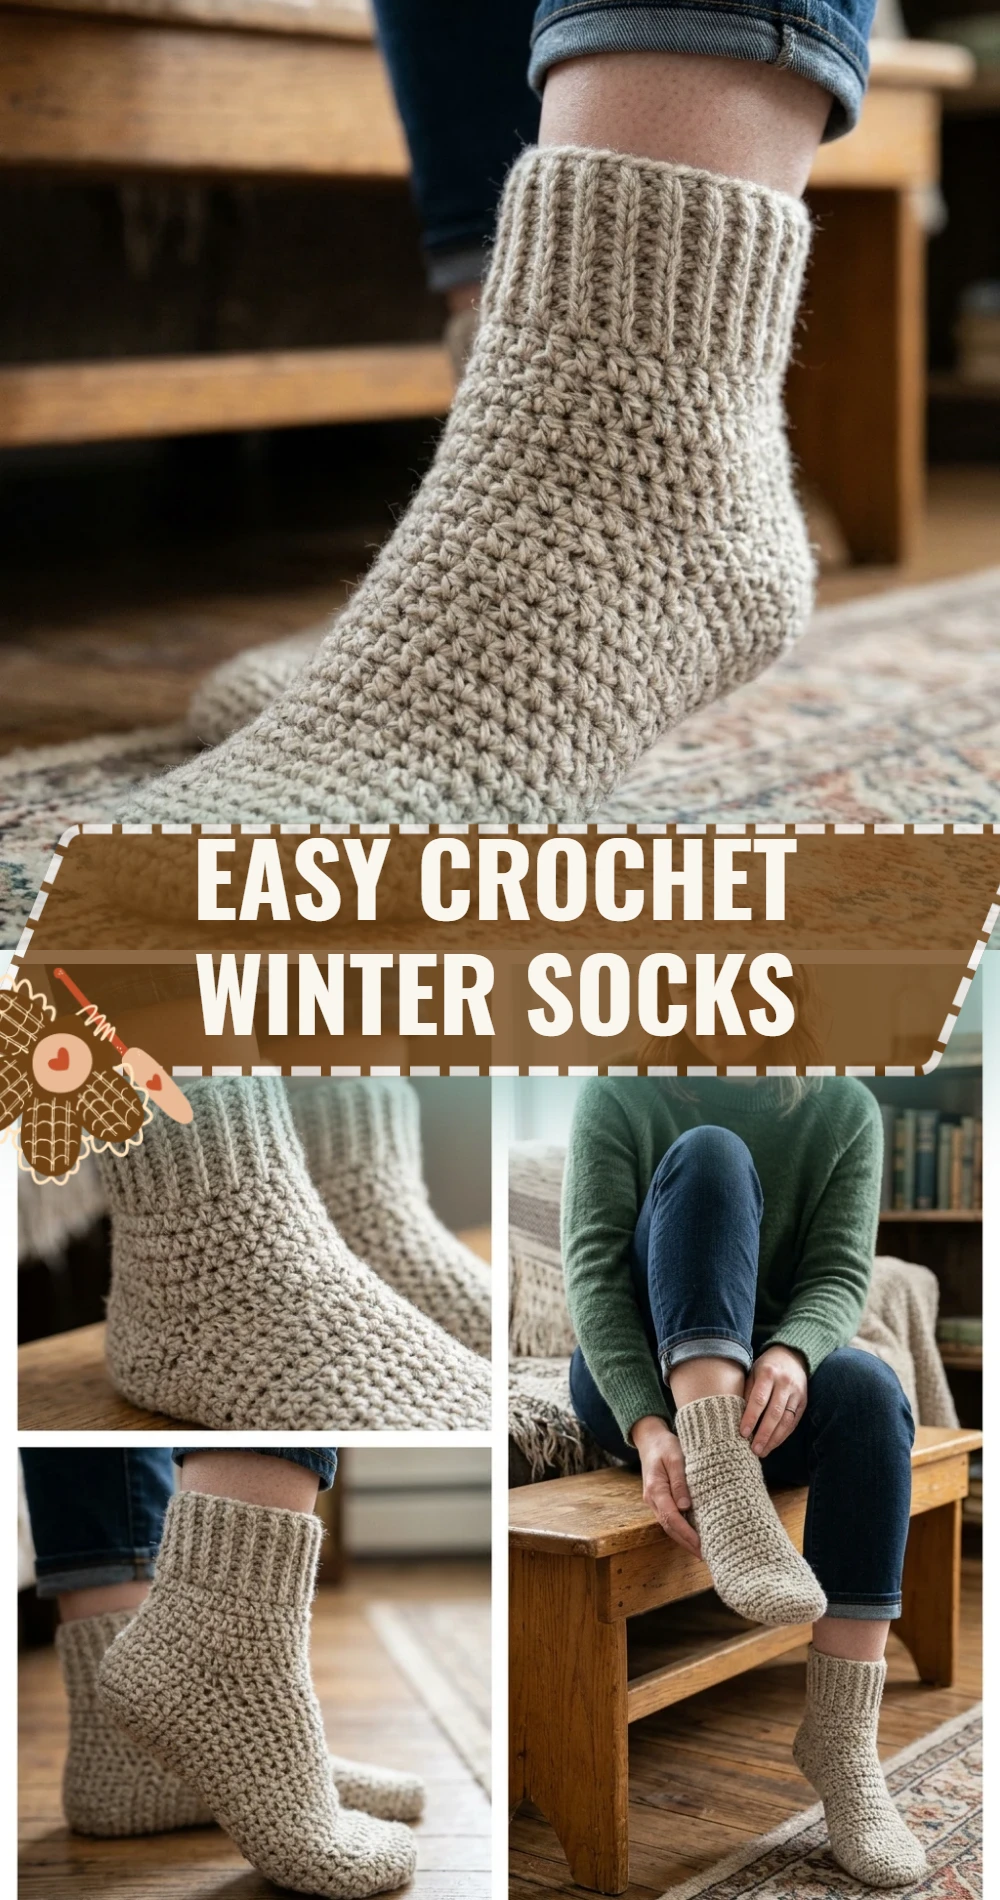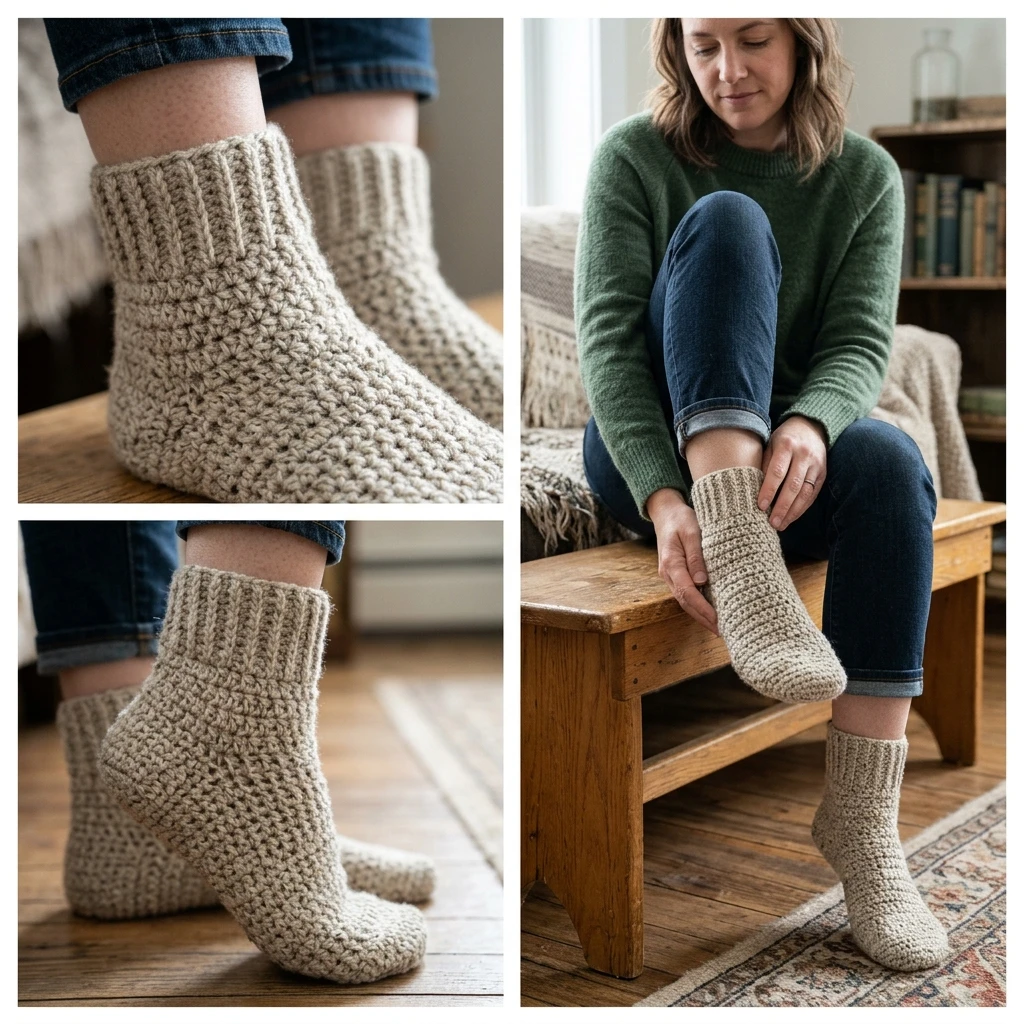
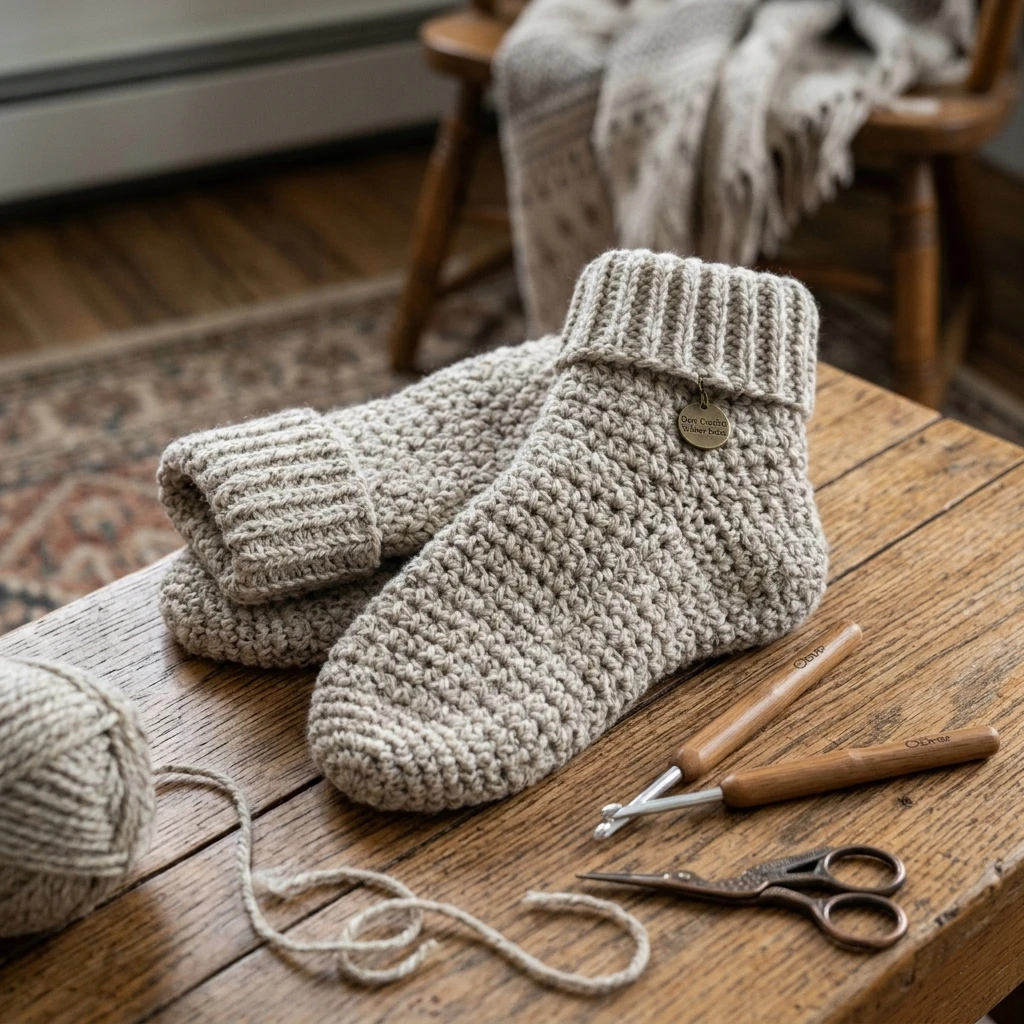
Wrap your feet in the ultimate handmade luxury this season with these Easy Crochet Winter Socks. Designed to be thick, squishy, and incredibly insulating, these socks are the perfect companion for snowy mornings and cozy evenings by the fire. Unlike traditional thin hosiery, this project focuses on a “house sock” aesthetic, utilizing a slightly heavier yarn weight to ensure your toes stay toasty even on the coldest floors. The construction follows a classic cuff-down method, making it accessible for those who have never tackled footwear before but are familiar with basic shaping.
The Design: What Makes This Pattern Different
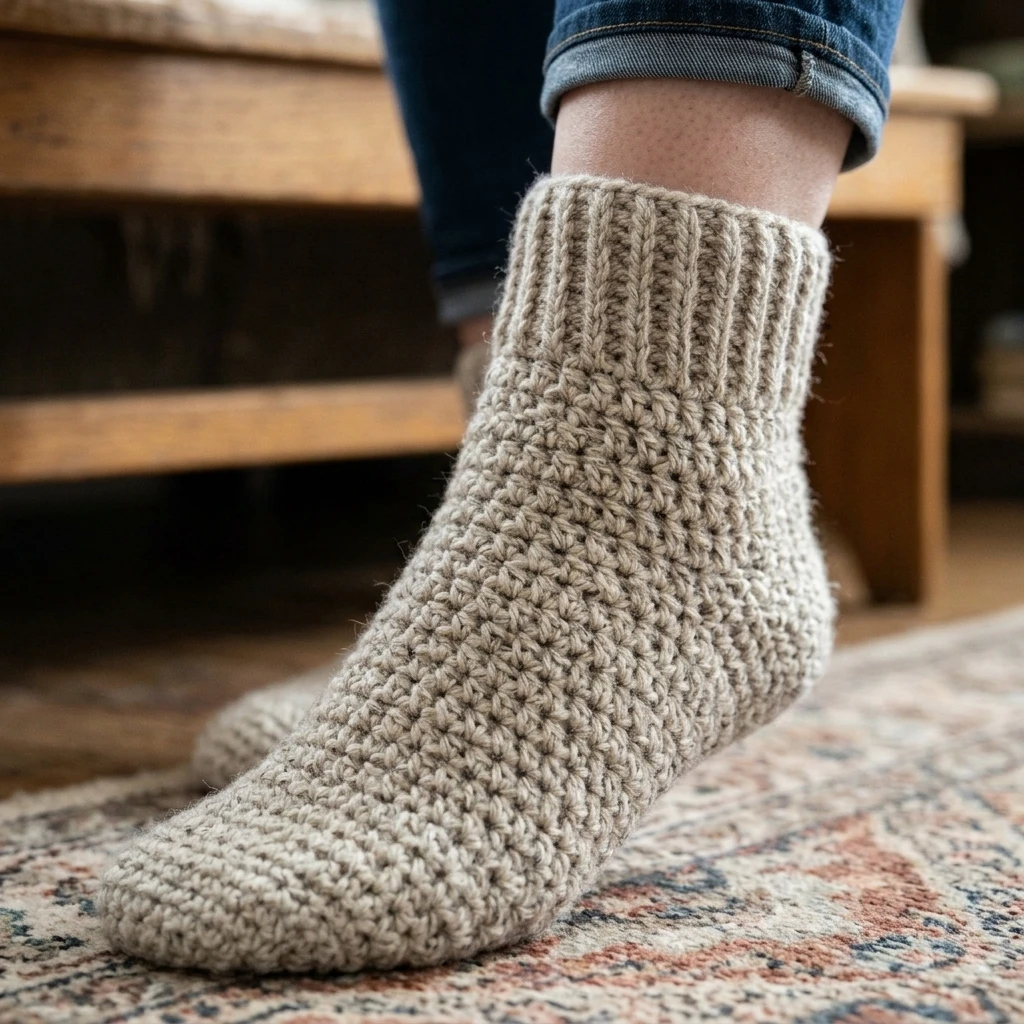
This design prioritizes comfort and speed without sacrificing the classic sock silhouette. We have opted for a Half Double Crochet (hdc) stitch for the main body; this provides a denser fabric than double crochet, preventing cold drafts from slipping through the stitches, while still working up significantly faster than single crochet. The cuff features a vertical ribbing technique that offers excellent elasticity, ensuring the socks stay up without digging into your skin.
One common mistake to avoid with crochet socks is working with a tension that is too loose. Because crochet fabric is naturally less elastic than knitted fabric, a loose gauge will result in a sock that “grows” and slips off the heel throughout the day. To prevent this, we use a hook size slightly smaller than what is typically recommended for the yarn weight to create a firm, durable structure.
Project Info at a Glance
| Feature | Details |
|---|---|
| Skill Level | Advanced Beginner |
| Estimated Time | 4 – 6 Hours per pair |
| Finished Size | Adult Medium (Adjustable for length) |
| Hook Size | 5.0 mm (H/8) – Suggested |
| Yarn Weight | Medium / Worsted (Weight 4) |
| Gauge | 14 hdc x 10 rows = 4 inches (Photo-inspired) |
| Best For | Indoor lounging and boot liners |
Materials and Tools
Yarn
For these winter socks, a wool-blend yarn is highly recommended for its thermal properties. You will need approximately 250 to 350 yards of worsted weight yarn, depending on the desired leg height and foot length. Look for “Superwash” wool if you intend to machine wash your socks, or a wool-nylon blend for maximum durability in the heel and toe areas.
Tools
- 5.0 mm crochet hook (or size needed to obtain gauge)
- Stitch markers (essential for tracking rounds)
- Yarn needle for weaving in ends
- Measuring tape
- Sharp scissors
Abbreviations
- ch: chain
- st(s): stitch(es)
- sl st: slip stitch
- sc: single crochet
- blo: back loop only
- hdc: half double crochet
- hdc2tog: half double crochet two together (decrease)
- yo: yarn over
Pattern — Step by Step
1. The Ribbed Cuff
The cuff is worked in rows and then joined to form a circle. This creates a stretchy, knit-look ribbing.
- Ch 11.
- Sc in 2nd ch from hook and in each ch across. (10 sts)
- Ch 1, turn. Sc in BLO of each st across.
- Repeat step 3 until the ribbing reaches approximately 8 inches (or matches your ankle circumference when slightly stretched).
- Fold the piece and sl st the last row to the foundation chain to form a tube. Do not fasten off.
2. The Leg
Now we transition to working in rounds along the edge of the ribbing.
- Ch 1. Work 36 hdc evenly around the edge of the ribbing (aim for roughly one st per row of ribbing). Join with a sl st.
- Ch 1. Hdc in each st around. Join.
- Repeat round 2 until the leg reaches your desired height (suggested 5-7 inches).
3. The Heel Flap
The heel is worked back and forth in rows over only half of the stitches (18 sts).
- Ch 1. Hdc in the next 18 sts. Leave remaining sts unworked.
- Turn, ch 1, hdc in each of the 18 sts.
- Repeat row 2 for a total of 8 rows.
- Heel Turn: To round the heel, sc across 12 sts, sl st in next, turn. Sc 6, sl st in next, turn. Continue this “short row” logic until you have a small cup shape.
4. The Foot
Pick up stitches along the sides of the heel flap to rejoin the leg stitches and work in rounds again.
- Hdc around the entire opening (heel flap sides and the 18 unworked leg stitches). Use markers to maintain a count of 36-40 sts.
- Work hdc rounds even until the foot reaches 2 inches less than the total desired length.
5. The Toe Shaping
- Round 1: *Hdc 4, hdc2tog. Repeat from * around.
- Round 2: Hdc in each st.
- Round 3: *Hdc 3, hdc2tog. Repeat from * around.
- Round 4: *Hdc 2, hdc2tog. Repeat from * around.
- Round 5: *Hdc 1, hdc2tog. Repeat from * around. Fasten off leaving a long tail.
Assembly
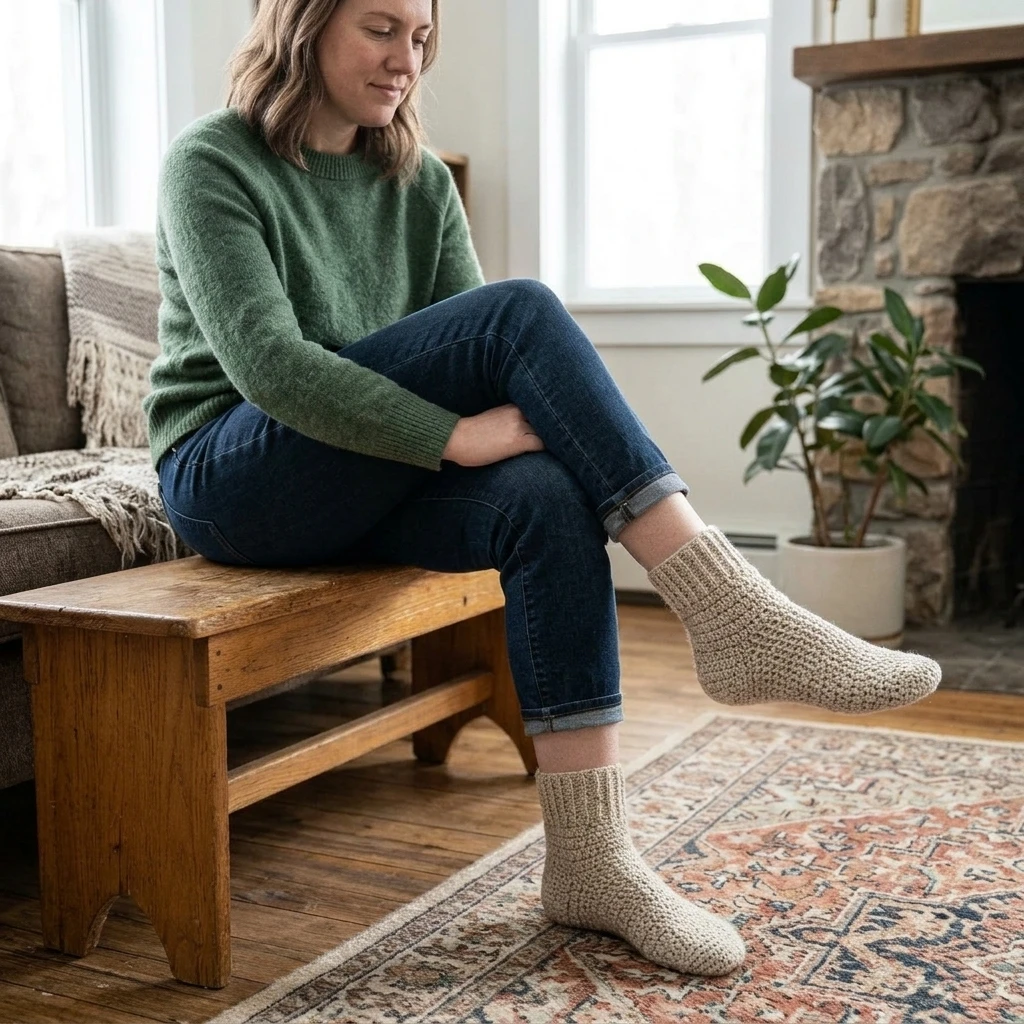
The beauty of this cuff-down construction is that very little sewing is required once the crochet work is complete. The main objective is to close the toe and secure any loose ends for a professional finish.
- Turn the sock inside out.
- Thread the long yarn tail from the toe into a yarn needle.
- Weave the needle through the front loops of the remaining stitches and pull tight to cinch the toe closed.
- Secure with a knot on the inside.
- Weave in the starting tail from the cuff ribbing, ensuring the seam is flat and comfortable against the skin.
- Repeat all steps for the second sock, checking measurements frequently to ensure they match.
7 Technical Tips for a Better Easy Crochet Winter Socks
- Check Your Gauge: Since socks need to fit snugly, a gauge swatch is vital. If your sock is too wide, drop down a hook size.
- Use Stitch Markers: Place a marker in the first stitch of every round to avoid accidentally adding or losing stitches during the foot section.
- Reinforce the Heel: Consider carrying a thin strand of matching polyester thread along with your yarn during the heel flap for extra durability.
- Avoid Tight Chains: When starting the cuff, use a hook one size larger for the foundation chain only to ensure the top of the sock can stretch over your calf.
- Negative Ease: A good crochet sock should be about 1/2 inch smaller than the actual foot measurement to ensure it stays in place.
- Smooth Seams: When slip-stitching the cuff closed, keep your tension loose so the seam doesn’t create a hard ridge.
- Block Your Socks: Use sock blockers or simply lay them flat and steam them lightly to settle the stitches and improve the overall shape.
Frequently Asked Questions
Can I use cotton yarn for this pattern?
While possible, cotton lacks the “memory” and elasticity of wool. Cotton socks tend to sag and stretch out quickly. For winter socks, a wool or acrylic blend is much more effective at retaining shape and heat.
How do I make the socks larger or smaller?
To adjust the width, add or subtract rows in the ribbing (cuff) in multiples of two. To adjust the length, simply add or subtract rounds in the “Foot” section before beginning the toe decreases.
My heel feels too shallow, what should I do?
If you have a high instep, work 2 to 4 additional rows on the heel flap before starting the heel turn. This will create more vertical space for your heel to sit comfortably.
Is this pattern worked in a spiral or joined rounds?
This pattern uses joined rounds (sl st to the first st). However, you can work in a continuous spiral to avoid a visible seam, provided you use a stitch marker to track your rounds carefully.
Will these fit inside my regular shoes?
Because these use worsted weight yarn, they are thicker than commercial socks. They fit best in boots, sneakers with extra room, or simply as indoor slippers.
Conclusion
Creating your own Easy Crochet Winter Socks is a rewarding way to beat the seasonal chill while mastering the basics of footwear construction. By using thick yarn and simple stitches, you can finish a pair in just one weekend. Don’t forget to experiment with variegated yarns or stripes to personalize your set! If you enjoyed this tutorial, pin it to your Crochet Wearables board on Pinterest to keep the pattern handy. What color yarn will you choose for your first pair?
Save This Crochet Pattern