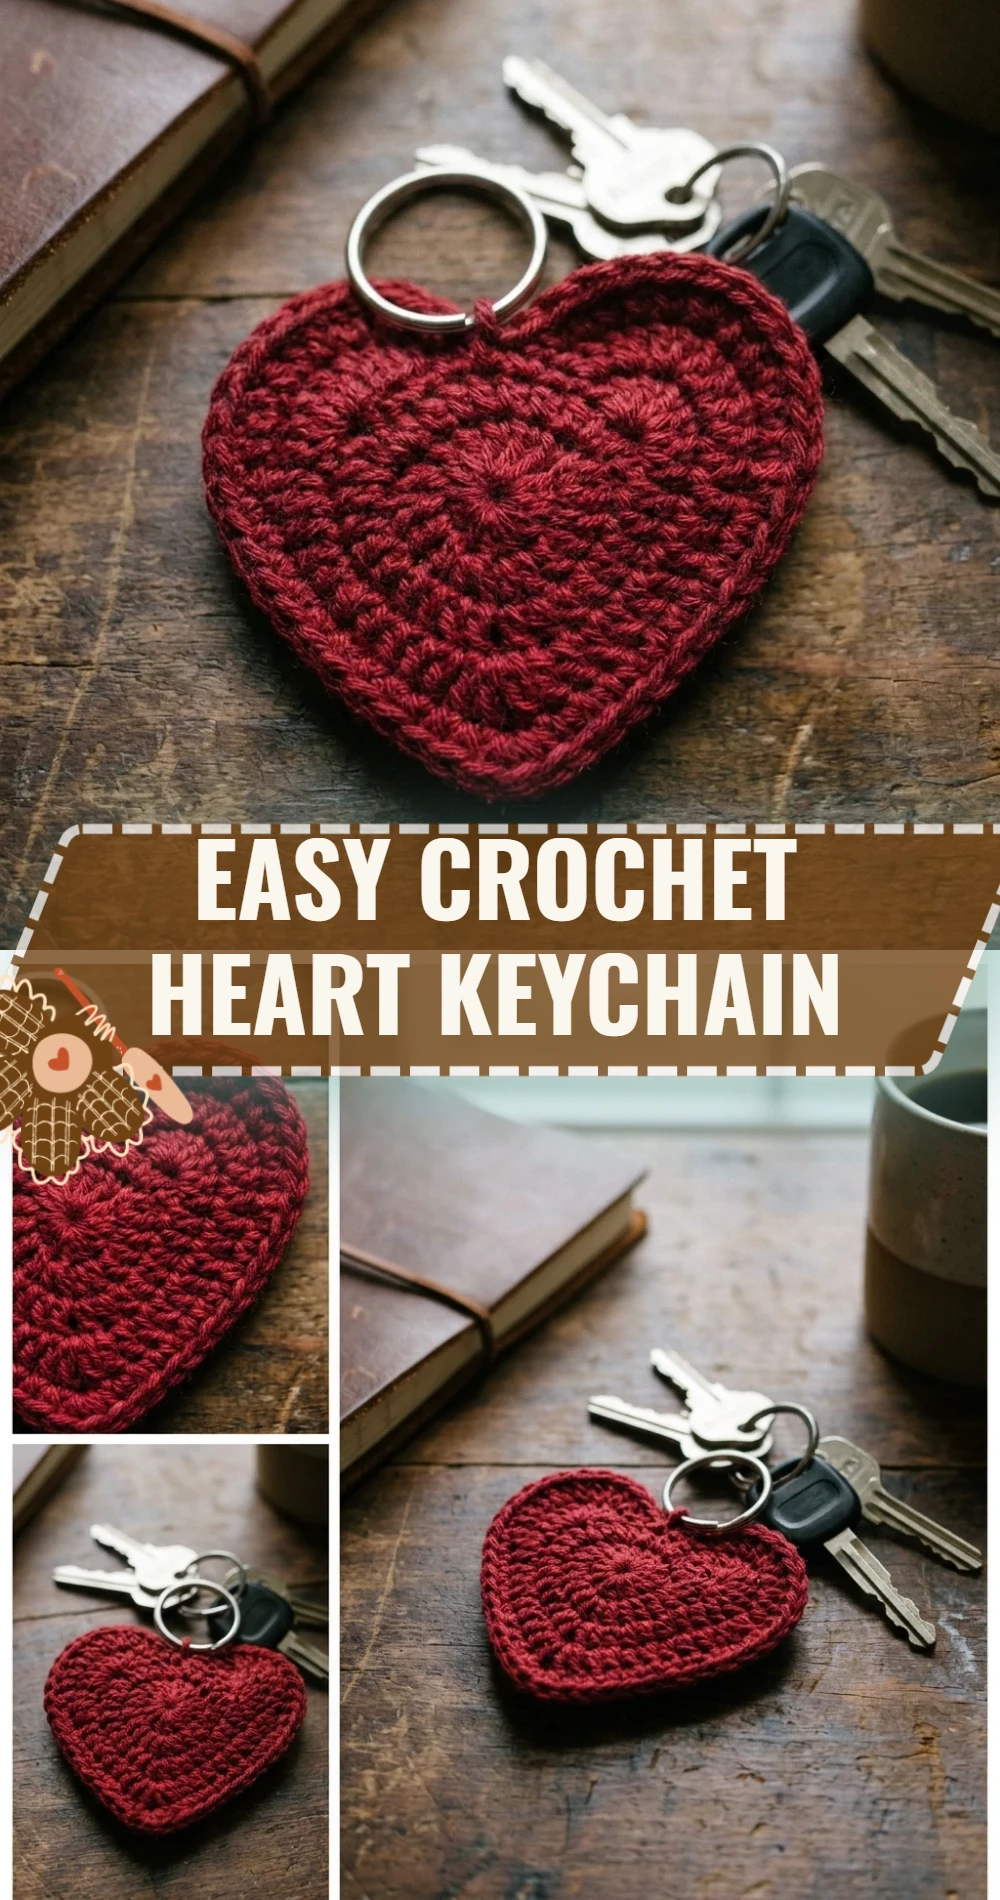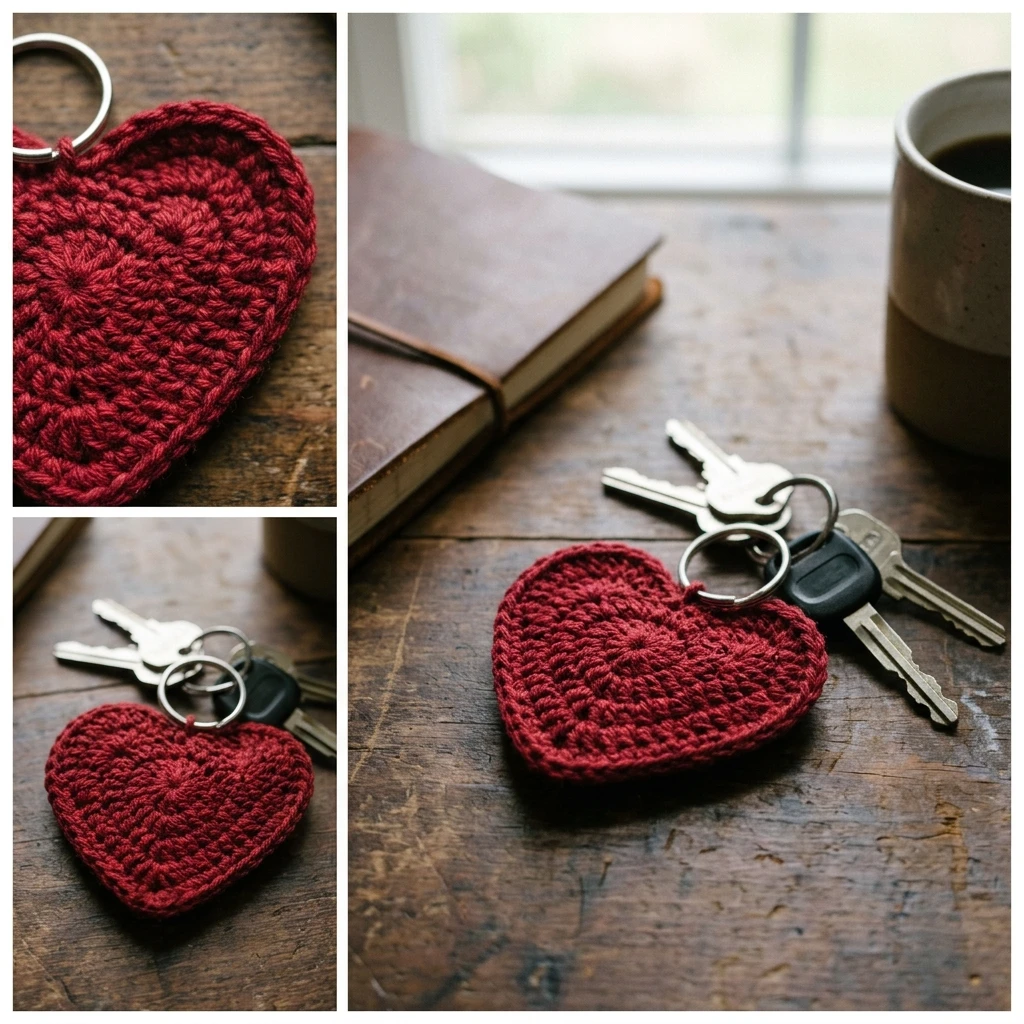
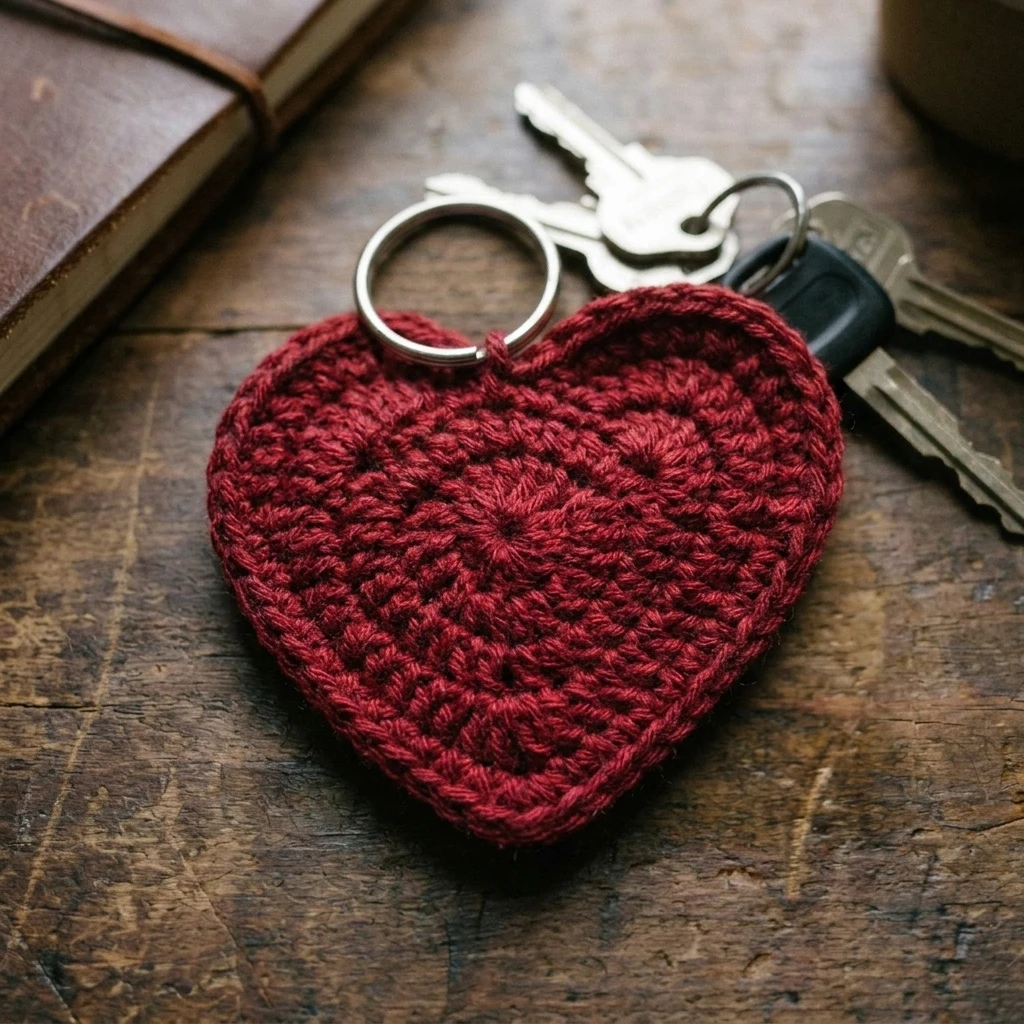
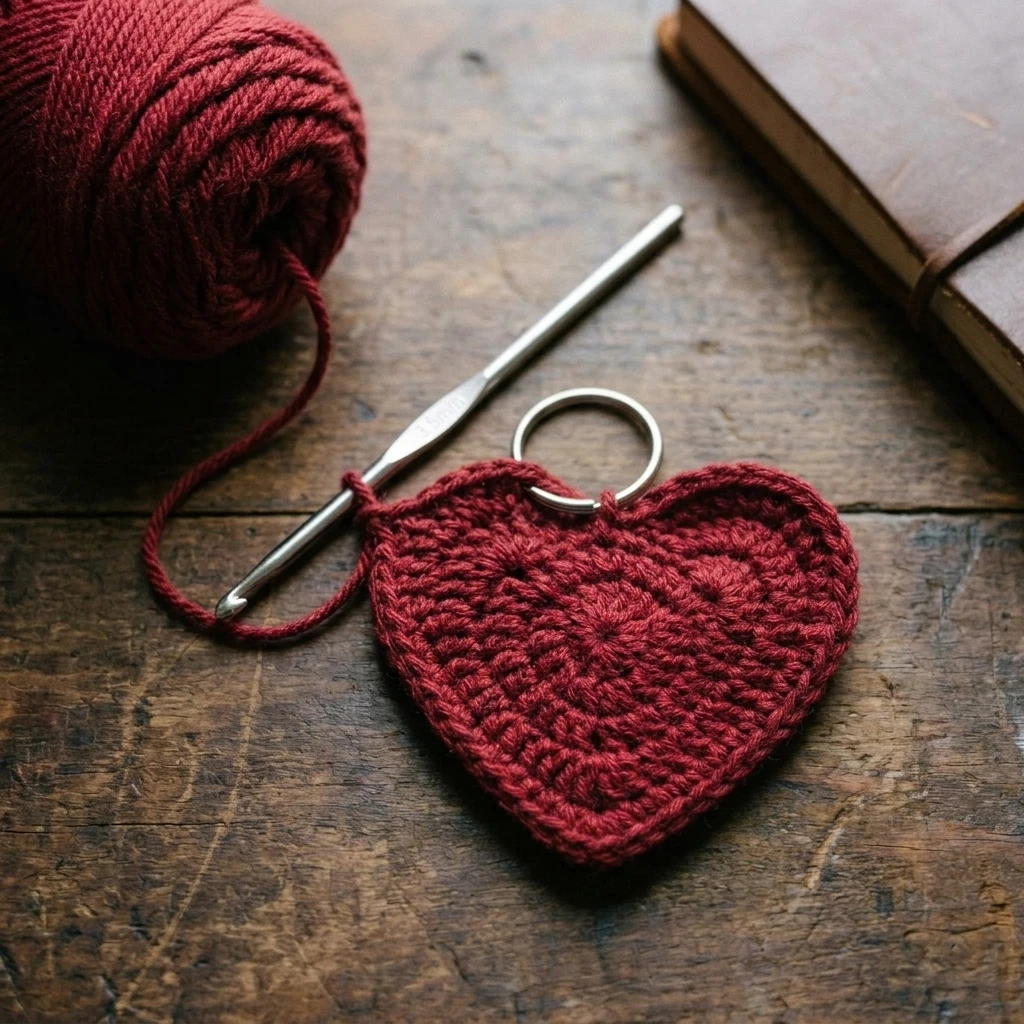
Add a touch of handmade charm to your everyday carry with this plump, three-dimensional heart keychain. This project creates a soft, squishy accessory that is as tactile as it is visually appealing, making it an ideal gift for loved ones or a quick “me-time” project. Designed with simplicity in mind, the construction relies on basic shaping to achieve a professional-looking amigurumi finish that suits beginners and seasoned makers alike. Whether clipped to a set of keys, a backpack, or a purse, this heart serves as a cheerful pop of color and a testament to your crafting skills.
The Design: What Makes This Pattern Different
This design focuses on a seamless, bottom-up construction that prioritizes a rounded, symmetrical shape over the flatter, single-layer hearts often seen in beginner patterns. By creating two small “humps” and joining them to form the top of the heart, the structure remains sturdy and holds its stuffing exceptionally well without gaping. One common mistake to avoid in this specific design is over-stuffing the top sections before joining them; it is much easier to add your polyester fiberfill once the body is partially established to ensure your stitches stay tight and neat.
Project Info at a Glance
| Feature | Details |
|---|---|
| Skill Level | Beginner / Easy |
| Estimated Time | 30 – 45 Minutes |
| Finished Size | Approximately 2″ x 2″ (Photo-inspired) |
| Hook Size | 3.5mm (E) or 4.0mm (G) |
| Yarn Weight | Medium / Worsted Weight (4) |
| Gauge | Not critical; keep stitches tight to hold stuffing |
| Best For | Gifts, Bag Charms, Party Favors |
Materials and Tools
Yarn
To achieve the look shown in this tutorial, you will need approximately 15 to 20 yards of worsted weight yarn. Cotton yarn is highly recommended for keychains as it resists pilling and provides excellent stitch definition, though a premium acrylic also works well for a softer feel.
Tools
You will need a crochet hook appropriate for your yarn weight (3.5mm is suggested for a tighter fabric), a yarn needle for weaving in ends, sharp scissors, a small amount of polyester fiberfill stuffing, and a metal keychain ring or lobster claw clasp.
Abbreviations
- ch: chain
- sc: single crochet
- inc: increase (2 sc in the same stitch)
- dec: invisible decrease (sc 2 together using front loops only)
- st(s): stitch(es)
- sl st: slip stitch
- Rnd: Round
Pattern — Step by Step
The Top Humps (Make Two)
The heart begins with two separate circular pieces that form the rounded top of the heart. You will finish the first one completely and leave the second one attached to the yarn to continue the project.
- Rnd 1: Create a magic ring and work 6 sc into the ring. (6 sts)
- Rnd 2: Work 2 sc in each st around. (12 sts)
- Rnd 3: Sc in each st around. (12 sts)
- Fasten off the first hump. Repeat Rnds 1-3 for the second hump, but do not cut the yarn.
Joining the Humps
Now you will connect the two pieces to create the widest part of the heart. Ensure the “right” sides are facing out.
- Rnd 4: Insert your hook into any stitch of the first hump and work a sc. Work sc in the remaining 11 sts of the first hump, then work sc in all 12 sts of the second hump. (24 sts total)
- Rnd 5: Sc in each st around. (24 sts)
The Heart Body and Shaping
We will now decrease the stitch count to create the iconic tapered point of the heart.
- Rnd 6: *Sc in 2 sts, dec* repeat from * to * around. (18 sts)
- Rnd 7: Sc in each st around. (18 sts)
- Rnd 8: *Sc in 1 st, dec* repeat from * to * around. (12 sts)
- Begin Stuffing: Add your polyester fiberfill firmly, ensuring the top humps are nicely rounded.
- Rnd 9: *Dec* around. (6 sts)
- Rnd 10: Sc in each st around or work one final decrease to sharpen the point. Fasten off leaving a 6-inch tail.
Assembly
The assembly process involves closing the bottom gap and securing your hardware to ensure the keychain can withstand daily use.
- Thread the yarn tail through a darning needle and weave through the front loops of the final 6 stitches. Pull tight to close the bottom point.
- Thread the needle through the center of the heart and bring it out at the top valley (the dip between the two humps).
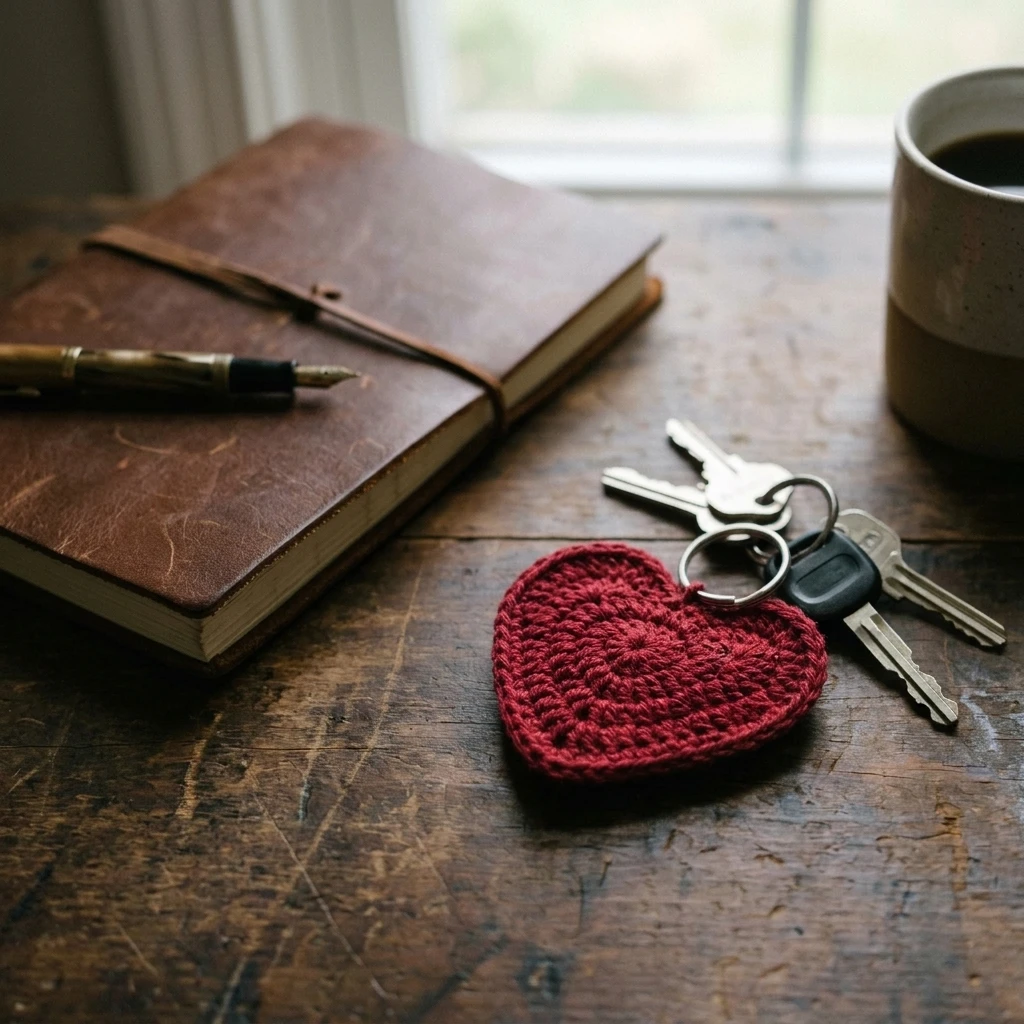
- Secure the keychain ring or lobster clasp to the top center of the heart using 3–4 small, tight stitches.
- Bury the yarn tail deep inside the stuffing, pull slightly, and snip the end to hide it completely.
7 Technical Tips for a Better Easy Crochet Heart Keychain
- Use a Smaller Hook: If you see stuffing peeking through your stitches, drop down half a millimeter in hook size to tighten the tension.
- Master the Invisible Decrease: Instead of a standard sc2tog, use the front-loop-only method for decreases to avoid unsightly bumps on the heart’s surface.
- Close the Center Gap: When joining the two humps, a small hole may appear in the center. Use the starting tail from the first hump to sew this tiny gap shut.
- Stuff Gradually: Don’t wait until the very last round to stuff. Adding fiberfill at Round 8 allows you to shape the “cheeks” of the heart effectively.
- Secure Hardware Internally: When sewing on the keychain ring, pass the yarn through several internal stitches to ensure it won’t pull out over time.
- Yarn Choice Matters: Mercerized cotton provides a slight sheen and extra durability, making the keychain look more “high-end.”
- Check for Symmetry: Before finishing your decreases, look at the heart from above. If one hump looks larger, check your stitch count; they must be identical for a balanced look.
Frequently Asked Questions
What is the best yarn for a keychain?
A cotton or cotton-blend yarn is usually best. It doesn’t stretch as much as wool or acrylic, which helps the heart maintain its shape even when hanging on a heavy set of keys.
Can I make this heart larger?
Yes. To increase the size, you can use a bulkier yarn and a larger hook, or add more increase rounds (like a Rnd of *sc, inc*) to the top humps before joining them.
How do I keep the stuffing from coming out?
Maintaining a tight tension is key. If you are naturally a loose crocheter, choose a hook that is 1mm smaller than what the yarn label recommends.
Do I need to block the heart?
Blocking is generally not necessary for 3D amigurumi projects. The stuffing provides the structure and shape needed.
How do I clean my crochet keychain?
If made with cotton or acrylic, you can spot clean it with a damp cloth and mild soap. Avoid soaking it completely as the stuffing can take a long time to dry and may lose its loft.
Conclusion
Creating an Easy Crochet Heart Keychain is a rewarding way to practice shaping and amigurumi techniques while producing a functional, charming item. By focusing on tight stitches and symmetrical humps, you can create a professional result in under an hour. These hearts are perfect for stash-busting and making in bulk for craft fairs or classroom gifts. If you enjoyed this tutorial, be sure to pin it to your Crochet Accessories board on Pinterest! What color yarn will you choose for your first heart keychain?
Save This Crochet Pattern