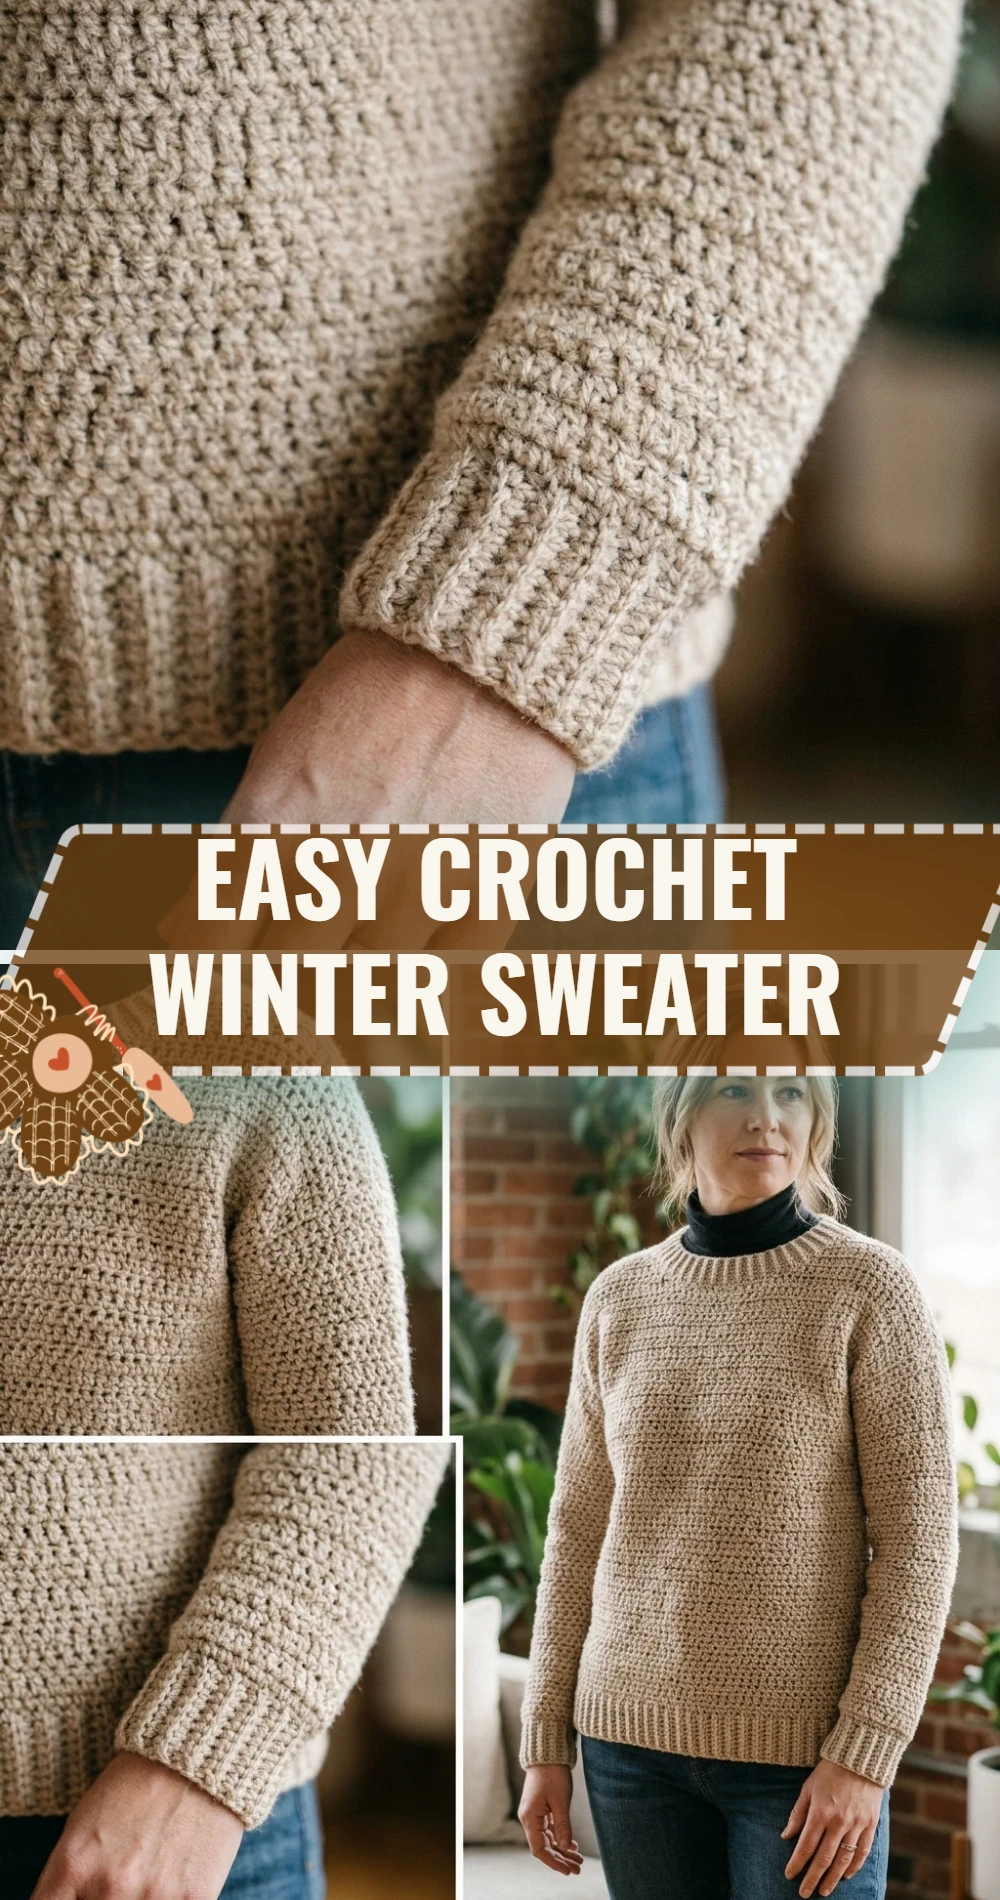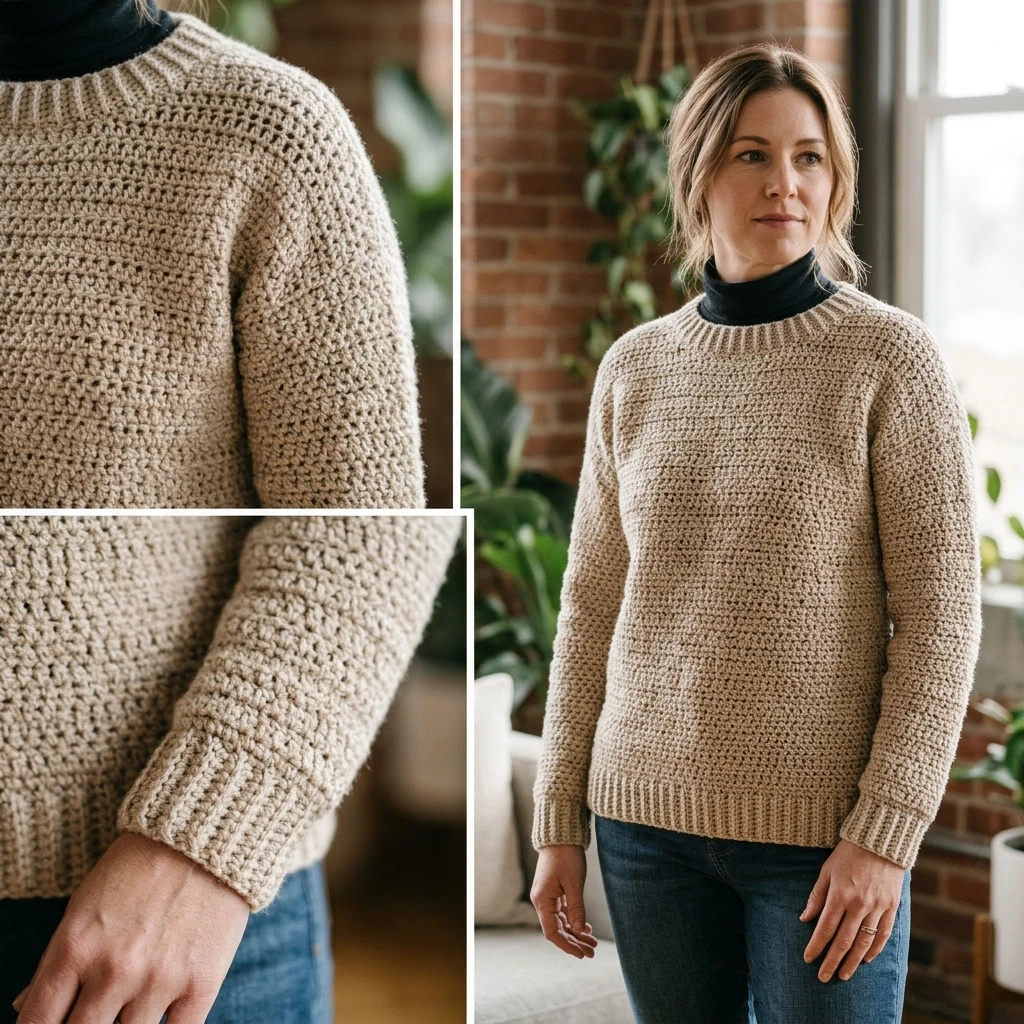
The Easy Crochet Winter Sweater is the ultimate cold-weather staple, designed to wrap you in a cloud of handmade warmth without the complexity of traditional garment construction. Featuring a classic boxy silhouette and dropped shoulders, this sweater relies on simple geometric shapes, making it an accessible project for those intimidated by complex shaping. Whether you are lounging at home or layering up for a snowy walk, this piece offers a modern, oversized aesthetic that suits various body types and personal styles.
The Design: What Makes This Pattern Different
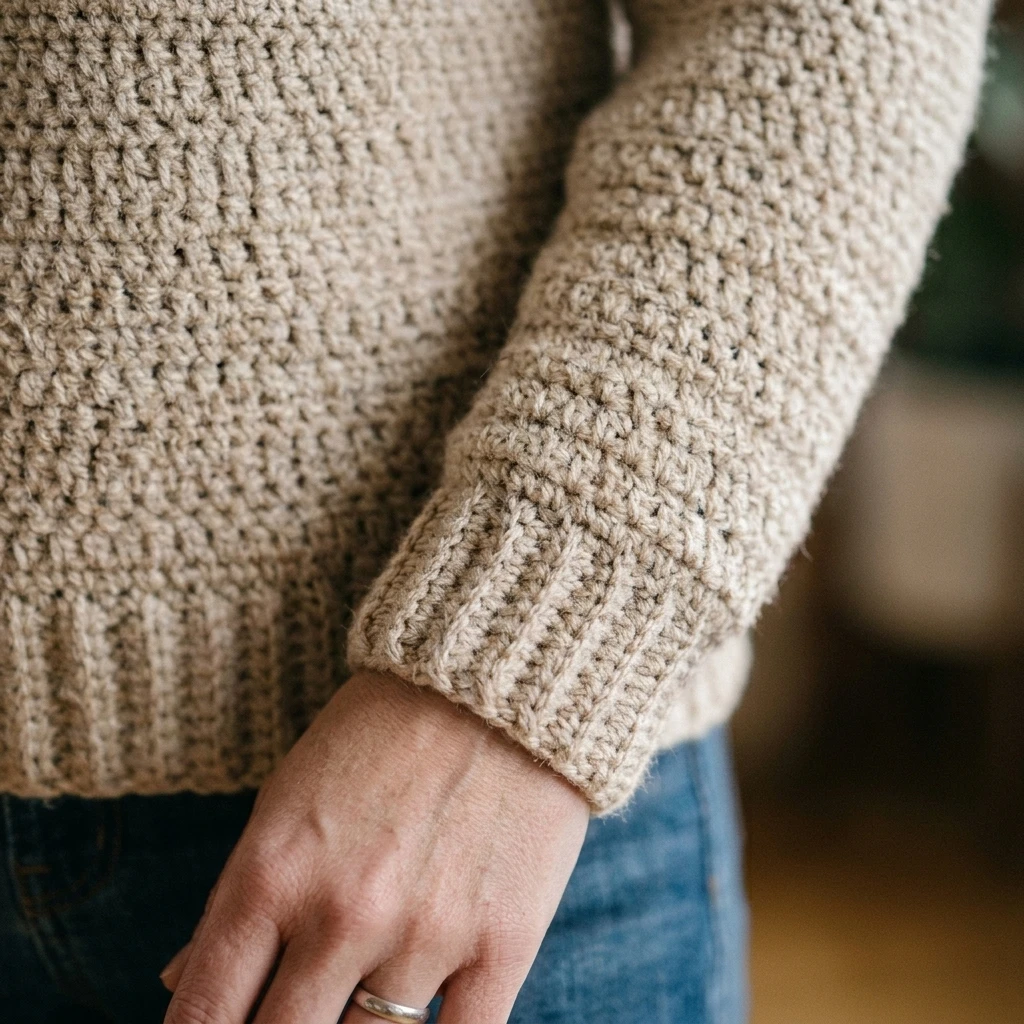
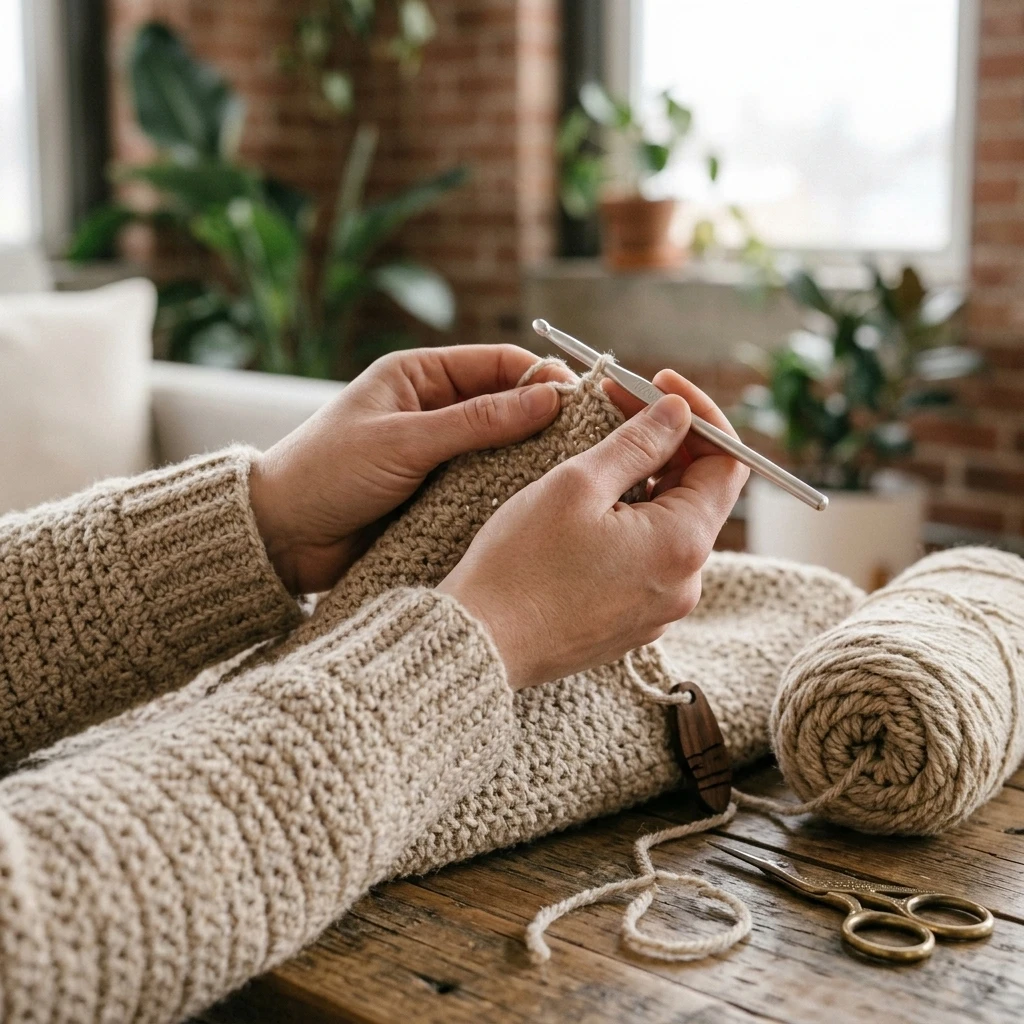
The core of this design lies in its structural simplicity. Unlike sweaters that require intricate raglan increases or circular yoking, this pattern utilizes four main panels: a front, a back, and two sleeves. To give it a high-end look, we incorporate vertical ribbing at the hem and cuffs, which contrasts beautifully with the dense, warmth-trapping texture of the main body stitches. One common mistake to avoid with this specific construction is making the neck opening too narrow; because the fabric is thick, it lacks the extreme elasticity of store-bought knits, so ensuring your head can pass through comfortably is vital before finishing your seams.
Project Info at a Glance
| Feature | Details |
|---|---|
| Skill Level | Easy / Advanced Beginner |
| Estimated Time | 15–25 Hours |
| Finished Size | Medium/Large (Photo-inspired; adjustable) |
| Hook Size | 6.0mm (US J/10) or size needed to meet gauge |
| Yarn Weight | Bulky (Weight 5) |
| Gauge | 12 sts x 9 rows = 4″ in Half Double Crochet |
| Best For | Daily winter wear and layering |
Materials and Tools
Yarn
For a standard adult medium/large, we suggest approximately 1,200 to 1,400 yards of a soft bulky weight yarn. Wool blends are highly recommended for their insulating properties and “bounce,” which helps the sweater maintain its shape over time. If you prefer a lighter garment, a blown-style yarn can provide the bulk without the heavy weight.
Tools
You will need a 6.0mm crochet hook for the main body and a 5.0mm hook if you prefer tighter ribbing. Additionally, keep a large-eye tapestry needle handy for seaming, several locking stitch markers to hold panels together during assembly, and a pair of sharp fabric scissors.
Abbreviations
- ch: Chain
- st(s): Stitch(es)
- sl st: Slip Stitch
- sc: Single Crochet
- hdc: Half Double Crochet
- blo: Back Loop Only
- hdc2tog: Half Double Crochet Two Together (Decrease)
Pattern — Step by Step
Back Panel
The back panel is worked from the bottom up. We begin with the ribbing and then work the body in rows.
- Ribbing: Ch 11. Sc in 2nd ch from hook and each ch across. (10 sts). *Ch 1, turn. Sc in blo of each st.* Repeat until ribbing measures approx 20 inches when slightly stretched. Turn ribbing to work along the long edge.
- Body Row 1: Ch 1, work 60 hdc evenly across the long edge of the ribbing.
- Rows 2–45 (or desired length): Ch 1, turn. Hdc in each st across. Fasten off, leaving a long tail for seaming.
Front Panel
Repeat the steps for the Back Panel exactly until you reach Row 40. We will then create a slight dip for the neckline.
- Neck Shaping (Left Side): Hdc across the first 22 sts. Ch 1, turn. Repeat for 4 more rows. Fasten off.
- Neck Shaping (Right Side): Skip the center 16 sts. Join yarn in the next st. Hdc across the remaining 22 sts. Ch 1, turn. Repeat for 4 more rows. Fasten off.
Sleeves (Make 2)
Sleeves are worked from the cuff up to the shoulder.
- Cuff Ribbing: Ch 11. Work in sc blo for 25 rows (or until it fits comfortably around your wrist).
- Sleeve Row 1: Ch 1, work 30 hdc evenly across the ribbing edge.
- Increase Rows: Every 4th row, increase by 1 hdc at the beginning and end of the row until you have 46 sts.
- Length: Continue working hdc rows until the sleeve measures approx 18 inches from the cuff. Fasten off.
Assembly
Before joining, it is highly recommended to steam block your panels to ensure they lie flat and reach the estimated dimensions.
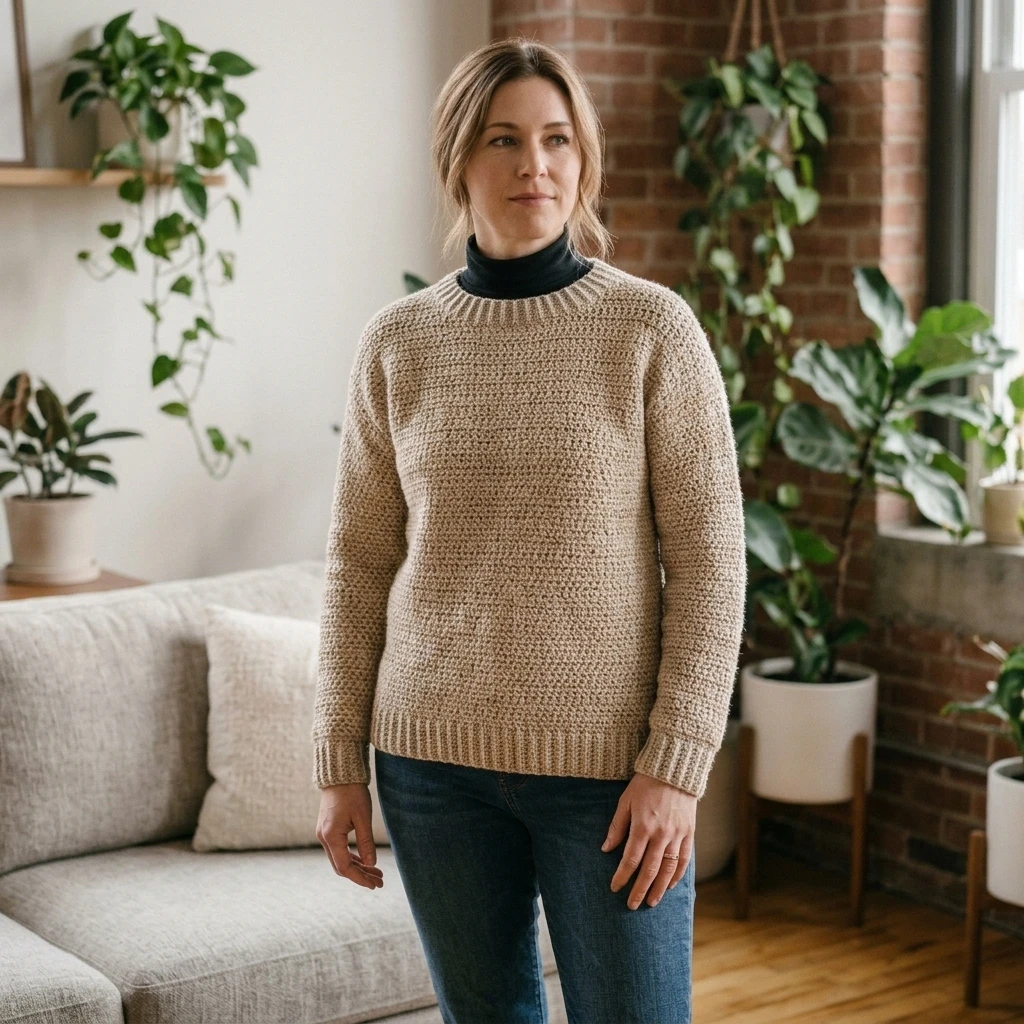
- Shoulder Seams: Lay the front panel on top of the back panel with right sides facing. Using a tapestry needle and the mattress stitch, sew the shoulders together from the outer edge toward the neck.
- Attach Sleeves: Lay the sweater flat, opened at the shoulders. Find the center of the top of the sleeve and align it with the shoulder seam. Pin the sleeve edge to the side of the front and back panels. Sew in place.
- Side and Underarm Seams: Fold the sweater so the right sides are touching again. Sew from the bottom hem up to the armpit, then continue down the sleeve to the cuff.
- Neckline Trim (Optional): Join yarn at the neck opening and work 2 rounds of sc or hdc for a cleaner finish.
7 Technical Tips for a Better Easy Crochet Winter Sweater
- Check Your Gauge: Bulky yarn varies wildly between brands. A small difference in gauge can result in a sweater that is several inches too large or small.
- Use Stitch Markers for Ribbing: It is easy to lose a stitch at the end of sc blo rows. Mark the first stitch of every row to keep your edges straight.
- The “Elastic” Foundation: If your bottom ribbing feels too tight, try using a hook one size larger specifically for the foundation chain.
- Mattress Stitch for Seams: Use the mattress stitch for assembly; it creates an invisible, professional join that won’t add bulk to your armpits.
- Yarn Choice Matters: Avoid 100% cotton for this pattern, as it will be too heavy and may sag. A wool or acrylic blend provides better structural integrity.
- Weave Ends Securely: Because sweaters undergo friction, weave your ends in multiple directions (the “8” pattern) to prevent them from popping out during wear.
- Mind the Drape: If your fabric feels stiff like a rug, move up a hook size. A winter sweater should be cozy and move with your body.
Frequently Asked Questions
How do I adjust the size of the sweater?
To make it wider, simply add more stitches to the foundation of the body panels. To make it longer, add more rows before starting the neck shaping.
Can I use medium-weight (Aran) yarn instead?
Yes, but you will need to adjust your stitch count significantly. You would likely need to double the number of stitches and rows to achieve the same dimensions.
Is this sweater machine washable?
This depends entirely on your yarn choice. If you used “Superwash” wool or acrylic, you can machine wash on cold, but air drying is always recommended to prevent pilling.
Why is my neckline wavy?
Wavy edges usually occur when too many stitches are worked into the side of the rows during the neck trim. Try skipping every third or fourth space to pull the fabric taut.
How many skeins should I buy?
Most bulky yarn skeins are 100–150 yards. For this project, you should purchase 10–12 skeins to ensure you have enough for the oversized fit and seaming.
Conclusion
Creating your own Easy Crochet Winter Sweater is a rewarding project that results in a high-quality, functional garment you’ll reach for all season long. By mastering simple rectangles and basic seaming techniques, you can achieve a professional look without the stress of complex shaping. Don’t forget to save this pattern to your “Winter Crochet” Pinterest board for later! Which color of yarn are you planning to use for your first sweater?
Save This Crochet Pattern