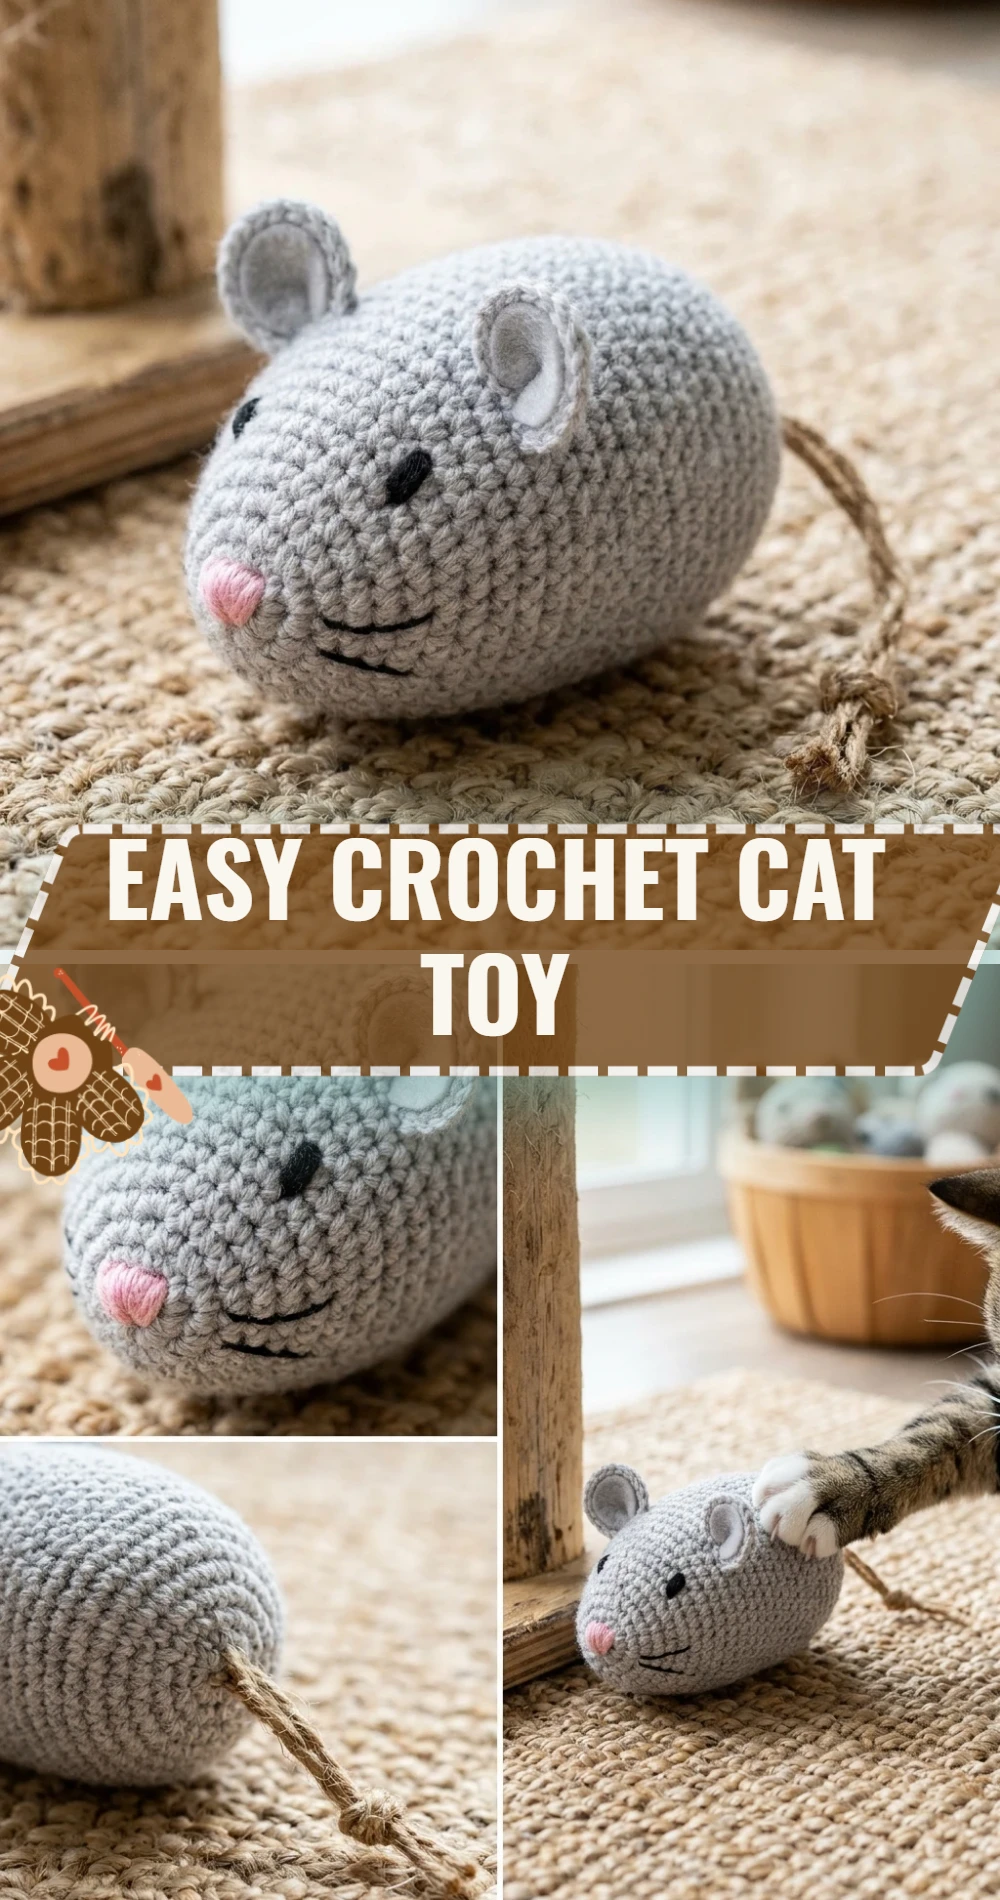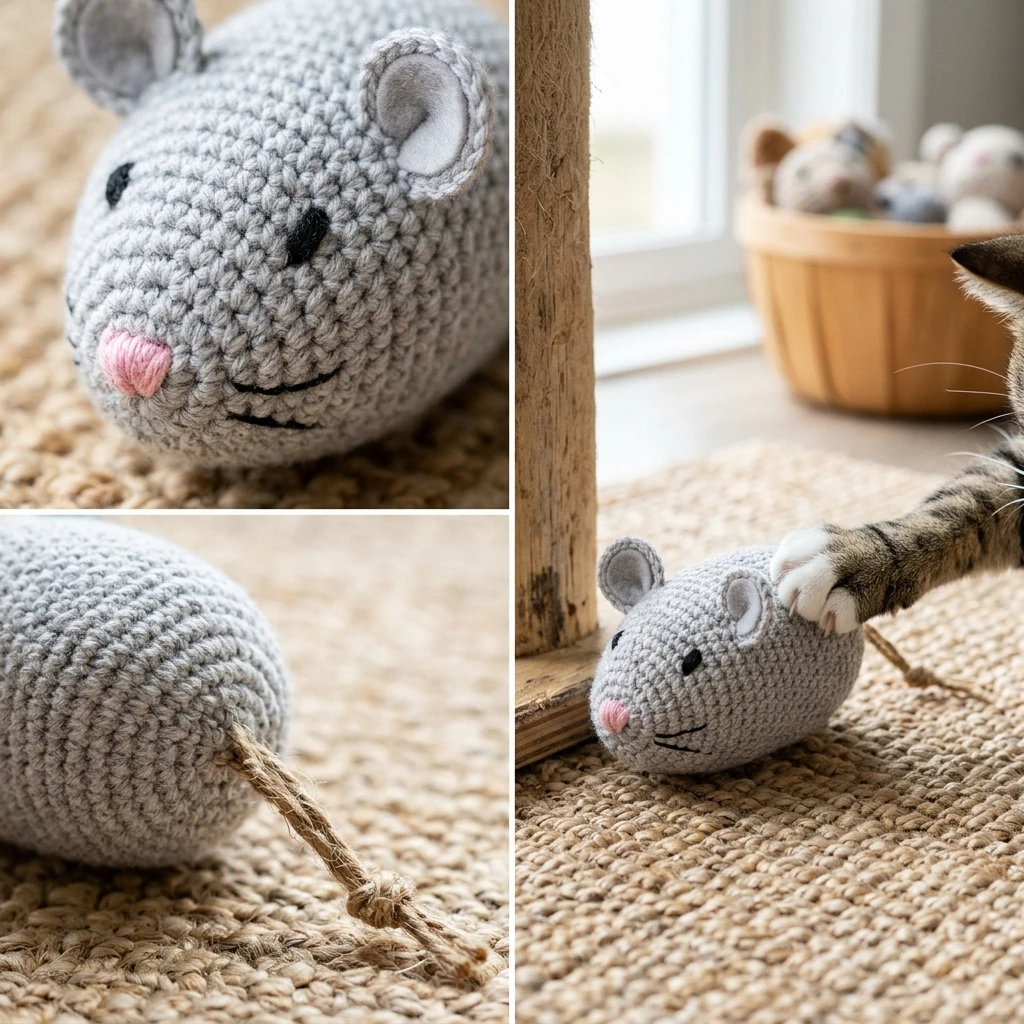
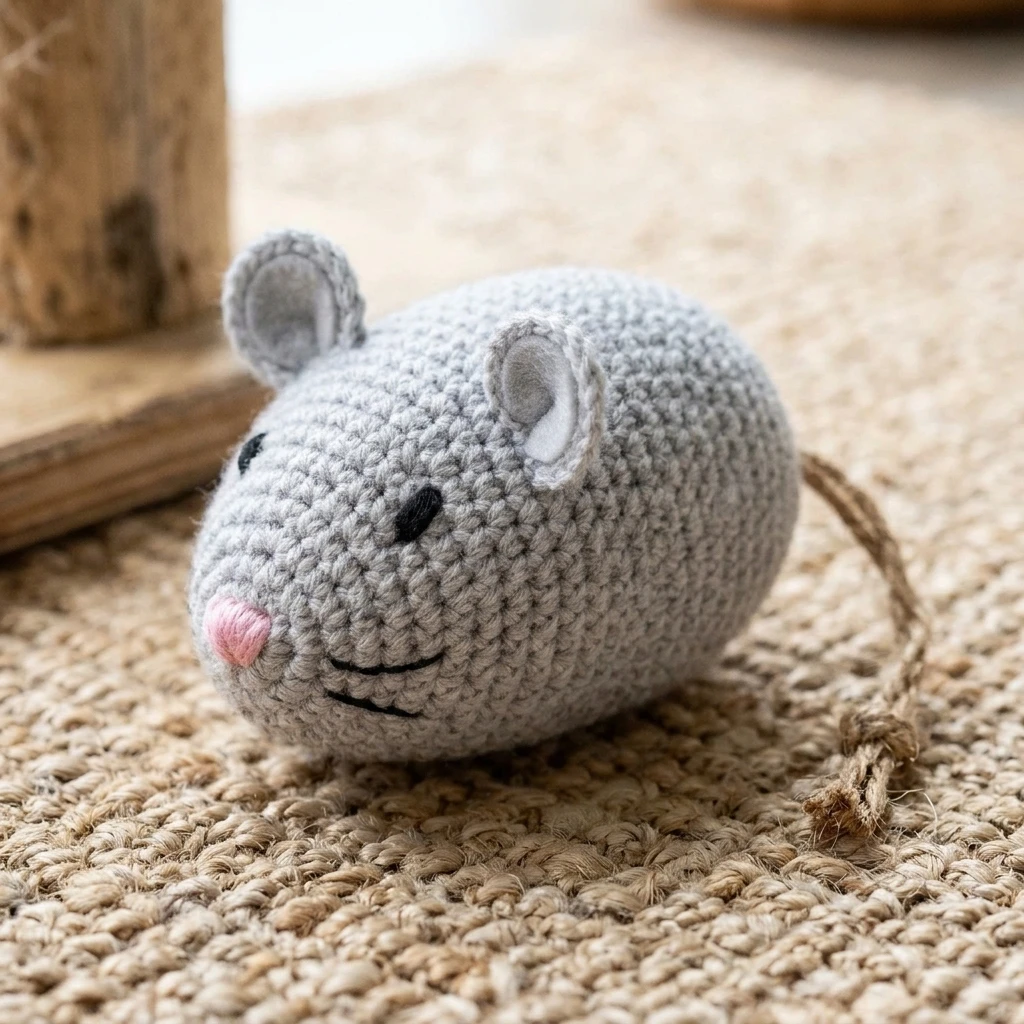
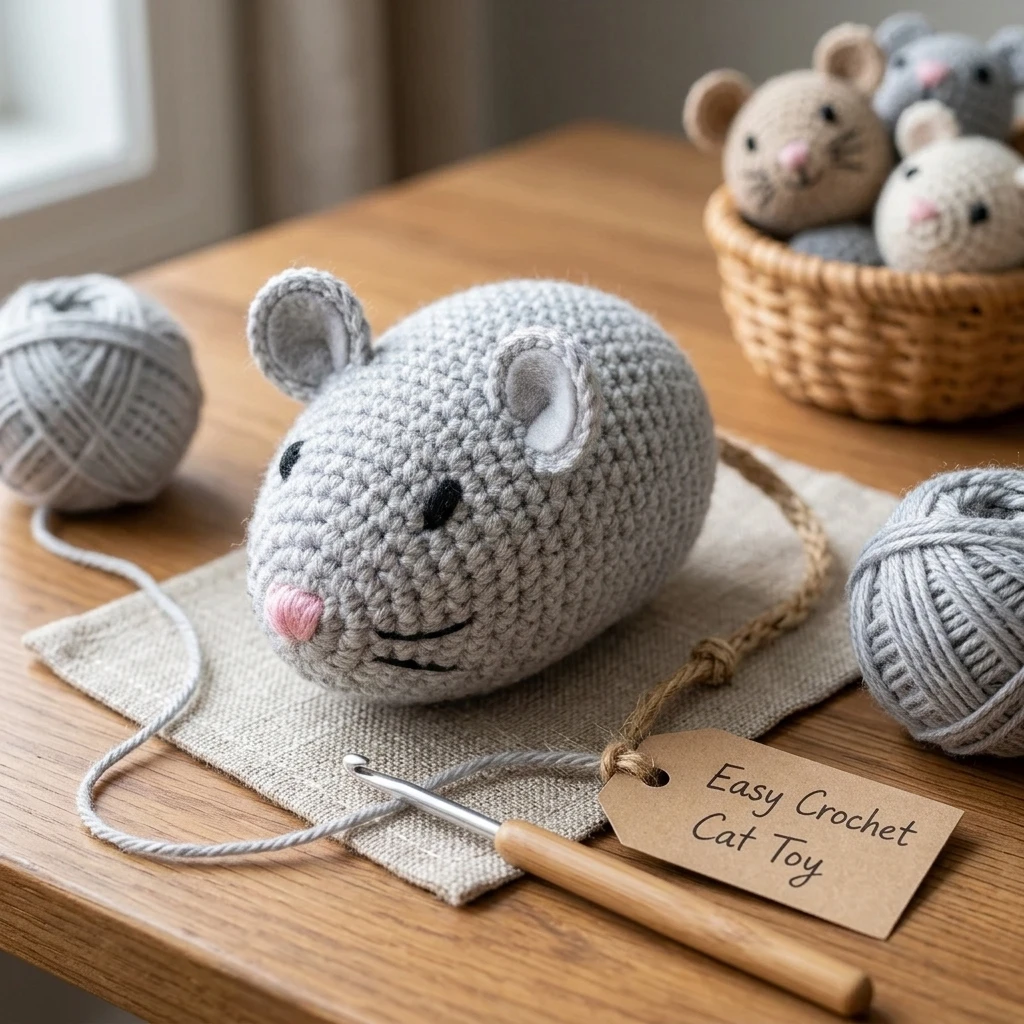
Every feline friend deserves a stash of handmade treasures, and this Easy Crochet Cat Toy is the perfect weekend project to spoil your pet. Designed as a soft, palm-sized mouse or oblong shape, this toy is tactile, lightweight, and incredibly durable. The construction utilizes basic amigurumi techniques worked in a continuous spiral, making it an ideal project for beginners who want to practice their shaping and tension. Whether you fill it with polyester fiberfill or add a pinch of dried catnip, the result is a sturdy, chewable toy that can withstand hours of batting, tossing, and pouncing.
The Design: What Makes This Pattern Different
This design prioritizes safety and longevity over complex aesthetics. Unlike many commercial toys that use plastic safety eyes—which can become choking hazards if chewed off—this pattern encourages the use of embroidered details to ensure the toy is entirely soft and secure. Structurally, the toy is worked with a tighter-than-average tension to prevent stuffing or catnip from leaking through the stitches. One common mistake to avoid is using a hook that is too large for your yarn weight; if your stitches are loose, your cat’s claws may snag in the gaps, potentially unraveling your hard work or injuring the cat.
Project Info at a Glance
| Feature | Details |
|---|---|
| Skill Level | Beginner |
| Estimated Time | 30 – 45 Minutes |
| Finished Size | Approximately 3.5 inches (excluding tail) |
| Hook Size | 3.5 mm (E-4) |
| Yarn Weight | Worsted / Medium (Weight 4) |
| Gauge | 5 sc x 5 rows = 1 inch (Estimated) |
| Best For | Active cats and gift-giving |
Materials and Tools
Yarn
For this project, a 100% cotton yarn is highly recommended. Cotton is breathable, absorbs catnip scents well, and doesn’t pill as easily as acrylic when subjected to rough play. You will need approximately 25 to 30 yards of your primary color. Scraps of pink or black yarn are suggested for the embroidered nose and eyes.
Tools
You will need a 3.5 mm crochet hook to keep the tension firm. Additionally, prepare a tapestry needle for weaving in ends and embroidery, a pair of sharp scissors, and a handful of polyester stuffing. If desired, have a small amount of dried catnip or a small bell ready to insert before closing the toy.
Abbreviations
- ch: chain
- sc: single crochet
- inc: increase (2 sc in the same stitch)
- dec: invisible decrease (insert hook in front loops of next two stitches, yarn over, pull through, yarn over, pull through)
- st(s): stitch(es)
- sl st: slip stitch
- MR: Magic Ring
Pattern — Step by Step
The Body Construction
The body is worked from the nose to the tail in one piece. We use a continuous spiral, so do not join rounds with a slip stitch unless specified. Use a stitch marker to keep track of the first stitch of each round.
- Round 1: Start with a MR, 6 sc into the ring. (6 sts)
- Round 2: *sc in next st, inc in next st; repeat from * around. (9 sts)
- Round 3: *sc in next 2 sts, inc in next st; repeat from * around. (12 sts)
- Round 4: *sc in next 3 sts, inc in next st; repeat from * around. (15 sts)
- Round 5: *sc in next 4 sts, inc in next st; repeat from * around. (18 sts)
- Rounds 6-11: sc in each st around. (18 sts)
- Round 12: *sc in next 4 sts, dec; repeat from * around. (15 sts)
- Round 13: *sc in next 3 sts, dec; repeat from * around. (12 sts)
- Round 14: *sc in next 2 sts, dec; repeat from * around. (9 sts)
- Round 15: *sc in next st, dec; repeat from * around. (6 sts)
Finishing the Shape
After Round 15, do not fasten off immediately. You will stuff the toy firmly and then proceed to the assembly steps to create the tail.
Assembly
Assembling a cat toy requires extra attention to the tightness of the closing stitches. Ensure all yarn tails are woven deep into the center of the toy to prevent them from being pulled out during play.
- Before closing the small hole at Round 15, stuff the body firmly with fiberfill and your optional catnip.
- Using your tapestry needle, weave the yarn tail through the front loops of the remaining 6 stitches and pull tight to close.
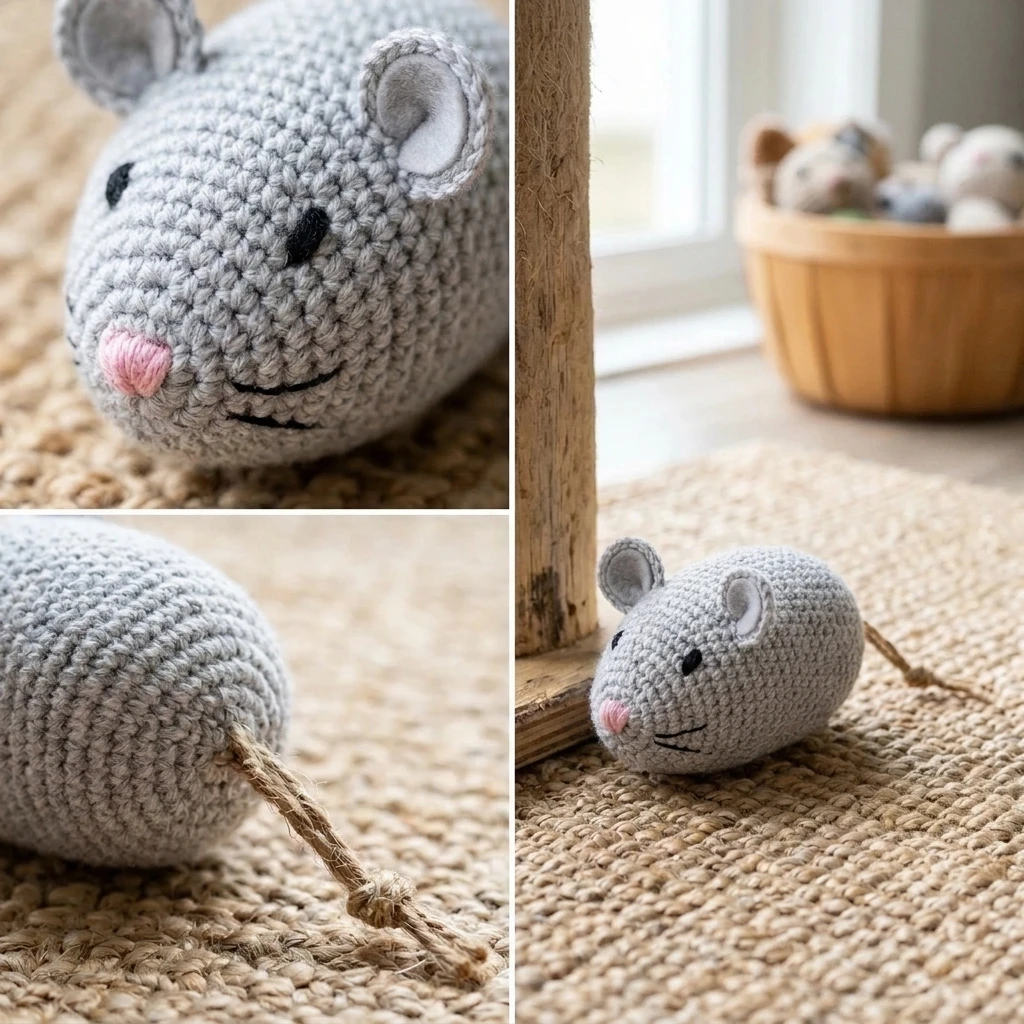
- To create the tail: Reattach yarn to the center of the closed end (or use the remaining tail if long enough), ch 20, then sl st in each ch back to the body. Fasten off and hide the tail inside the body.
- Use black or pink scrap yarn to embroider small “X” shapes for eyes and a small triangle for the nose on the narrow end of the toy.
7 Technical Tips for a Better Easy Crochet Cat Toy
- Use the Invisible Decrease: This technique prevents holes in your work, ensuring no stuffing escapes during vigorous play.
- Tighten the Magic Ring: Pull your MR as tight as possible and knot it on the inside to prevent the nose of the toy from opening up.
- Select Cotton Yarn: Cotton is safer for cats as it doesn’t have long fibers that can be easily swallowed like some brushed acrylics or wools.
- Embroider Securely: When adding eyes, pass the yarn through the stuffing several times to anchor it so the cat cannot pull the thread out.
- Maintain High Tension: If you are a loose crocheter, drop down half a hook size to ensure the fabric is dense and stiff.
- Catnip Placement: Place catnip in the center of the stuffing rather than against the walls of the toy to keep the scent inside longer.
- Check for Wear: Periodically inspect the toy for loose threads or holes. Because this is a handmade item, regular maintenance ensures pet safety.
Frequently Asked Questions
Can I machine wash this cat toy?
Yes, if you use cotton yarn and standard polyester stuffing, you can machine wash it on a delicate cycle inside a mesh laundry bag. Air drying is recommended to maintain the shape.
What if I don’t know how to make a Magic Ring?
You can substitute the MR by chaining 2 and working the first round of 6 sc into the second chain from the hook. Just be sure to pull the hole closed tightly afterward.
My cat is very aggressive with toys; how can I make it stronger?
Try doubling your yarn (using two strands held together) and using a larger hook. This creates a much thicker, “armored” fabric that is harder to bite through.
Can I use bells inside the toy?
Absolutely, but ensure the bell is large enough that it cannot slip through the crochet stitches, or sew it into a small fabric pouch before inserting it into the stuffing.
Is it okay to use bulky yarn instead?
Yes, using bulky yarn will simply result in a larger toy. Ensure you adjust your hook size accordingly so the stitches remain tight and the stuffing is not visible.
Conclusion
Creating an Easy Crochet Cat Toy is a rewarding way to use up yarn scraps while providing your pet with a safe, customized plaything. By following these steps and focusing on tight tension and secure embroidery, you’ll produce a high-quality toy that rivals any store-bought version. If you enjoyed this pattern, please save it to your Crochet for Pets board on Pinterest! Have you ever tried adding different textures, like crinkle paper, inside your crochet toys?
Save This Crochet Pattern