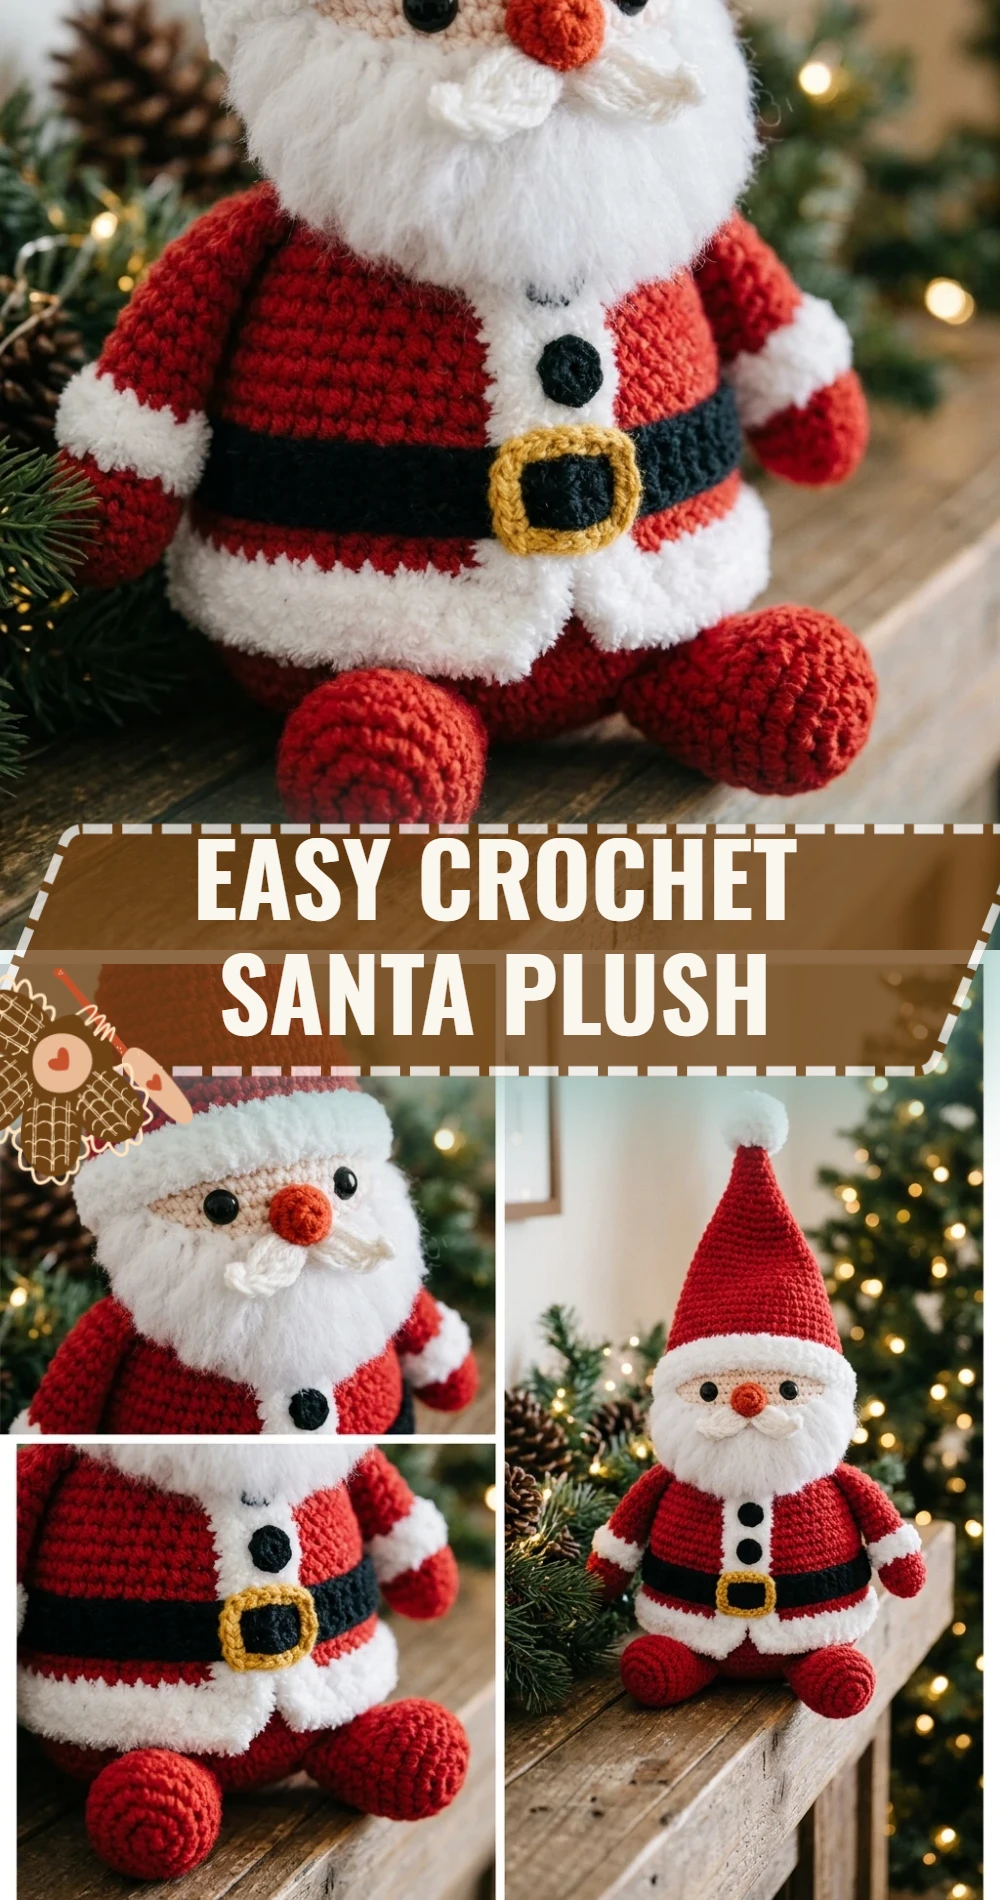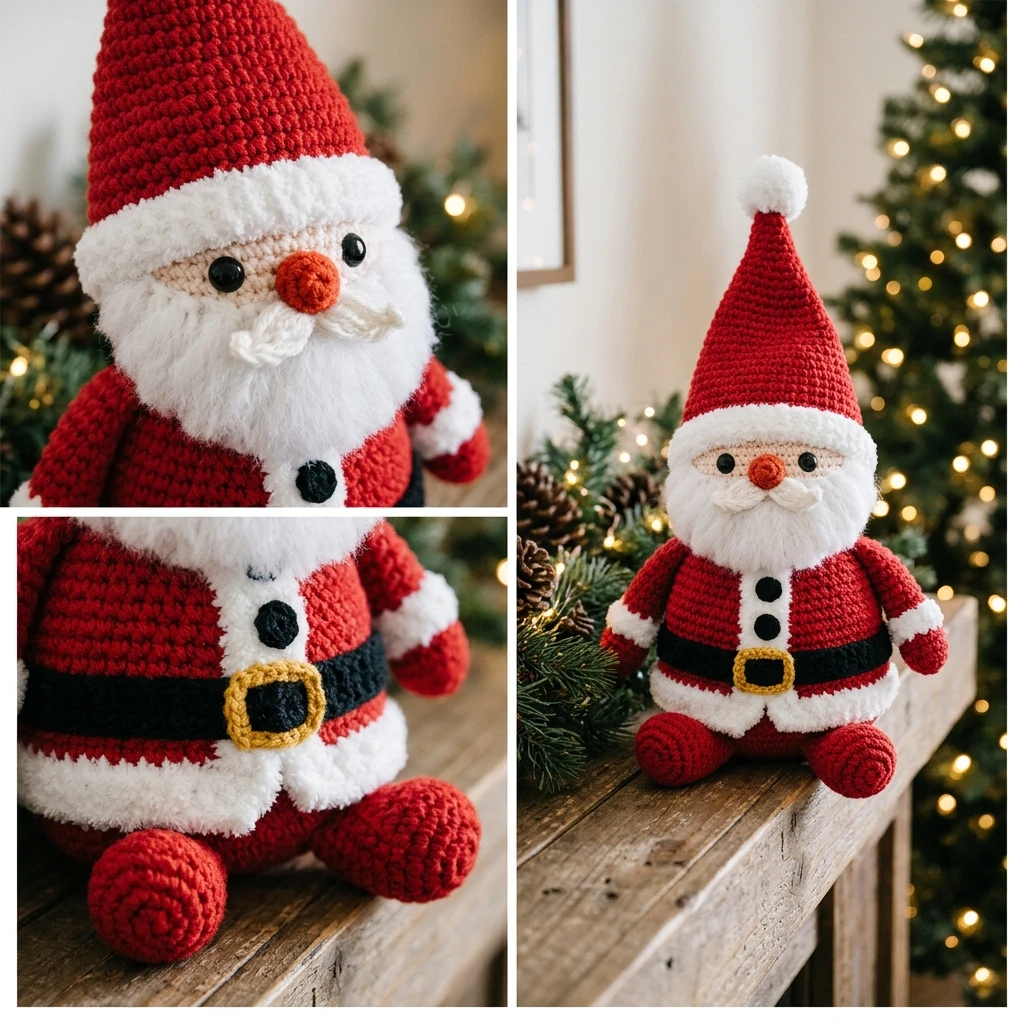
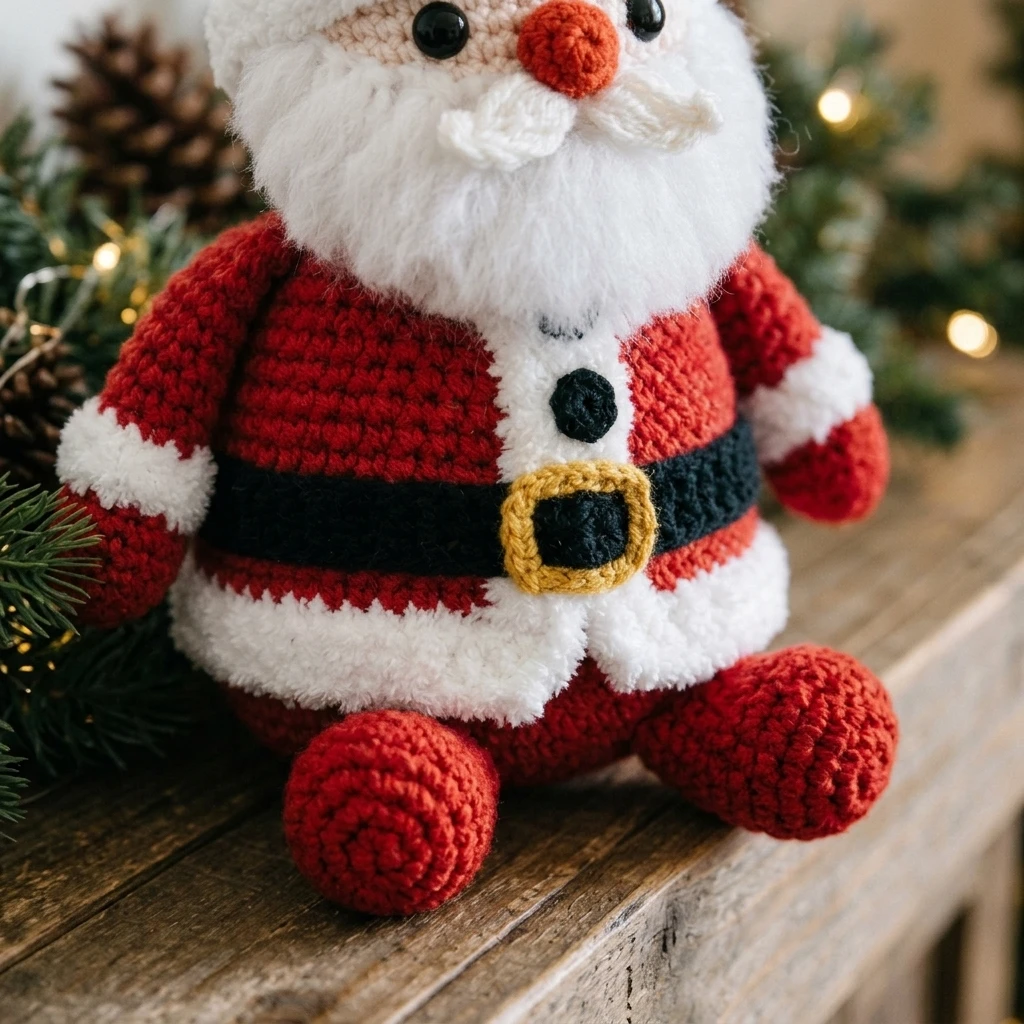
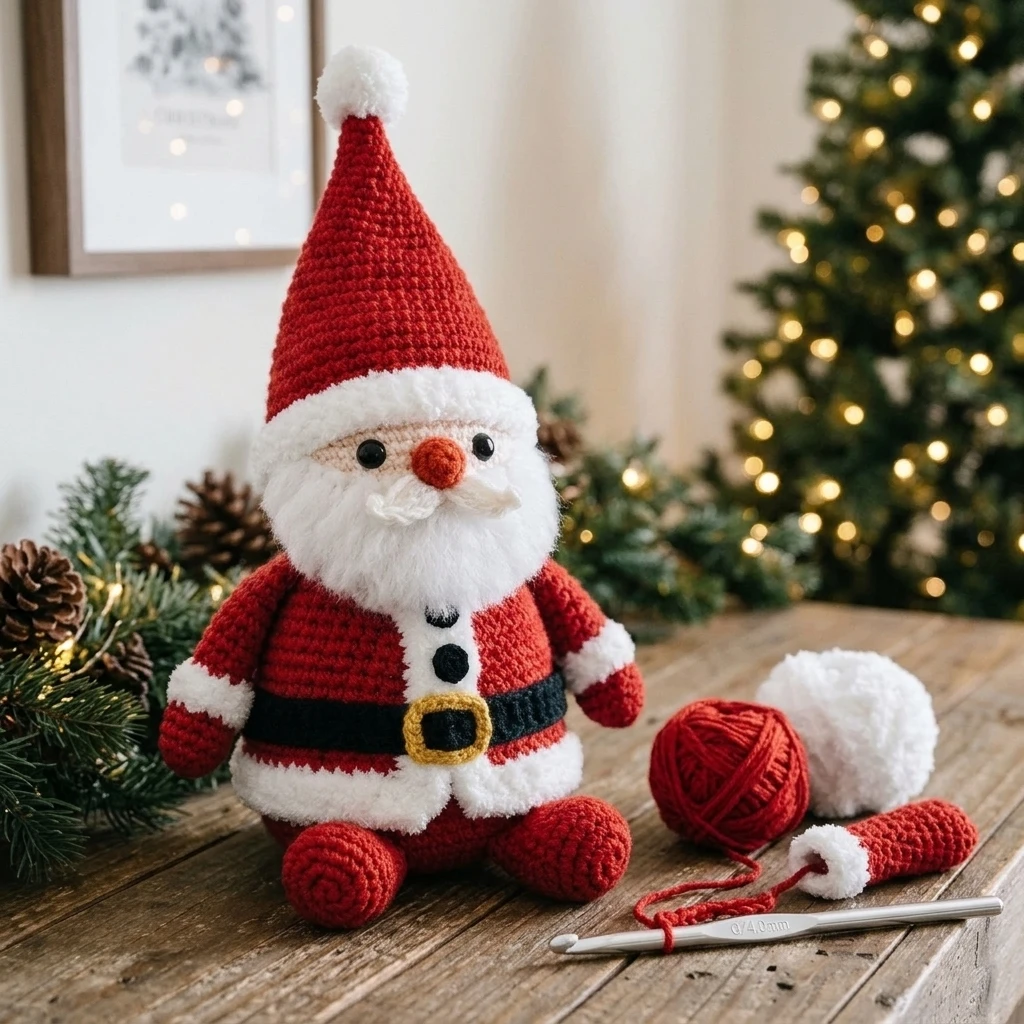
Bring the magic of the North Pole into your home with this Easy Crochet Santa Plush. This adorable amigurumi project features a classic round body, a fluffy white beard, and the iconic red hat, making it an ideal holiday decoration or a soft companion for children. Designed with beginners in mind, the construction relies on basic geometric shapes worked in the round, ensuring a quick and satisfying finish. Whether you are looking to deck your halls or gift a handmade heirloom, this little Santa is the perfect cheerful addition to your festive crafting queue.
The Design: What Makes This Pattern Different
The Easy Crochet Santa Plush is designed to be approachable by minimizing complex color changes within rounds. Instead of intricate tapestry work, the project uses distinct sections for the head, body, and accessories, which are then assembled for a clean, professional look. Structurally, the body is slightly bottom-heavy to ensure Santa can sit upright on a mantle or shelf without tipping over. One common mistake to avoid is stuffing the piece too loosely; amigurumi requires firm stuffing to maintain its round shape and prevent the facial features from sinking inward over time.
Project Info at a Glance
| Feature | Details |
|---|---|
| Skill Level | Beginner / Easy |
| Estimated Time | 3 – 5 Hours |
| Finished Size | Approximately 7 inches tall (estimated) |
| Hook Size | 3.5mm (E) or 4.0mm (G) |
| Yarn Weight | Medium Worsted Weight (4) |
| Gauge | 4 sc x 4 rows = 1 inch (photo-inspired) |
| Best For | Holiday Decor, Stocking Stuffers, Beginners |
Materials and Tools
Yarn
For this project, suggested yarn amounts are based on standard worsted weight acrylic. You will need approximately 60 yards of Red, 30 yards of White, 20 yards of Skin Tone (Peach or Beige), and a small amount of Black for the belt and boots. These quantities are estimates intended to help you stash-bust effectively.
Tools
- Crochet hook (3.5mm or 4.0mm)
- Polyester fiberfill stuffing
- 9mm safety eyes (2)
- Yarn needle for assembly
- Stitch markers
- Scissors
Abbreviations
- ch: Chain
- sc: Single Crochet
- inc: Increase (2 sc in the same stitch)
- dec: Invisible Decrease (sc 2 together using front loops only)
- st(s): Stitch(es)
- mr: Magic Ring
- sl st: Slip Stitch
- Rnd: Round
Pattern — Step by Step
Head
Working in the round with Skin Tone yarn.
- Rnd 1: 6 sc in MR (6)
- Rnd 2: inc in each st around (12)
- Rnd 3: [sc 1, inc] around (18)
- Rnd 4: [sc 2, inc] around (24)
- Rnd 5: [sc 3, inc] around (30)
- Rnd 6-11: sc in each st around (30)
- Rnd 12: [sc 3, dec] around (24)
- Rnd 13: [sc 2, dec] around (18). Insert safety eyes between rounds 8 and 9, about 5 sts apart. Stuff firmly.
- Rnd 14: [sc 1, dec] around (12)
- Rnd 15: dec around (6). Fasten off and leave a tail for sewing.
Body
Start with Red yarn. We will incorporate a black belt in the middle.
- Rnd 1: 6 sc in MR (6)
- Rnd 2: inc in each st around (12)
- Rnd 3: [sc 1, inc] around (18)
- Rnd 4: [sc 2, inc] around (24)
- Rnd 5: [sc 3, inc] around (30)
- Rnd 6: [sc 4, inc] around (36)
- Rnd 7-9: sc in each st around (36)
- Rnd 10-11: Switch to Black. sc in each st around (36)
- Rnd 12: Switch back to Red. [sc 4, dec] around (30)
- Rnd 13-14: sc in each st around (30)
- Rnd 15: [sc 3, dec] around (24)
- Rnd 16: [sc 2, dec] around (18). Stuff firmly. Fasten off.
Beard
Using White yarn, worked in flat rows.
- Row 1: ch 11. starting in 2nd ch from hook, sc 10. ch 1, turn.
- Row 2: [ch 3, sl st into next st] repeat across to create loops. Fasten off.
Hat
Start with Red yarn.
- Rnd 1: 4 sc in MR (4)
- Rnd 2: [sc 1, inc] around (6)
- Rnd 3: [sc 2, inc] around (8)
- Rnd 4: [sc 3, inc] around (10)
- Rnd 5: [sc 4, inc] around (12)
- Rnd 6: [sc 1, inc] around (18)
- Rnd 7-8: sc around (18)
- Rnd 9: Switch to White. [sc 2, inc] around (24)
- Rnd 10: sc around (24). Fasten off. Add a small white pom-pom to the tip.
Assembly
Before beginning assembly, ensure all pieces are stuffed to your desired firmness. Use the long yarn tails for sewing to keep the finished product secure.
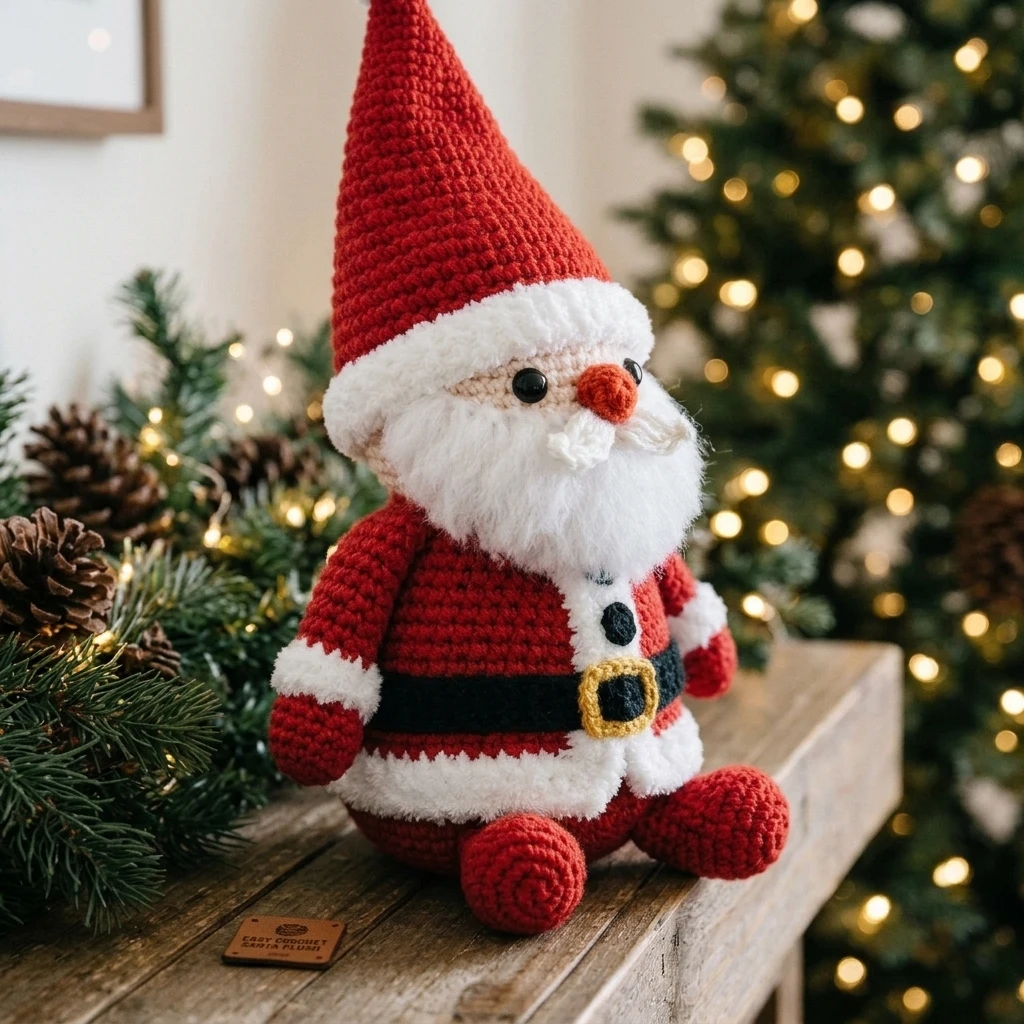
- Sew the Head to the top of the Body, matching the 18 stitches of the neck area.
- Center the Beard horizontally just below the eyes and sew across the top row.
- Place the Hat on top of the head, slightly tilted for character, and secure with a few stitches.
- (Optional) Use a small amount of yellow or gold yarn to embroider a square buckle onto the black belt area.
- If you made arms or boots, sew them symmetrically to the sides and bottom of the body.
7 Technical Tips for a Better Easy Crochet Santa Plush
- Check Your Tension: If your stitches are too loose, the stuffing will show through. Use a hook one size smaller than the yarn label recommends for a tighter fabric.
- Invisible Decreases: Always use the “invisible decrease” method for amigurumi to avoid large gaps or bumps in the round.
- Yarn Tail Management: Don’t cut your tails too short. Leave at least 8-10 inches for sewing to ensure the plush doesn’t come apart.
- Safety Eye Placement: Place your eyes higher than you think; once the beard is attached, the face can look crowded if the eyes are too low.
- Color Transitions: When switching from Red to Black for the belt, finish the last pull-through of the previous stitch with the new color for a seamless line.
- Weighting the Base: For a more stable Santa, place a small bag of poly-pellets at the bottom of the body before stuffing with fiberfill.
- Facial Expression: Use a single strand of black embroidery floss to add tiny eyebrows above the eyes to give Santa a jolly or surprised expression.
Frequently Asked Questions
What is the best yarn for this Santa plush?
Acrylic yarn is recommended because it holds its shape well and is easy to clean. Cotton is also a great choice if you want more stitch definition.
Can I make this Santa bigger?
Yes! You can use a bulky weight yarn and a larger hook (like 6.0mm) to double the size of the plush without changing the pattern steps.
Is this project safe for babies?
If making this for a baby, replace the plastic safety eyes with embroidered eyes using black yarn to eliminate any choking hazards.
How do I keep the hat from falling off?
Sew the hat around the entire circumference of the head using a whip stitch with white yarn to keep it permanently attached.
Why is my Santa leaning to one side?
This usually happens if the stuffing isn’t distributed evenly. Massage the plush with your hands to move the fiberfill around until it stands straight.
Conclusion
Congratulations on finishing your Easy Crochet Santa Plush! This charming little character is sure to bring holiday cheer to anyone who sees it. Its simple design makes it a fantastic project for practicing your amigurumi skills or for whipping up multiple gifts in a single weekend. If you enjoyed this pattern, please save it to your Christmas Crochet board on Pinterest! Who will you be making your first Santa for this season?
Save This Crochet Pattern