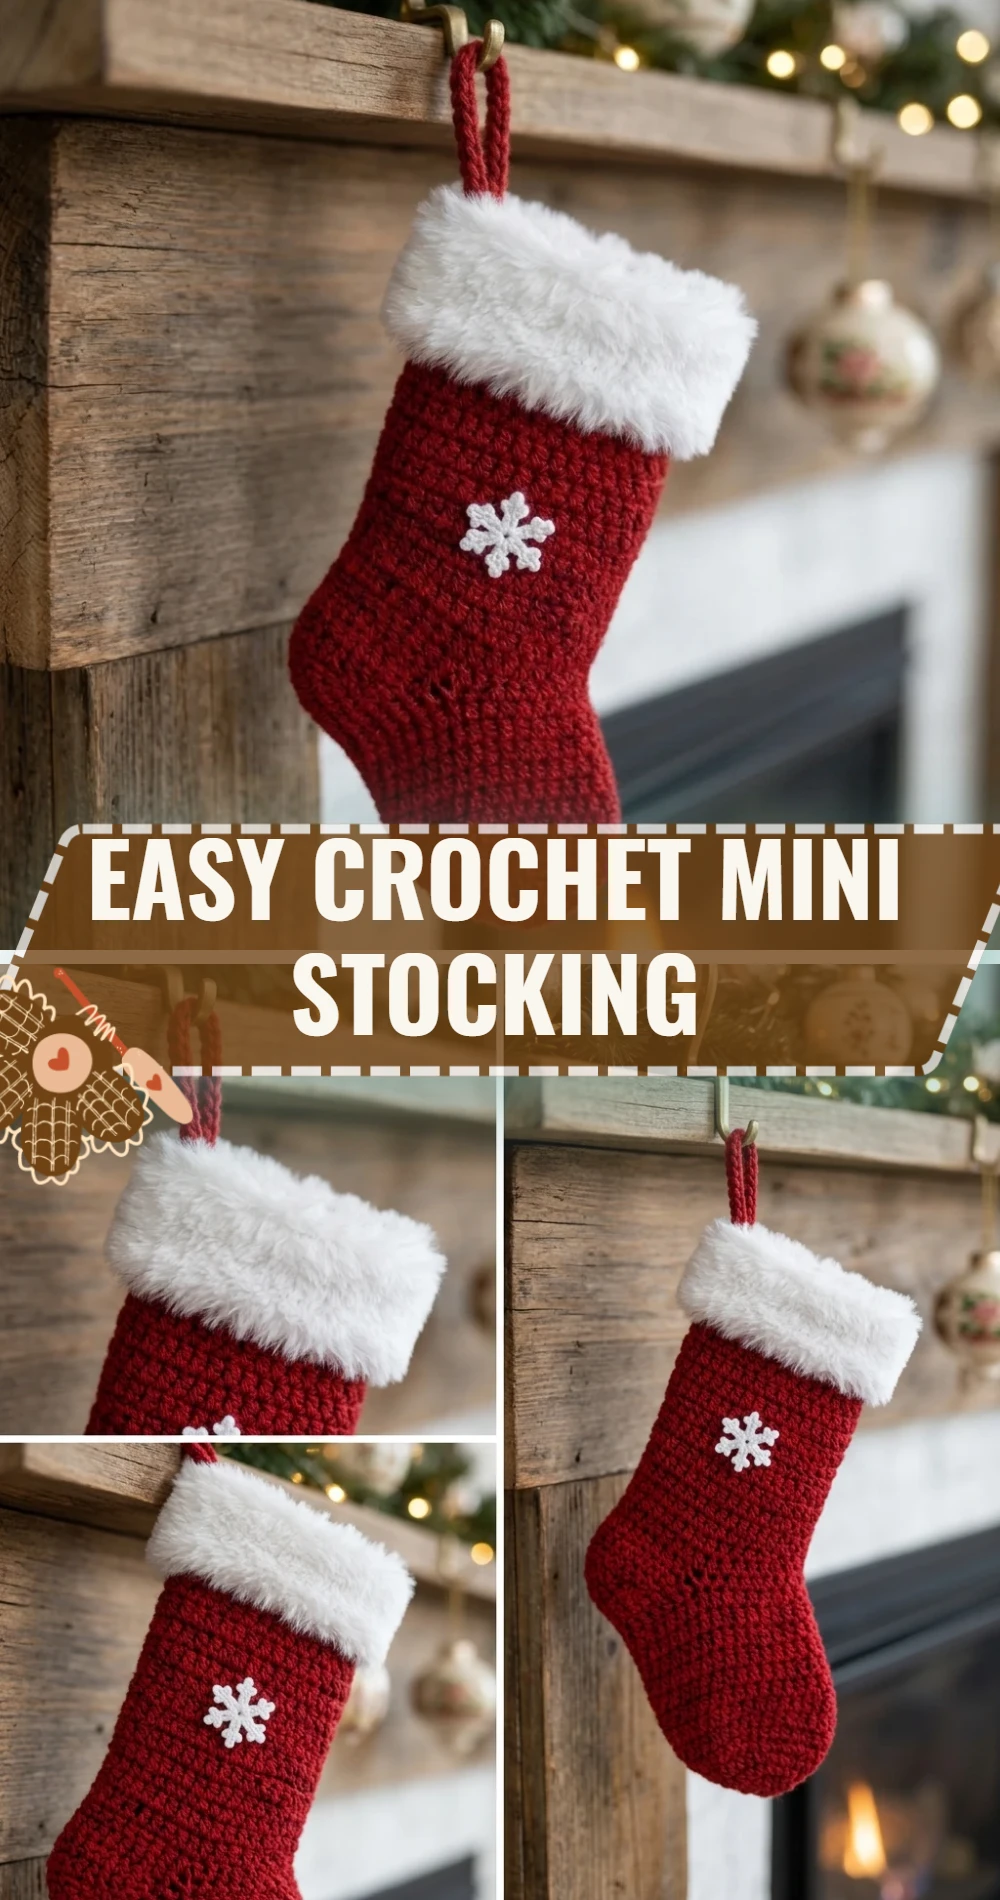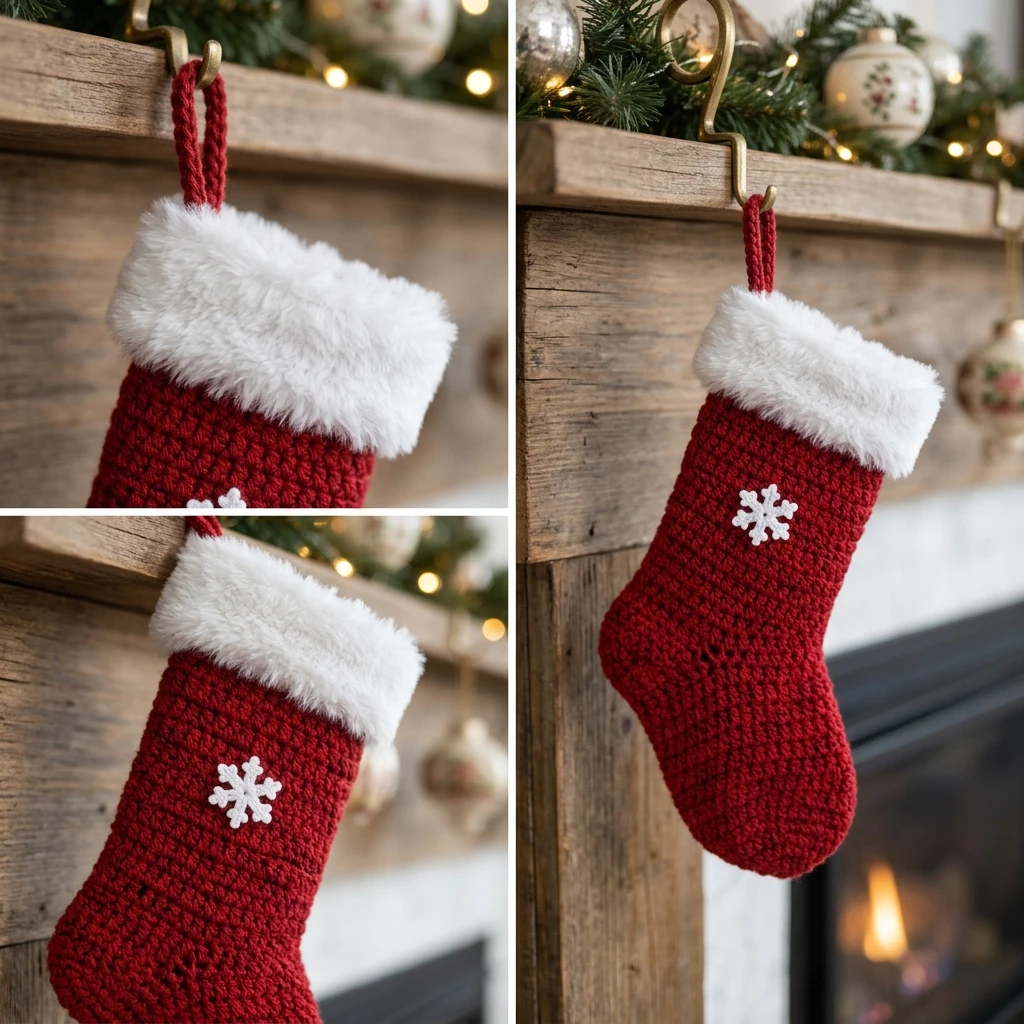
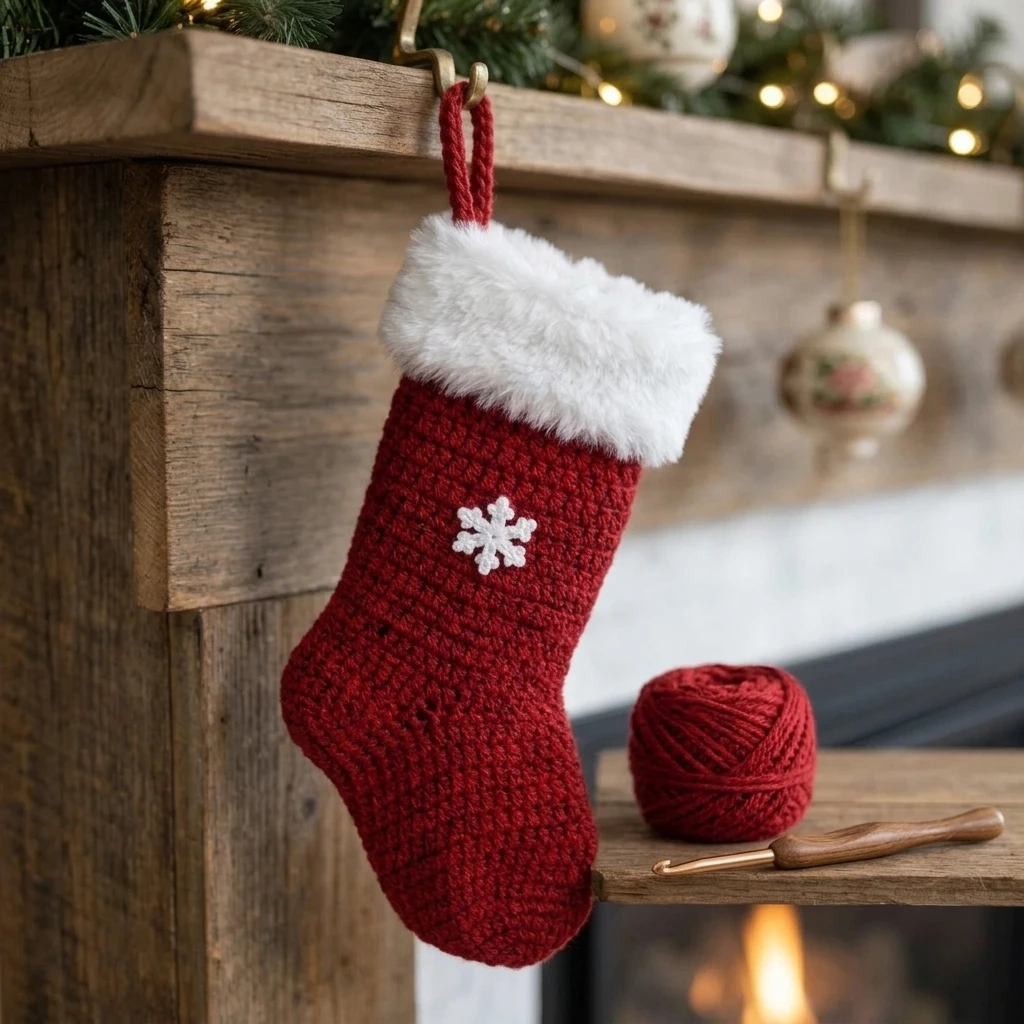
Celebrate the holiday season with a touch of handmade charm by crafting these adorable Easy Crochet Mini Stockings. These petite festive accents are the perfect size for holding gift cards, adorning your Christmas tree, or stringing together as a whimsical holiday garland. Designed for speed and simplicity, this project utilizes basic stitches to create a classic “L-shaped” silhouette that looks professional without the complexity of a traditional turned heel. Whether you are a beginner looking for a quick win or a seasoned maker needing bulk stocking stuffers, these mini stockings offer a satisfying and rhythmic crochet experience.
The Design: What Makes This Pattern Different
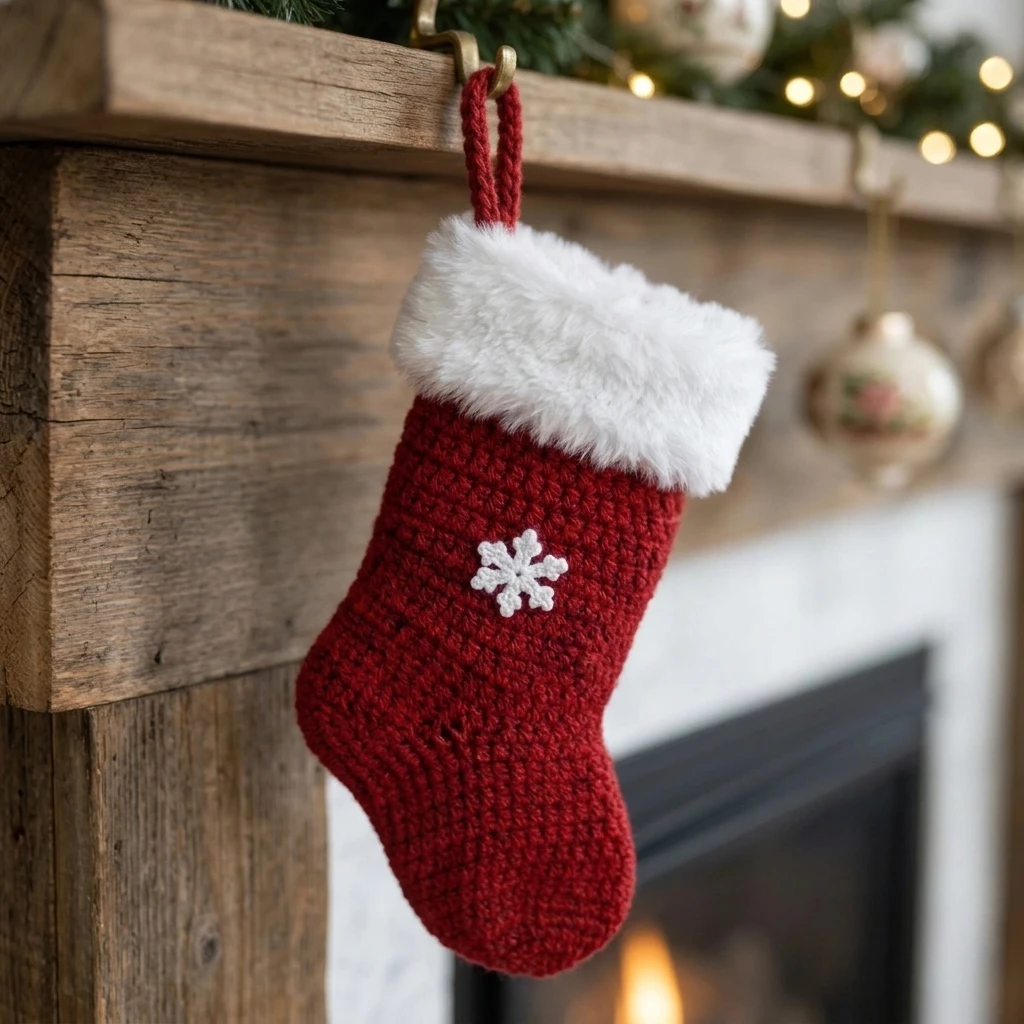
While many stocking patterns require intricate heel-turning techniques that can frustrate beginners, this Easy Crochet Mini Stocking focuses on a streamlined construction. We use a modified “short row” technique for the heel that maintains the iconic boot shape without requiring you to break the yarn or navigate confusing stitch placements. The visual identity relies on clean lines and a contrasting cuff, giving it a modern farmhouse aesthetic. One common mistake to avoid is working too tightly on the heel section; keeping your tension consistent ensures the foot of the stocking doesn’t pull upward or pucker, allowing it to hang perfectly straight when filled with treats.
Project Info at a Glance
| Feature | Details |
|---|---|
| Skill Level | Easy / Beginner-Friendly |
| Estimated Time | 30 to 45 minutes per stocking |
| Finished Size | Approximately 4.5 inches tall (Suggested) |
| Hook Size | 5.0 mm (H-8) |
| Yarn Weight | Medium / Worsted (Weight 4) |
| Gauge | Photo-inspired; 4 sts per inch |
| Best For | Tree Ornaments, Gift Toppers, Advent Calendars |
Materials and Tools
Yarn
For this project, an estimated 20–30 yards of Medium Weight (4) acrylic or cotton yarn is sufficient. Using a festive palette like cherry red, forest green, and a creamy white for the cuff provides a classic look. You can also experiment with sparkle-infused yarns to add a bit of holiday glitz to your finished project.
Tools
- 5.0 mm (H-8) Crochet Hook
- Yarn needle for weaving in ends
- Sharp scissors
- Optional: 6-inch piece of twine or ribbon for a rustic hanging loop
Abbreviations
- CH: Chain
- ST(S): Stitch(es)
- SL ST: Slip Stitch
- SC: Single Crochet
- HDC: Half Double Crochet
- HDC2TOG: Half Double Crochet 2 Together (Decrease)
- MR: Magic Ring (or Magic Circle)
Pattern — Step by Step
Construction Overview
This stocking is worked from the top down. We begin with the cuff, transition into the leg, create a simplified heel, and finish by tapering the toe. This method allows for seamless color transitions and easy length adjustments.
The Cuff and Leg
- Round 1: Start with the cuff color. CH 16, join with a SL ST to the first CH to form a ring, being careful not to twist. CH 1, HDC in each CH around. Join with SL ST. (16 HDC)
- Round 2: CH 1, HDC in each ST around. Join with SL ST. (16 HDC)
- Round 3 (Color Change): Join the main stocking color. CH 1, HDC in each ST around. Join with SL ST. (16 HDC)
- Rounds 4–7: Repeat Round 3. This creates the leg of the stocking.
The Shortcut Heel
Instead of working in rounds, we will now work in rows across half of the stitches to create the heel depth.
- Row 8: SC in the next 8 STS. CH 1, turn. (8 SC)
- Row 9: SC in each of the 8 STS. CH 1, turn.
- Row 10: SC2TOG, SC in next 4, SC2TOG. CH 1, turn. (6 SC)
The Foot and Toe
- Round 11: Now, resume working in rounds. Work HDC evenly around the edge of the heel and into the skipped stitches from the leg. (Total 16 STS around). Join with SL ST.
- Rounds 12–14: CH 1, HDC in each ST around. Join. (16 HDC)
- Round 15 (Toe Decrease): CH 1, *HDC in next 2 STS, HDC2TOG; repeat from * around. Join. (12 STS)
- Round 16: CH 1, *HDC2TOG; repeat from * around. Join. (6 STS)
- Fasten off, leaving a 6-inch tail for closing the toe.
Assembly
Once the crochet portion is complete, the final assembly ensures your stocking looks neat and is ready for hanging. The goal is to hide all structural seams and ensure the shape is symmetrical.
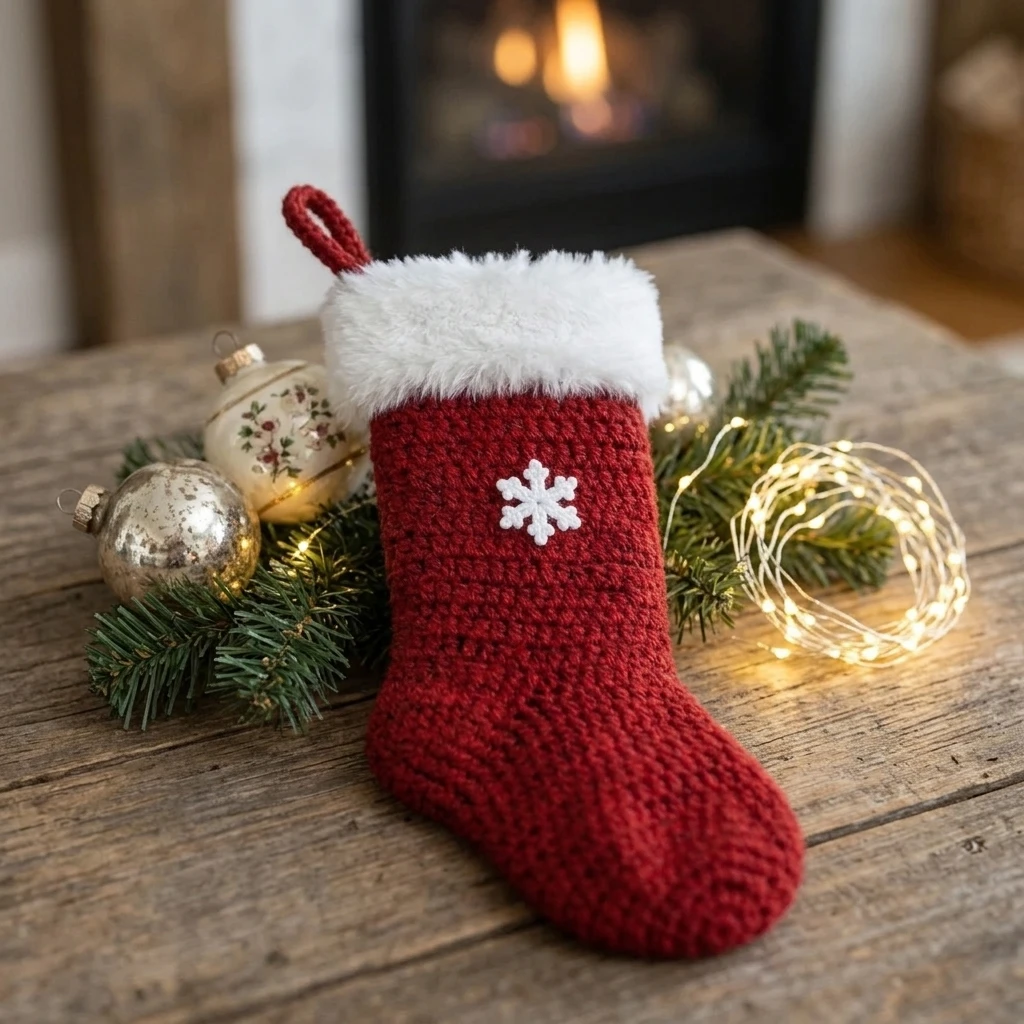
- Close the Toe: Thread the yarn tail through a yarn needle. Weave the needle through the front loops of the remaining 6 stitches in the last round. Pull tight to close the hole and secure the yarn inside the stocking.
- Weave in Ends: Use your yarn needle to tuck all loose ends into the inside of the stocking, ensuring they are hidden by the stitches.
- Fold the Cuff: If you made the cuff extra long, fold it down over the top of the leg to create a traditional folded look.
- Attach Hanging Loop: Join your yarn to the top back corner of the cuff. CH 10 (or desired length), and SL ST back into the same space. Fasten off and weave in the tail.
7 Technical Tips for a Better Easy Crochet Mini Stocking
- Mind Your Join: To prevent a diagonal seam, ensure you are joining your rounds in the very first stitch of the round, not the slip stitch from the previous row.
- Invisible Decreases: When working the toe, use the “invisible decrease” method for SC or HDC to prevent small holes from appearing in the fabric.
- Tension Consistency: If your heel looks too small, you may be tightening your stitches during the row-work. Try to keep the same relaxed grip you used for the leg.
- Color Transition Tip: Change your yarn color on the final pull-through of the stitch before the new color starts for a perfectly clean line.
- Steam Blocking: If your stocking curls, a quick hit of steam from an iron (without touching the yarn) will help flatten it and define the shape.
- Starching for Stability: If you plan to hang these as ornaments, consider dipping them in a water and white glue mixture (stiffener) so they hold their shape even when empty.
- Sizing Customization: To make a larger stocking, simply increase your starting chain (must be an even number) and add more rounds to the leg and foot sections.
Frequently Asked Questions
Can I use chunky yarn for this pattern?
Yes! Using a bulky weight yarn and a 6.5mm or 8.0mm hook will result in a much larger stocking using the exact same stitch counts. It makes for a great oversized decorative piece.
Is this pattern suitable for absolute beginners?
Absolutely. If you know how to make a chain, a single crochet, and a half double crochet, you can complete this project. The heel is the only slightly different part, but it uses standard rows.
How do I stop the stocking from twisting?
Stocking twist often happens if you work in a spiral without joining. Make sure you use the SL ST and CH 1 method at the end of every round to keep the stitches aligned vertically.
Can I make these left-handed?
Yes. The construction is identical for left-handed crocheters; your “L-shape” will simply face the opposite direction as you work the heel rows.
What is the best way to clean these?
If made from acrylic or cotton, these are generally machine washable. However, due to their small size, hand washing and laying them flat to dry is recommended to maintain their shape.
Conclusion
The Easy Crochet Mini Stocking is a delightful, high-reward project that brings a personalized touch to your holiday decor. With its simplified heel and quick construction, you can easily whip up a dozen in a single weekend. These little boots are as versatile as they are cute, serving as the perfect vessel for small gifts and festive cheer. If you enjoyed this tutorial, be sure to save it to your Christmas Crochet board on Pinterest! How many mini stockings are you planning to make this season?
Save This Crochet Pattern