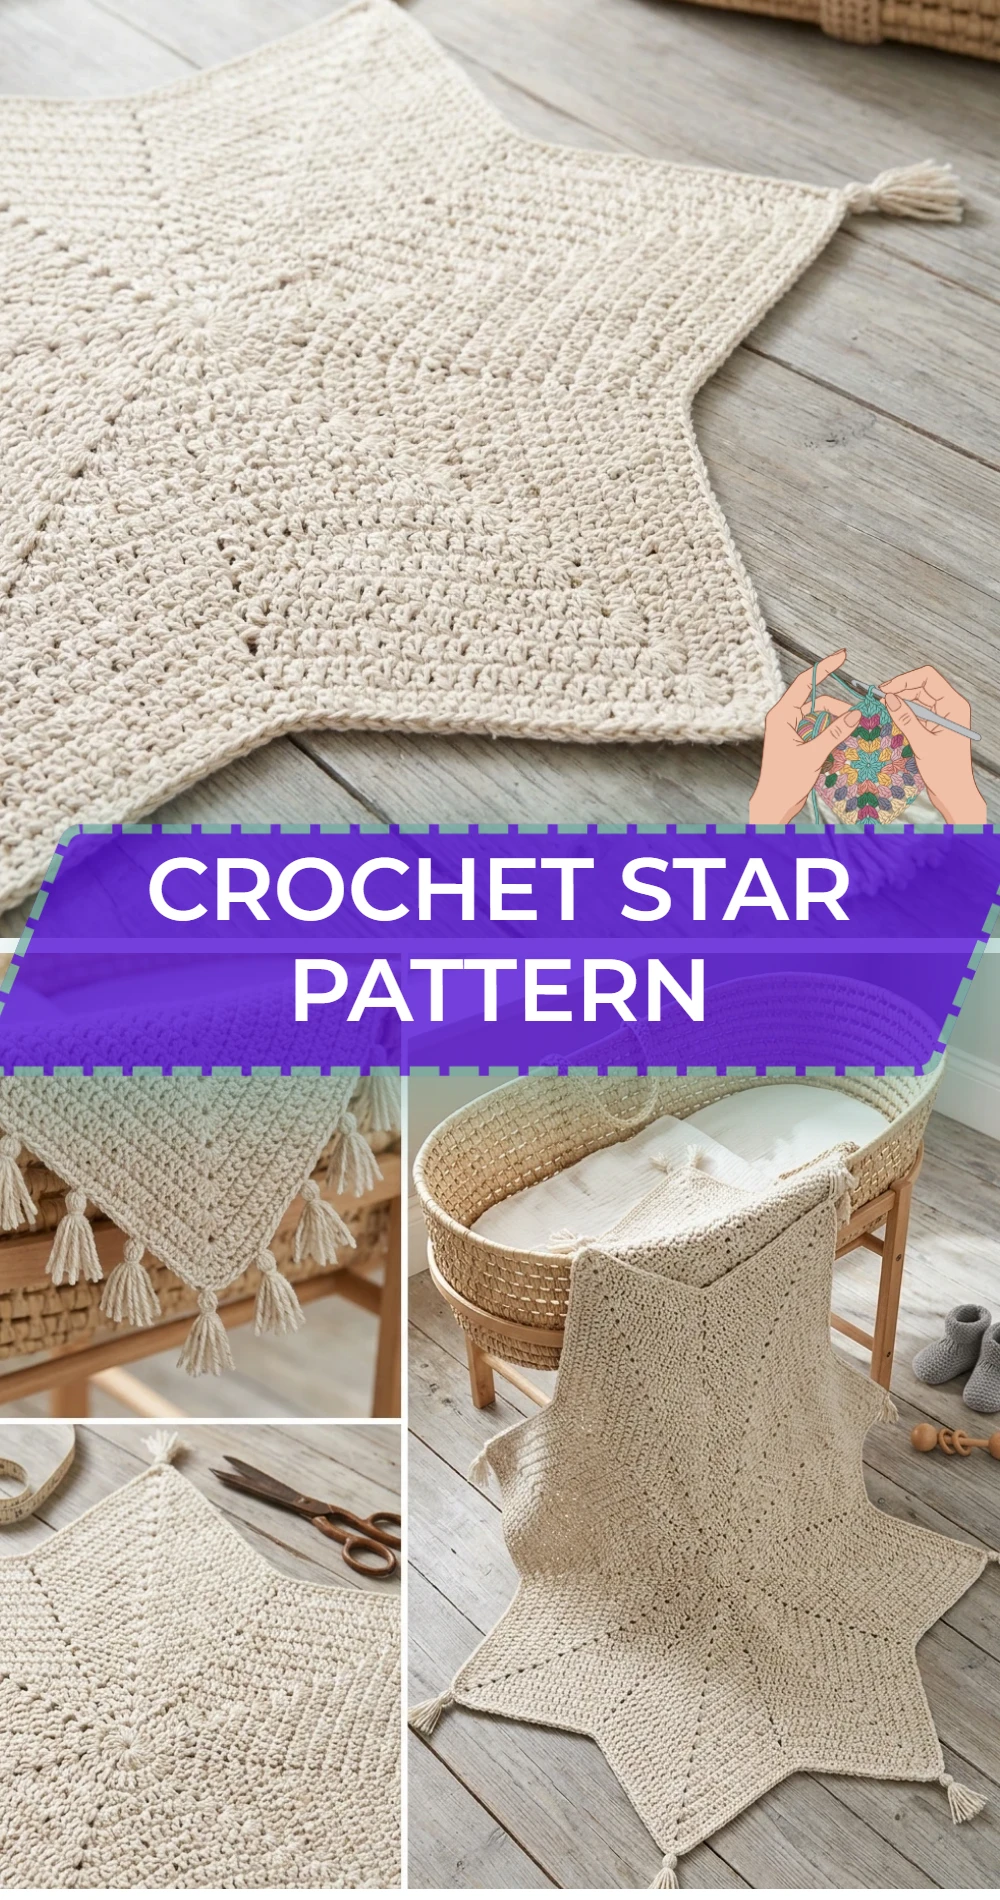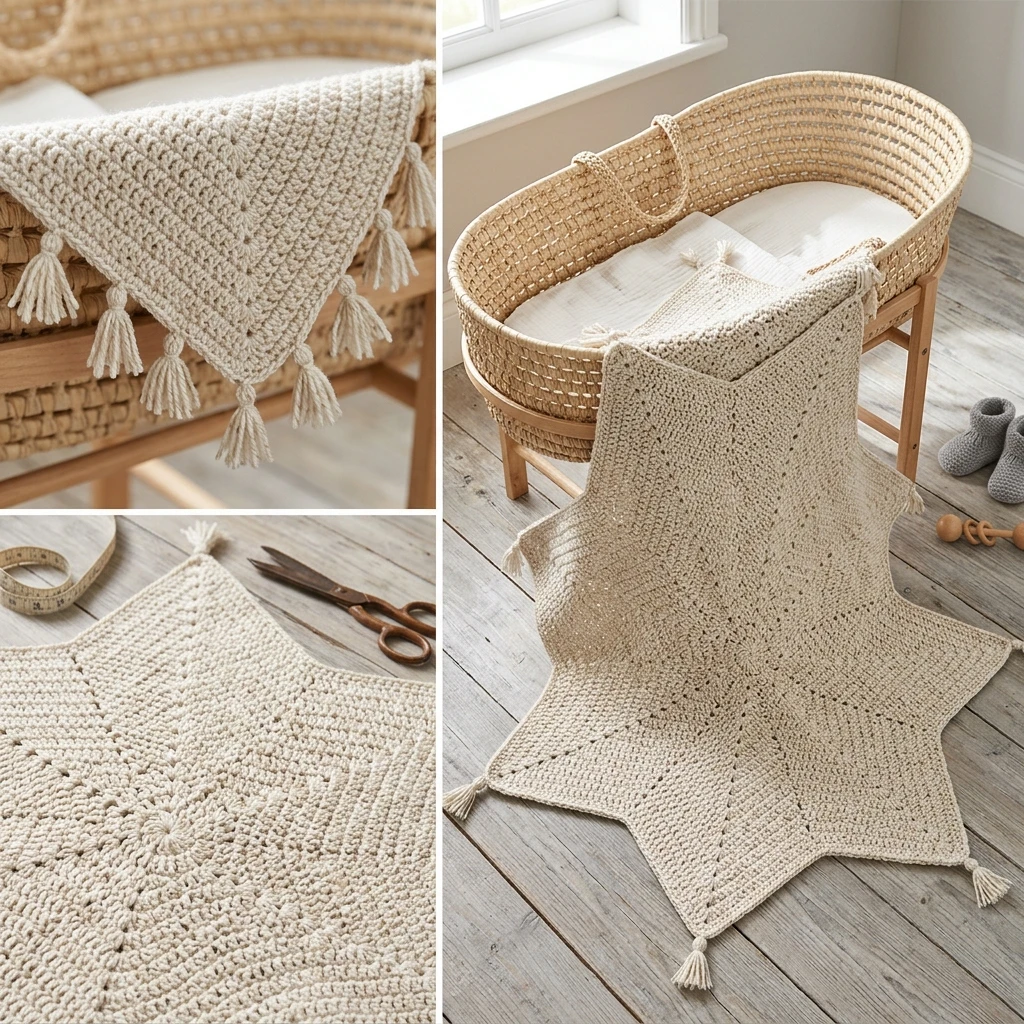
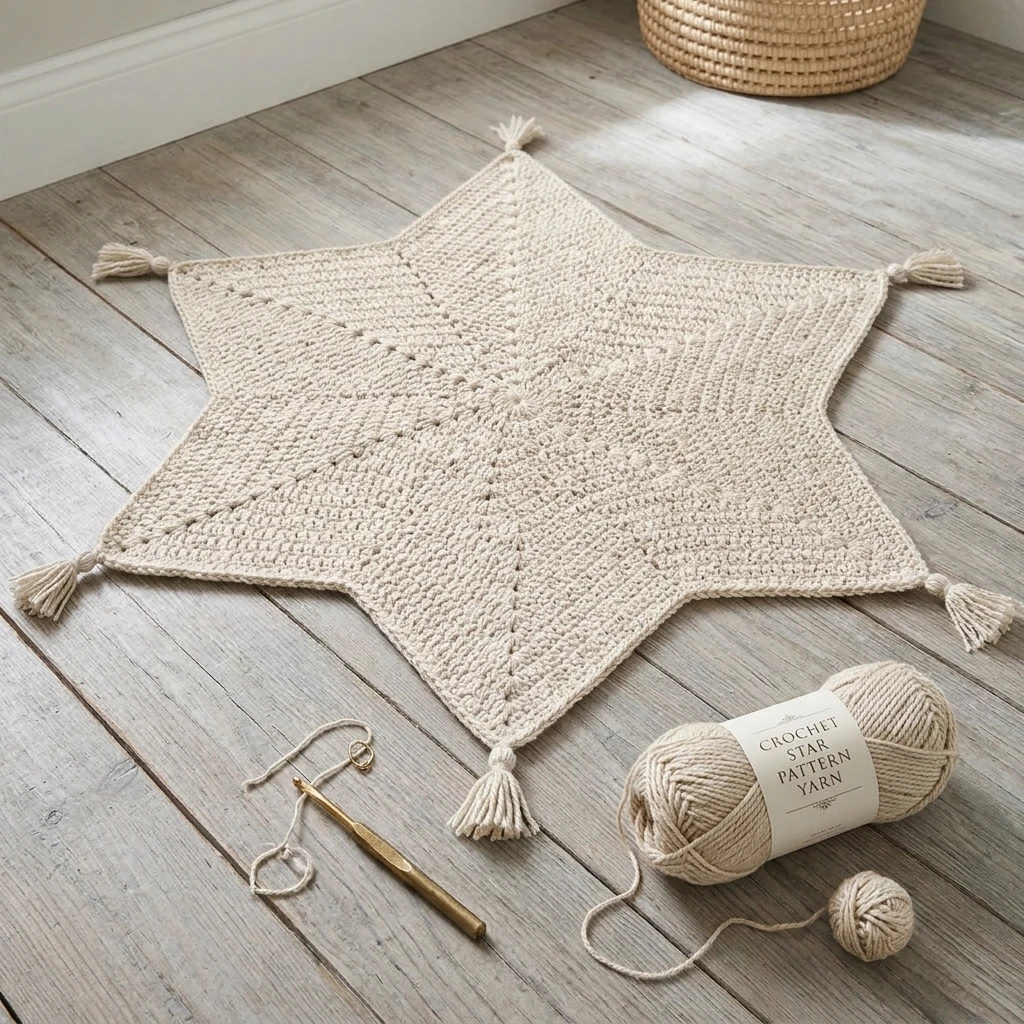
A classic crochet star is one of the most versatile motifs in a crafter’s repertoire, offering a crisp, five-pointed silhouette that works beautifully for holiday ornaments, bunting, or appliqués. This pattern focuses on structural integrity, ensuring that each point remains sharp rather than rounded, while utilizing a center-out construction that provides a solid, dense middle. Whether worked in metallic cotton for a tree topper or chunky wool for a celestial-themed nursery garland, the visual identity of this project relies on clean geometry and consistent tension.
The Design: What Makes This Pattern Different
While many star patterns can end up looking like rounded flowers, this design utilizes varying stitch heights—transitioning from single crochet to treble crochet along the points—to create a dramatic, elongated taper. The structural decision to use a 15-stitch foundation for a five-pointed star ensures that each point has a stable base without overcrowding the center ring. A common mistake to avoid is working too loosely on the turning chains of each point; tight tension on the “way down” the chain is what gives the star its signature needle-sharp tips.
Project Info at a Glance
| Skill Level | Advanced Beginner |
|---|---|
| Estimated Time | 15–20 Minutes per star |
| Finished Size | 4 inches (10 cm) across (photo-inspired) |
| Hook Size | 4.0 mm (G/6) |
| Yarn Weight | Medium / Worsted (Weight 4) |
| Gauge | Not critical; keep stitches tight |
| Best For | Ornaments, Garlands, Appliqués |
Materials and Tools
Yarn
For a standard decorative star, approximately 15–20 yards of medium-weight cotton or acrylic yarn is suggested. Cotton is highly recommended for this pattern as it holds its shape better and provides superior stitch definition for the points.
Tools
- 4.0 mm crochet hook
- Large-eye tapestry needle
- Sharp embroidery scissors
- Optional: Fabric stiffener or spray starch
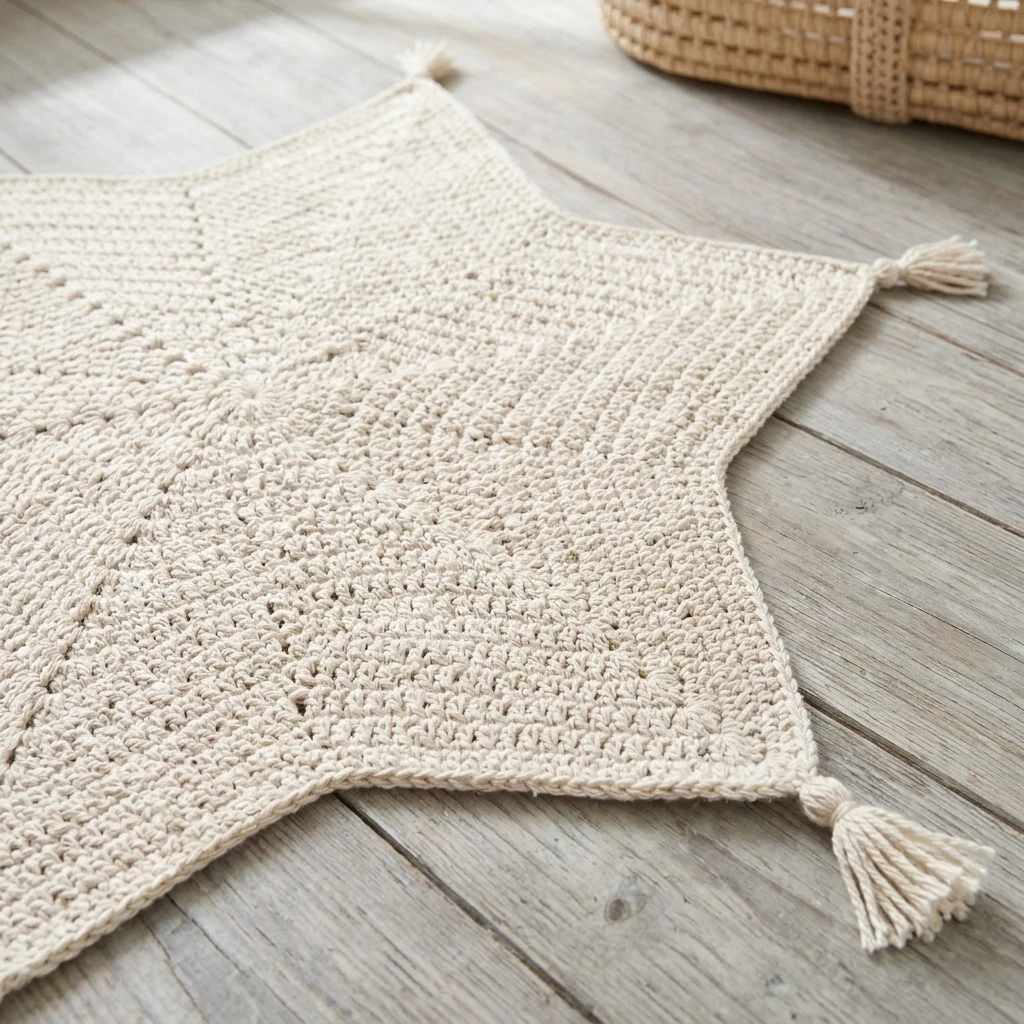
Abbreviations
- CH: Chain
- DC: Double Crochet
- HDC: Half Double Crochet
- MR: Magic Ring
- SC: Single Crochet
- SL ST: Slip Stitch
- TR: Treble Crochet
Pattern — Step by Step
Construction Overview
The star begins with a circular center worked into a magic ring. Once the foundation circle is established, each of the five points is worked individually by chaining outward and working back down the chain toward the center. This “radial” method eliminates the need for bulky seams between the points.
The Foundation Center
- Round 1: Start with a MR. CH 2 (does not count as a stitch). Work 15 DC into the ring. Pull the tail to close the ring tightly. Join with a SL ST to the first DC. (15 stitches)
Creating the Points
- Round 2 (Point 1): CH 6. SC in the 2nd CH from hook. HDC in the next CH. DC in the next CH. TR in the next CH. Long TR in the final CH (or work a very loose TR). Skip 2 DC from Round 1. SL ST into the 3rd DC of Round 1.
- Round 2 (Points 2-5): Repeat the sequence: *CH 6, SC in 2nd CH from hook, HDC in next, DC in next, TR in next, Long TR in last. Skip 2 DC from Round 1, SL ST into next stitch.*
- Repeat from * to * until you have 5 points. The final SL ST should land in the base of the very first point.
Finishing the Edges
- Fasten off, leaving an 8-inch tail if you intend to hang the star, or a short tail if using it as an appliqué.
Assembly
Since this star is worked in one continuous piece, assembly is primarily focused on shaping and finishing the ends rather than joining separate components.
- Secure the Center: Thread the starting tail through the tapestry needle and weave it through the base of the DC stitches one more time to ensure the magic ring never pulls open.
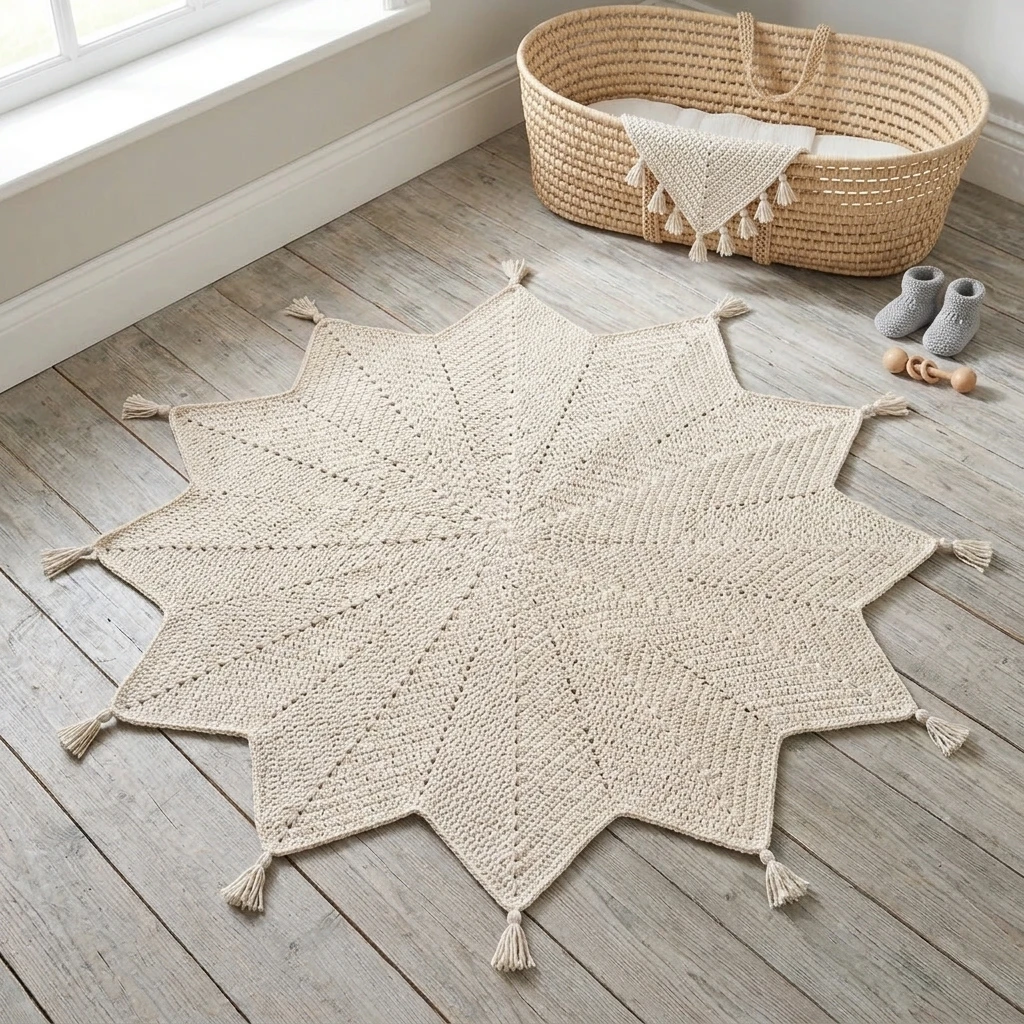
- Shape the Points: Use your fingers to tug each of the five points outward. If the points look slightly curved, steam block them or use a damp cloth and an iron to press them flat.
- Weave Ends: Run the final yarn tail down the back of the nearest point, hiding it within the dense stitches of the center circle.
- Optional Hanging Loop: If creating an ornament, knot the final tail into a loop at the tip of one point.
7 Technical Tips for a Better Crochet Star Pattern
- Mind the Gap: If you find a hole where the point meets the center, try slip-stitching more tightly or using a smaller hook for the center round.
- Tension Control: Work the chain for each point slightly looser than the stitches you work into that chain to prevent the point from curling.
- Sharp Tips: When working the SC at the tip of the point (the 2nd chain from the hook), only pick up the top loop to keep the tip dainty.
- Blocking is Key: Stars often look like “blobs” until they are blocked. Pin each point out on a foam mat and spray with water to reveal the true geometry.
- Starch for Stability: For window hangings, dip the star in a 50/50 mix of white glue and water, then pin it to dry. It will become rigid and professional.
- Yarn Choice: Avoid “fuzzy” yarns like mohair for this pattern; they obscure the sharp angles that make the star visually appealing.
- Count Twice: Ensure you have exactly 15 stitches in the center. If you have 14 or 16, your points will be unevenly spaced around the circle.
Frequently Asked Questions
How do I make a larger star?
To scale the star up, you can use a bulkier yarn and a larger hook, or increase the starting count in the center (e.g., 20 DC for a 5-pointed star with larger bases, or 18 DC for a 6-pointed star).
Can I make this without a magic ring?
Yes. You can CH 4, SL ST to the first chain to form a ring, and then work your 15 DC into that ring. However, the center hole may be slightly more visible.
Why are my star points curling inward?
This usually happens because the stitches worked into the chain are too tight, pulling the chain short. Try to relax your hand as you work back down the foundation chain.
What is the best way to hide the join?
Use an “invisible join” when finishing Round 1. Instead of a SL ST, cut the yarn and use a tapestry needle to mimic the top of a stitch over the first DC.
How can I make this a two-toned star?
Work Round 1 in your “core” color and change to your “point” color when you begin the CH 6 for the first point. This creates a beautiful contrast center.
Conclusion
Crafting a crochet star is a rewarding way to practice stitch graduation and geometric shaping. By following the 15-stitch foundation rule and maintaining sharp tension on the points, you can create professional-grade motifs perfect for any season. Don’t forget to pin this pattern to your “Crochet Motifs” board on Pinterest so you can find it for your next holiday project! What color will you choose for your first celestial star?
Save This Crochet Pattern