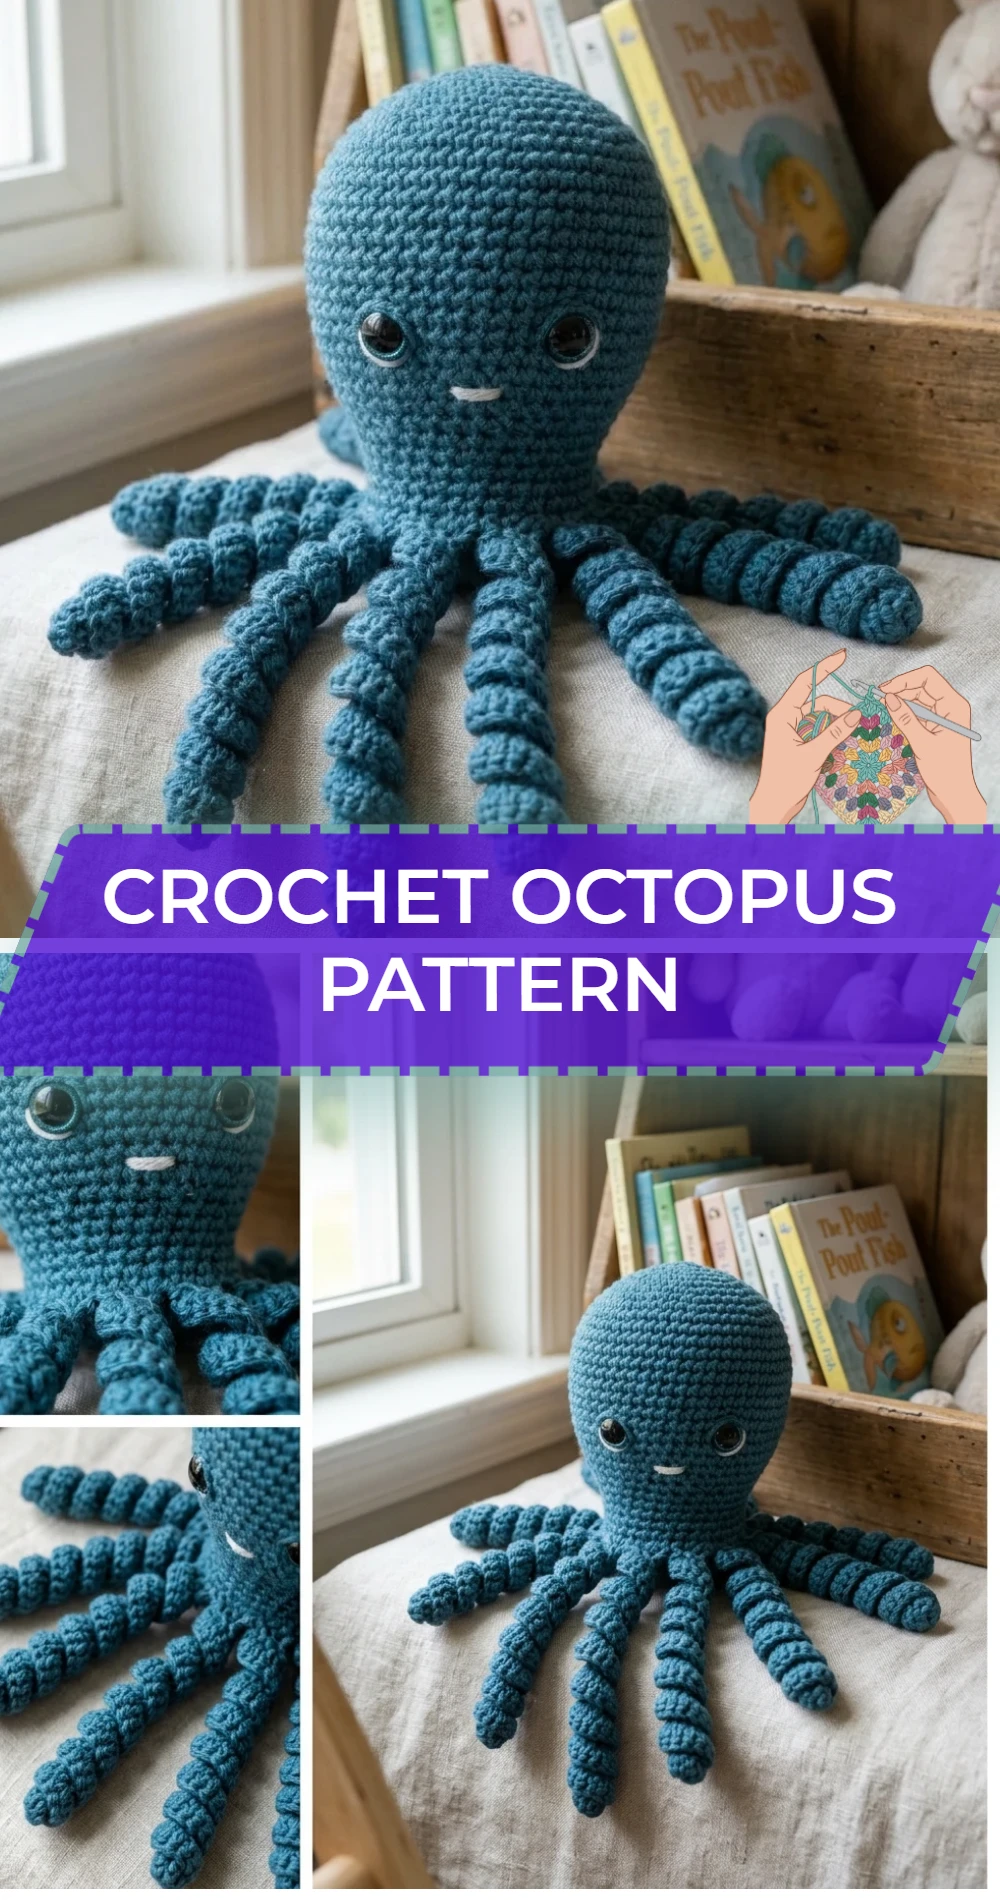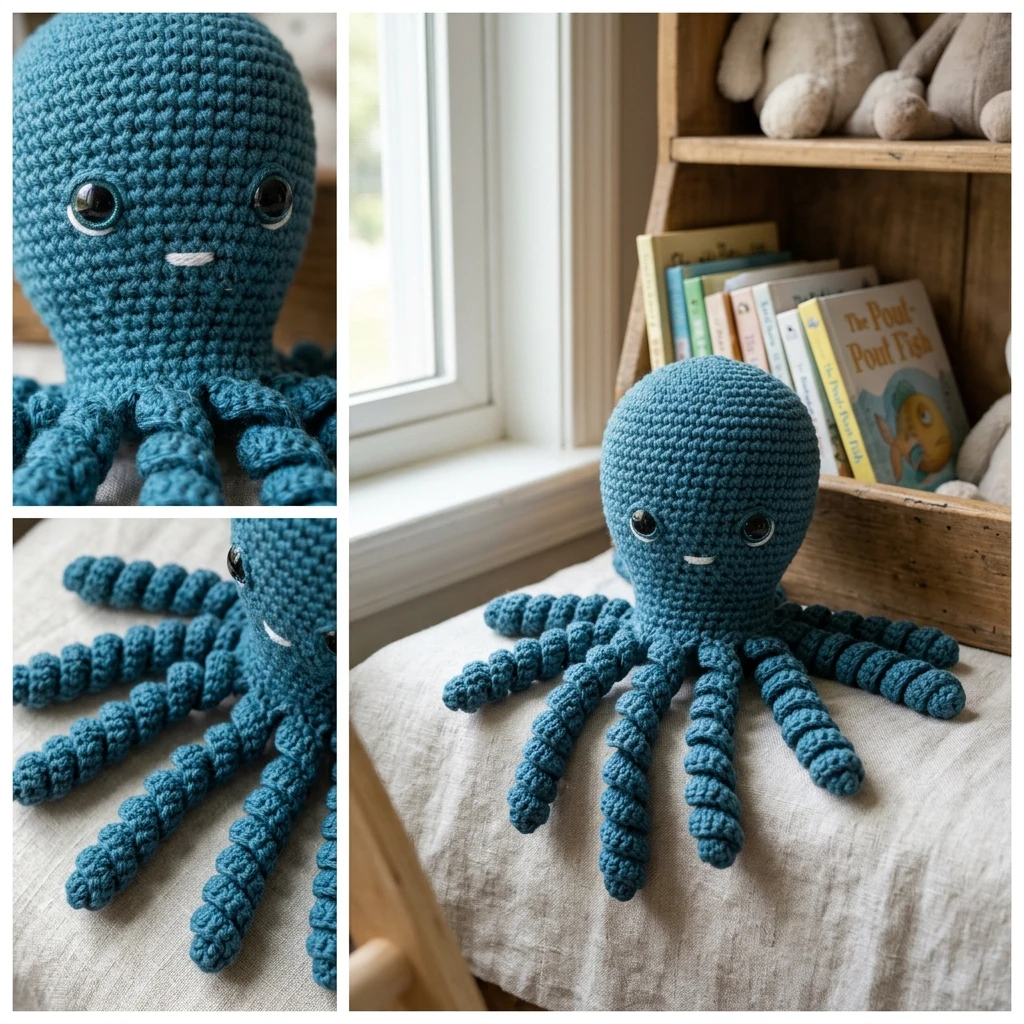
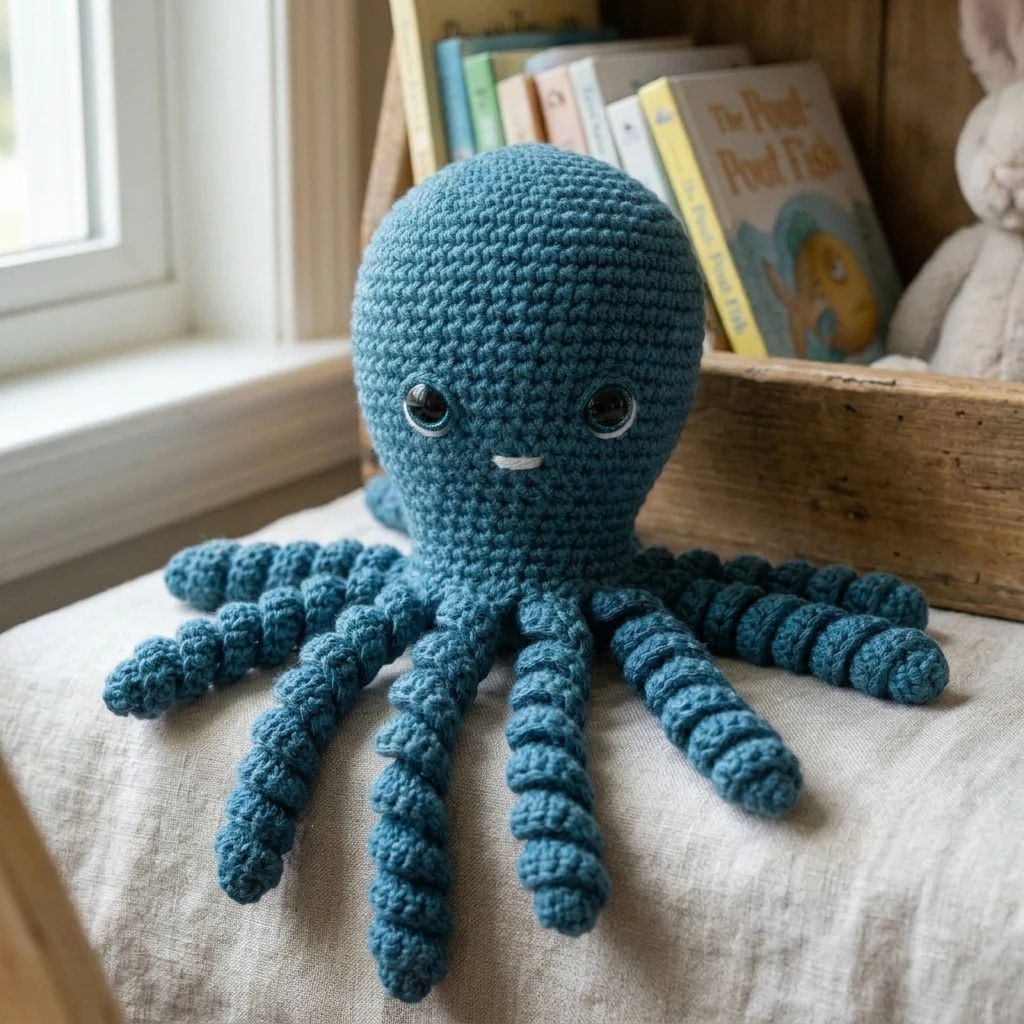
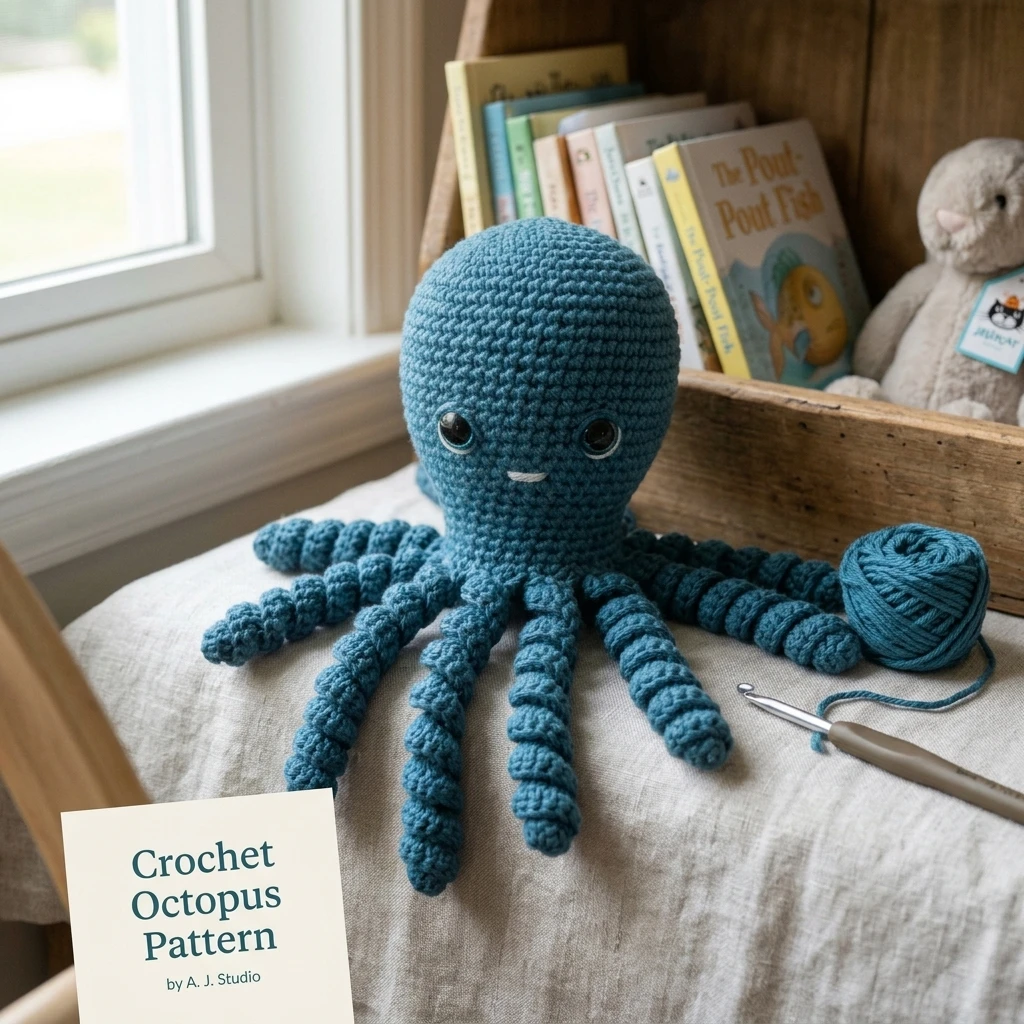
Soft, tactile, and full of personality, the crochet octopus is a beloved staple of the amigurumi world. These cephalopods are famous for their springy, corkscrew tentacles that provide sensory comfort to little hands and a splash of whimsical decor to any shelf. Constructed using continuous rounds to create a seamless bulbous head, this project allows for endless color experimentation, from vibrant tropical oranges to calming sea-foam greens. This specific design focuses on a sturdy, tight-stitch construction that ensures the stuffing stays hidden while the tentacles maintain a playful, high-energy bounce.
The Design: What Makes This Pattern Different
Unlike basic ball-shaped amigurumi, this octopus pattern utilizes a specific ratio of head height to tentacle length to ensure the character doesn’t tip over when displayed. We have opted for a “bottom-plate” construction method, where the head is worked as a dome and a separate flat disk is used to seal the base. This provides a much cleaner surface for attaching the eight legs compared to crocheting them directly into a gathered circle. One common mistake to avoid is using a hook that is too large for your yarn weight; if the stitches are loose, the polyester stuffing will peek through the gaps, detracting from the professional, polished look of the finished sea creature.
Project Info at a Glance
| Category | Specification |
|---|---|
| Skill Level | Advanced Beginner |
| Estimated Time | 2 – 4 Hours |
| Finished Size | Approximately 9 inches (tentacles extended) |
| Hook Size | 3.5mm (E) or 3.25mm (D) |
| Yarn Weight | Worsted Weight (Medium 4) |
| Gauge | 6 sc x 6 rows = 1 inch (Suggested) |
| Best For | Nursery Decor, Sensory Gifts, Ocean Enthusiasts |
Materials and Tools
Yarn
For this project, you will need approximately 120 yards of medium-weight yarn. A 100% cotton yarn is highly recommended for its stitch definition and durability, especially if the octopus is intended for frequent handling. However, a soft acrylic blend can be used for a fuzzier, more cuddly appearance. You may choose a single solid color or a variegated yarn to simulate the shifting colors of the ocean.
Tools
- 3.5mm Crochet Hook
- 12mm Safety Eyes (or black embroidery thread for a baby-safe option)
- Polyester Fiberfill Stuffing
- Tapestry Needle for weaving in ends
- Stitch Markers (essential for working in continuous rounds)
- Sharp Scissors
Abbreviations
- MR: Magic Ring
- Ch: Chain
- Sc: Single Crochet
- Inc: Increase (2 sc in the same stitch)
- Dec: Invisible Decrease (insert hook into front loops only of next two stitches, yarn over and pull through two, yarn over and pull through two)
- St(s): Stitch(es)
- Sl st: Slip Stitch
Pattern — Step by Step
The Mantle (Head)
The head is worked from the top down in continuous spirals. Do not join rounds with a slip stitch unless instructed.
- Round 1: Start with 6 sc in a Magic Ring. (6)
- Round 2: Inc in each st around. (12)
- Round 3: [Sc in next st, inc] 6 times. (18)
- Round 4: [Sc in next 2 sts, inc] 6 times. (24)
- Round 5: [Sc in next 3 sts, inc] 6 times. (30)
- Round 6: [Sc in next 4 sts, inc] 6 times. (36)
- Rounds 7-14: Sc in each st around. (36)
- Round 15: [Sc in next 4 sts, dec] 6 times. (30)
- Round 16: [Sc in next 3 sts, dec] 6 times. (24)
- Round 17: [Sc in next 2 sts, dec] 6 times. (18)
- Fasten off, leaving a long tail for sewing. Insert safety eyes between rounds 12 and 13, approximately 7 stitches apart.
The Bottom Plate
This flat disk will be used to close the head after stuffing.
- Round 1: 6 sc in MR. (6)
- Round 2: Inc in each st around. (12)
- Round 3: [Sc in next st, inc] 6 times. (18)
- Fasten off and weave in the center tail.
The Tentacles (Make 8)
The curl is created by placing multiple stitches into every chain link.
- Chain 40 (or 50 for extra long legs).
- In the second chain from hook, work 3 sc.
- Work 3 sc in every remaining chain across. The chain will naturally begin to spiral.
- Fasten off, leaving a tail for attachment.
Assembly
The assembly process is where your octopus truly takes shape. By securing the tentacles to the base plate first, you ensure even spacing and a more professional finish before sealing the main body.
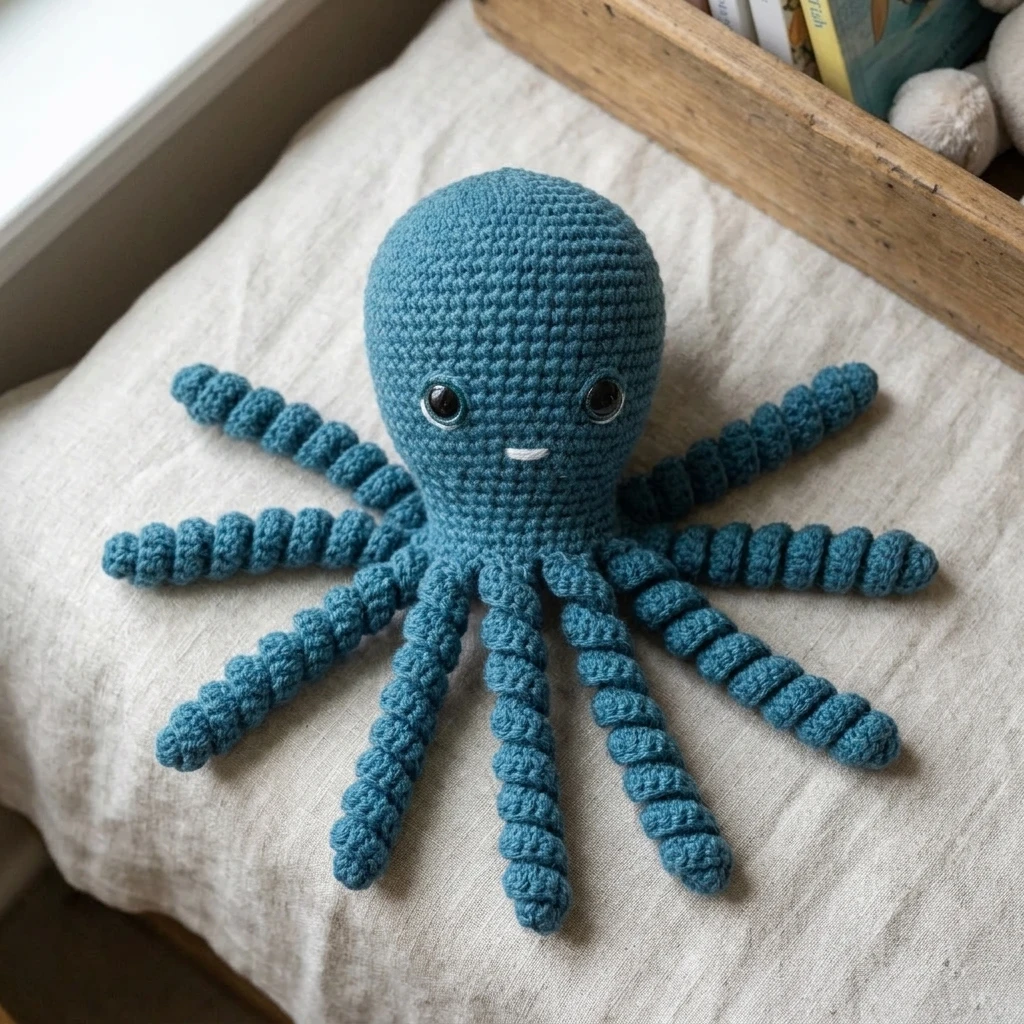
- Eye Placement: Ensure your safety eyes are firmly locked. If using embroidery, stitch the eyes and a small mouth onto the mantle now.
- Attach Tentacles: Sew the 8 tentacles to the Bottom Plate. Space them evenly around the outer edge of Round 3 of the plate.
- Stuffing: Fill the Mantle (head) firmly with fiberfill. Aim for a smooth shape without overstretching the stitches.
- Closing: Align the Bottom Plate with the opening of the Mantle. Using the long yarn tail from the Mantle, sew the two pieces together stitch-for-stitch (18 stitches total).
- Final Touches: Weave in all remaining ends securely inside the body. Tug on each tentacle to help the curls settle into their natural spiral.
7 Technical Tips for a Better Crochet Octopus Pattern
- Master the Invisible Decrease: To avoid bulk or holes in the head shaping, use the invisible decrease method by working only in the front loops of the stitches.
- Choose the Right Hook: Always size down 0.5mm to 1.0mm from the hook size recommended on the yarn label to keep your fabric dense.
- Maintain Tension: Amigurumi requires a tighter-than-average tension. If your hands cramp, try an ergonomic hook handle rather than loosening your gauge.
- Spiral Symmetry: To make tentacles curl more tightly, work 3 single crochets in each chain. For a looser wave, work only 2 single crochets in each.
- Safety First: If gifting to a baby, replace plastic safety eyes with embroidered “sleeping” eyes or simple French knots to prevent choking hazards.
- Stuffing Logic: Add stuffing in small clumps rather than one large ball. This prevents the “lumpy” look and allows you to mold the head shape more effectively.
- Color Transitions: If making a two-toned octopus, change colors on the last pull-through of the final stitch of the round for a seamless transition.
Frequently Asked Questions
What is the best yarn for a crochet octopus?
Mercerized cotton is often considered the best choice because it doesn’t pill, has great stitch definition, and is easy to wash. It also holds the shape of the tentacles better than soft acrylic.
How do I make the tentacles longer?
Simply increase your starting chain count. The number of stitches you put into each chain stays the same, but a longer foundation chain results in a longer spiral.
Can I wash my crochet octopus?
Yes, if you used cotton or acrylic yarn and high-quality fiberfill. It is recommended to place the octopus in a mesh laundry bag and wash on a delicate cycle, then air dry thoroughly.
Why is my octopus head lopsided?
This usually happens if the increases or decreases are not placed accurately. Using a stitch marker at the beginning of every round is the best way to ensure your count stays on track.
Is this pattern safe for preemie babies?
Many hospitals accept crochet octopuses for NICU babies, but they have very strict requirements regarding tentacle length (usually under 22cm when extended) and yarn material (100% cotton). Always check with your local hospital’s specific guidelines before donating.
Conclusion
Creating a crochet octopus is a rewarding project that combines the fundamentals of amigurumi with the fun of sculptural textures. By focusing on tight tension, secure assembly, and the perfect spiral leg, you can create a high-quality toy that lasts for years. This pattern is easy to customize with different colors and sizes to fit any personality or purpose. If you enjoyed this tutorial, be sure to pin it to your Crochet Board for later!
What color combination are you planning to use for your next underwater friend? Let us know in the comments!
Save This Crochet Pattern