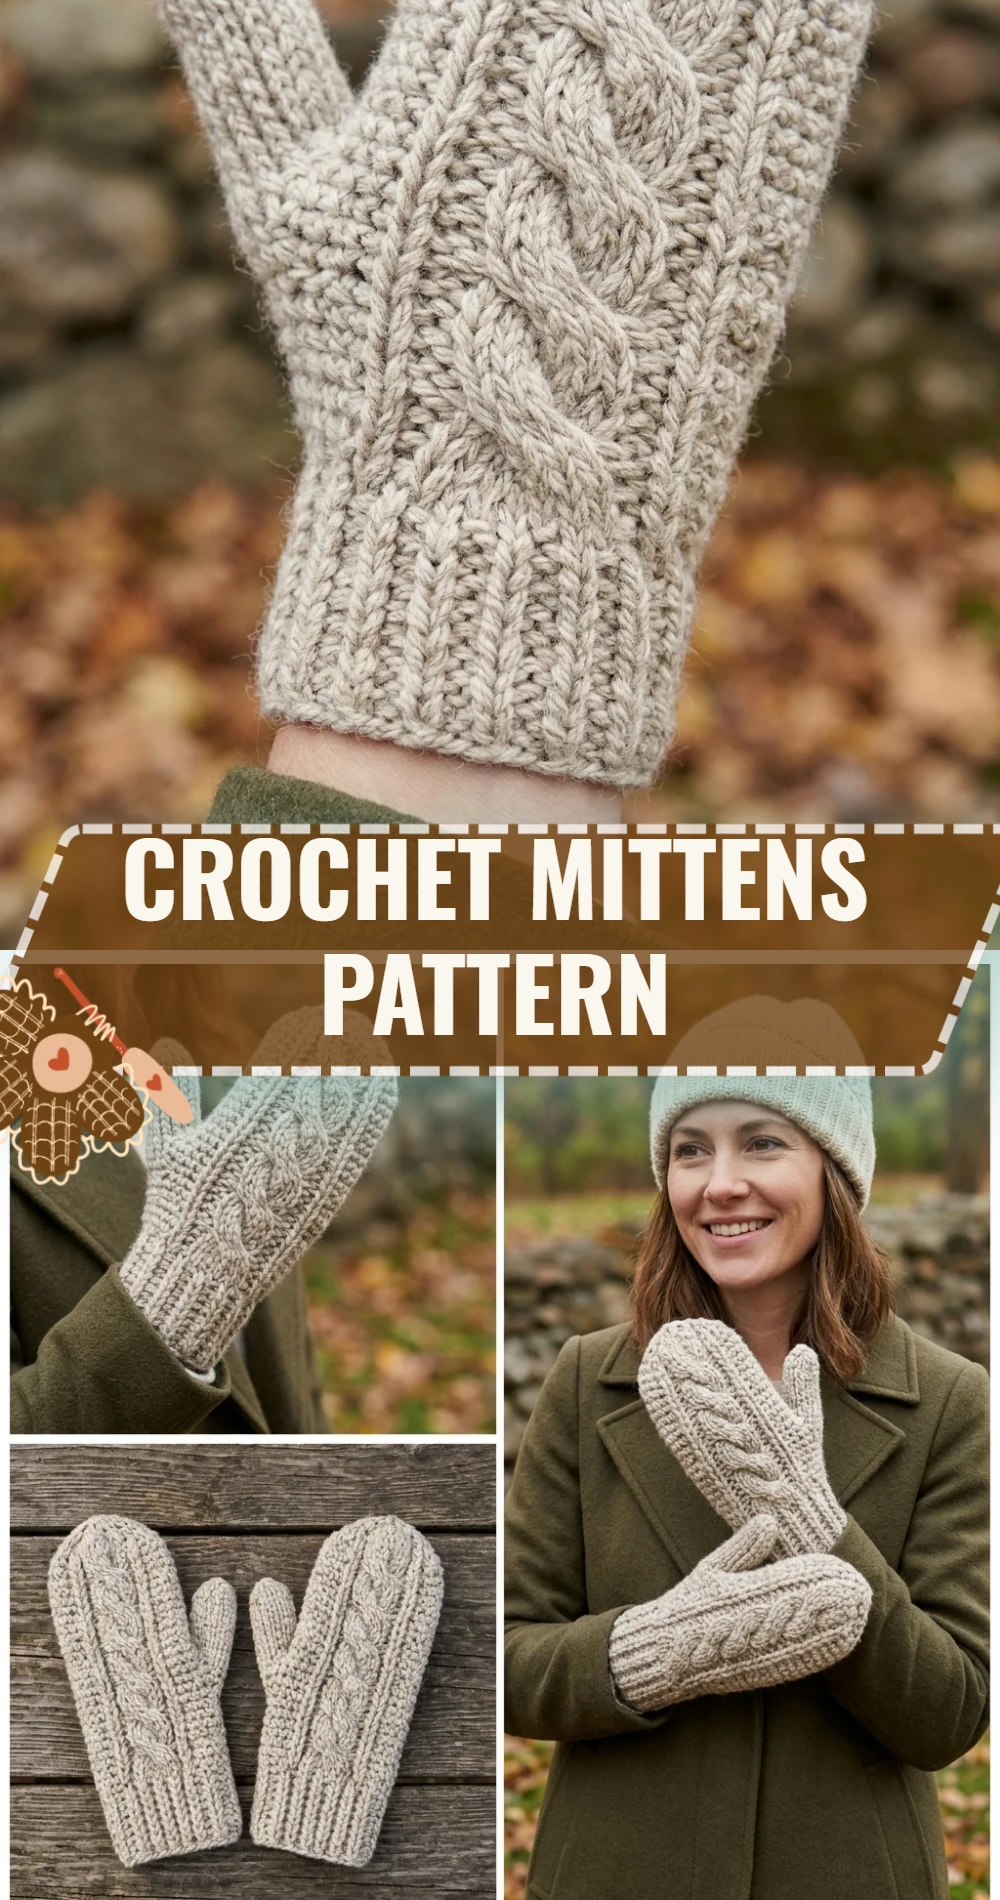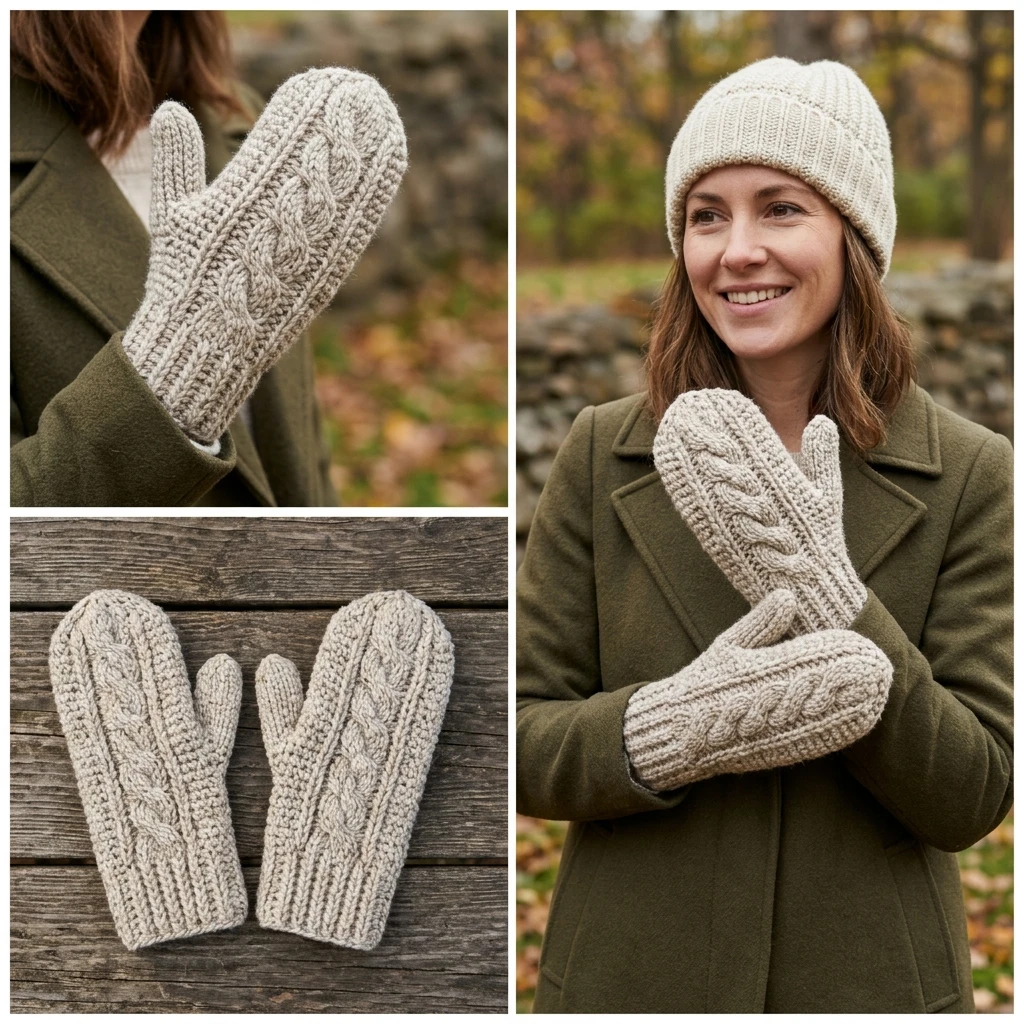
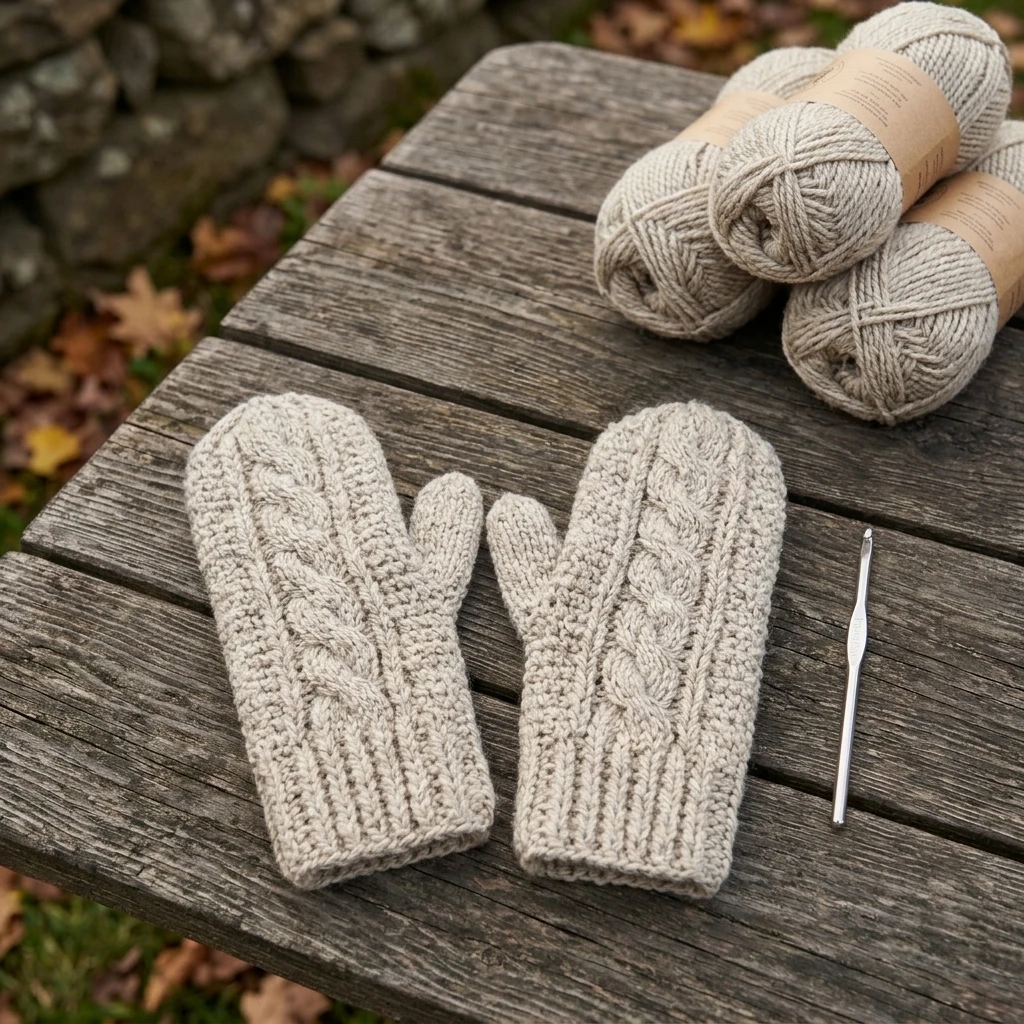
There is nothing quite as comforting as a pair of handmade mittens sliding onto your hands during the first frost of the season. This crochet mittens pattern creates a dense, wind-resistant fabric that balances classic aesthetics with functional warmth. Designed with a snug ribbed cuff and a smooth, rounded top, these mittens offer a streamlined silhouette that suits everyone from busy commuters to weekend hikers. The construction relies on working in continuous rounds to eliminate bulky seams, ensuring a professional finish that rivals high-end boutique finds. Whether you are looking for a quick weekend project or a thoughtful handmade gift, these mittens provide the perfect canvas for showcasing high-quality wool or soft acrylic blends.
The Design: What Makes This Pattern Different
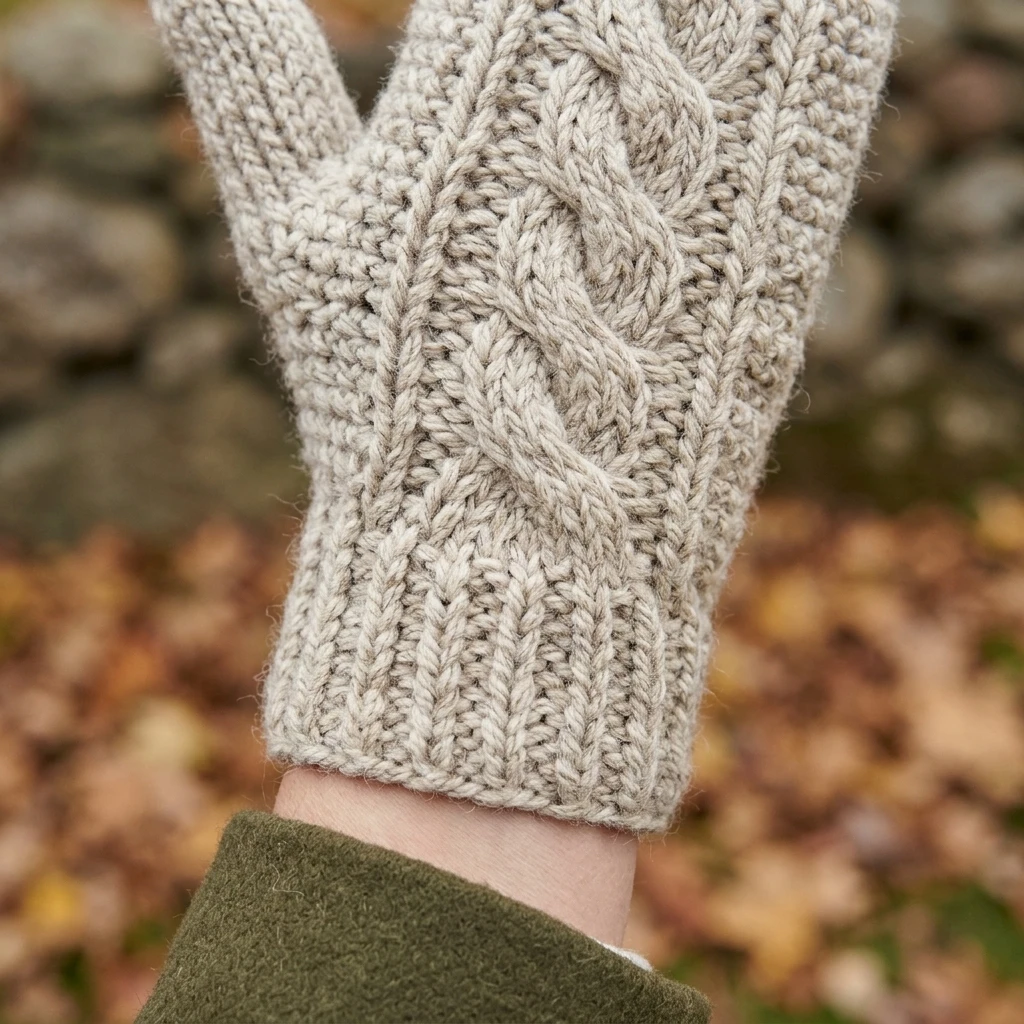
Unlike many flat-worked mitten patterns that result in stiff, boxy edges, this design utilizes a gradual thumb gusset. This structural choice allows the thumb to sit naturally in the “V” between the palm and the fingers, providing a significantly better range of motion and preventing the fabric from pulling across the knuckles. The visual identity is defined by the contrast between the vertical ribbing of the cuff and the horizontal grain of the hand stitches. A common mistake to avoid in this project is working the hand too loosely; while a soft drape is usually desirable in garments, mittens require a firm tension to ensure they remain insulating and hold their shape after multiple wears.
Project Info at a Glance
| Skill Level | Intermediate |
| Estimated Time | 4–6 hours per pair |
| Finished Size | Adult Medium (approx. 8.5″ long, photo-inspired) |
| Hook Size | 5.0 mm (H) and 4.0 mm (G) for ribbing |
| Yarn Weight | Worsted (Weight 4) |
| Gauge | 14 sc x 16 rows = 4 inches |
| Best For | Winter wear, outdoor activities, and gifting |
Materials and Tools
Yarn
For this project, you will need approximately 150 to 200 yards of worsted weight yarn. For maximum warmth, a wool or wool-blend yarn is suggested as it retains heat even when damp. If you prefer a softer feel or easier care, a high-quality anti-pilling acrylic is an excellent alternative. The photo-inspired model uses a solid neutral tone to emphasize stitch definition, but variegated yarns can also create a beautiful, “marled” effect.
Tools
You will need two hook sizes: a 4.0 mm hook for a snug cuff and a 5.0 mm hook for the main body. Additionally, have at least two stitch markers ready to track the beginning of your rounds and the placement of the thumb gusset. A tapestry needle and sharp scissors are required for weaving in ends and cinching the top closed.
Abbreviations
- ch: chain
- sc: single crochet
- sl st: slip stitch
- BLO: back loop only
- sc2tog: single crochet two together (decrease)
- st(s): stitch(es)
- inc: increase (2 sc in the same stitch)
Pattern — Step by Step
Cuff Construction
The cuff is worked in rows using the smaller hook to create a stretchy, ribbed fabric. It is later joined into a circle before transitioning to the hand portion.
- Row 1: Using the 4.0 mm hook, ch 11. Sc in 2nd ch from hook and each ch across. (10 sc)
- Row 2: Ch 1, turn. Sc in BLO of each st across. (10 sc)
- Rows 3–28: Repeat Row 2 until the ribbing fits comfortably around your wrist. The suggested count is photo-inspired; adjust as needed.
- Join: Fold the rectangle so Row 1 and Row 28 meet. Sl st through both layers to form a tube. Do not fasten off.
The Hand and Thumb Gusset
Switch to the 5.0 mm hook. You will now work along the edge of the ribbing in rounds. Construction moves from the wrist toward the fingertips.
- Round 1: Ch 1, work 28 sc evenly around the edge of the cuff. Join with sl st.
- Rounds 2–5: Sc in each st around. (28 sc)
- Round 6 (Gusset Start): Sc in next 13 sts, inc in next 2 sts, sc in last 13 sts. (30 sc)
- Round 7: Sc in each st around.
- Round 8: Sc in next 13 sts, inc in next st, sc in next 2 sts, inc in next st, sc in last 13 sts. (32 sc)
- Round 9: Sc in each st around.
- Round 10: Sc in next 13 sts, ch 2, skip next 6 sts (this creates the thumb hole), sc in last 13 sts. (26 sc plus ch-2 space)
Upper Hand and Finger Shaping
- Rounds 11–22: Sc in each st and ch around. Continue until the mitten reaches the tip of your pinky finger. (28 sc)
- Round 23: *Sc in next 5 sts, sc2tog; repeat from * around. (24 sc)
- Round 24: *Sc in next 2 sts, sc2tog; repeat from * around. (18 sc)
- Round 25: *Sc in next 1 st, sc2tog; repeat from * around. (12 sc)
- Round 26: Sc2tog around. (6 sc) Fasten off, leaving a long tail.
The Thumb
- Attach yarn to the skipped thumb hole from Round 10.
- Round 1: Work 10 sc evenly around the thumb opening (including the base of the ch-2).
- Rounds 2–6: Sc in each st around. (10 sc)
- Round 7: Sc2tog around. (5 sc) Fasten off.
Assembly
Because these mittens are worked mostly in one piece, the assembly focuses on finishing the openings and ensuring the thumb transition is seamless.
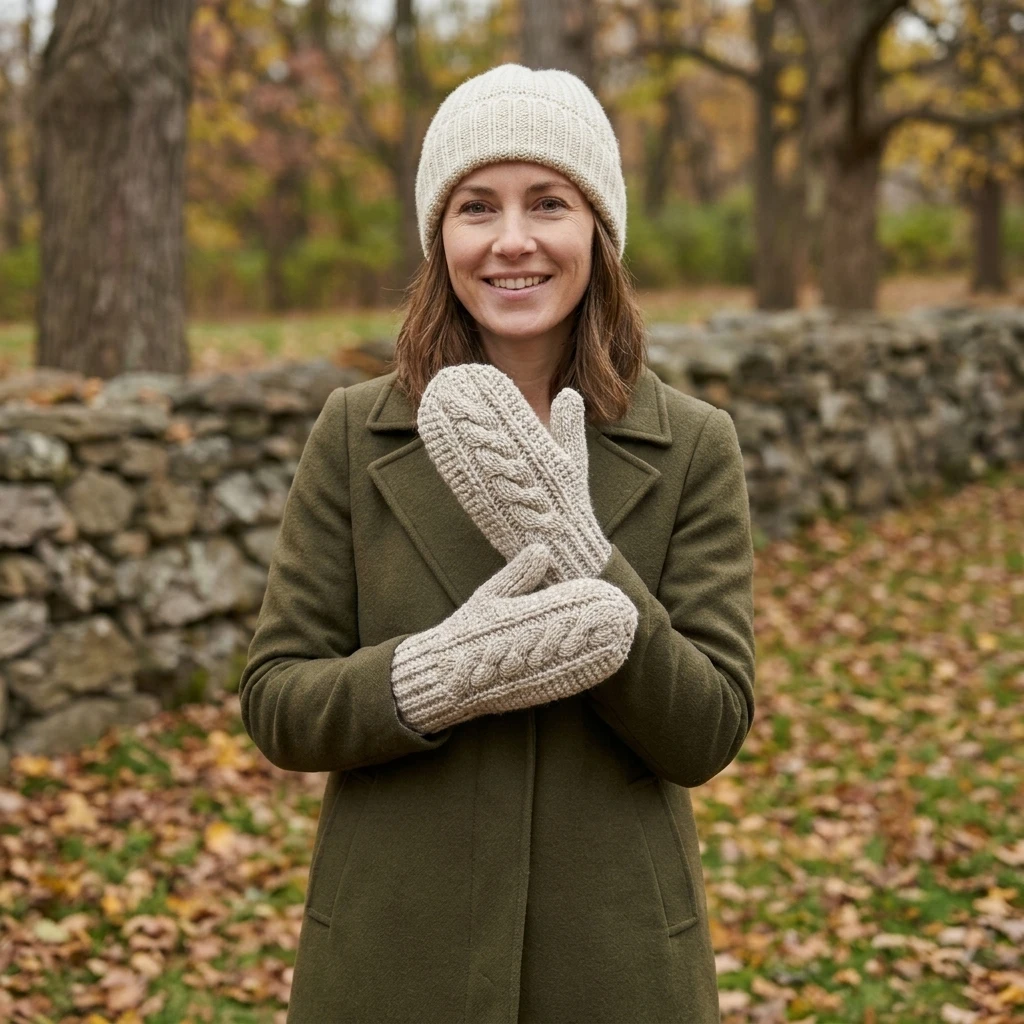
- Thread the yarn tail from the top of the hand onto a tapestry needle. Weave the needle through the front loops of the remaining 6 stitches and pull tight to cinch the top. Secure with a knot on the inside.
- Repeat the cinching process for the tip of the thumb, ensuring the closure is rounded and smooth.
- Check the base of the thumb for any small gaps or holes. If any exist, use a small scrap of yarn and your tapestry needle to stitch them closed from the inside.
- Weave in all remaining ends securely on the wrong side of the fabric to prevent them from popping out during use.
7 Technical Tips for a Better Crochet Mittens Pattern
- Check Your Gauge: Mitten sizing is sensitive. If your gauge is too loose, the mittens will be drafty; if too tight, they will feel stiff.
- Use a Smaller Hook for Ribbing: Always use a smaller hook for the cuff than the hand to ensure a snug fit that keeps the cold air out.
- Avoid the “Jog” at the Thumb: When working the first round of the thumb, pick up an extra stitch in the corners and decrease it in the next round to prevent holes.
- Mirror Your Mittens: While these are symmetrical, you can make a “Left” and “Right” by shifting the gusset placement by two stitches to ensure the seam sits on the side of the palm.
- Choose the Right Fiber: Acrylic yarn is durable, but it can lose its shape. A yarn with a small percentage of nylon or high-twist wool will offer better “memory.”
- Invisible Decreases: For a smoother finish at the fingertips, use the invisible sc2tog method (working only through the front loops).
- Block Your Work: Steam blocking your finished mittens will relax the stitches and give them a more professional, uniform appearance.
Frequently Asked Questions
Why do my mittens have a large hole at the base of the thumb?
This is common when transitioning from the hand to the thumb. To fix this, when you start the thumb rounds, pick up one or two “bridge” stitches in the corners where the thumb meets the hand, then sc2tog them in the next round.
Can I make these mittens waterproof?
Crochet is naturally porous. To make them more weather-resistant, use a felted wool yarn or sew a fleece liner inside the finished mitten. This adds a windproof layer that significantly increases warmth.
What is the best way to wash handmade mittens?
Always follow the yarn label instructions. Generally, hand-washing in cool water with a mild detergent and laying them flat to dry is the safest way to maintain the shape and prevent pilling.
How do I adjust the size for a child?
The easiest way to downsize is to use a lighter weight yarn (such as DK) and a smaller hook (3.5 mm). You can also reduce the number of starting chain stitches for the cuff and work fewer rounds for the hand.
Is this pattern suitable for beginners?
This is best for intermediate crocheters or confident beginners. Working in rounds and managing a thumb gusset requires a bit of focus, but once you master the construction logic, it is very repetitive and rewarding.
Conclusion
This crochet mittens pattern is a masterclass in combining simple stitches to create a sophisticated, functional accessory. By focusing on a structured cuff and a well-shaped thumb gusset, you have created a pair of mittens that are as comfortable as they are durable. Remember to experiment with different yarn textures and colors to make each pair unique. If you enjoyed this project, pin it to your “Winter Crochet” board on Pinterest so you can find it whenever the temperature drops! What color yarn will you choose for your first pair of handmade mittens?
Save This Crochet Pattern