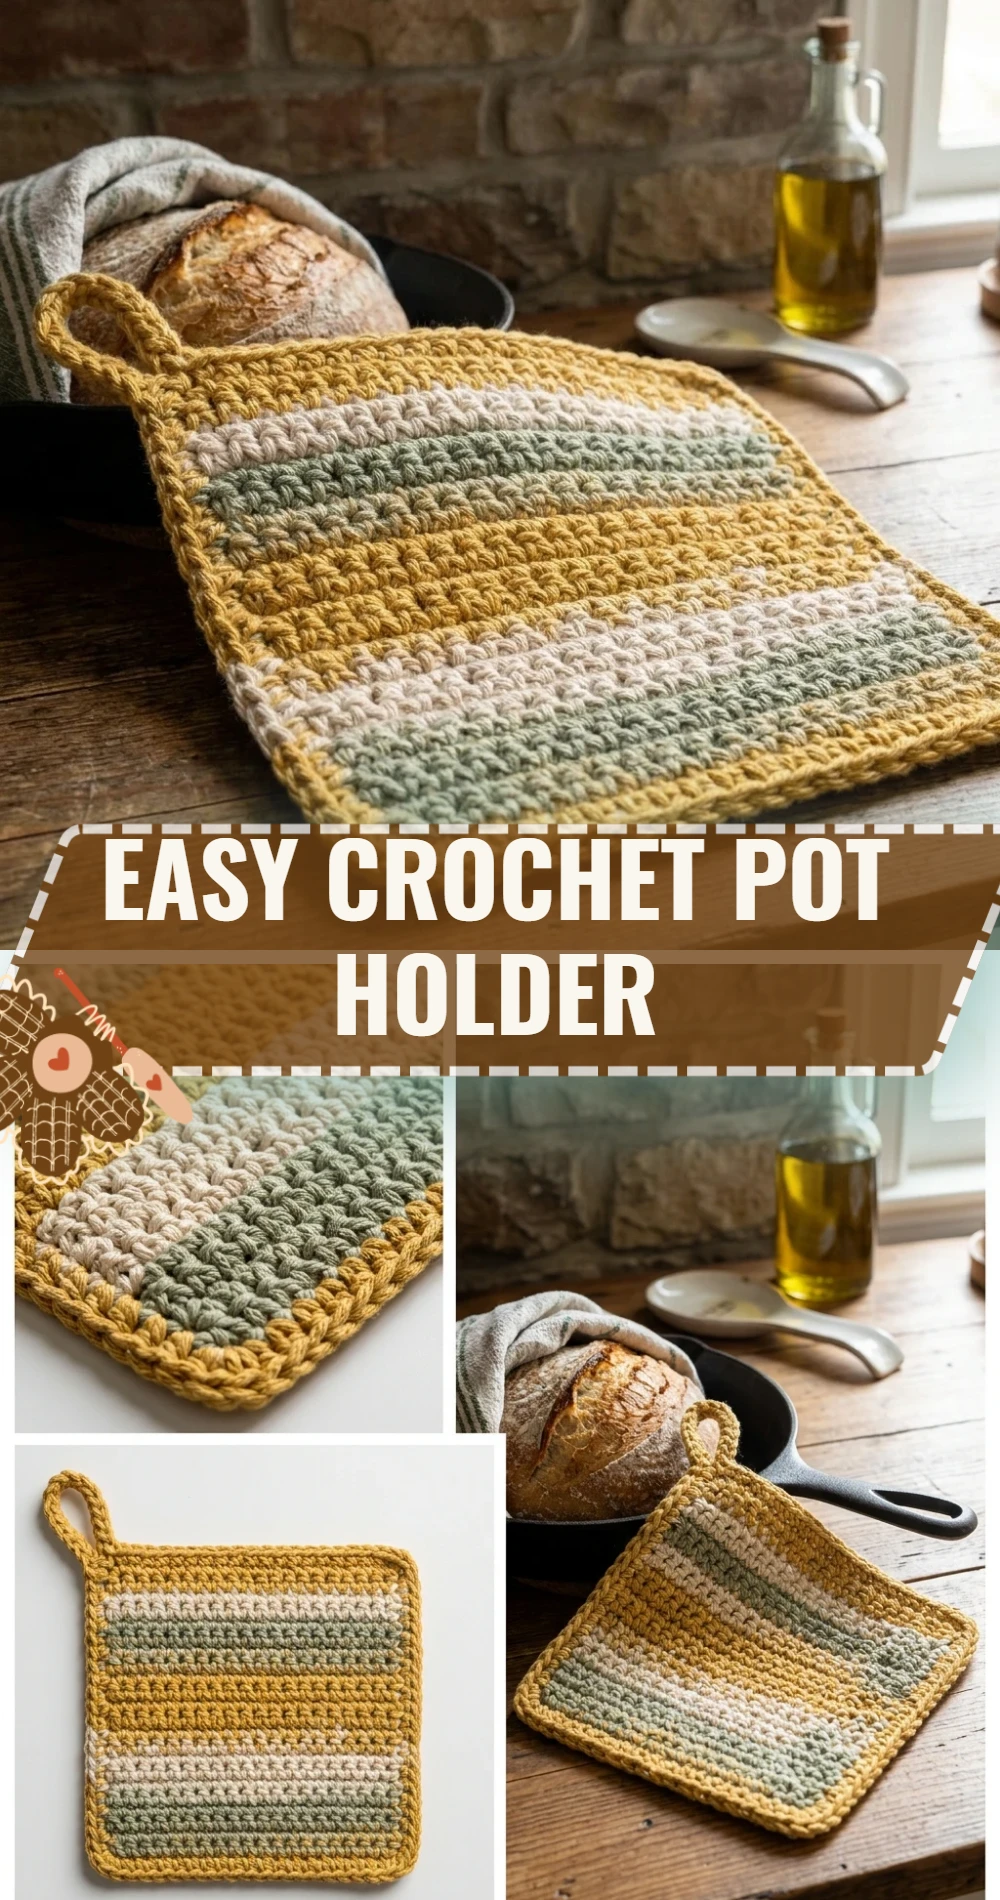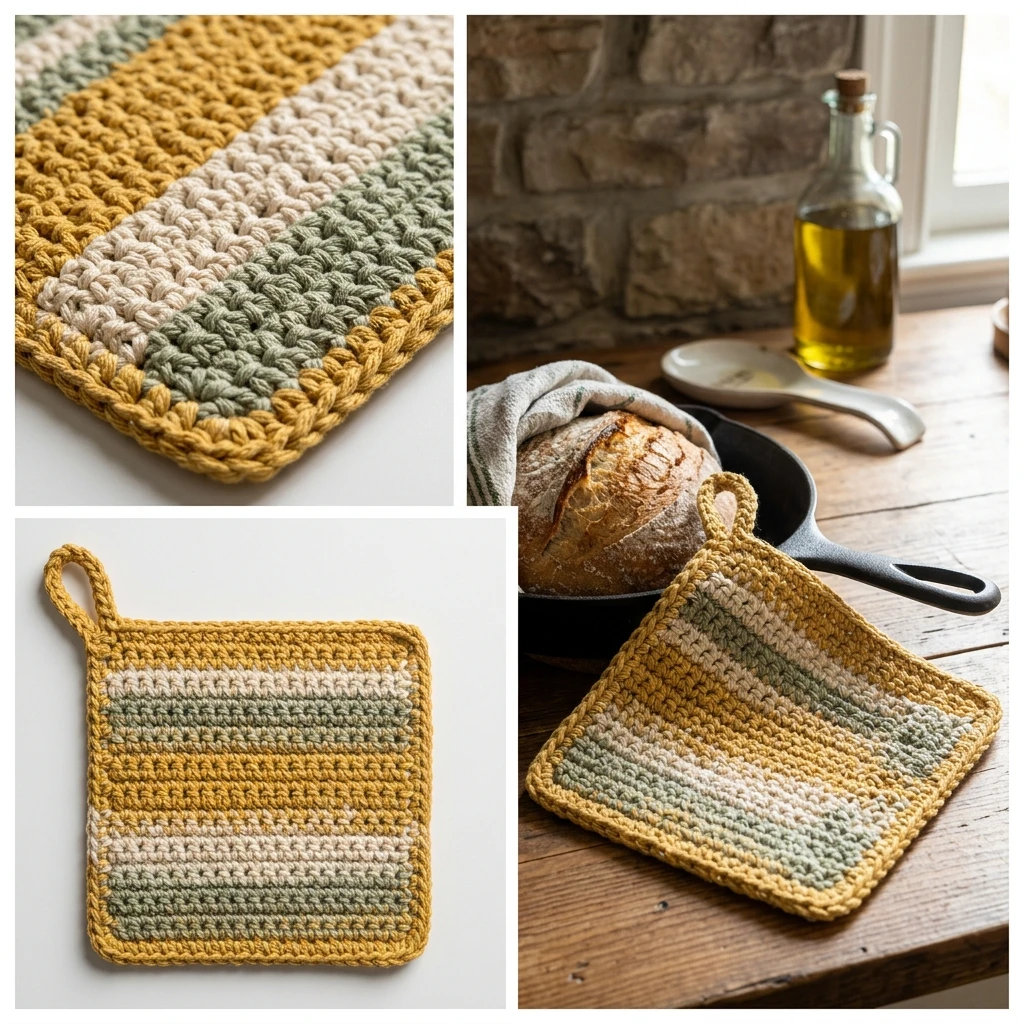
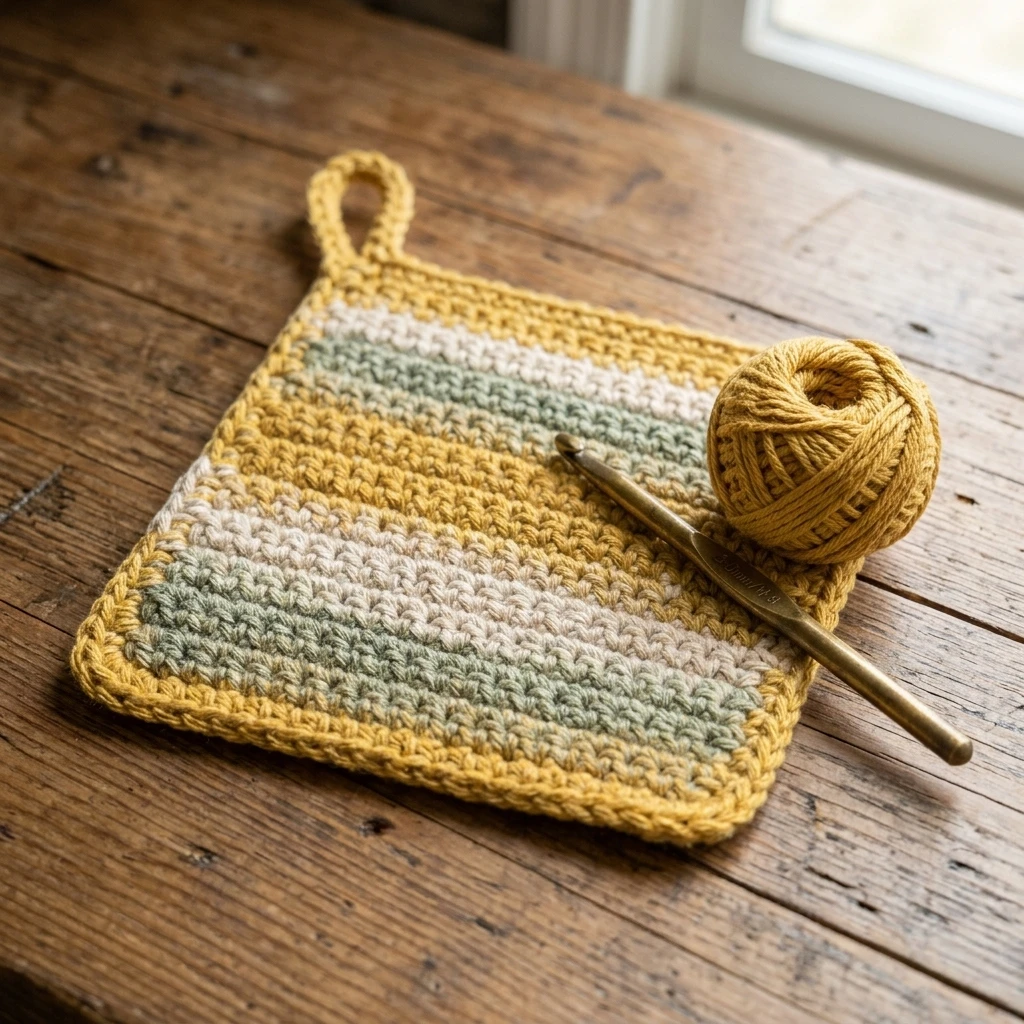
The Easy Crochet Pot Holder is a staple project that combines functional durability with a timeless, textured aesthetic. Designed using the “magic square” technique, this project results in a double-thick fabric that provides superior heat protection without the need for complex internal padding. Visually, the pot holder features a striking diagonal stitch orientation and a clean, modern farmhouse vibe that complements any kitchen decor. This pattern is ideal for beginners looking to master working in the round and understanding geometric construction, as it transforms a simple crocheted tube into a thick, professional-grade kitchen essential.
The Design: What Makes This Pattern Different
Unlike traditional pot holders that are worked in flat rows and often require two separate panels to be seamed together, this design utilizes a continuous spiral technique. By crocheting around both sides of a foundation chain, you create a pouch that naturally collapses into a double-layered square. This structural choice ensures there are no gaps for heat to pass through and eliminates the bulkiness of thick side seams. One common mistake to avoid is using synthetic fibers; always opt for natural fibers to ensure the piece can withstand high temperatures without melting or scorching.
Project Info at a Glance
| Attribute | Details |
|---|---|
| Skill Level | Beginner |
| Estimated Time | 1.5 – 2 Hours |
| Finished Size | 7″ x 7″ (Suggested) |
| Hook Size | 5.0mm (H/8) |
| Yarn Weight | Medium / Worsted (Weight 4) |
| Gauge | 16 sc x 18 rows = 4″ (Photo-inspired) |
| Best For | Housewarming gifts and kitchen utility |
Materials and Tools
Yarn
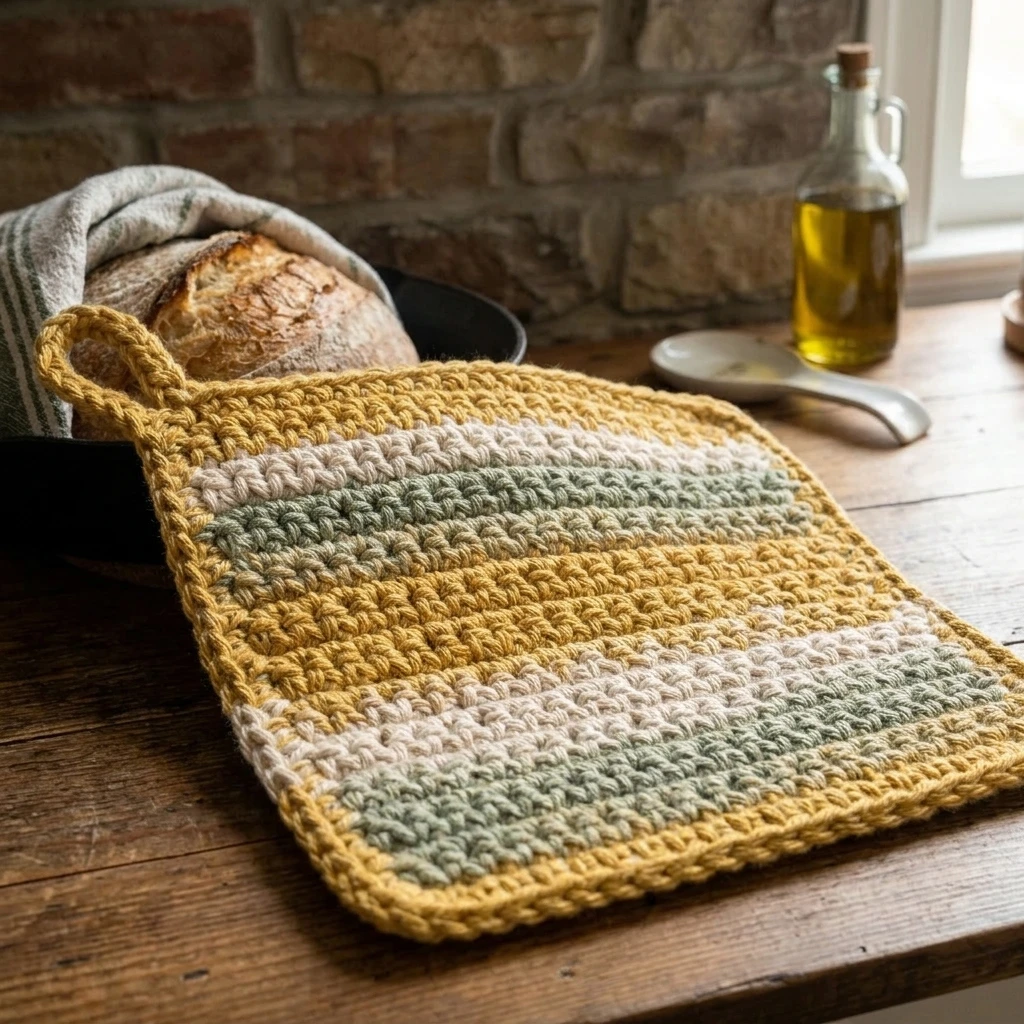
For this project, you will need approximately 120 yards of 100% cotton yarn. Cotton is non-negotiable for pot holders as it does not melt when exposed to high temperatures. A mercerized cotton offers a slight sheen and better stitch definition, while a standard kitchen cotton provides a matte, rustic look.
Tools
A 5.0mm (H) crochet hook is recommended to achieve a tight, dense fabric. You will also need a tapestry needle for weaving in ends and a pair of sharp scissors. Stitch markers are highly suggested to track the beginning of your rounds.
Abbreviations
- ch: Chain
- sc: Single Crochet
- sl st: Slip Stitch
- st(s): Stitch(es)
- rep: Repeat
Pattern — Step by Step
Foundation and Base Round
The construction begins with a center foundation chain. We will work down one side of the chain and then back up the other side to begin the spiral.
- Foundation: Ch 35 (or any number that equals roughly 8-9 inches).
- Round 1: Sc in the 2nd ch from the hook and in each ch across. When you reach the last ch, work 2 sc into it to turn the corner. Continue working sc into the opposite side of the foundation chain in each loop. Do not join with a slip stitch. (Stitch count: 68 sc).
Body of the Pot Holder
The body is worked in a continuous spiral without joining or chaining at the start of rounds. This prevents a visible seam from forming on the diagonal.
- Round 2: Sc in the first st of the previous round. Place a stitch marker here to denote the start of the spiral.
- Rounds 3-Finish: Sc in each st around. Continue spiraling until the two edges of the pouch meet perfectly in the middle when the piece is laid flat at a 45-degree angle. This usually requires about 25-30 rounds, depending on your tension.
Creating the Hanging Loop
- Once the edges meet, do not fasten off. Ch 12 (or desired length for a loop).
- Sl st back into the same base stitch to secure the loop.
- Fasten off, leaving a long tail (approx. 15 inches) for seaming.
Assembly
The assembly of this project is unique because the “seam” actually creates the final square shape through a diagonal closure.
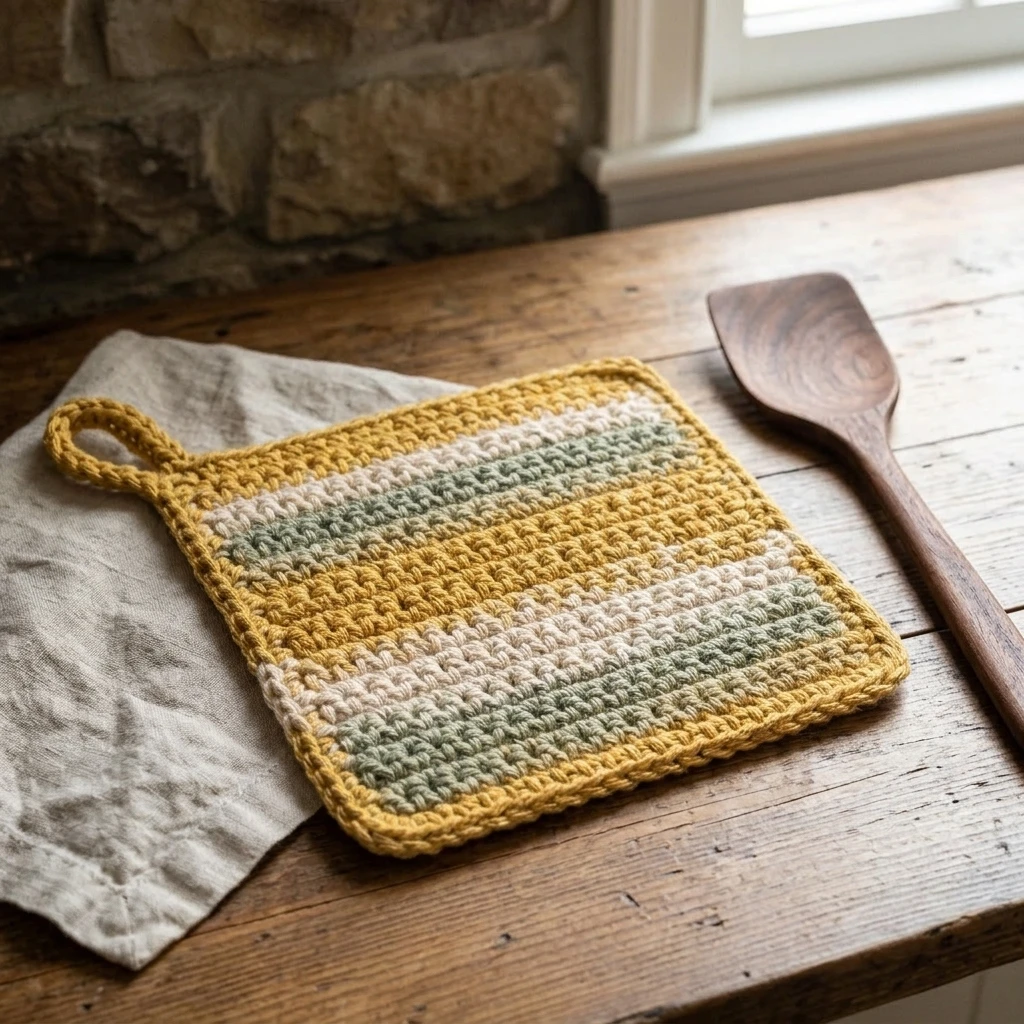
- Lay the crocheted tube flat so the opening forms a straight horizontal line.
- Pinch the corners so that the foundation chain runs diagonally across the square.
- Thread your tapestry needle with the long yarn tail.
- Using a whip stitch or mattress stitch, sew the top opening closed, ensuring you catch both loops of every stitch for a secure finish.
- Secure the yarn with a knot on the interior of the pot holder and weave in the remaining tail.
7 Technical Tips for a Better Easy Crochet Pot Holder
- Tighten Your Tension: A slightly tighter-than-average tension ensures the stitches are dense enough to block heat effectively.
- Fiber Check: Double-check that your yarn is 100% cotton or linen. Blends containing even 10% polyester can melt.
- Avoid the “Jog”: Since this is worked in a spiral, use a stitch marker to keep track of your progress so you don’t over-rotate the square.
- Steam Block: Once finished, steam block your pot holder to help the diagonal seam lay perfectly flat and square.
- Consistent Stitching: Ensure your single crochets are uniform; loose stitches create “holes” that heat can penetrate.
- Loop Placement: If you prefer the loop in a corner, ensure your final round ends exactly at the corner fold before chaining.
- Double Up: For heavy-duty use, you can carry two strands of worsted weight yarn together and use a larger hook (6.5mm), though this will increase the yarn quantity needed.
Frequently Asked Questions
Can I use acrylic yarn if I use a double strand?
No. Acrylic is plastic-based and will melt when it comes into contact with high heat, regardless of thickness. Always stick to natural fibers like cotton, wool, or linen.
My pot holder is looking like a rectangle, not a square. What happened?
This happens if you stop crocheting rounds too early. Keep going until the edges meet naturally when folded. The number of rounds must be sufficient to cover the width of your foundation chain.
How do I wash my crochet pot holder?
Since it is 100% cotton, you can machine wash it with like colors. Air drying is recommended to prevent excessive shrinkage, though a low-heat tumble dry is usually fine.
Is the mattress stitch better than the whip stitch for the seam?
The mattress stitch provides a more “invisible” finish, while the whip stitch is faster and creates a slightly textured edge. Both are structurally sound for this project.
Why is my diagonal seam bulging?
Bulging usually occurs if you have too many stitches or if the tension of your seam is tighter than the crochet fabric itself. Try to match the tension of your sewing to the tension of your stitches.
Conclusion
The Easy Crochet Pot Holder is a rewarding project that results in a thick, durable, and stylish kitchen accessory. By using the spiral-to-diagonal construction method, you’ve created a double-layered fabric that is as practical as it is beautiful. Don’t forget to pin this tutorial to your crochet boards for your next quick gift project! What color of cotton yarn are you planning to use to match your kitchen aesthetic?
Save This Crochet Pattern