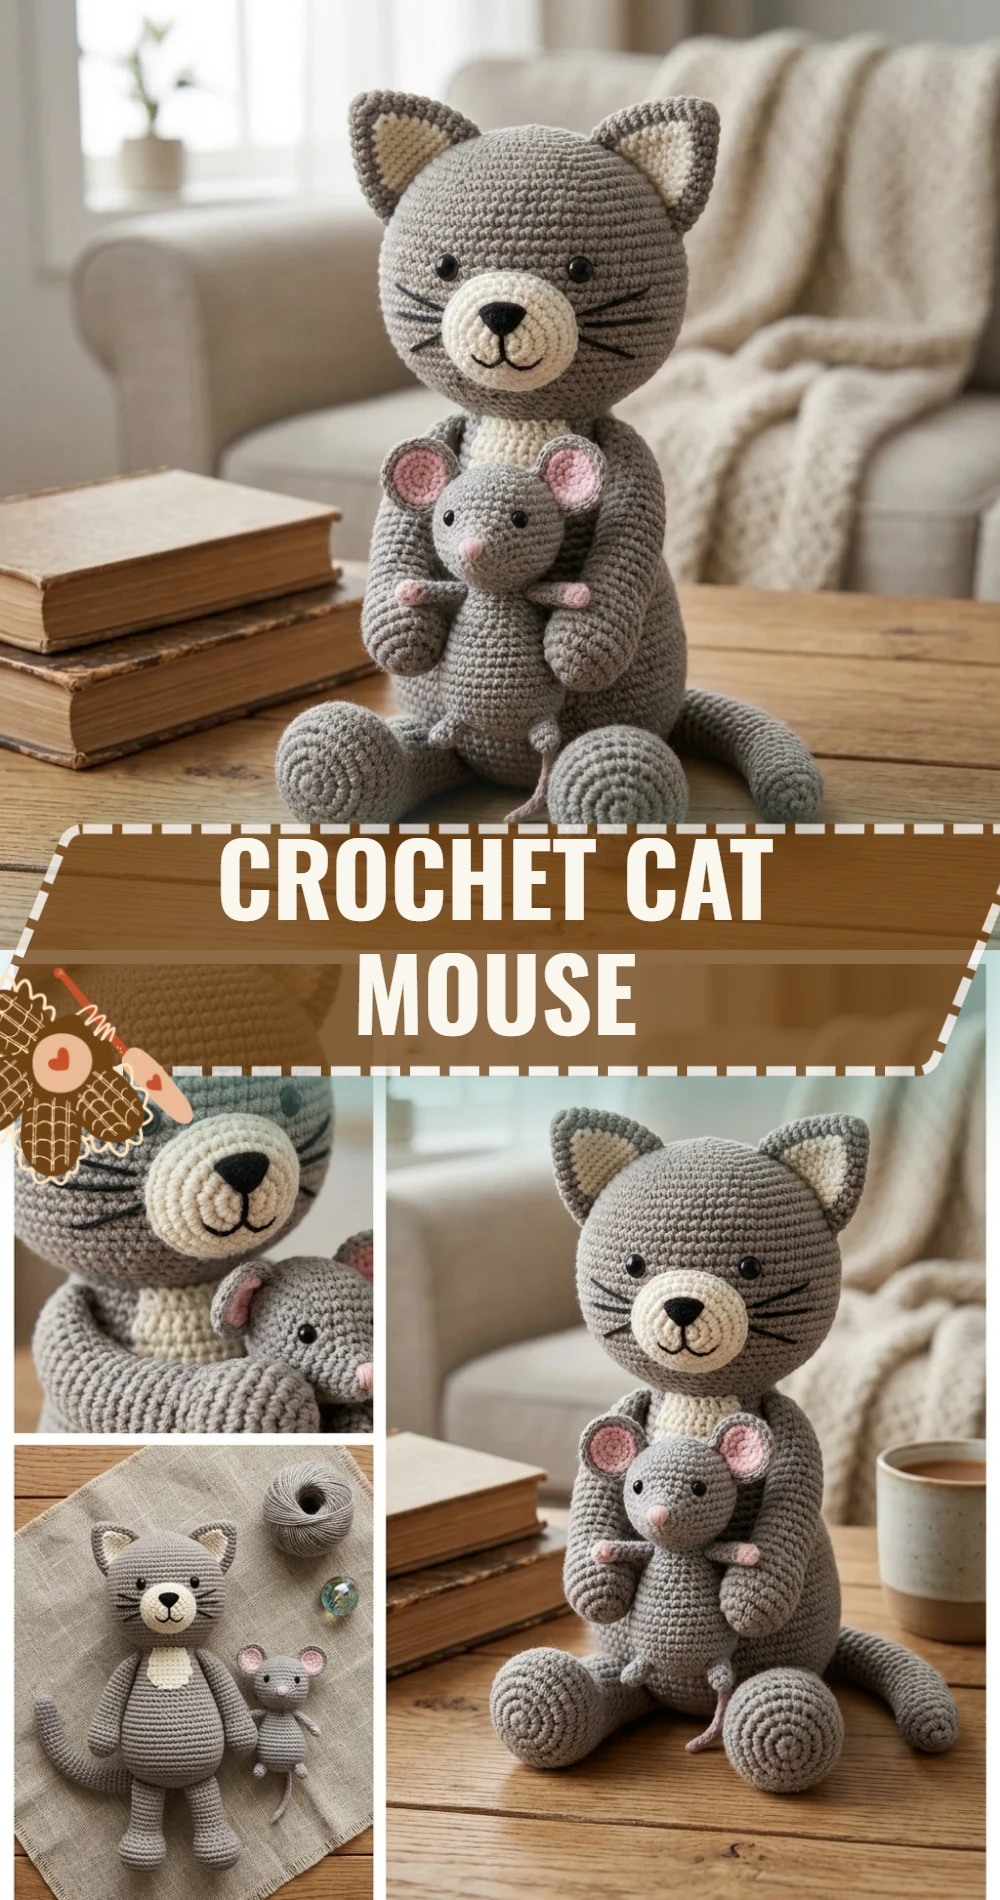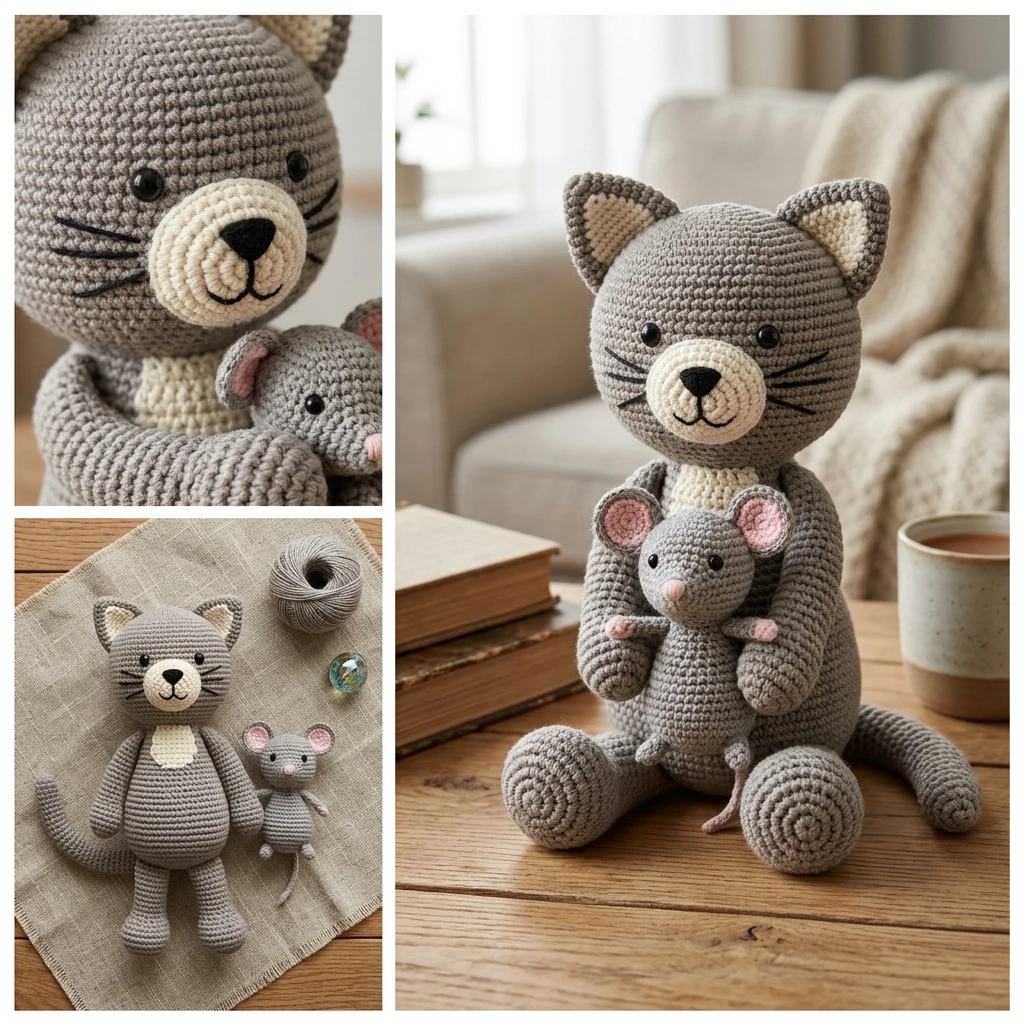
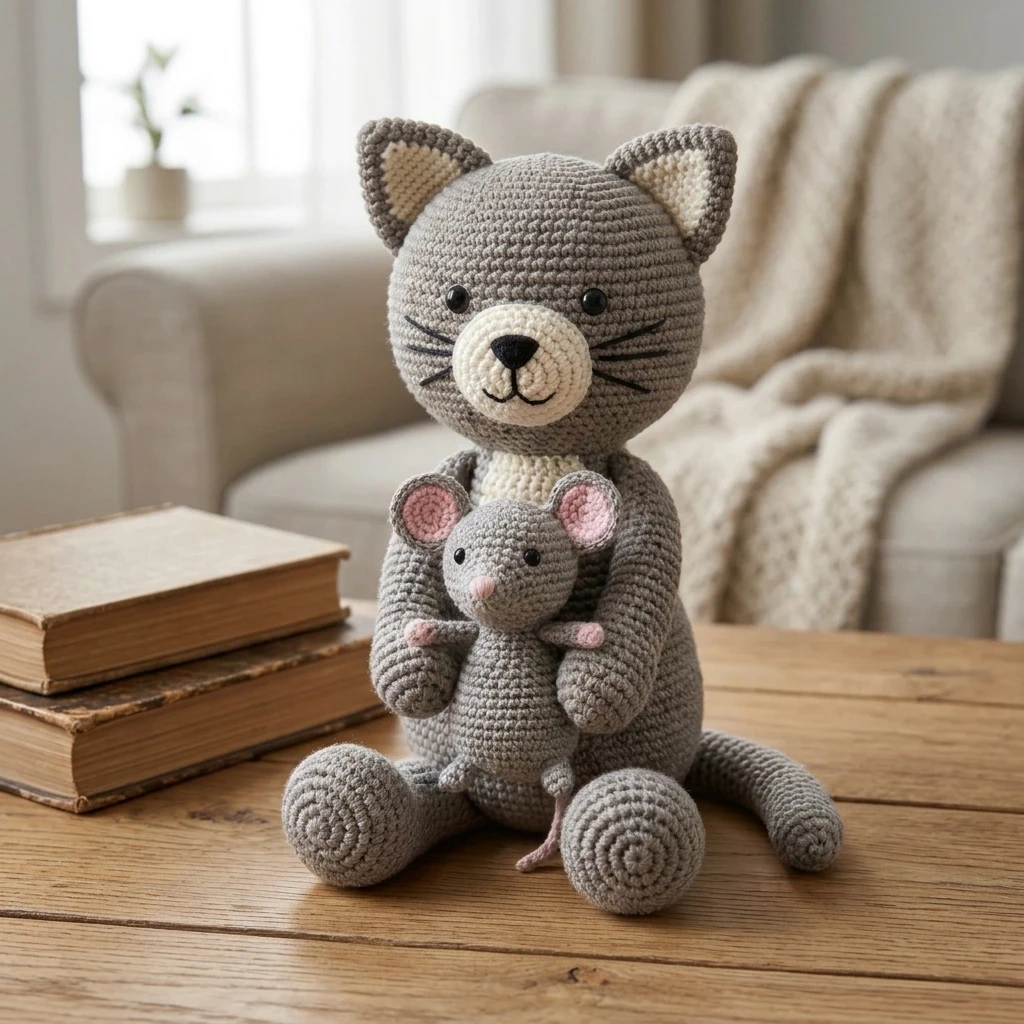
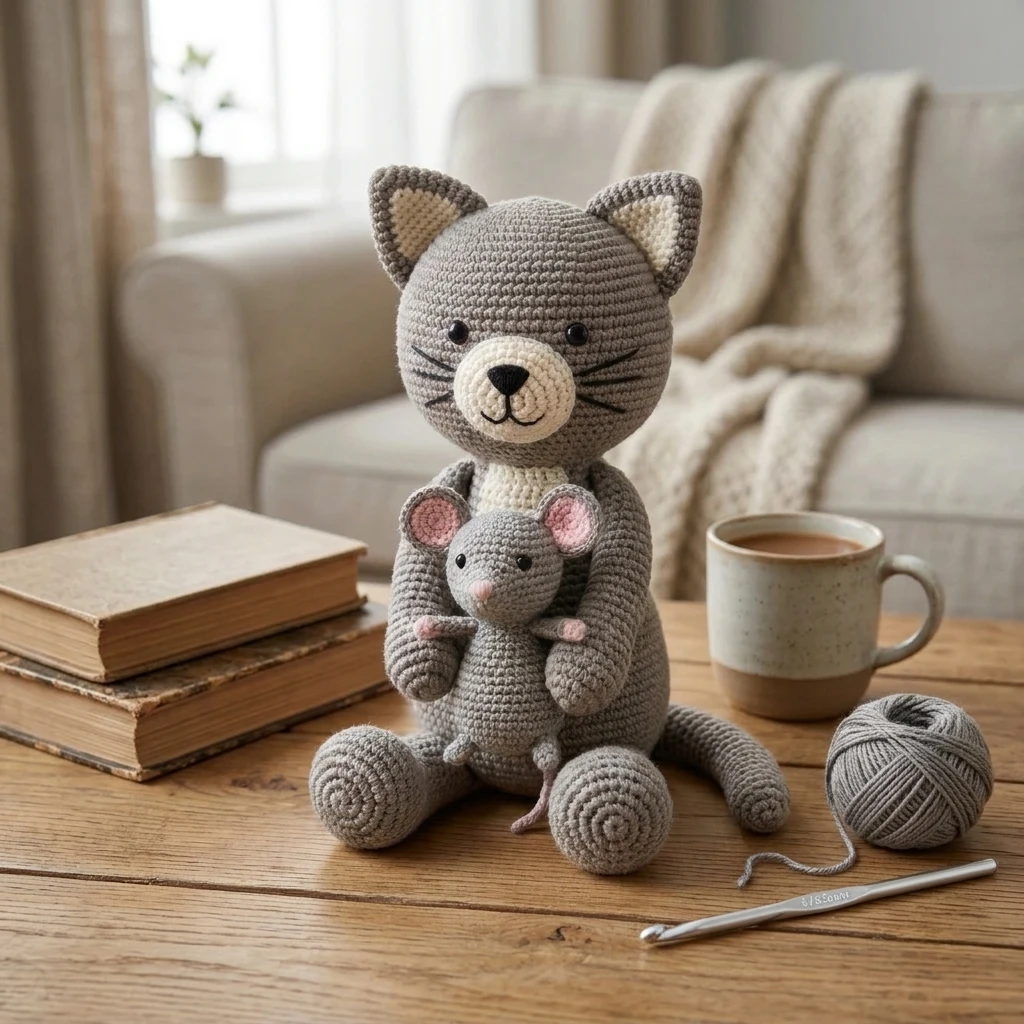
This crochet cat mouse is the ultimate project for pet lovers looking to spoil their feline friends with a handmade toy that is both durable and adorable. Designed with a sleek, tapered silhouette and a playful, wiggly tail, this project mimics the movement of real prey to keep your cat engaged for hours. The construction relies on simple amigurumi techniques, working in continuous rounds to create a sturdy, seamless body that can withstand pouncing, biting, and batting across the floor. Whether you are using up scrap yarn or creating a coordinated set for a gift, this mouse is a quick, satisfying make that serves as a perfect introduction to 3D crochet shapes.
The Design: What Makes This Pattern Different
The visual identity of this crochet cat mouse centers on its aerodynamic teardrop shape. Unlike blockier amigurumi, this design features a sharply tapered nose that gradually expands into a rounded posterior, providing a realistic “scurrying” look when tossed. Structurally, the ears are kept small and flush to the head to prevent them from being easily ripped off during vigorous play. We have also opted for a long, knotted chain tail which provides a satisfying texture for cats to carry the toy in their mouths.
One common mistake to avoid in this design is using a hook that is too large for your yarn weight. If the tension is too loose, the fiberfill stuffing—and any catnip you might include—will seep through the stitches. For the best results, aim for a dense, stiff fabric that hides the stuffing completely, ensuring the toy remains safe and mess-free during use.
Project Info at a Glance
| Feature | Specification |
|---|---|
| Skill Level | Easy / Beginner |
| Estimated Time | 30 – 45 Minutes |
| Finished Size | Approx. 3.5 inches (excluding tail) |
| Hook Size | 3.5 mm (E) |
| Yarn Weight | Worsted Weight (#4) |
| Gauge | 5 sc x 5 rows = 1 inch (Photo-inspired) |
| Best For | Pet Toys, Shelter Donations, Scrap Busting |
Materials and Tools
Yarn
For a standard cat mouse, you will need approximately 20–30 yards of worsted weight yarn. Cotton yarn is highly recommended for pet toys because it is durable, less fuzzy than acrylic, and stands up better to cat saliva. However, a sturdy acrylic blend also works well for a softer finish. Suggested colors include natural grays, browns, or vibrant “neon” colors that are easy for humans to spot under the couch.
Tools
- 3.5 mm crochet hook (or size needed to achieve a tight fabric)
- Polyester fiberfill stuffing
- Optional: 1 tablespoon of dried catnip
- Tapestry needle for weaving ends and embroidery
- Stitch marker to track continuous rounds
- Small amount of black embroidery floss or yarn for the eyes
Abbreviations
- ch: chain
- sc: single crochet
- inc: increase (2 sc in the same stitch)
- dec: decrease (sc 2 stitches together)
- st(s): stitch(es)
- sl st: slip stitch
- MR: Magic Ring (or Magic Circle)
Pattern — Step by Step
The Mouse Body
The body is worked from the nose to the tail in continuous rounds. Do not join at the end of each round; simply move your stitch marker up to the first stitch of the new round.
- Round 1: Start with a MR, 4 sc into the ring. (4 sts)
- Round 2: [sc, inc] twice. (6 sts)
- Round 3: [sc, inc] 3 times. (9 sts)
- Round 4: [2 sc, inc] 3 times. (12 sts)
- Round 5: [3 sc, inc] 3 times. (15 sts)
- Round 6: [4 sc, inc] 3 times. (18 sts)
- Round 7-11: sc in each st around. (18 sts)
- Round 12: [sc, dec] 6 times. (12 sts) – Begin stuffing firmly at this point. Add catnip to the center of the stuffing if desired.
- Round 13: dec 6 times. (6 sts)
- Fasten off, leaving a long tail for the tail feature.
The Ears (Make 2)
The ears are simple circles that add character without adding too much bulk.
- Round 1: Start with a MR, 6 sc into the ring. (6 sts)
- Round 2: Join with a sl st to the first sc and fasten off, leaving a tail for sewing.
Assembly
Assembling the mouse is the most creative part of the process. Ensure all parts are attached with multiple passes of yarn to guarantee they won’t pull loose during play. Ensure the face is embroidered before the body is fully closed if you prefer a cleaner look, though it can be done on the finished shape as well.
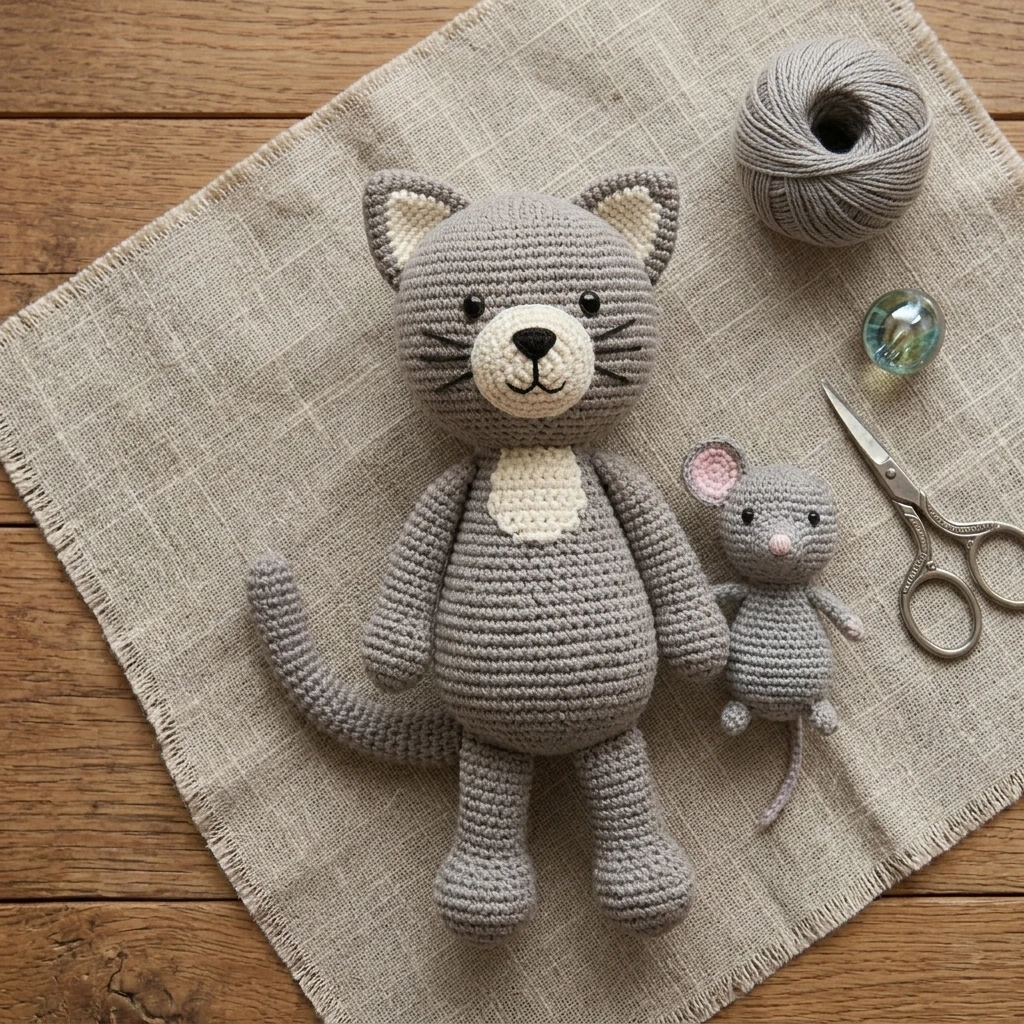
- Thread the tail end of your body yarn onto a tapestry needle. Weave it through the remaining 6 stitches of Round 13 and pull tight to close the back of the mouse.
- Without cutting the yarn, create the mouse’s tail: attach the yarn to the center-back and ch 20. Sl st in the second ch from hook and each ch back to the body. Fasten off and weave in the end securely.
- Position the ears between Rounds 5 and 6 of the body, approximately 3 stitches apart. Sew them down firmly.
- Using black embroidery floss, stitch two small French knots or simple “V” shapes for eyes on Round 3.
- Add a small pink or black stitch at the very tip of the MR to create a tiny nose.
7 Technical Tips for a Better Crochet Cat Mouse
- Use Invisible Decreases: To prevent gaps in the fabric where the stuffing might show, use the “invisible decrease” technique (working only in the front loops) for Round 12 and 13.
- Cotton Over Acrylic: Cotton doesn’t pill as easily when licked or clawed, making the toy look “new” for much longer.
- Scenting the Stuffing: If you use catnip, place it inside a small scrap of pantyhose or a felt pouch before putting it inside the mouse to prevent the dust from filtering through the stitches.
- Tighten the Magic Ring: Ensure the nose (Round 1) is pulled extremely tight. If a small hole remains, sew it shut with the starting tail.
- Skip the Plastic: Avoid using plastic safety eyes for cat toys. Cats can easily chew these off and swallow them. Embroidery is the only pet-safe option.
- Vary the Tail Length: Some cats prefer a short, stubby tail, while others love a long “stringy” tail. Experiment with different chain lengths to see what your cat prefers.
- Weighting the Bottom: If you want the mouse to sit upright, place a few heavy clean pebbles (larger than the stitch gaps) or a heavy bead inside the bottom before closing.
Frequently Asked Questions
Can I make this mouse bigger for a dog?
Yes! Simply use a bulkier yarn (like super bulky velvet or T-shirt yarn) and a larger hook (6.0mm or 8.0mm). The stitch counts remain the same, but the finished toy will be much larger.
What is the best way to clean the toy?
If you used 100% cotton and polyester stuffing, you can hand wash the mouse in warm soapy water and air dry. If you included catnip, the scent will fade after washing, but you can refresh it by soaking the toy in a bag of fresh catnip.
My cat tends to destroy toys; how can I make it stronger?
Try “double-stranding” your yarn. Use two strands of worsted weight yarn held together with a 5.0mm hook. This creates a very thick, armor-like fabric that is much harder to puncture.
Can I add a bell inside?
Absolutely. A small jingle bell can be placed inside the stuffing. Ensure the bell is large enough that it cannot fit through the crochet stitches if the toy eventually tears.
How do I stop the tail from curling?
Curling is natural for crochet chains, but if you want it straighter, use a larger hook for the tail only, or simply pull and “block” the chain with your fingers to stretch the stitches out.
Conclusion
Creating a crochet cat mouse is a delightful way to use up your yarn stash while providing your pet with a safe, customized toy. By focusing on tight tension and secure assembly, you can ensure your handmade mouse survives many rounds of play. Don’t forget to experiment with different colors and textures to find your cat’s favorite! If you enjoyed this tutorial, be sure to save it to your Crochet for Pets board on Pinterest. Have you ever tried adding different textures like crinkle paper inside your cat toys?
Save This Crochet Pattern