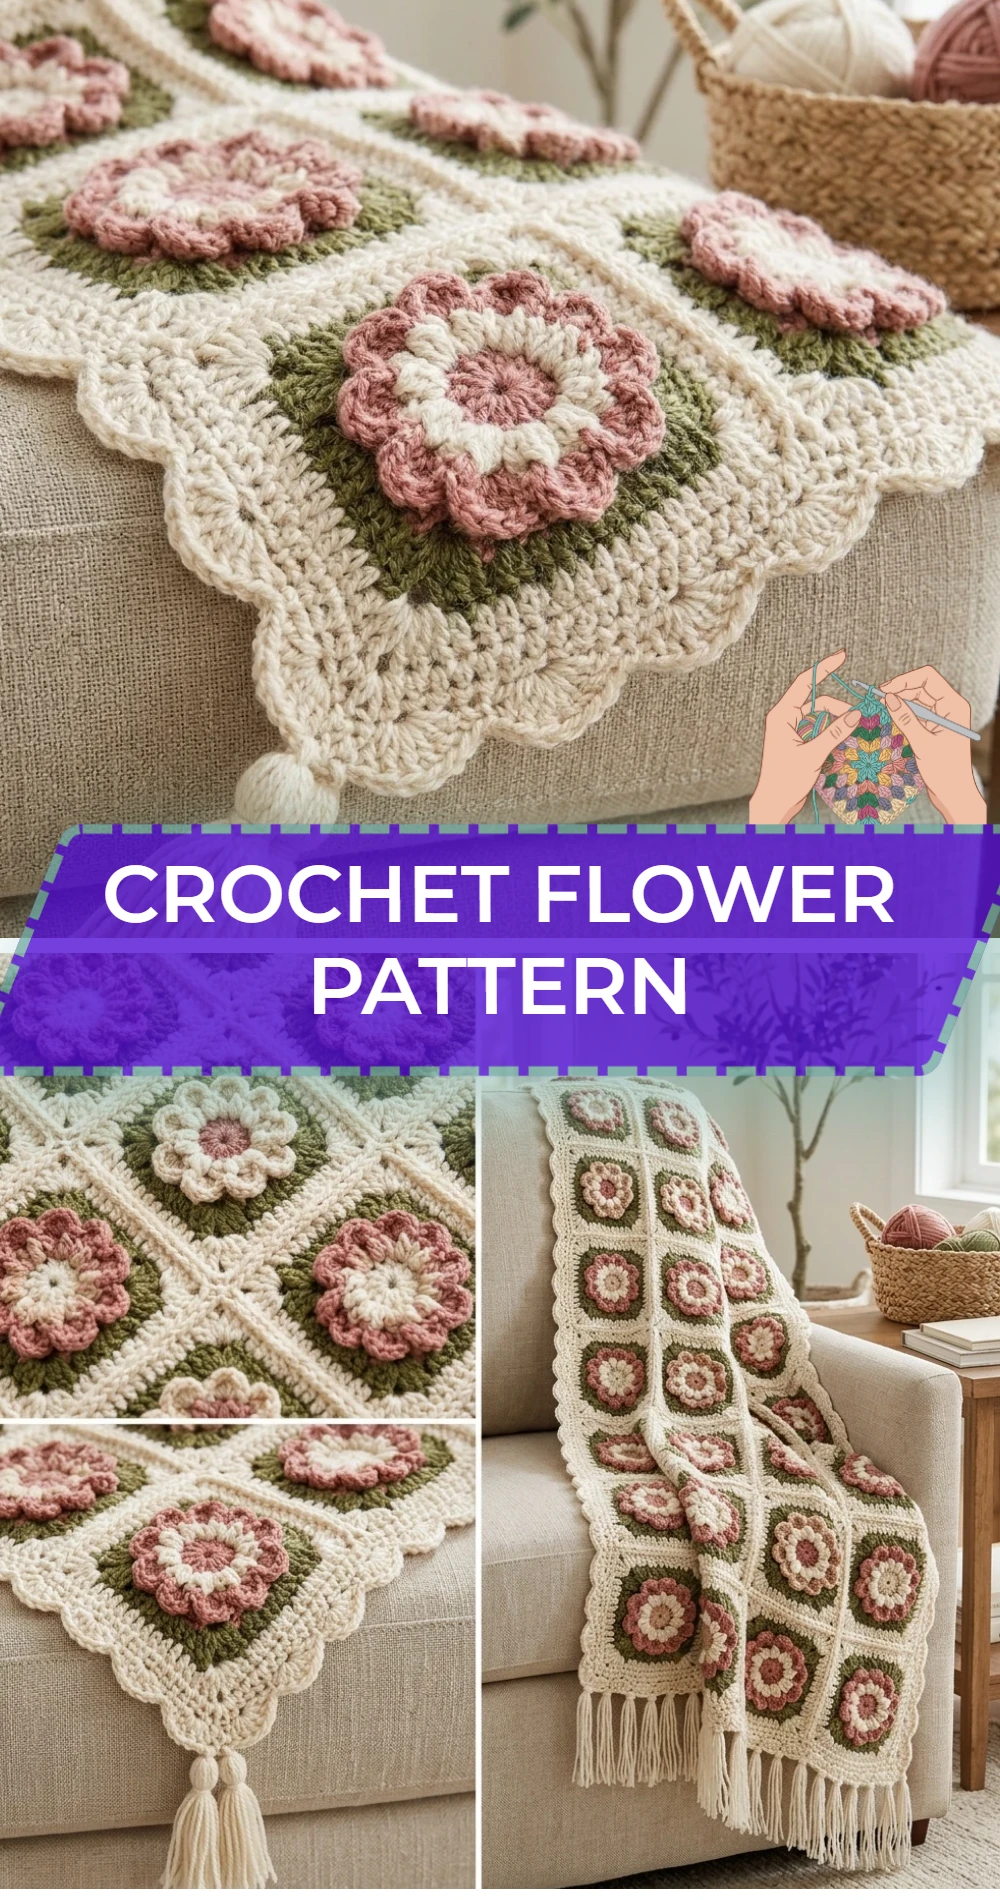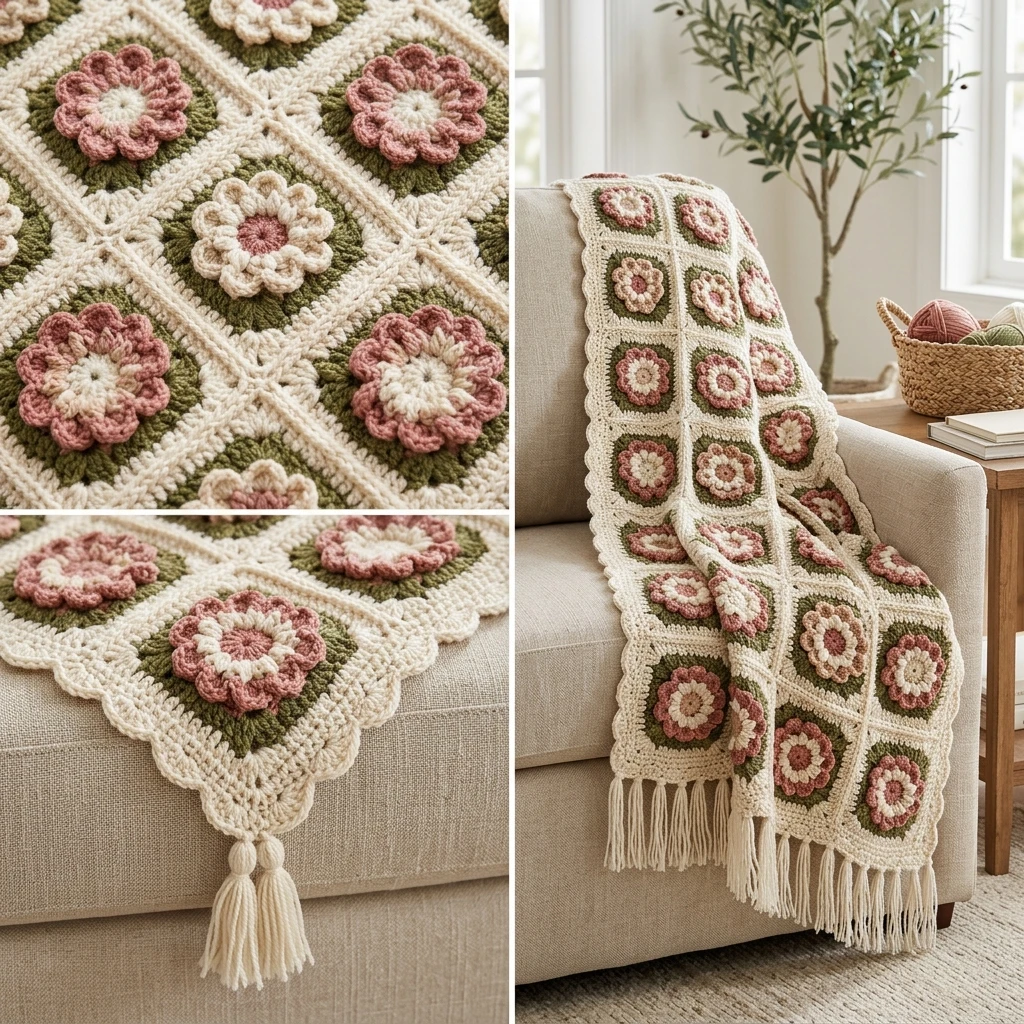
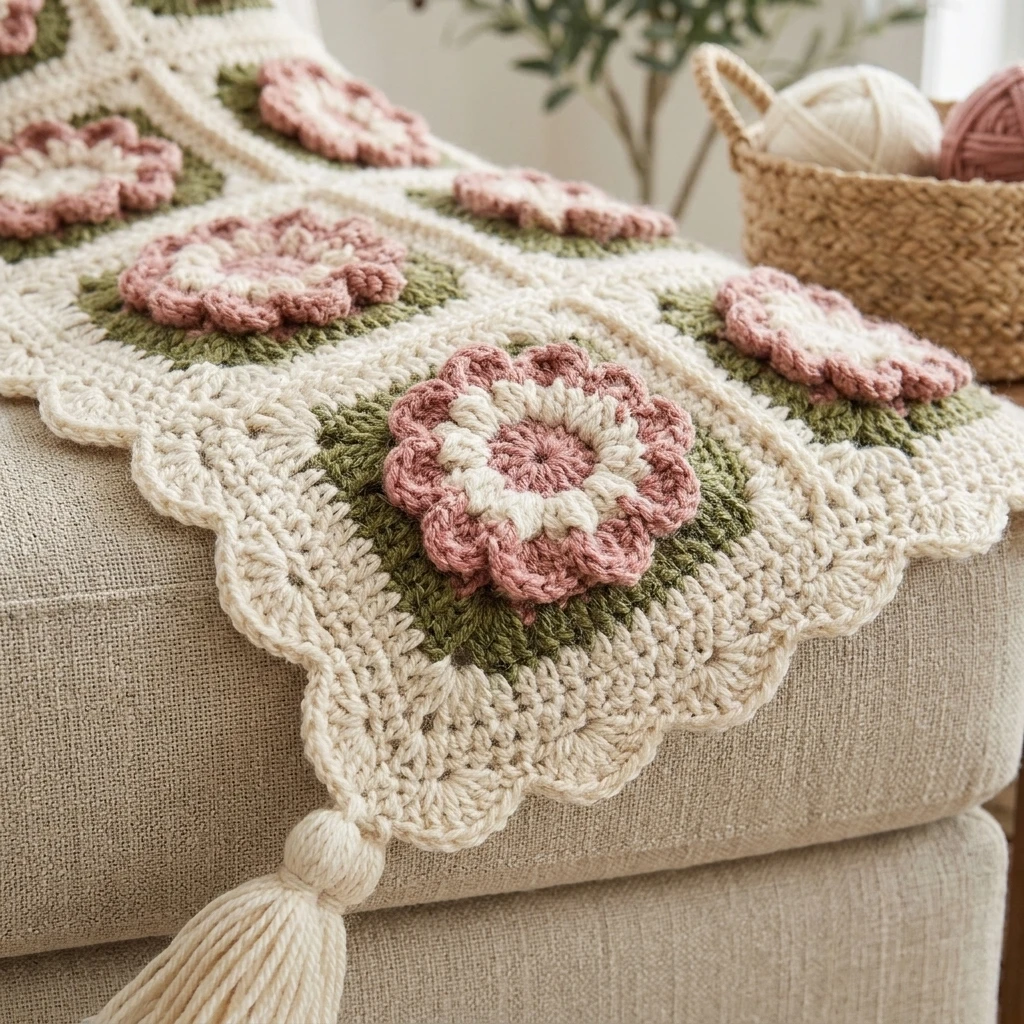
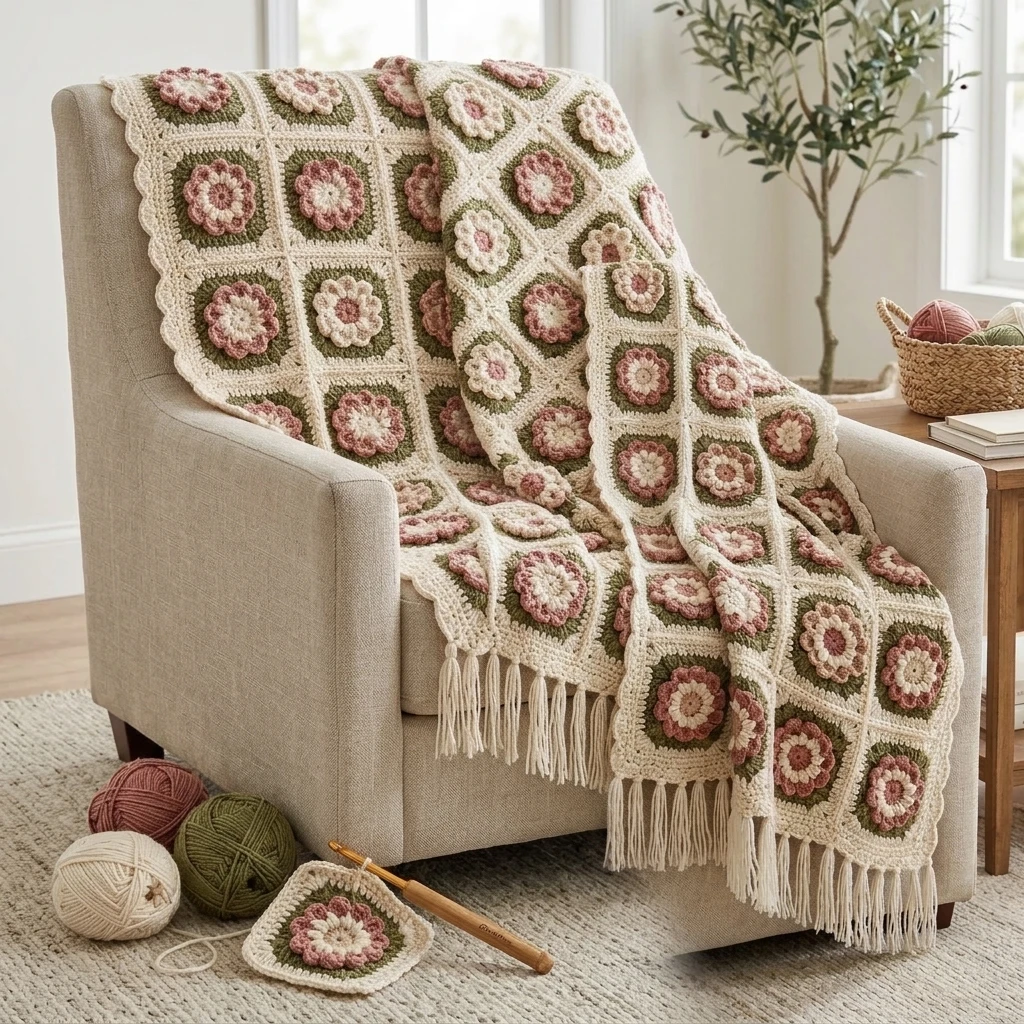
This exquisite Crochet Flower Pattern creates a radiant, multi-dimensional bloom that serves as the perfect sculptural accent for any textile project. Featuring a dense, textured center and gracefully scalloped petals, this flower possesses a tactile quality that feels substantial rather than flimsy. Whether you are looking to embellish a cozy winter beanie, add a whimsical touch to a canvas tote, or create a set of permanent botanical decorations for your home, this design offers a sophisticated visual identity. The construction focuses on working in rounds to build height and volume, making it an ideal project for those looking to practice stitch layering and working into specific loops.
The Design: What Makes This Pattern Different
Unlike flat, flimsy floral appliqués, this design utilizes a layered approach to create a 3D effect. The structural decision to work into the front loops for the inner petals and back loops for the outer petals ensures that the bloom has natural “lift” and depth. This mimics the organic growth of a real flower, where petals emerge from different levels of the stem. A common mistake to avoid during this construction is working too tightly in the center ring; if the initial stitches are constricted, the subsequent layers of petals will overlap too much and lose their distinct scalloped shape.
Project Info at a Glance
| Skill Level | Easy to Intermediate |
| Estimated Time | 25–40 minutes per flower |
| Finished Size | Approximately 3.5 inches in diameter (estimated) |
| Hook Size | 4.0mm (G) or 5.0mm (H) |
| Yarn Weight | Worsted (Medium) Weight |
| Gauge | Not critical; consistent tension is preferred |
| Best For | Appliqués, Brooches, Garment Embellishments |
Materials and Tools
Yarn
For the best structural results, a mercerized cotton or a high-quality acrylic blend is suggested. You will need approximately 15 to 20 yards of yarn per flower, making this an excellent scrap-buster. A contrasting color for the center ring (2–3 yards) and a primary color for the petals is a popular aesthetic choice.
Tools
- Ergonomic crochet hook (size 4.0mm or 5.0mm suggested)
- Tapestry needle for weaving in ends
- Sharp embroidery scissors
- Optional: A decorative button for the center
Abbreviations
- ch: Chain
- sl st: Slip stitch
- sc: Single crochet
- dc: Double crochet
- tr: Treble crochet
- st(s): Stitch(es)
- MR: Magic Ring (or Magic Circle)
- FLO: Front Loops Only
- BLO: Back Loops Only
Pattern — Step by Step
The Center Core
The foundation of the flower begins with a circular center. The stitch count here determines the number of petals you will have in the following rounds.
- Start with a Magic Ring. Ch 1 (does not count as a stitch).
- Work 12 sc into the magic ring. Pull the tail to close the ring tightly. Sl st to the first sc to join. (12 sts)
Inner Petal Layer (FLO)
We will now create the first layer of petals. Working in the front loops only allows the back loops to remain free for the larger, outer layer.
- Ch 1. In the FLO of the first stitch, work (sc, ch 2, 2 dc, ch 2, sc).
- Sk the next stitch.
- In the FLO of the third stitch, work (sc, ch 2, 2 dc, ch 2, sc).
- Repeat from step 2 around until you have 6 small inner petals. Sl st to the base of the first petal to finish.
Outer Petal Layer (BLO)
These petals will sit behind the first layer, providing the width and “bloom” effect of the design.
- Locate the unworked BLO from the first round. Join your yarn (or continue) with a sl st into any back loop.
- Ch 1. In the first BLO, work (sc, ch 3, 3 tr, ch 3, sc).
- Sk the next BLO.
- In the next BLO, work (sc, ch 3, 3 tr, ch 3, sc).
- Repeat around until you have 6 large outer petals. Sl st to join. Fasten off leaving a long tail for sewing.
Assembly
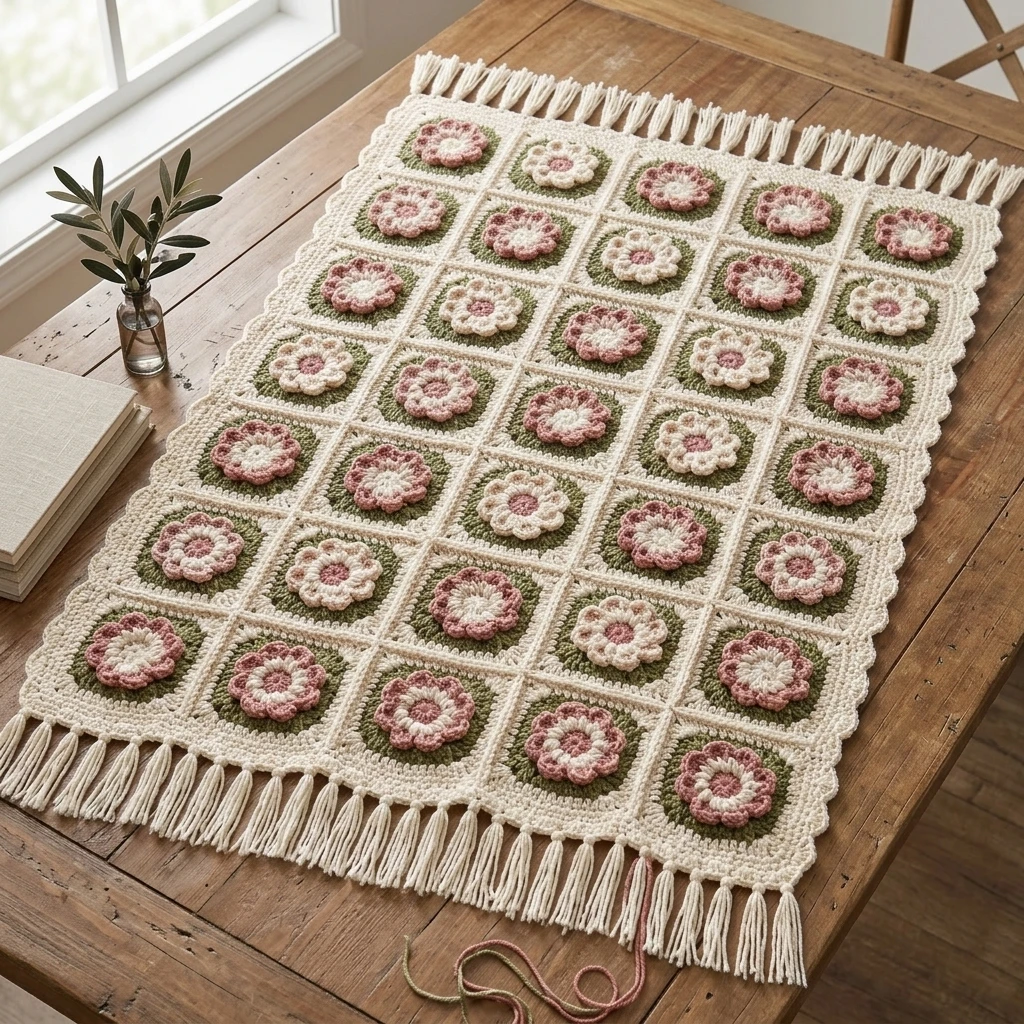
The assembly of the crochet flower involves securing the layers and preparing the piece for its final application. Ensure that the center ring is pulled as tight as possible before finishing to prevent a hole from appearing in the middle of your bloom.
- Use a tapestry needle to weave the starting tail (from the magic ring) through the back of the center stitches several times to lock it in place.
- Bring the final yarn tail through to the back of the flower.
- If you are using a button center, sew it through the magic ring opening, securing it to the back of the flower.
- Position the flower onto your desired garment or accessory. Use the long yarn tail to sew the flower onto the base project using small, hidden stitches around the center core.
7 Technical Tips for a Better Crochet Flower Pattern
- Mind Your Tension: Keep your slip stitches loose. If the sl sts between petals are too tight, the flower will cup inward rather than lying flat.
- Secure the Magic Ring: Always weave the tail of a magic ring in a circle at least twice. This prevents the center of the flower from unraveling during use or washing.
- Yarn Choice Matters: Use cotton yarn for a crisp, defined petal shape. Acrylic yarn will create a softer, fuzzier flower that may lose its shape over time.
- Steam Blocking: If your petals look curled, pin the flower down on a foam mat and lightly steam it with an iron (do not touch the iron to the yarn). This sets the shape permanently.
- Invisible Joins: For a professional finish, use an invisible join when finishing the final round of petals to avoid a bulky knot.
- Size Variations: To make a smaller or larger flower, simply change your hook size rather than altering the pattern math. A 3.25mm hook will yield a delicate bloom, while a 6.0mm hook produces a chunky statement piece.
- Stitch Placement: When working the second layer, ensure you are truly catching only the back loops. If you grab the whole stitch, the inner petals will be crushed forward.
Frequently Asked Questions
Can I make this flower with two different colors?
Absolutely. Changing colors between the center core and the petal layers highlights the 3D construction. You can also use a different color for the inner and outer petal layers for a variegated look.
Why is my flower curling into a bowl shape?
This usually happens if your tension is too tight or if you missed a “skip stitch” instruction. Make sure you are skipping the designated stitches between petals to allow the fabric enough room to lay flat.
What is the best way to attach this to a hat?
Use the tail of the yarn and a tapestry needle to sew only the center core to the hat. Leaving the petals unsewn allows them to maintain their 3D “pop” and movement.
Is this pattern suitable for bulky yarn?
Yes, but the flower will become quite large (around 5–6 inches). You may need to use a 6.5mm or 8.0mm hook to ensure the stitches don’t become too stiff.
How do I make the petals pointier?
Instead of working 3 tr in the center of the outer petals, you can work (1 tr, ch 1, 1 tr) or a picot stitch (ch 3, sl st into the first ch) at the peak of each petal.
Conclusion
This Crochet Flower Pattern is a versatile and satisfying project that adds a touch of handmade elegance to any accessory. By mastering the technique of layered loops, you can create blooms that are as durable as they are beautiful. Don’t forget to save this tutorial to your Crochet Embellishments board on Pinterest for your next project! What will you be attaching your finished flower to—a headband, a bag, or a cozy blanket?
Save This Crochet Pattern