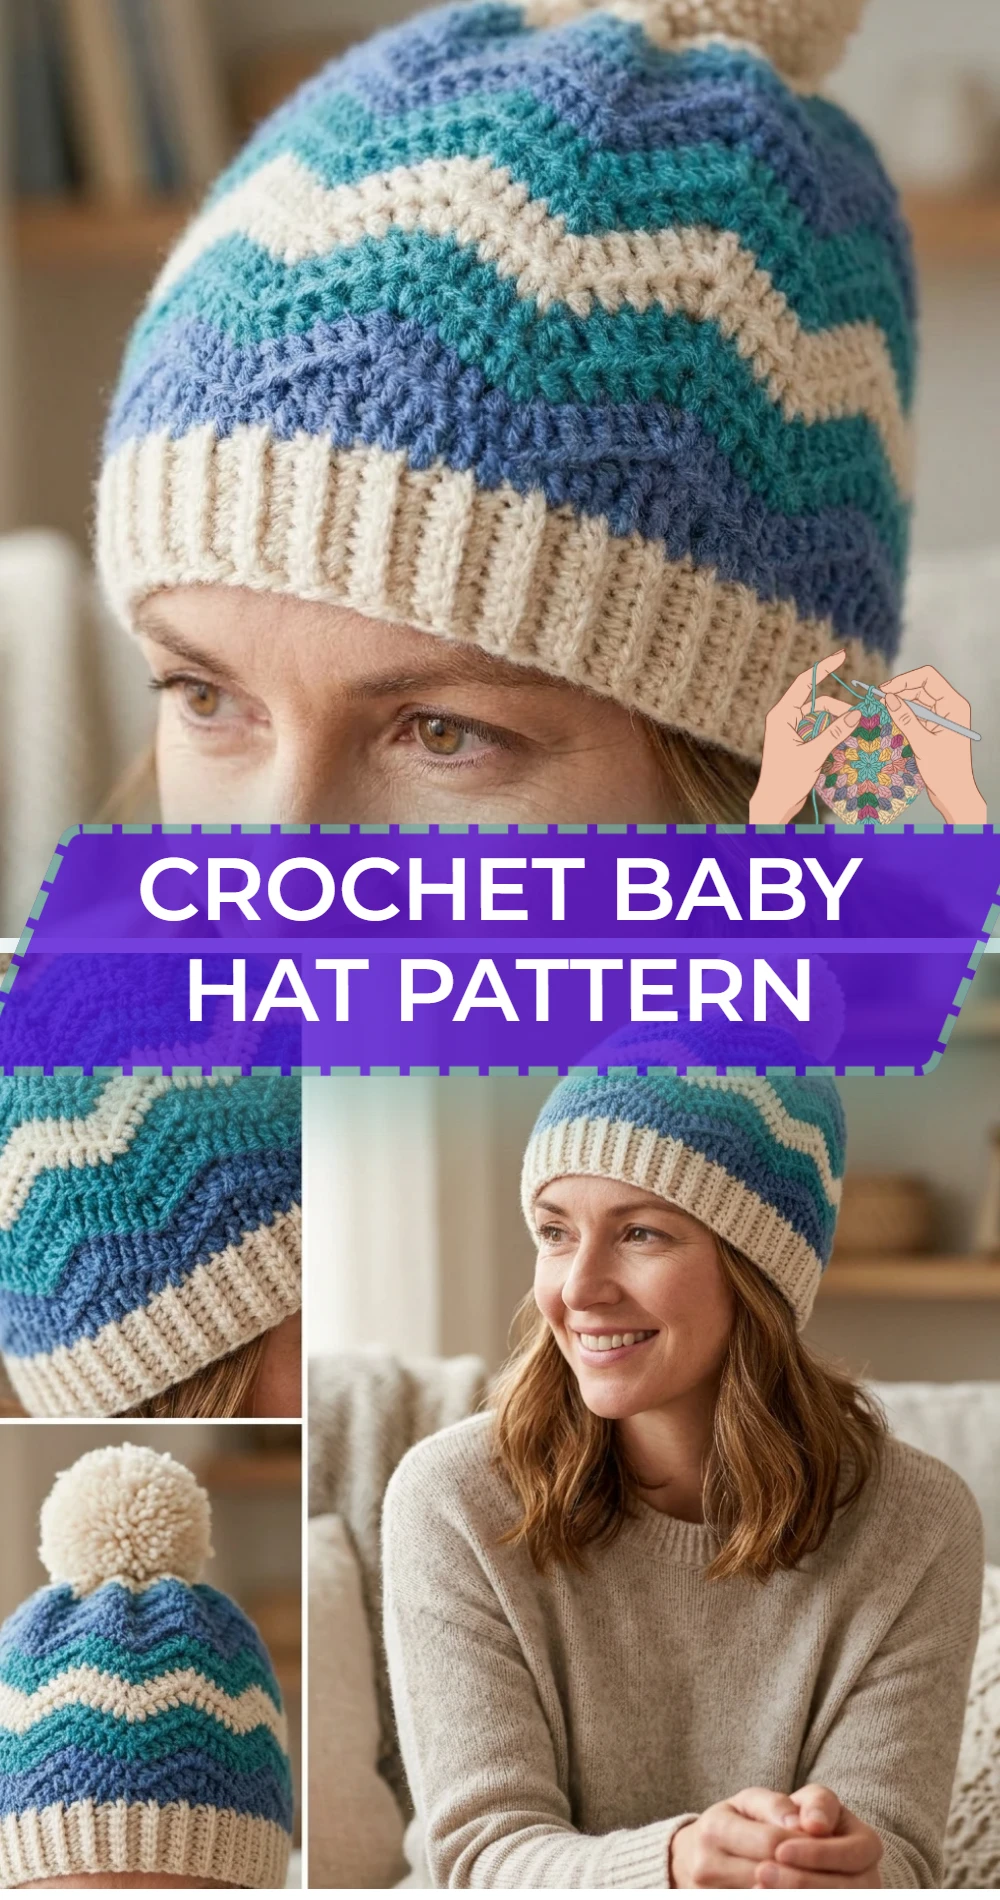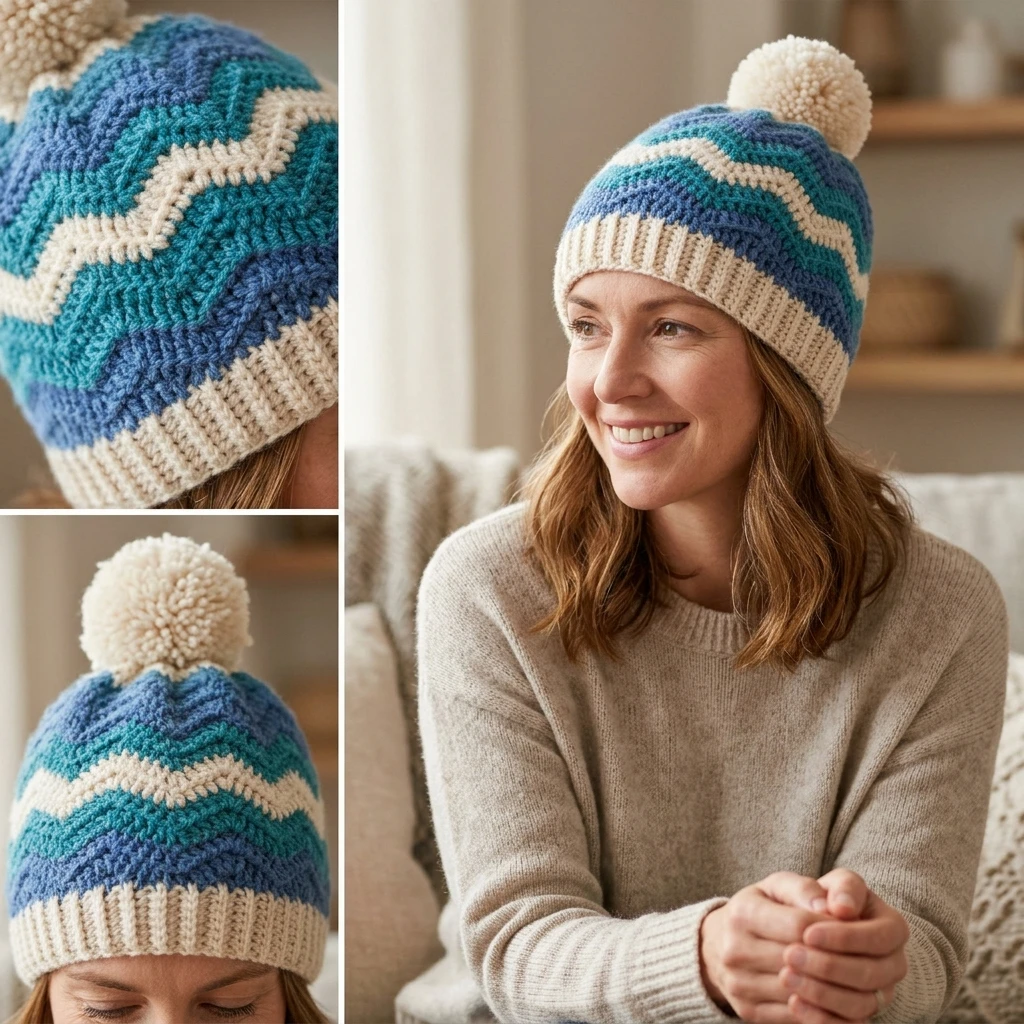
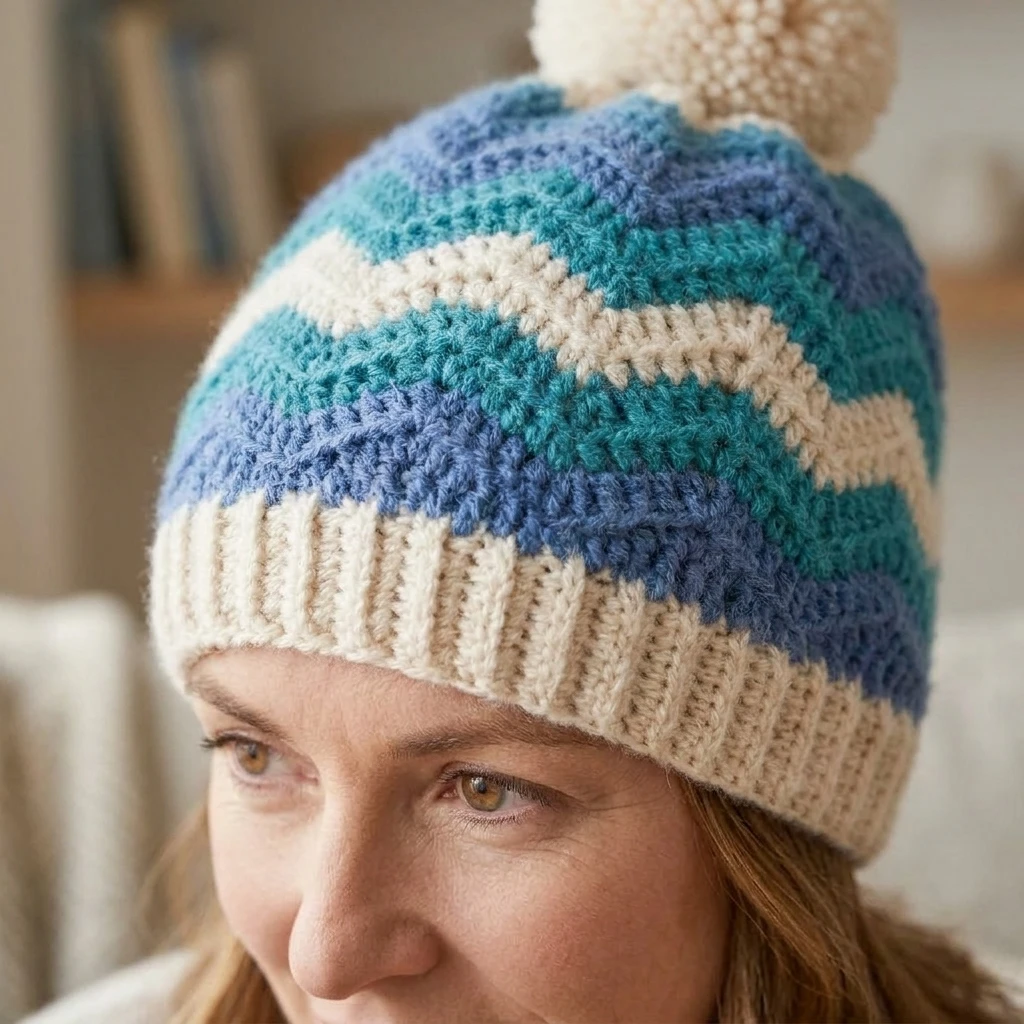
There is nothing quite as heartwarming as gifting a handmade accessory to a new arrival. This Crochet Baby Hat Pattern creates a soft, snug, and breathable beanie designed specifically for newborns and infants. Built using a classic top-down construction, the hat features a smooth, domed crown and a seamless finish that is gentle on a baby’s delicate skin. Whether you are prepping for a baby shower or donating to a local hospital, this design offers a timeless silhouette that can be customized with various colors or textures to suit any nursery theme.
The Design: What Makes This Pattern Different
While many baby hats are worked as flat rectangles and seamed at the top, this pattern utilizes a circular increase method. This structural decision ensures a perfectly rounded crown without the bulk of a gathered seam, which can often be uncomfortable for a reclining infant. The transition from the crown to the body of the hat is worked in continuous rounds (or joined rounds) to maintain a consistent stretch across the fabric.
One common mistake to avoid when crocheting baby hats is starting the increase rounds too aggressively. If the diameter grows too quickly, the hat will resemble a flat coaster rather than a bowl shape. To prevent this, we maintain a specific ratio of increases per round to ensure a gradual, ergonomic curve that fits the natural contour of a baby’s head.
Project Info at a Glance
| Feature | Details |
|---|---|
| Skill Level | Easy / Advanced Beginner |
| Estimated Time | 1 to 2 hours |
| Finished Size | 0-3 Months (approx. 13-14″ circumference) |
| Hook Size | 4.5 mm (US G/7) or 5.0 mm (US H/8) |
| Yarn Weight | Light (3) or Medium (4) Soft Baby Yarn |
| Gauge | 16 dc x 9 rows = 4″ (estimated) |
| Best For | Baby Showers, Charity Gifts, Photography Props |
Materials and Tools
Yarn
For a standard 0-3 month size, you will need approximately 80 to 100 yards of soft yarn. It is highly recommended to use a cotton-acrylic blend or a high-quality “anti-pilling” acrylic. These fibers offer the necessary stretch for a growing baby while remaining machine-washable. Avoid scratchy wools or fibers with heavy shedding to prevent irritation to the baby’s eyes and nose.
Tools
You will need a crochet hook that matches your yarn choice (usually 4.5mm or 5.0mm for a standard baby hat). Additionally, keep a tapestry needle handy for weaving in ends, a pair of sharp embroidery scissors, and a flexible measuring tape to check the crown diameter as you work.
Abbreviations
- ch: Chain
- dc: Double Crochet
- sl st: Slip Stitch
- st(s): Stitch(es)
- inc: Increase (2 double crochets in the same stitch)
- MR: Magic Ring (or Magic Circle)
- rnd: Round
Pattern — Step by Step
Construction Overview
The hat is worked from the top down. We begin by creating a magic ring and working several rounds of increases to establish the crown diameter. Once the desired width is reached, we stop increasing and work even rounds to create the depth of the hat.
The Crown
- Round 1: Start with a MR, ch 2 (does not count as a st). Work 12 dc into the ring. Join with a sl st to the first dc. (12 sts)
- Round 2: Ch 2. Work 2 dc in each st around. Join with a sl st to the first dc. (24 sts)
- Round 3: Ch 2. *1 dc in the next st, 2 dc in the following st; repeat from * around. Join with a sl st to the first dc. (36 sts)
- Round 4: Ch 2. *1 dc in each of the next 2 sts, 2 dc in the following st; repeat from * around. Join with a sl st to the first dc. (48 sts)
The Body and Height
- Round 5-11: Ch 2. Work 1 dc in each st around. Join with a sl st to the first dc. (48 sts per round)
- Round 12 (Border): Ch 1. Sc in each st around for a clean edge. Join with a sl st to the first sc. Fasten off.
Assembly
The beauty of a top-down hat is the minimal assembly required. Because it is worked in the round, there are no side seams to sew. The primary focus is securing the yarn ends so they do not come loose during washing.

- Pull the magic ring tail tightly to close the hole at the very top of the hat.
- Using your tapestry needle, weave the starting tail through the base of the Round 1 stitches twice to lock it in place.
- Weave the final tail end through the stitches of the last round on the inside of the hat, ensuring it is hidden from the “right side.”
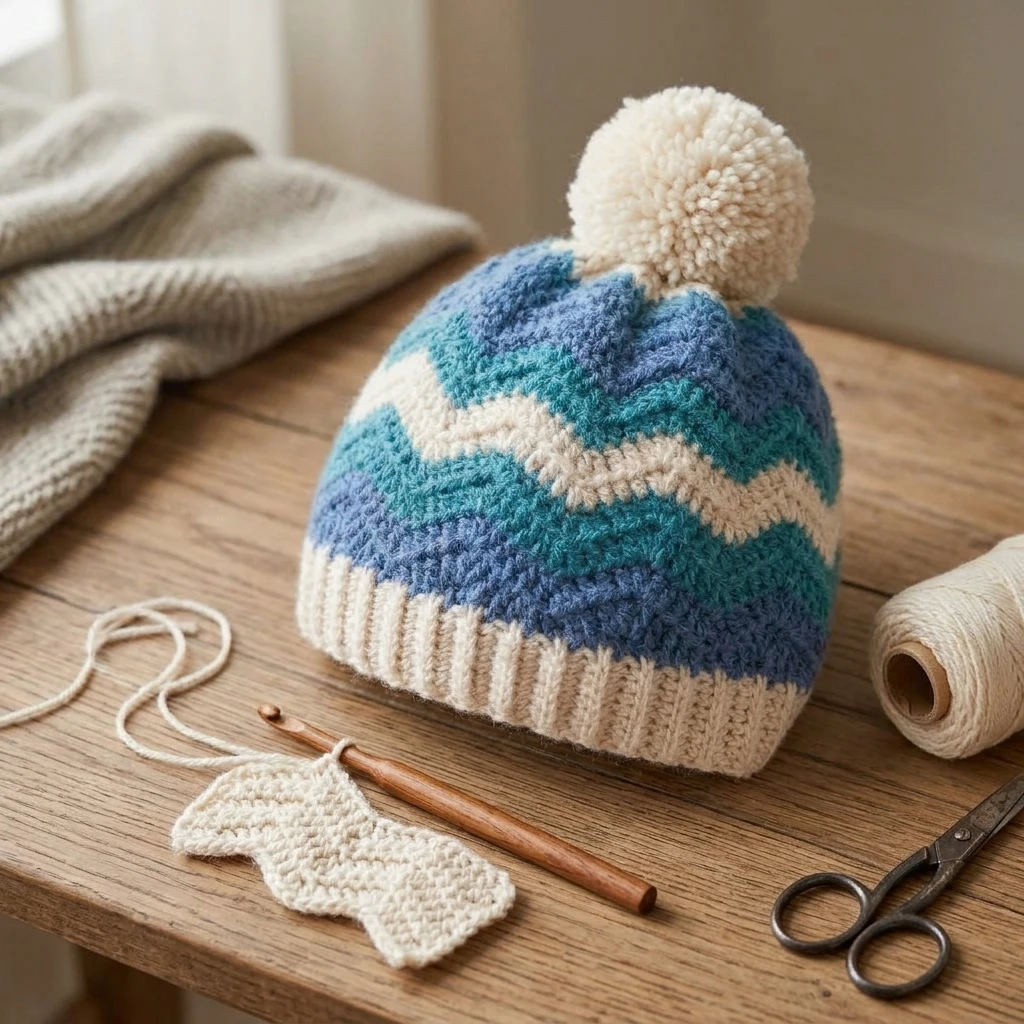
- If adding an optional pom-pom, sew it securely to the center of the crown, ensuring no loose loops are present that a baby could catch their fingers in.
7 Technical Tips for a Better Crochet Baby Hat Pattern
- Check the Crown Diameter: For a 0-3 month hat, your flat circle (crown) should measure roughly 4.25 to 4.5 inches before you stop increasing.
- Use a Magic Ring: This technique eliminates the hole at the top of the hat, providing a more professional and warmer finish than the “chain 4 and join” method.
- Mind the Seam: To keep your joining seam straight, ensure you are not accidentally adding a stitch at the slip stitch join.
- Tension Control: Babies have soft heads. Keep your tension moderate to loose to ensure the fabric remains pliable and stretchy.
- Yarn Selection: Always check the label for “OEKO-TEX” certification to ensure the yarn is free from harmful chemicals.
- Elasticity: If the edge feels too loose, use a hook one size smaller for the final single crochet border round.
- Durability: Babies require frequent laundry. Always use a secure knot before weaving in ends to prevent the hat from unraveling in a washing machine.
Frequently Asked Questions
What is the best yarn for a baby hat?
A soft cotton or bamboo blend is excellent for summer babies, while a soft premium acrylic is best for winter. Avoid mohair or yarns with long fibers that could be inhaled.
Can I make this hat for a preemie?
Yes. To downsize, stop increasing after Round 3 (36 stitches) and proceed to the body rounds until the hat reaches about 4 inches in total height.
How do I make the hat more stretchy?
You can substitute the final round for a “front post/back post double crochet” ribbing. This creates a highly elastic band that helps the hat stay on active babies.
Why is my hat looking like a flat plate?
If the hat isn’t “curving” down, you may be continuing to increase for too many rounds. Once the crown diameter is correct, you must work one stitch in every stitch to create the sides.
Should I wash the hat before gifting it?
Yes, it is recommended to wash the finished project using a fragrance-free baby detergent to remove any oils or dust from the crochet process.
Conclusion
Creating a crochet baby hat is a rewarding project that combines speed with utility. By mastering the top-down crown and maintaining consistent tension, you can produce a high-quality accessory that provides comfort and warmth. This pattern is easily adaptable; simply change the colors or add a ribbed brim to create a completely different look. If you enjoyed this tutorial, feel free to save it to your Crochet Projects board on Pinterest! Which color yarn are you planning to use for your first baby hat?
Save This Crochet Pattern